Drag Knife, Vinyl Cutter
by Ryan | Oct 30, 2016 | Hardware & Electronics
Set Up
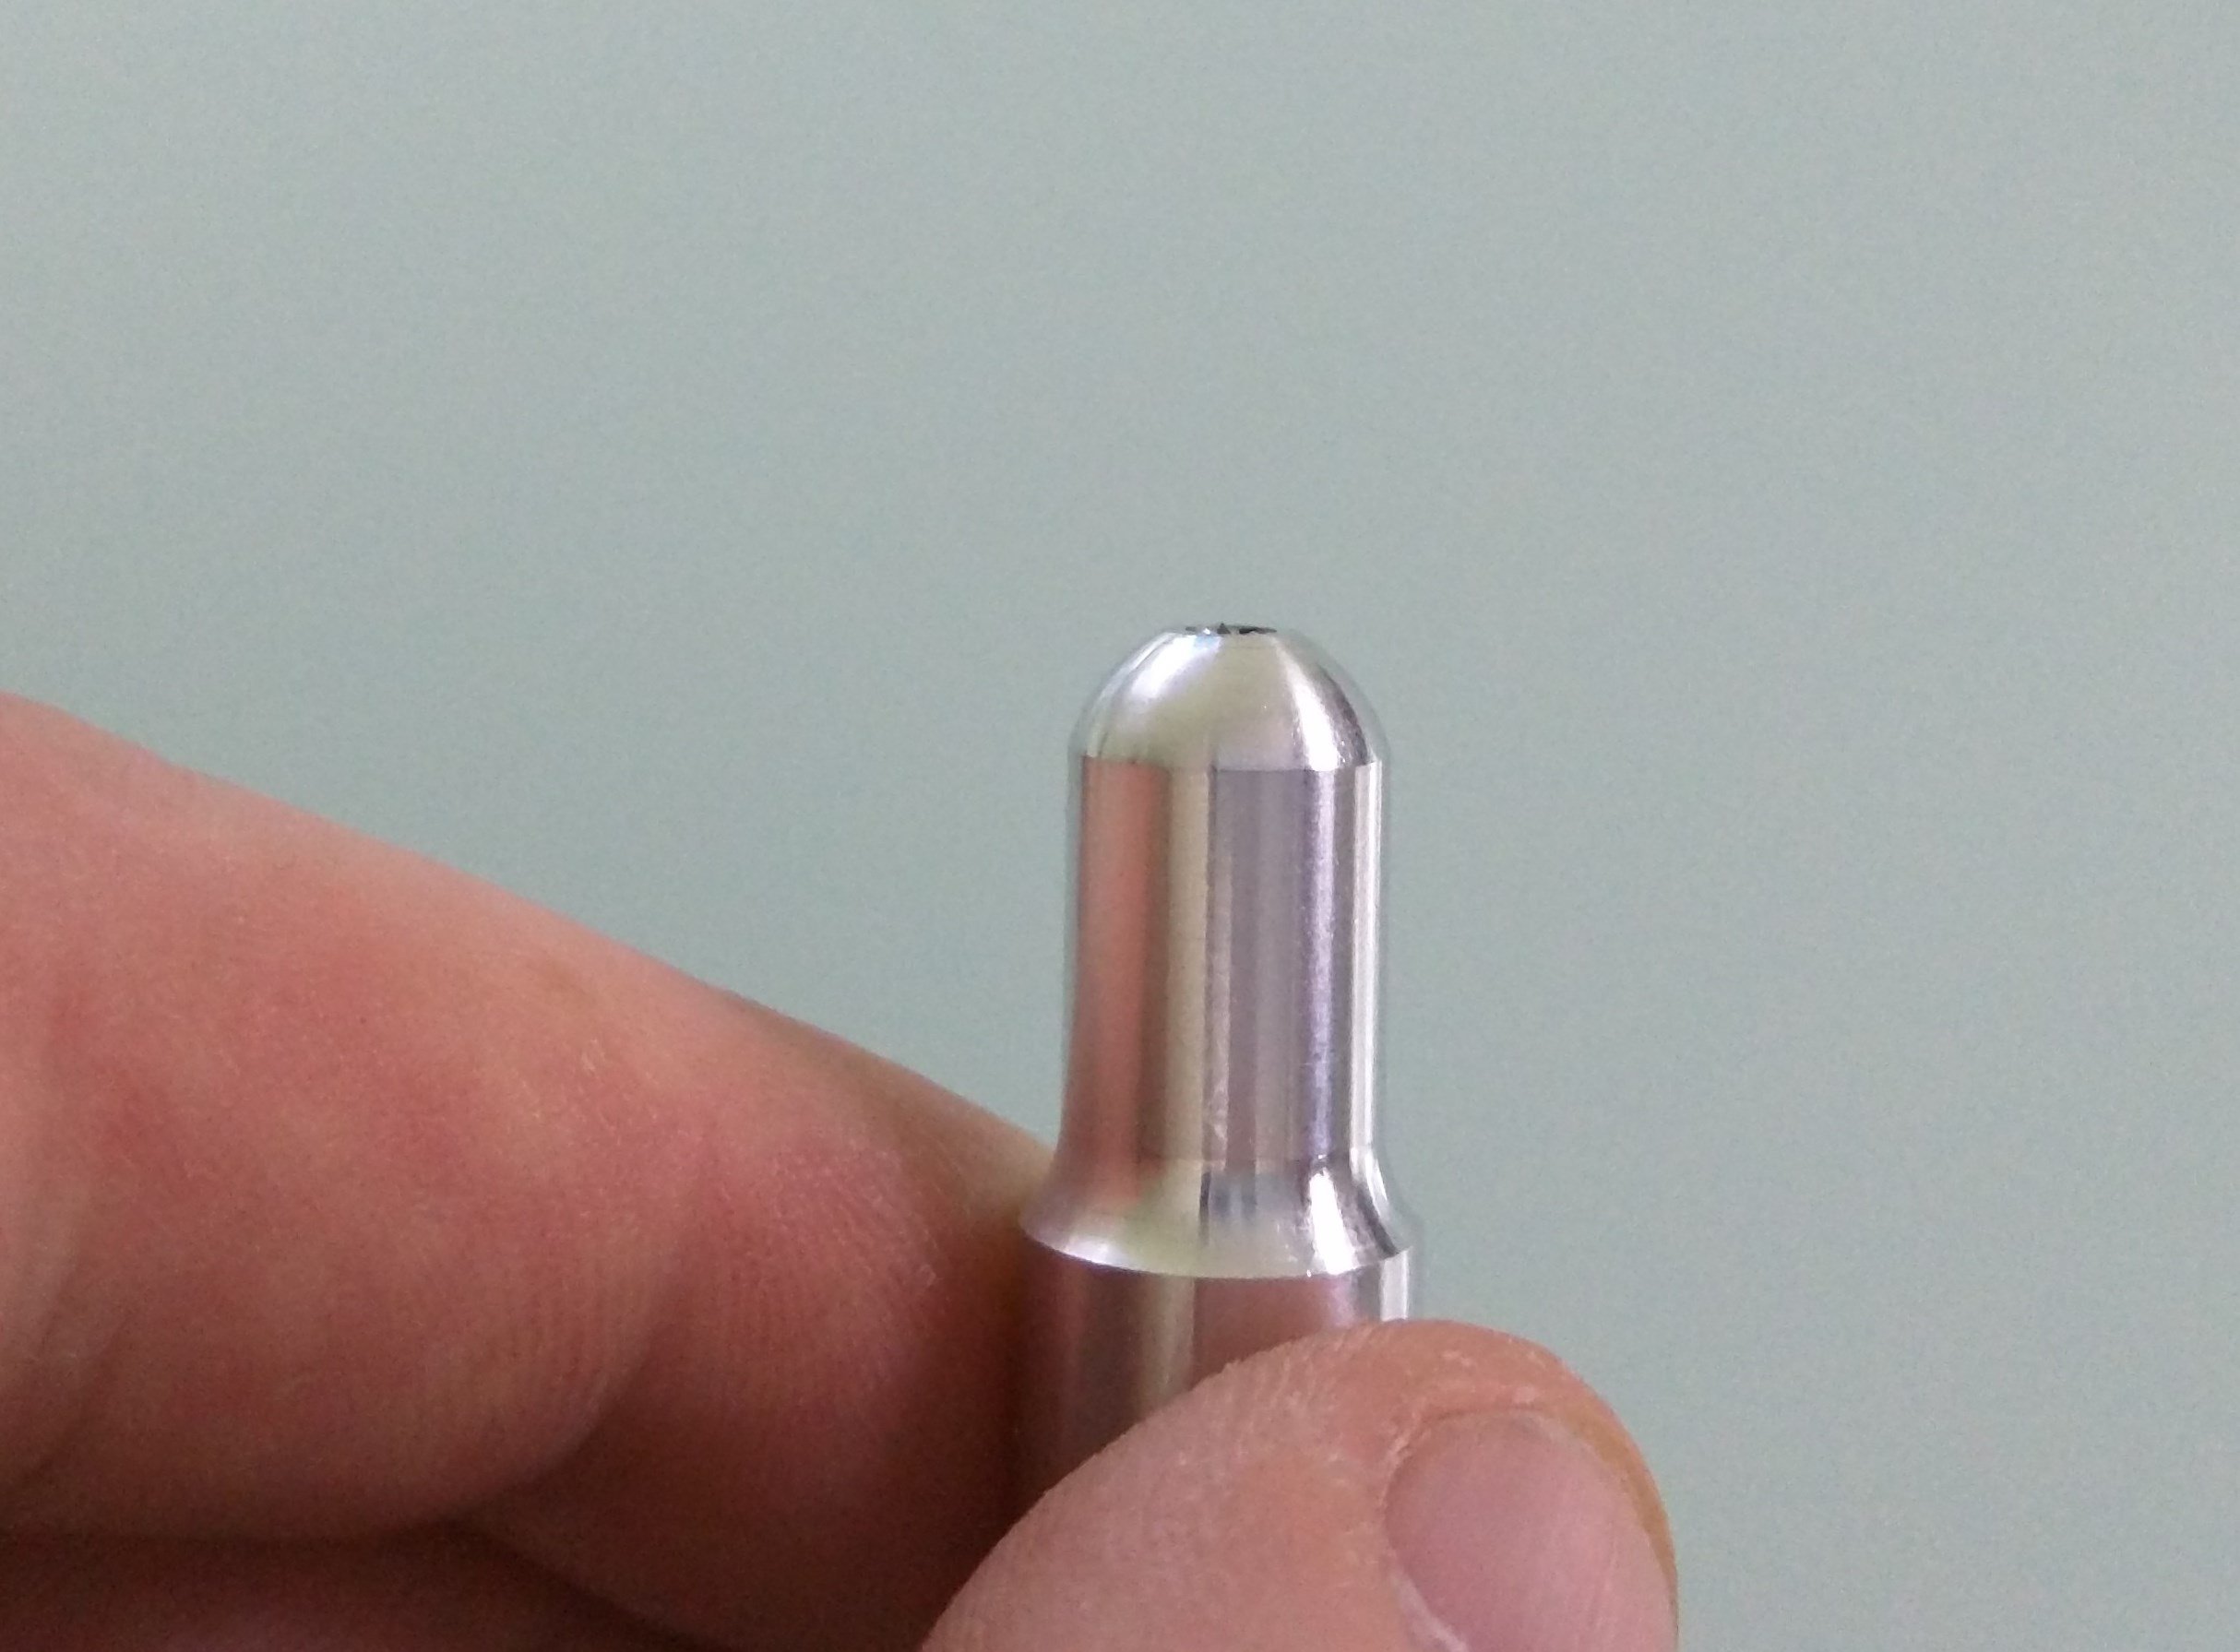
Insert the Blade
- This is for the Liyu style blade holder, from the
shop.
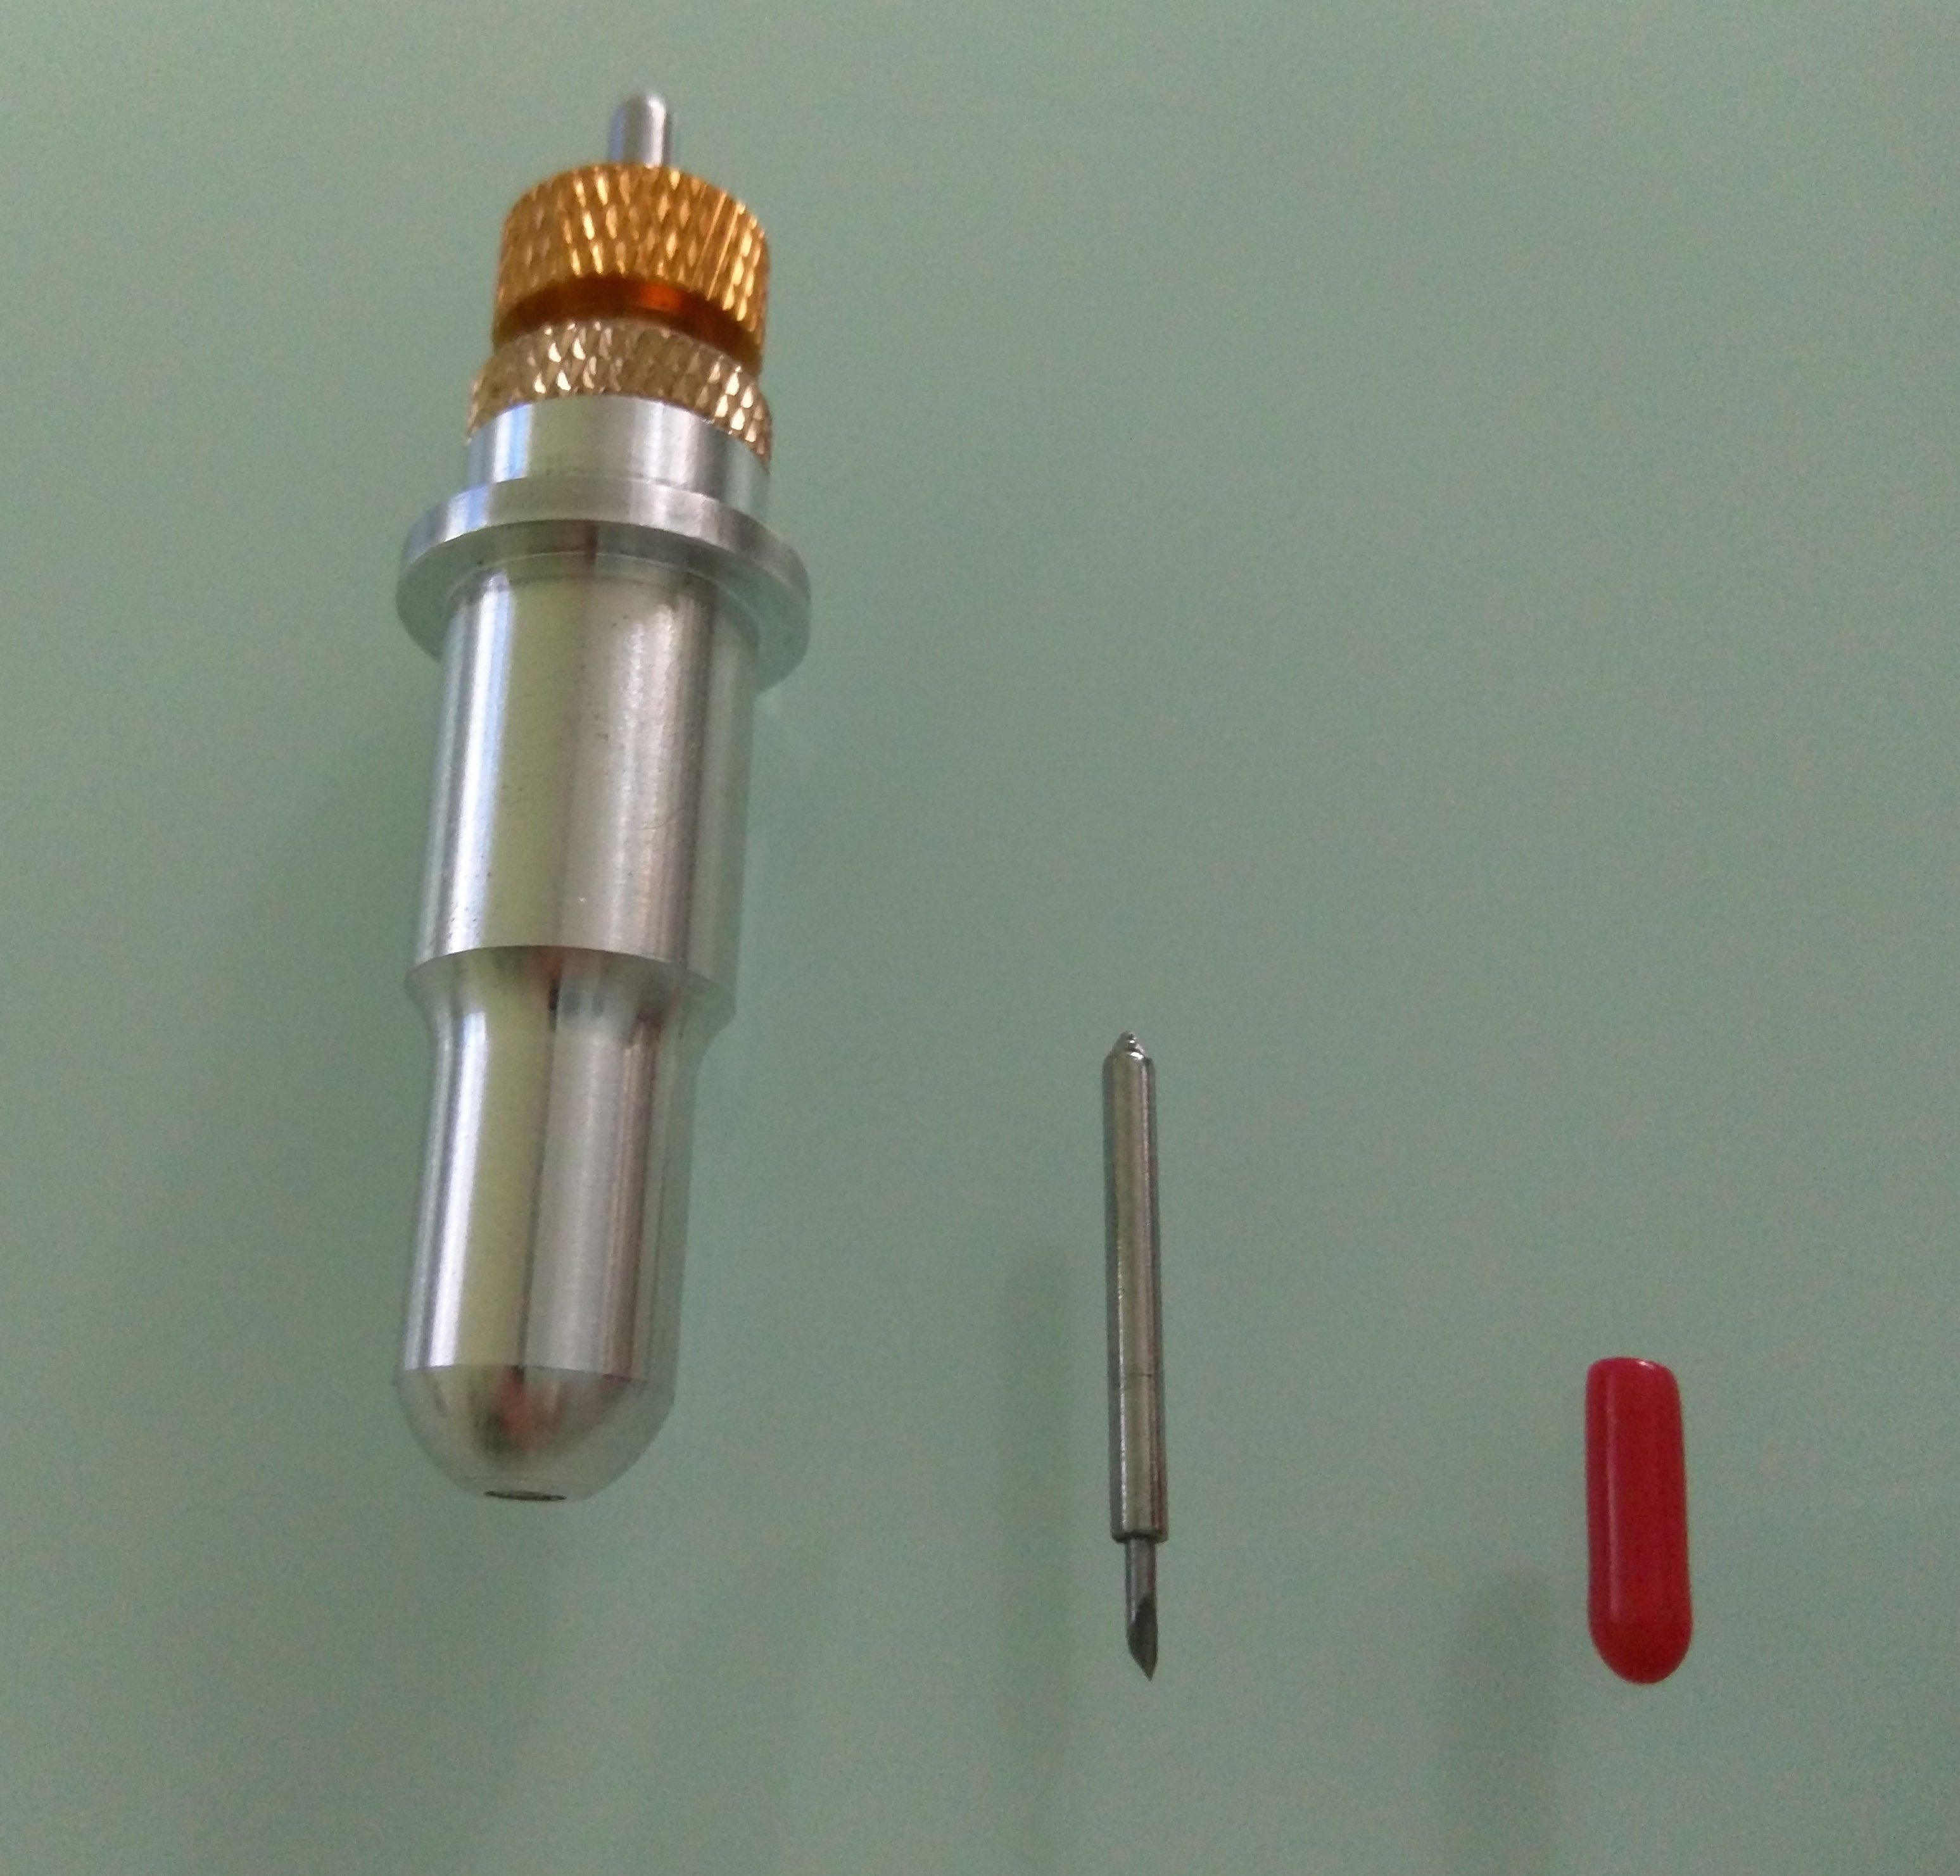
- First take the protective cover off of the carbide knife
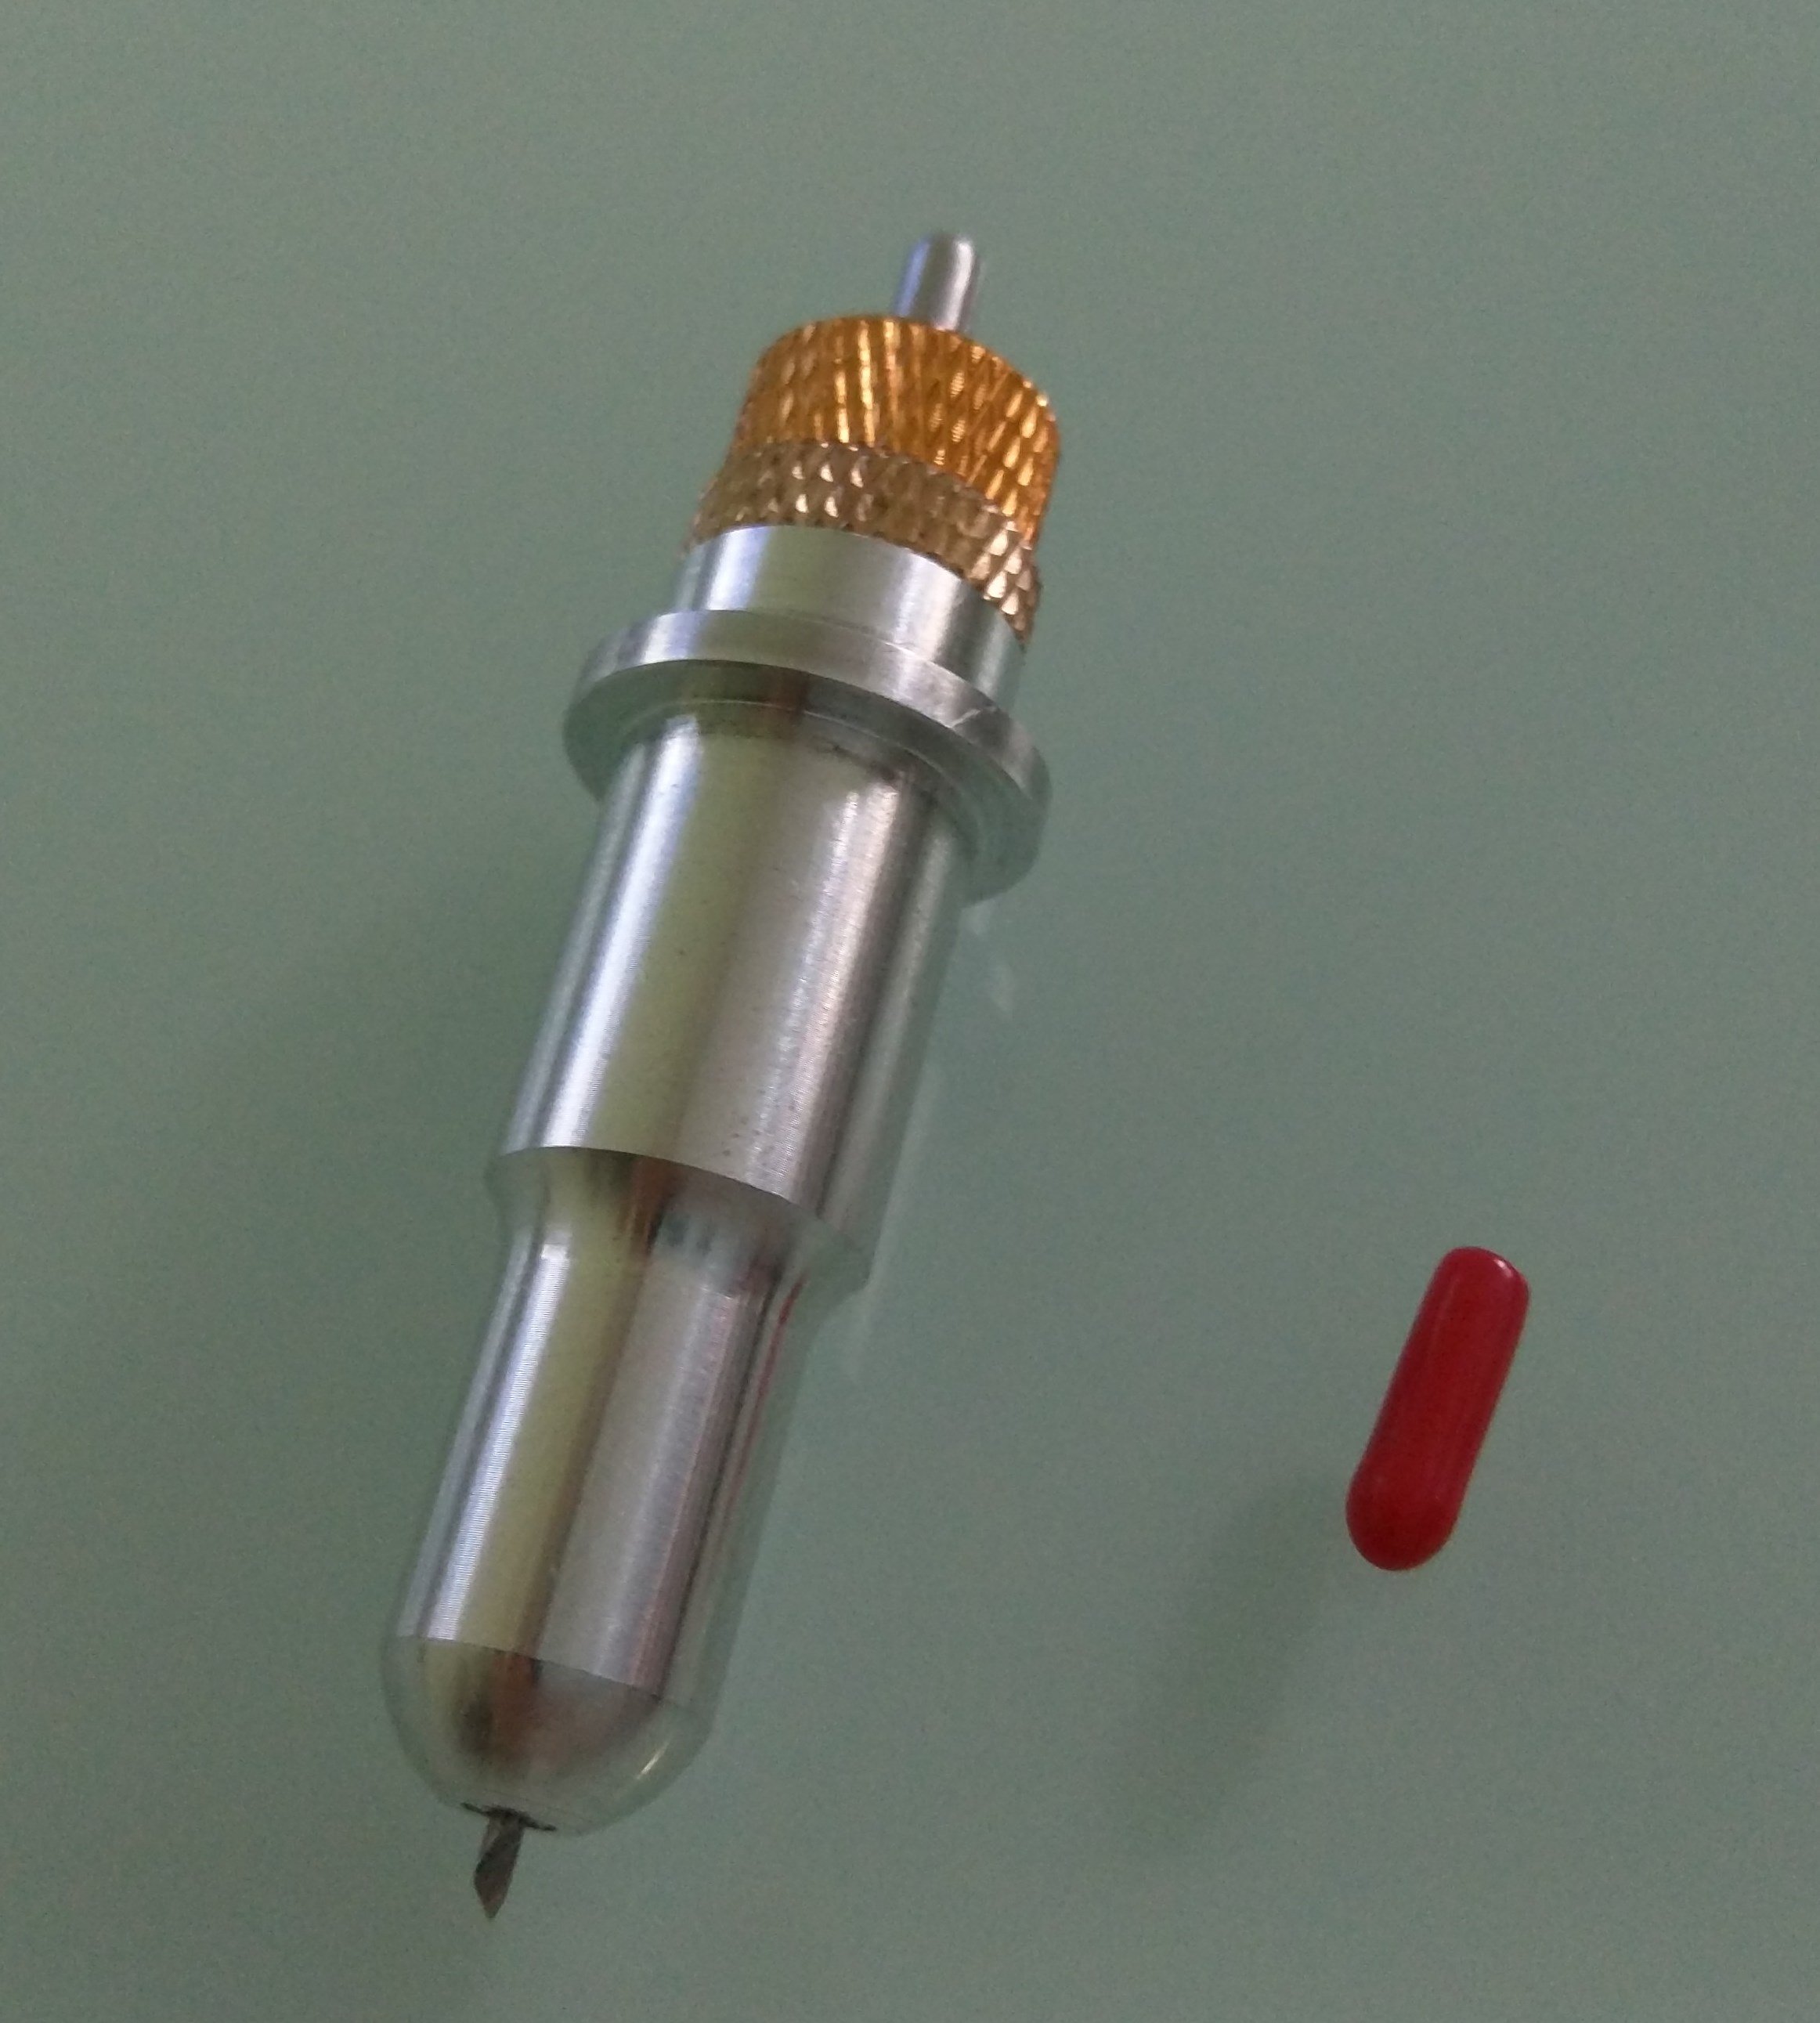
- Carefully position it into the cutter body, no need to push a magnet should suck it in.
- Then use the screw on the end to adjust it so it sticks out the approximate thickness of your material. It isn’t much, more than paper, less than a credit card.
Warning
Do not touch the end that little knife will slice you very quickly.
- The button on the end is to push the blade out for removal.
Set the Depth Of Cut
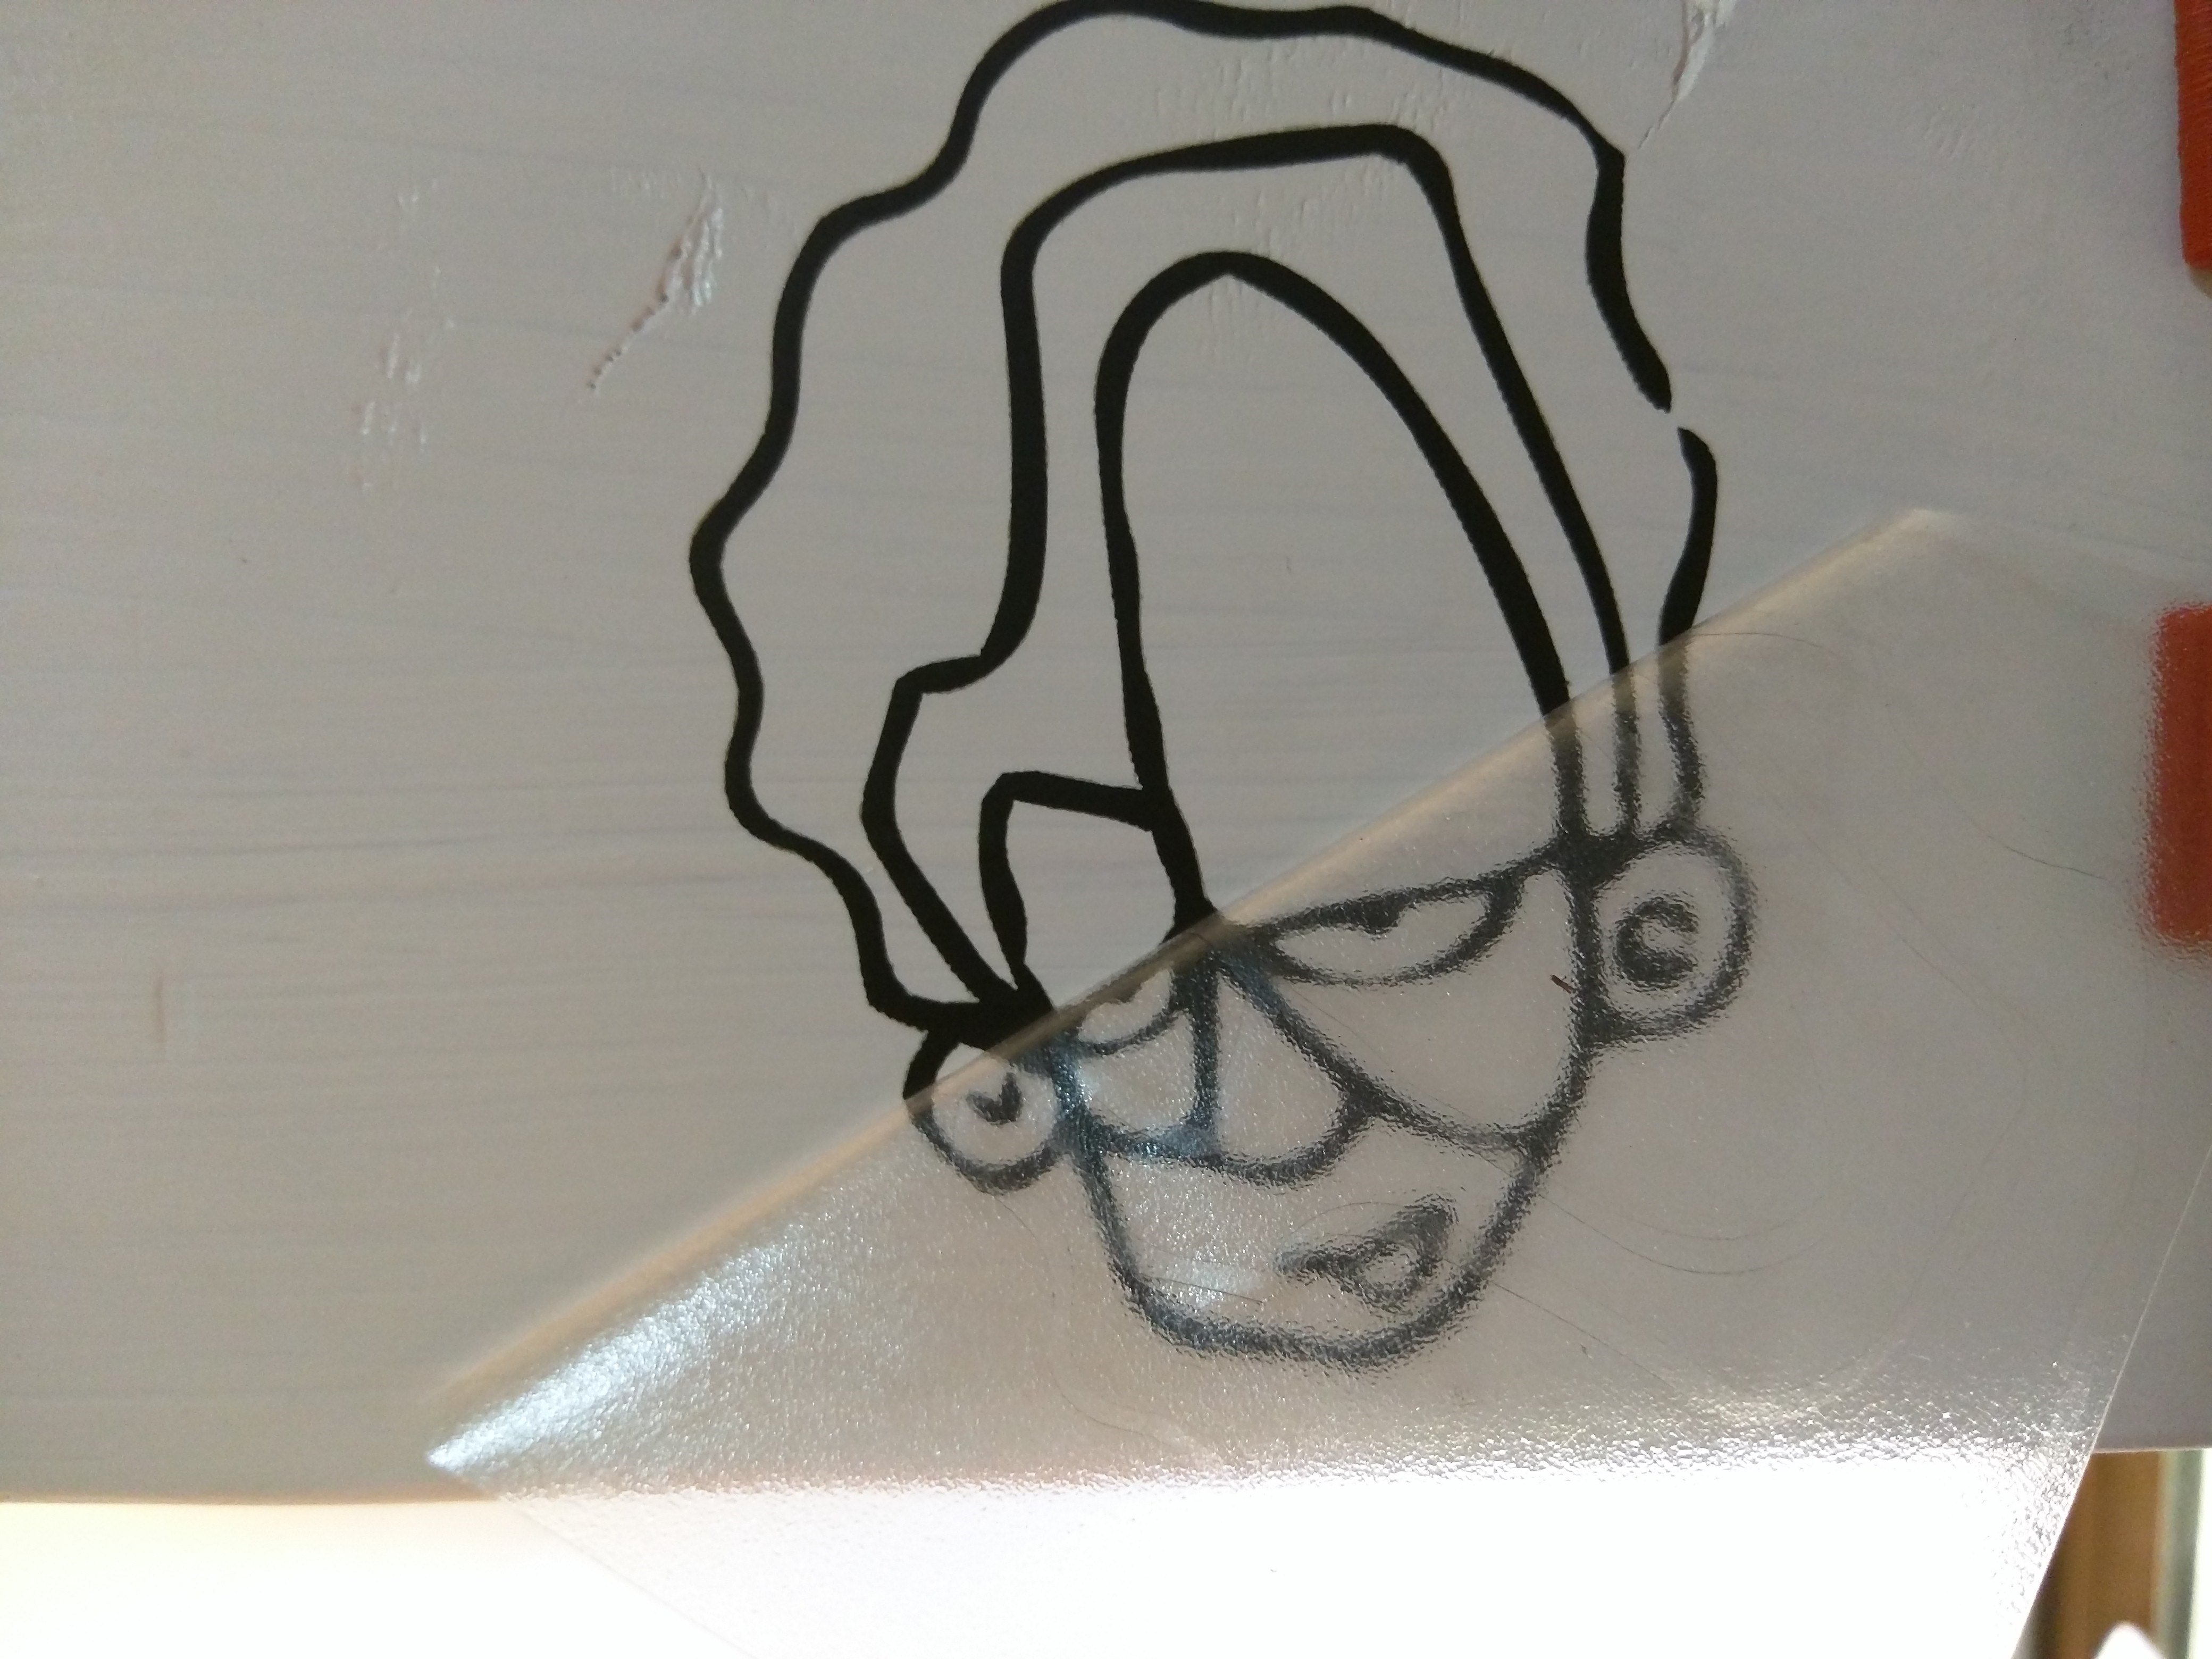
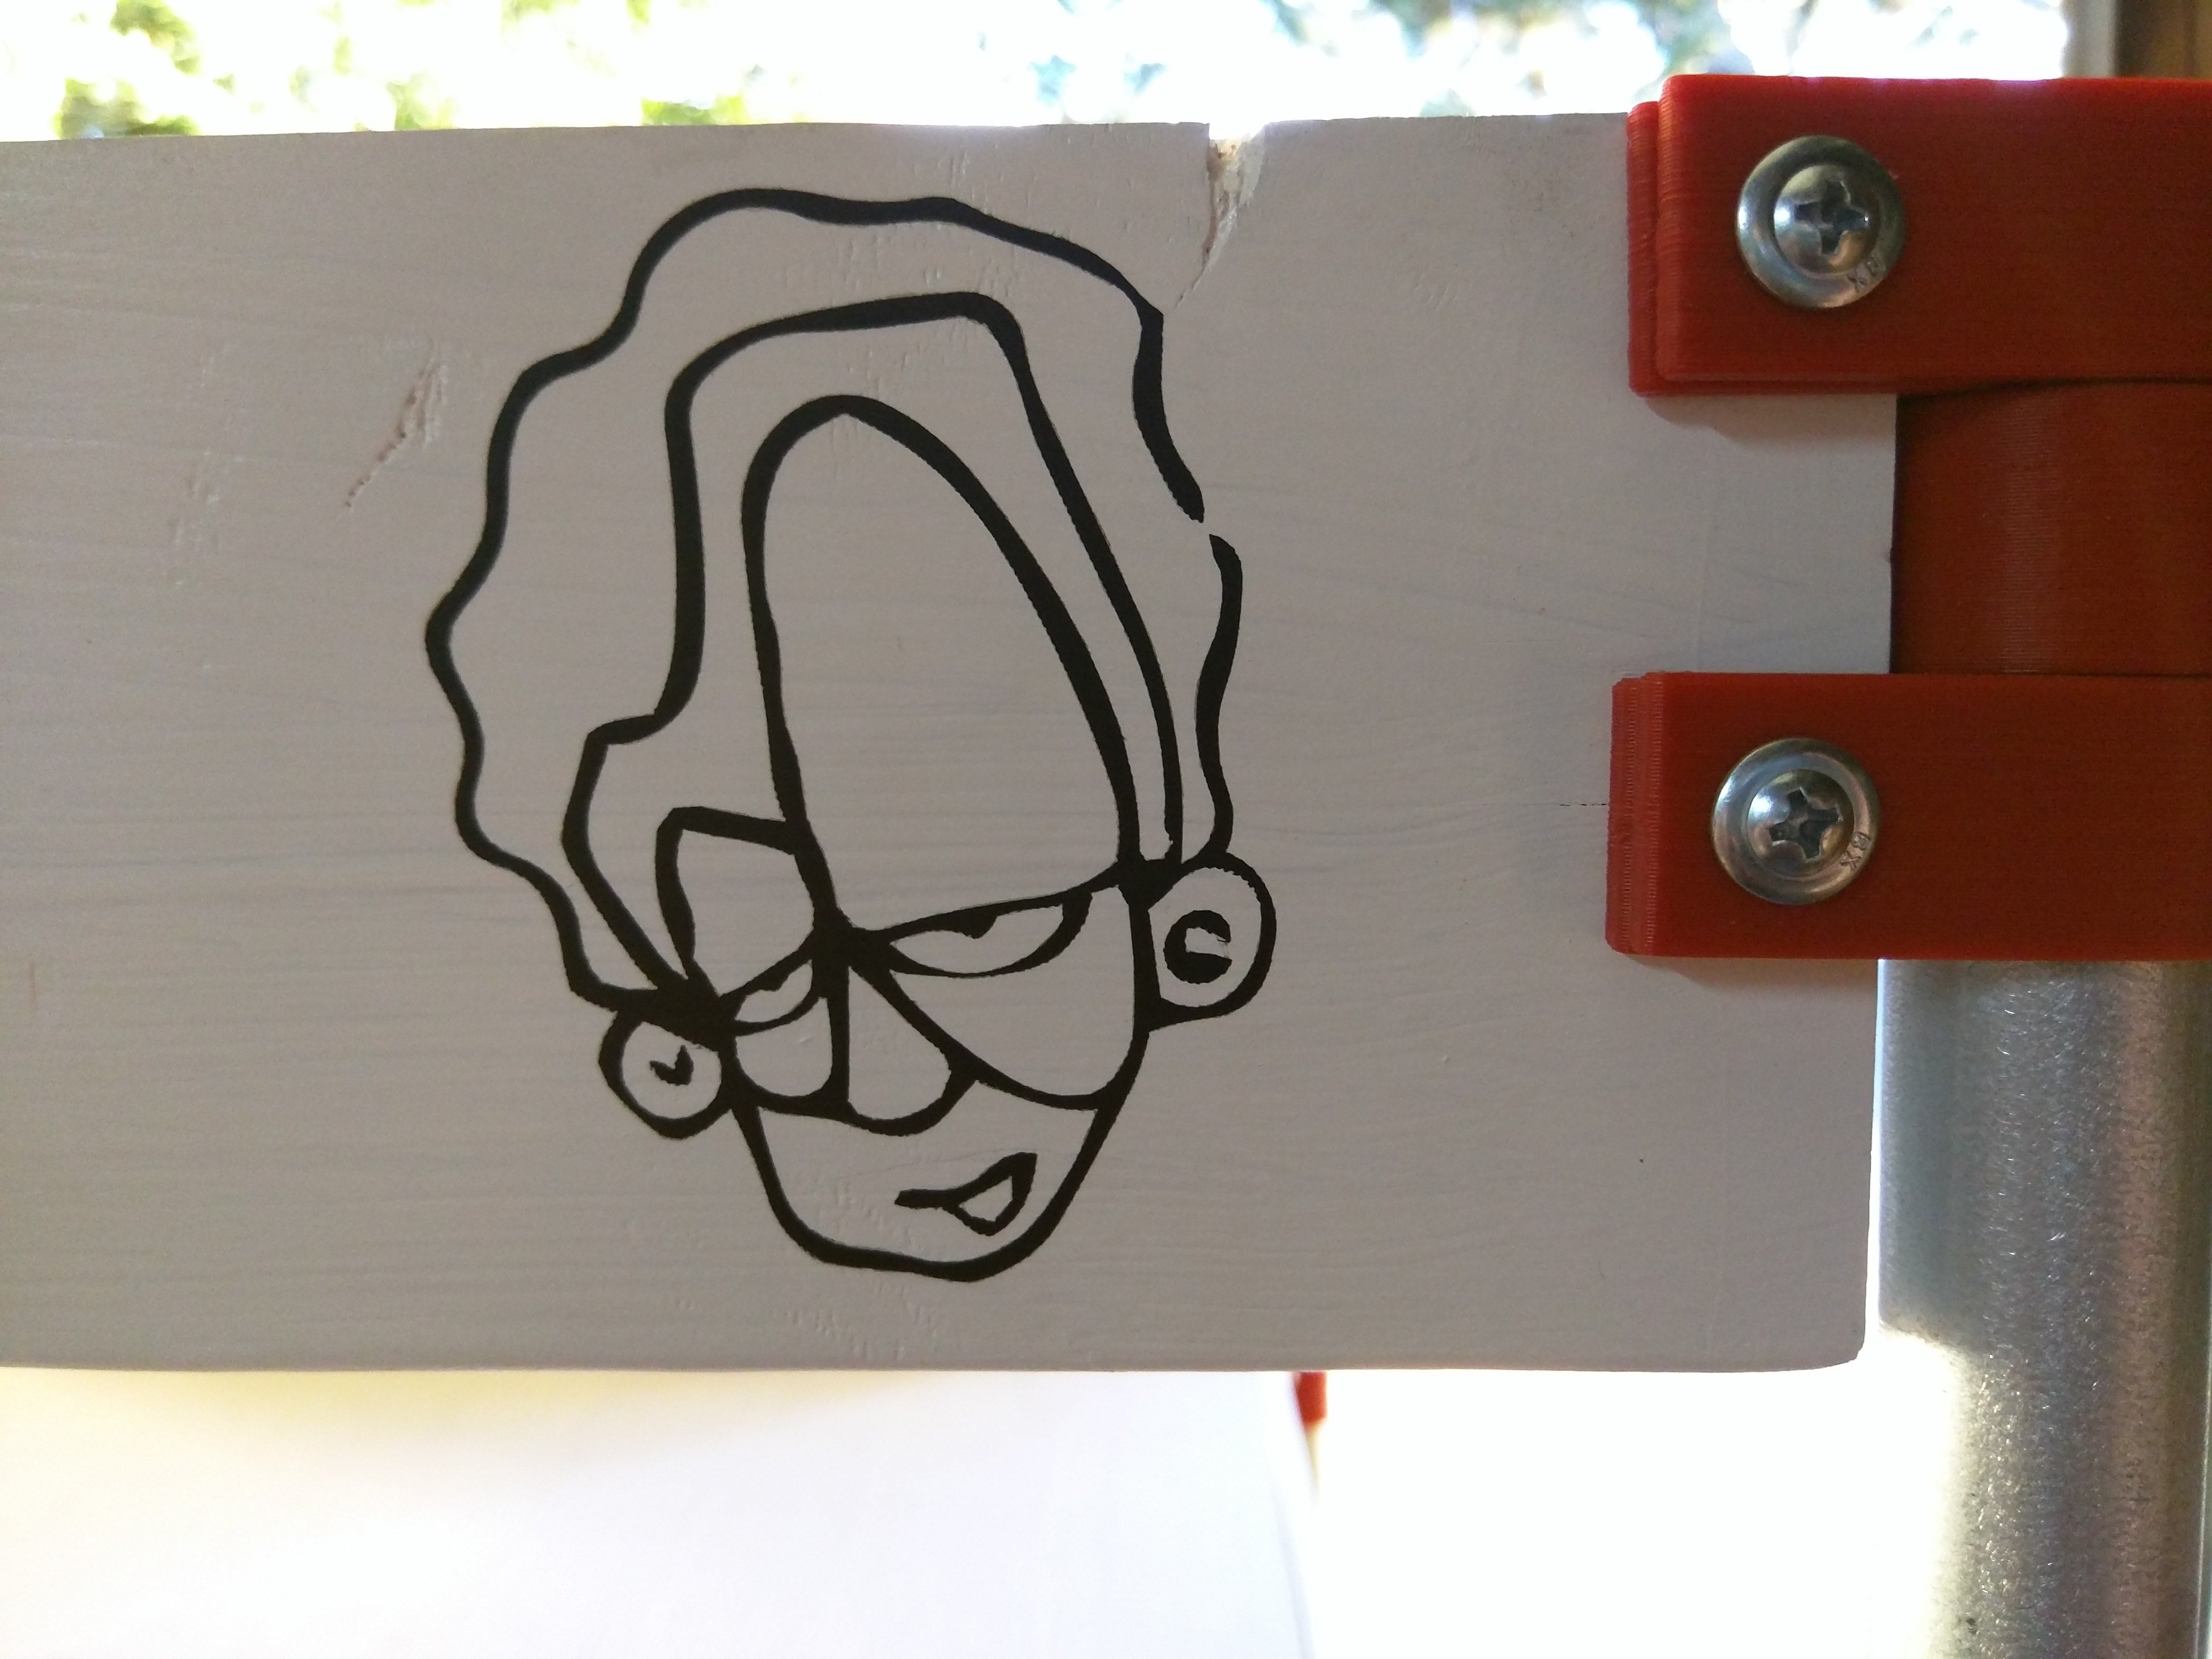
- Try and hold the cutter as perpendicular to the work material as possible and draw a circle on a hard flat smooth surface, glass or similar.
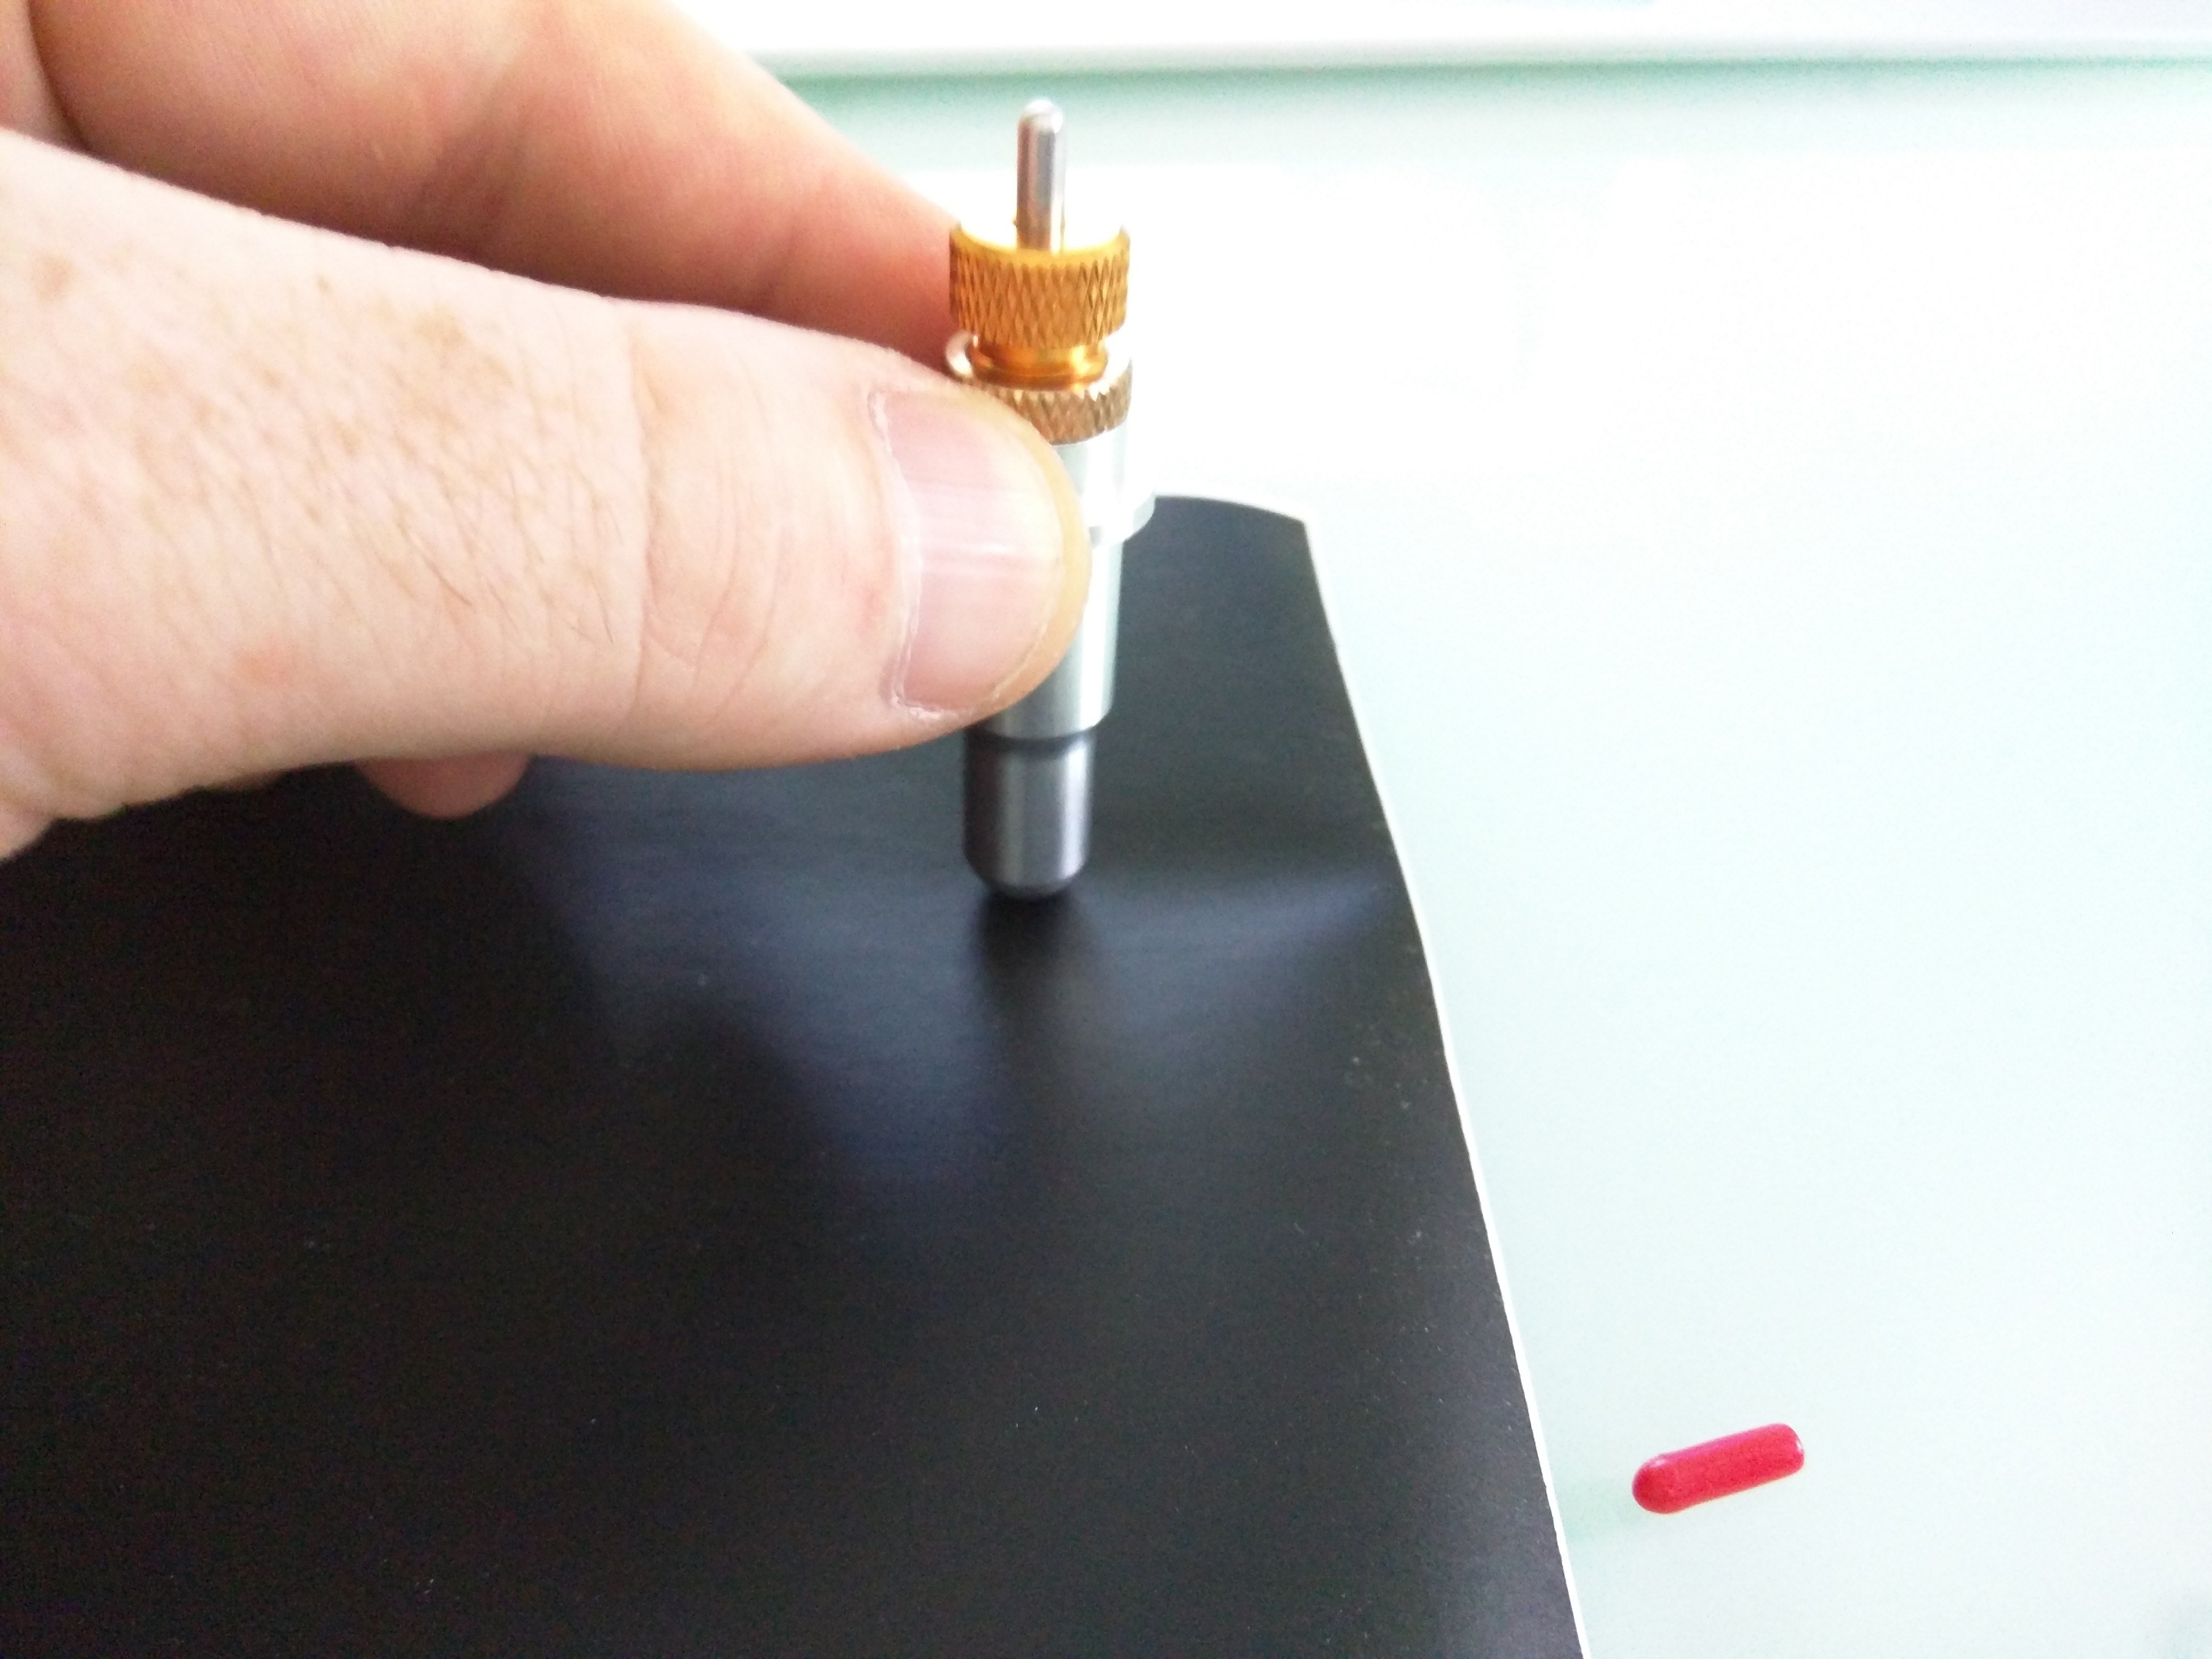
- If you go through the paper like the second photo you are much too deep, adjust the blade and locking ring again.
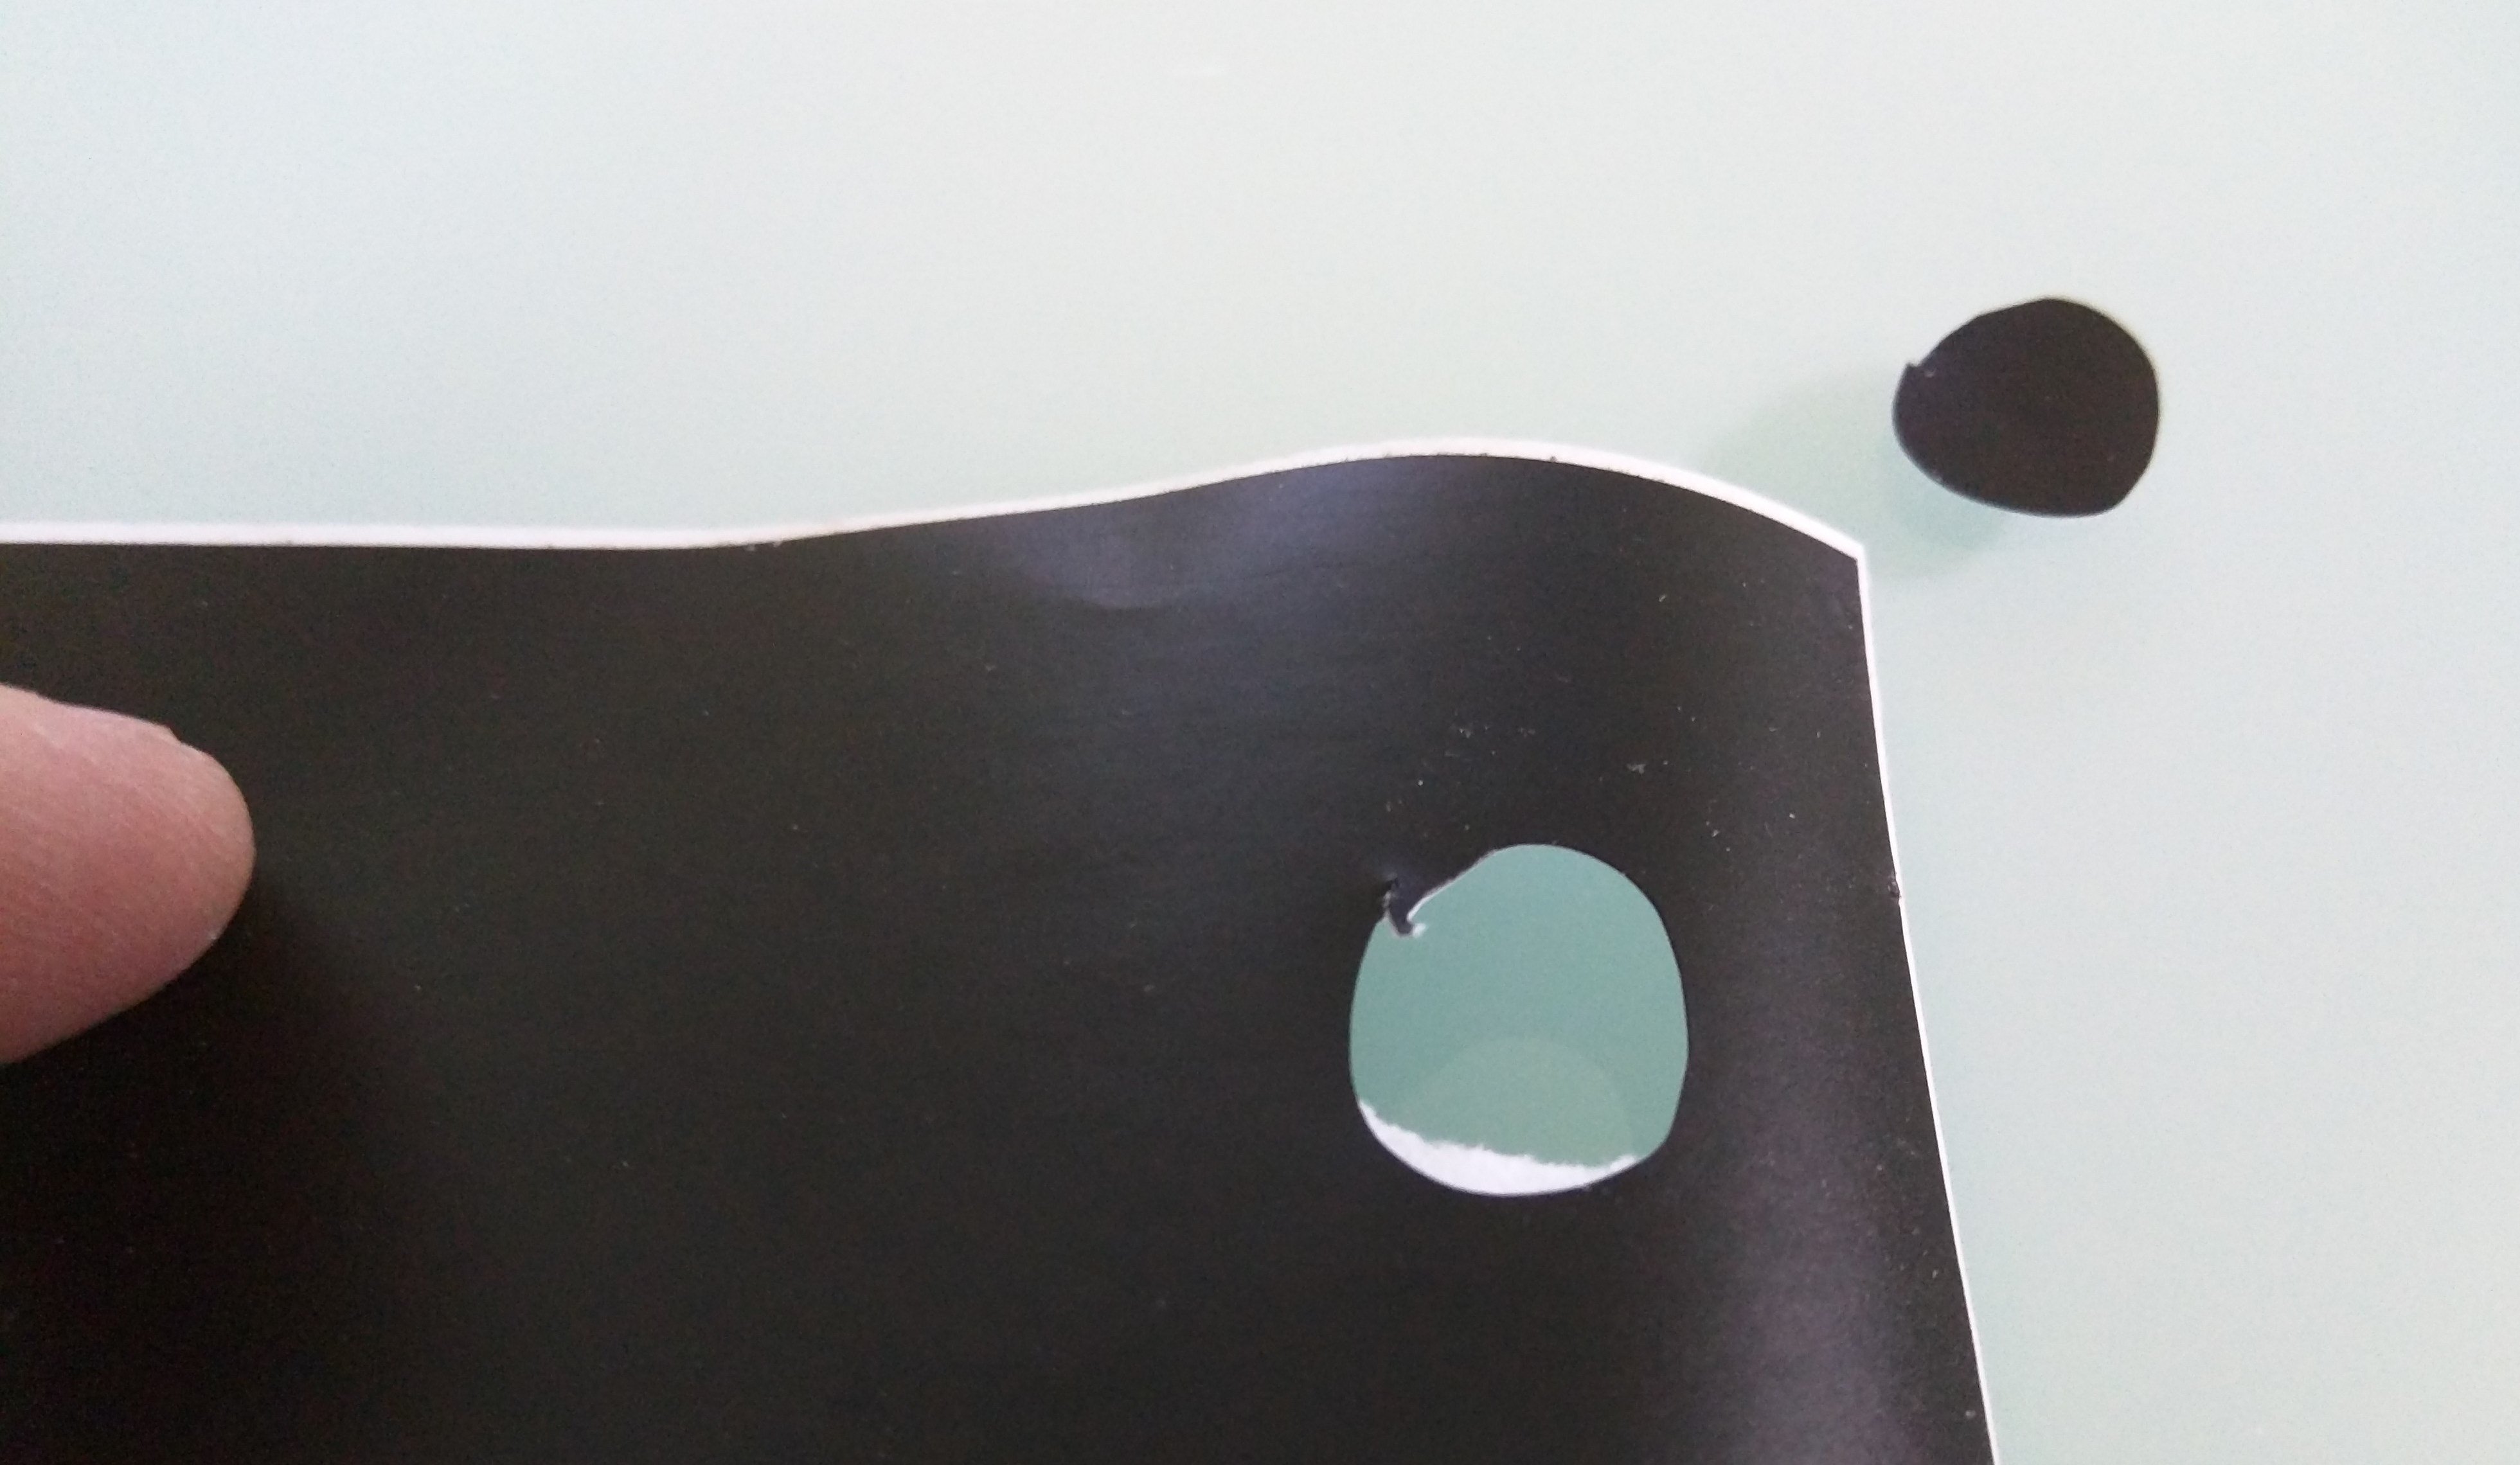
- Keep adjusting and drawing circles to get the depth right.
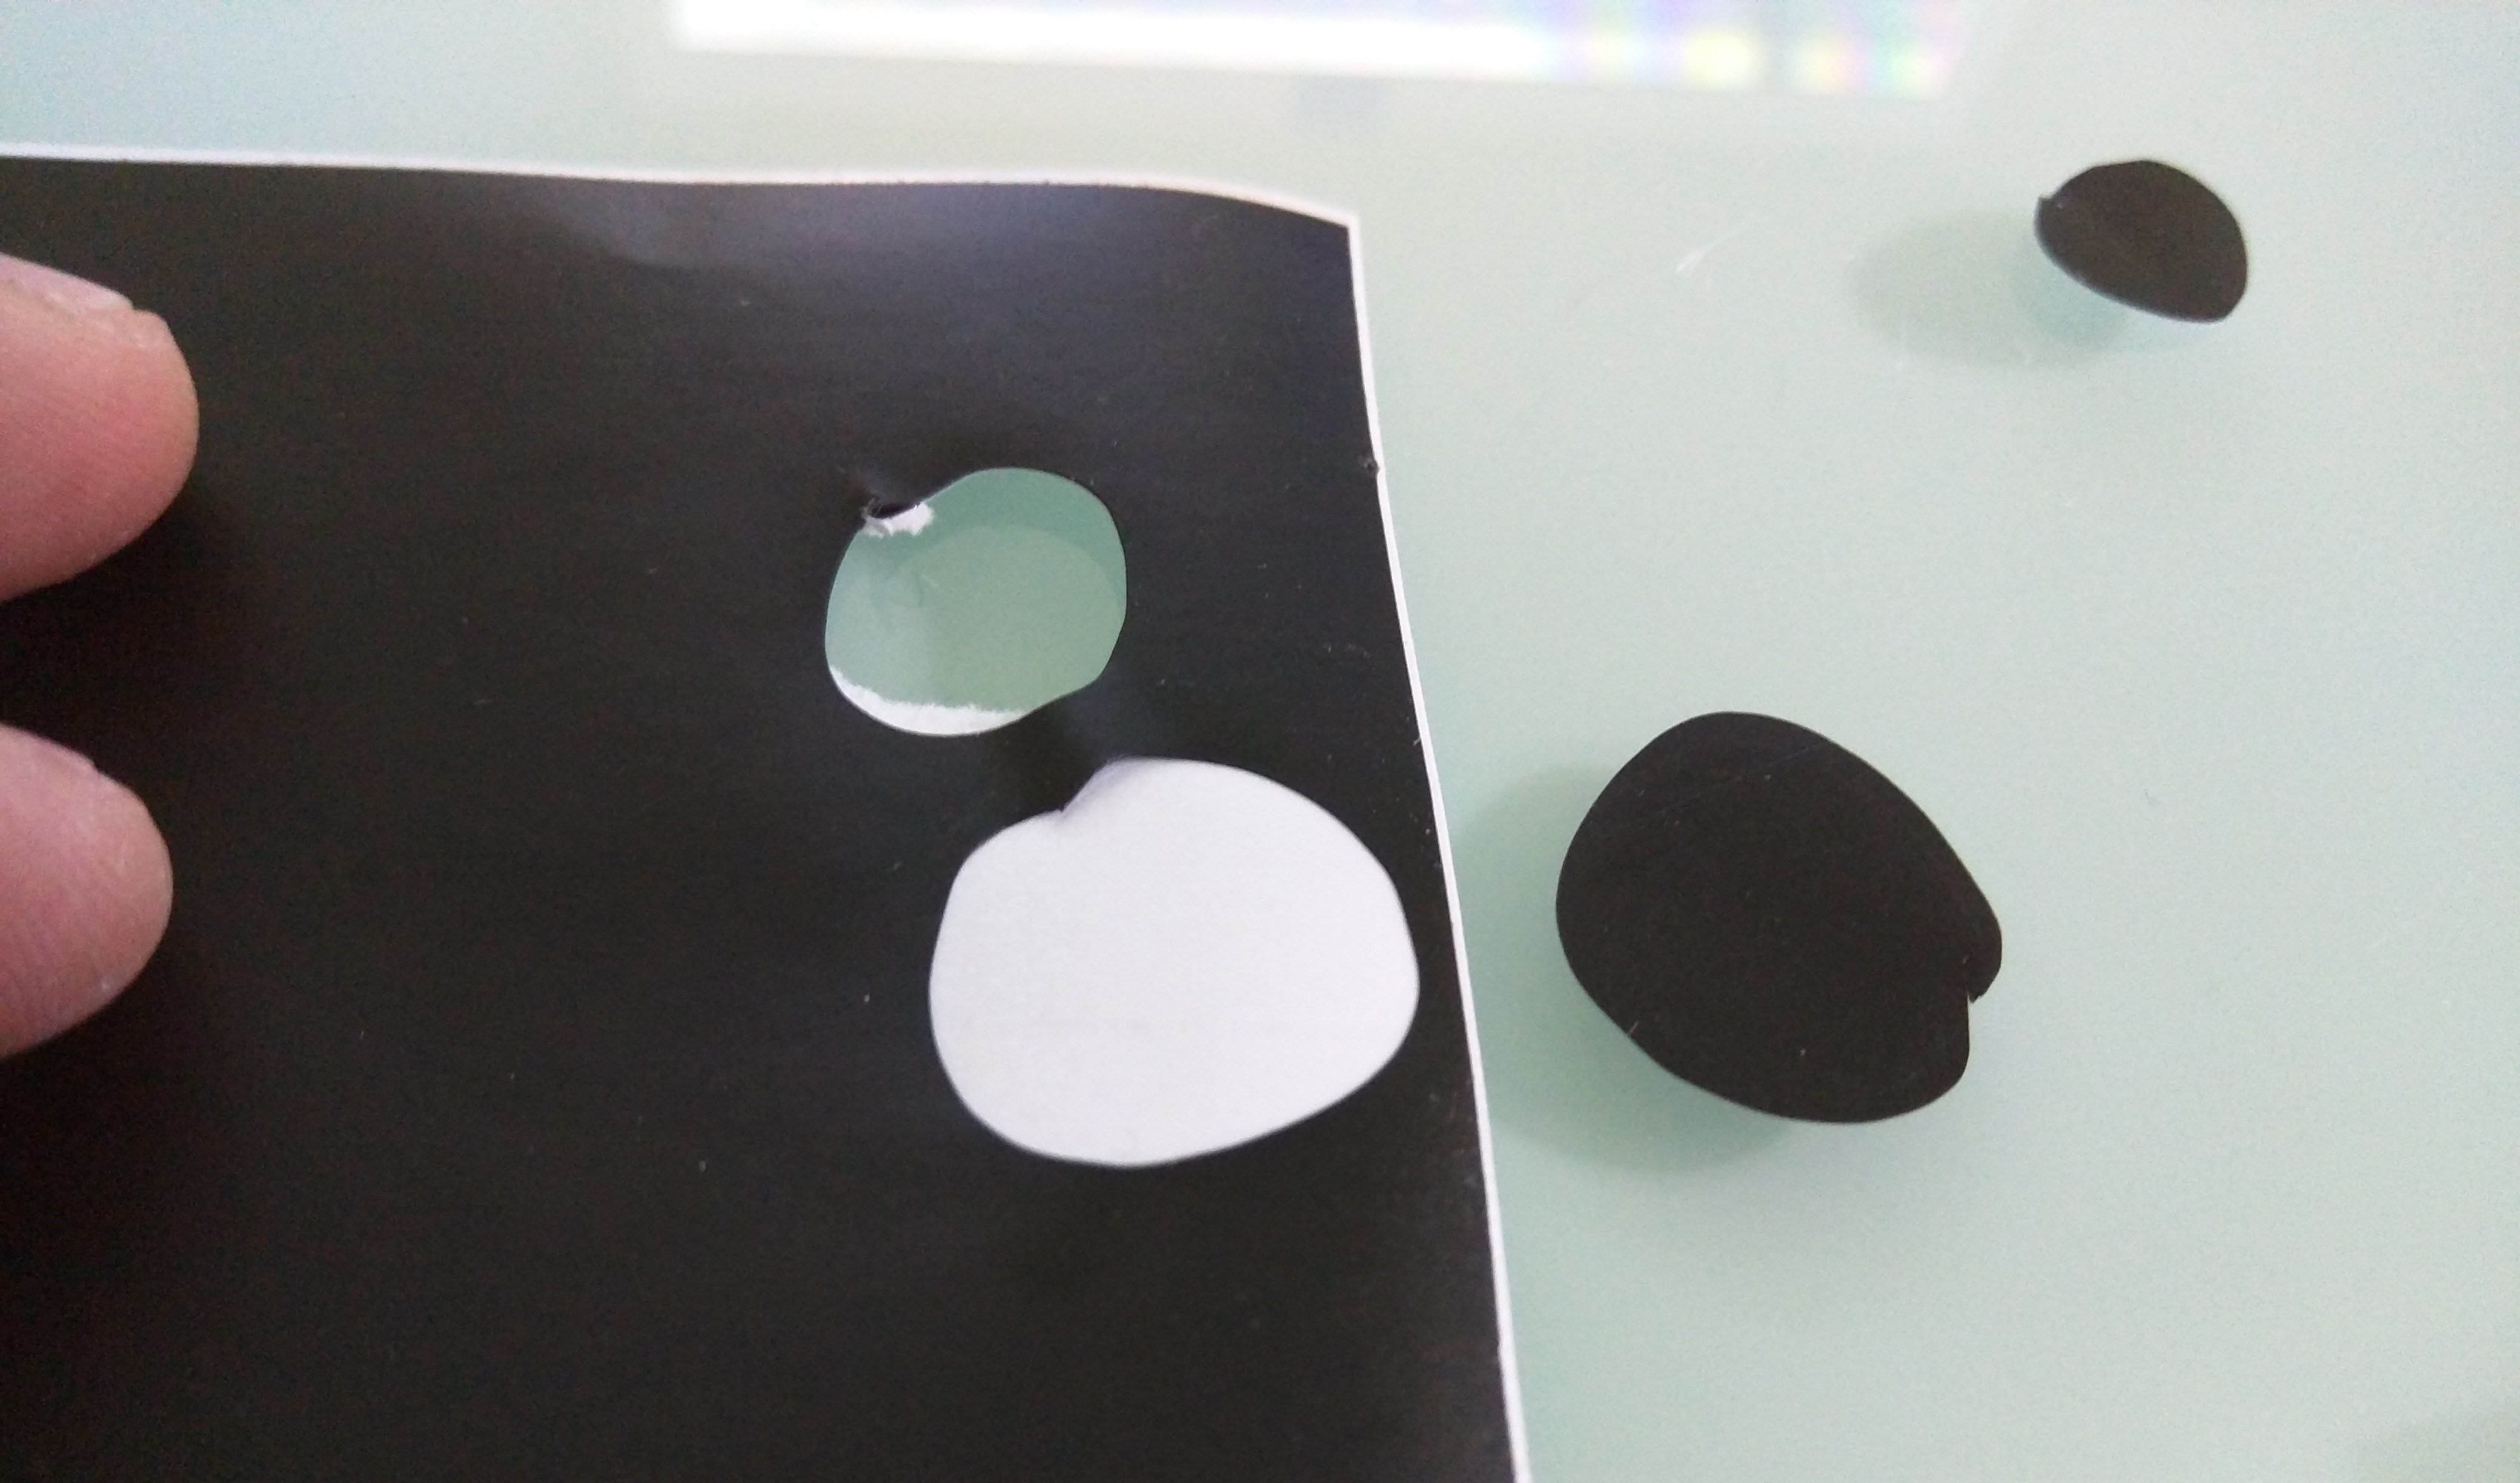
- The third picture looks close, but if you look at the paper backing in the 4th picture it is still a bit too deep.
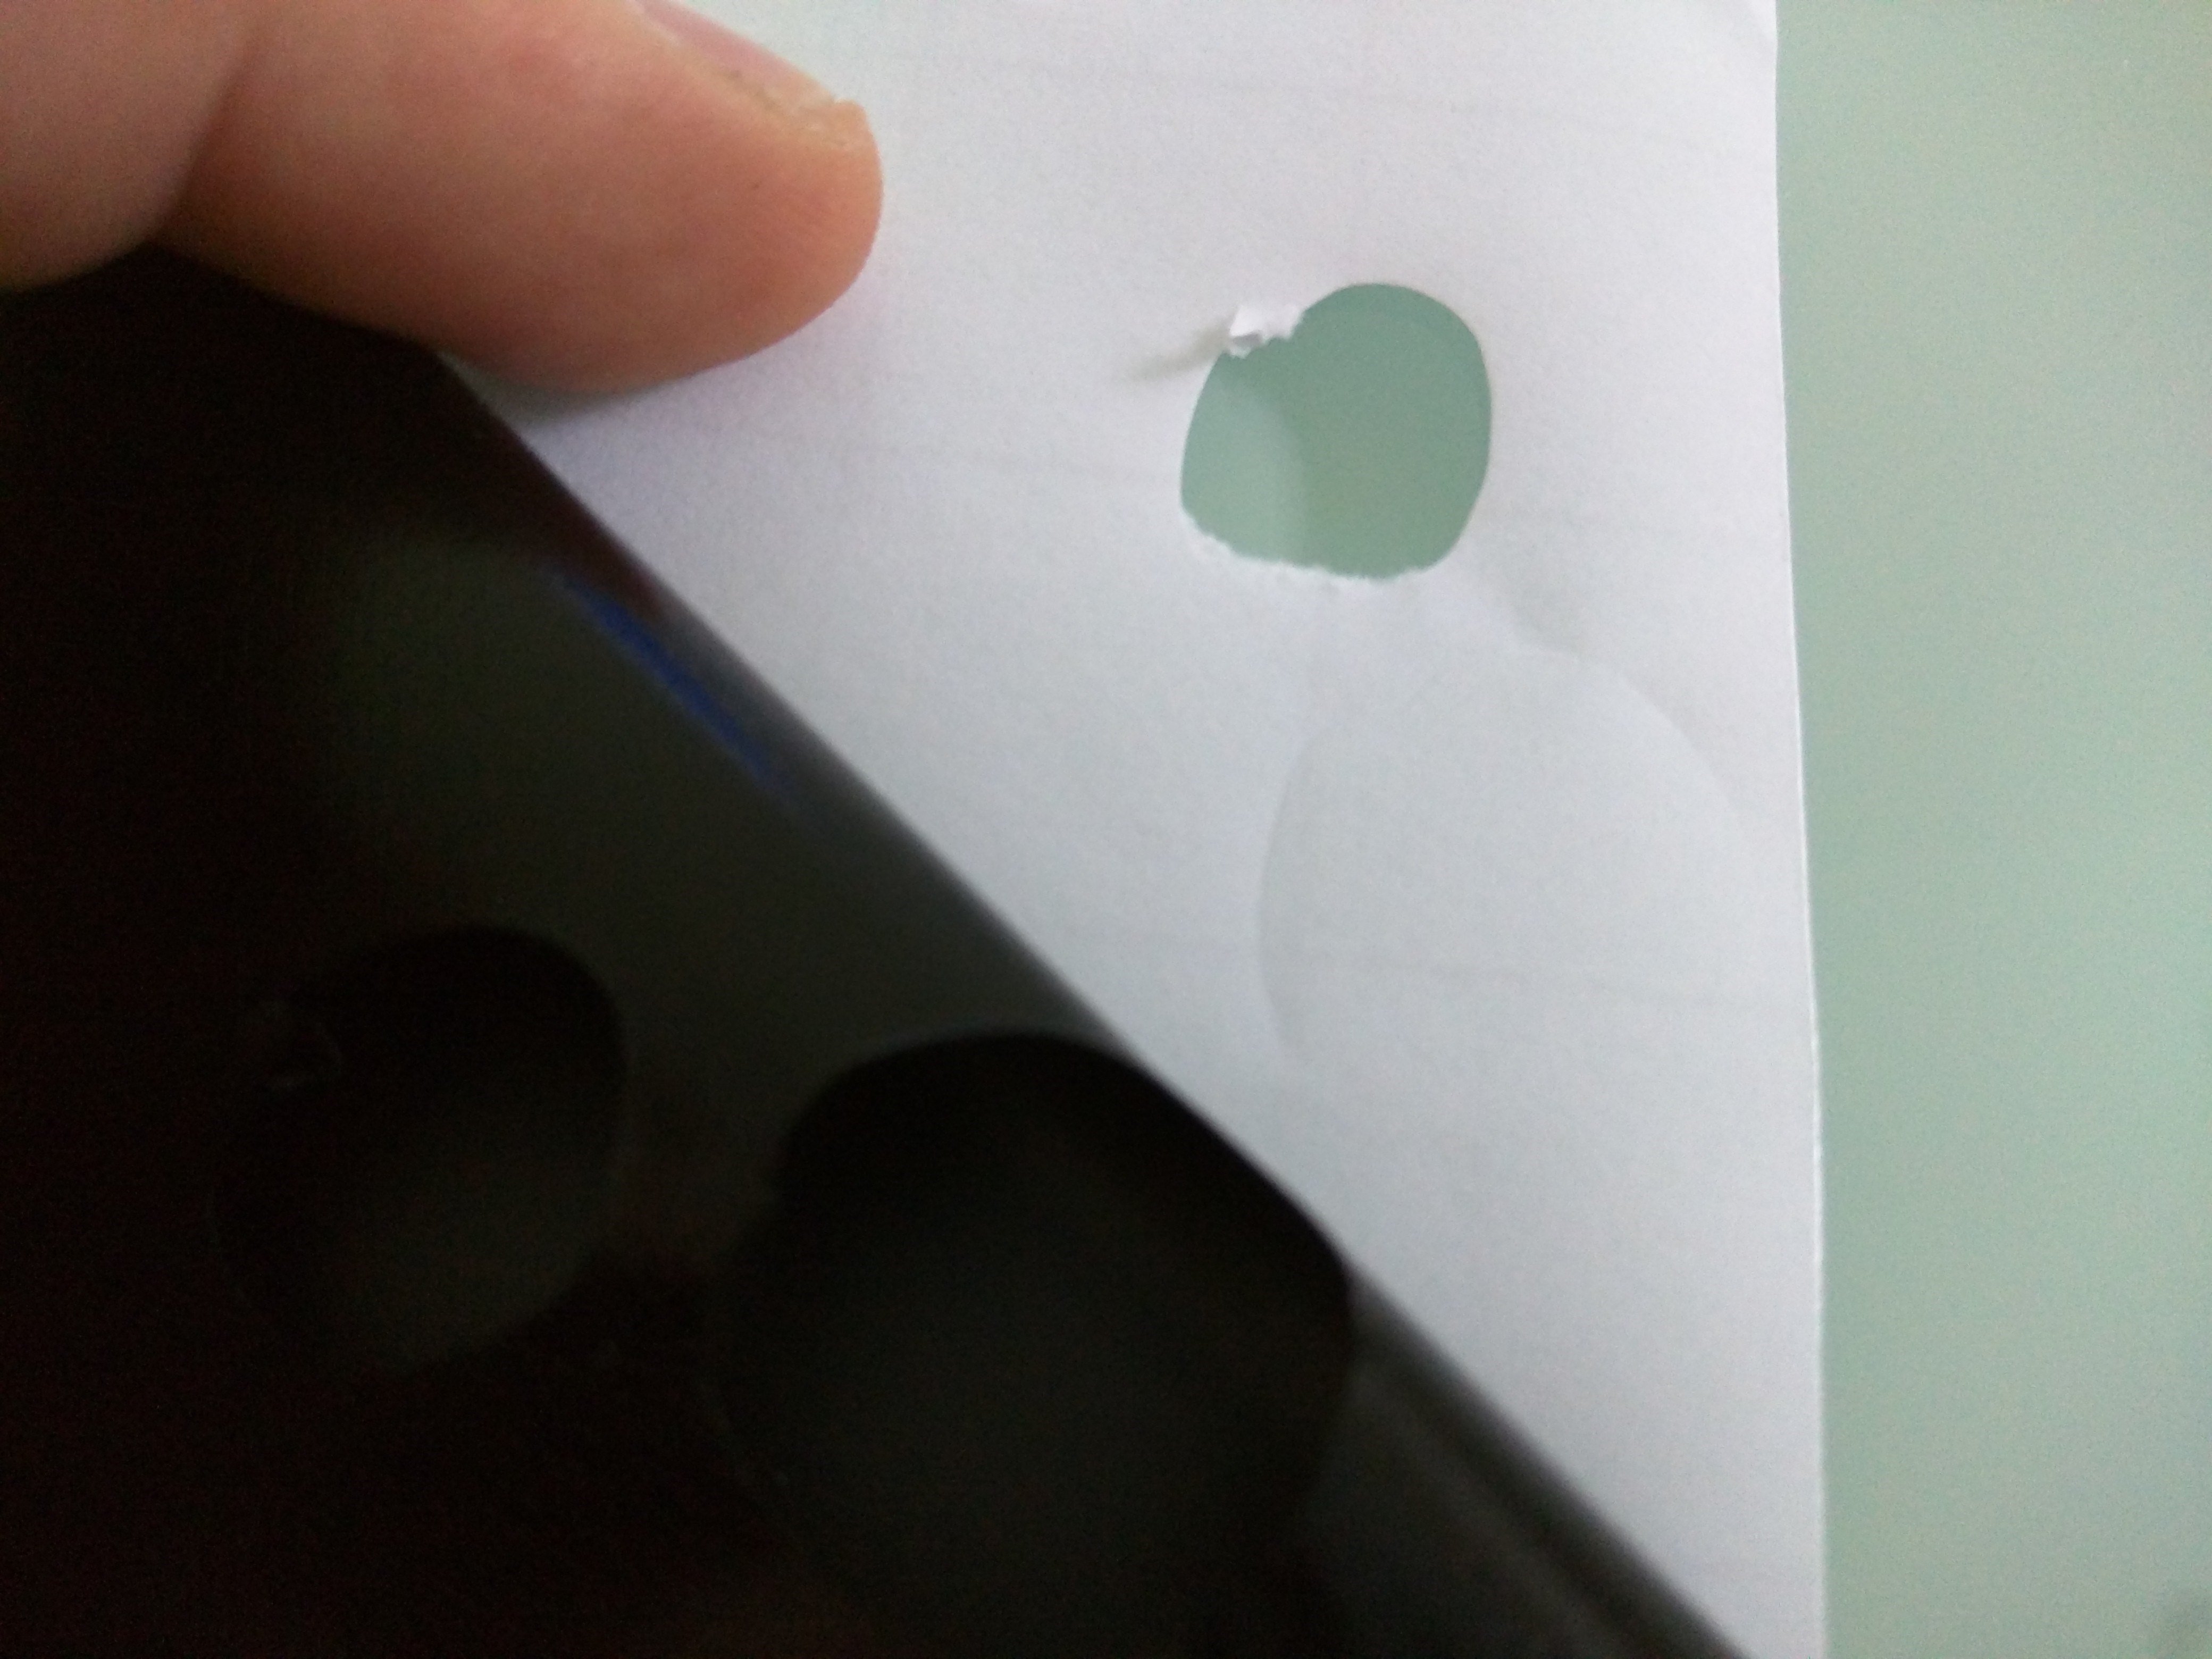
Ideal Depth
- What you are looking for is all the way through the material and a slight dent in the paper backing, but not a cut. It can be tricky if you have never done it before but with a little practice it only takes a try or two.
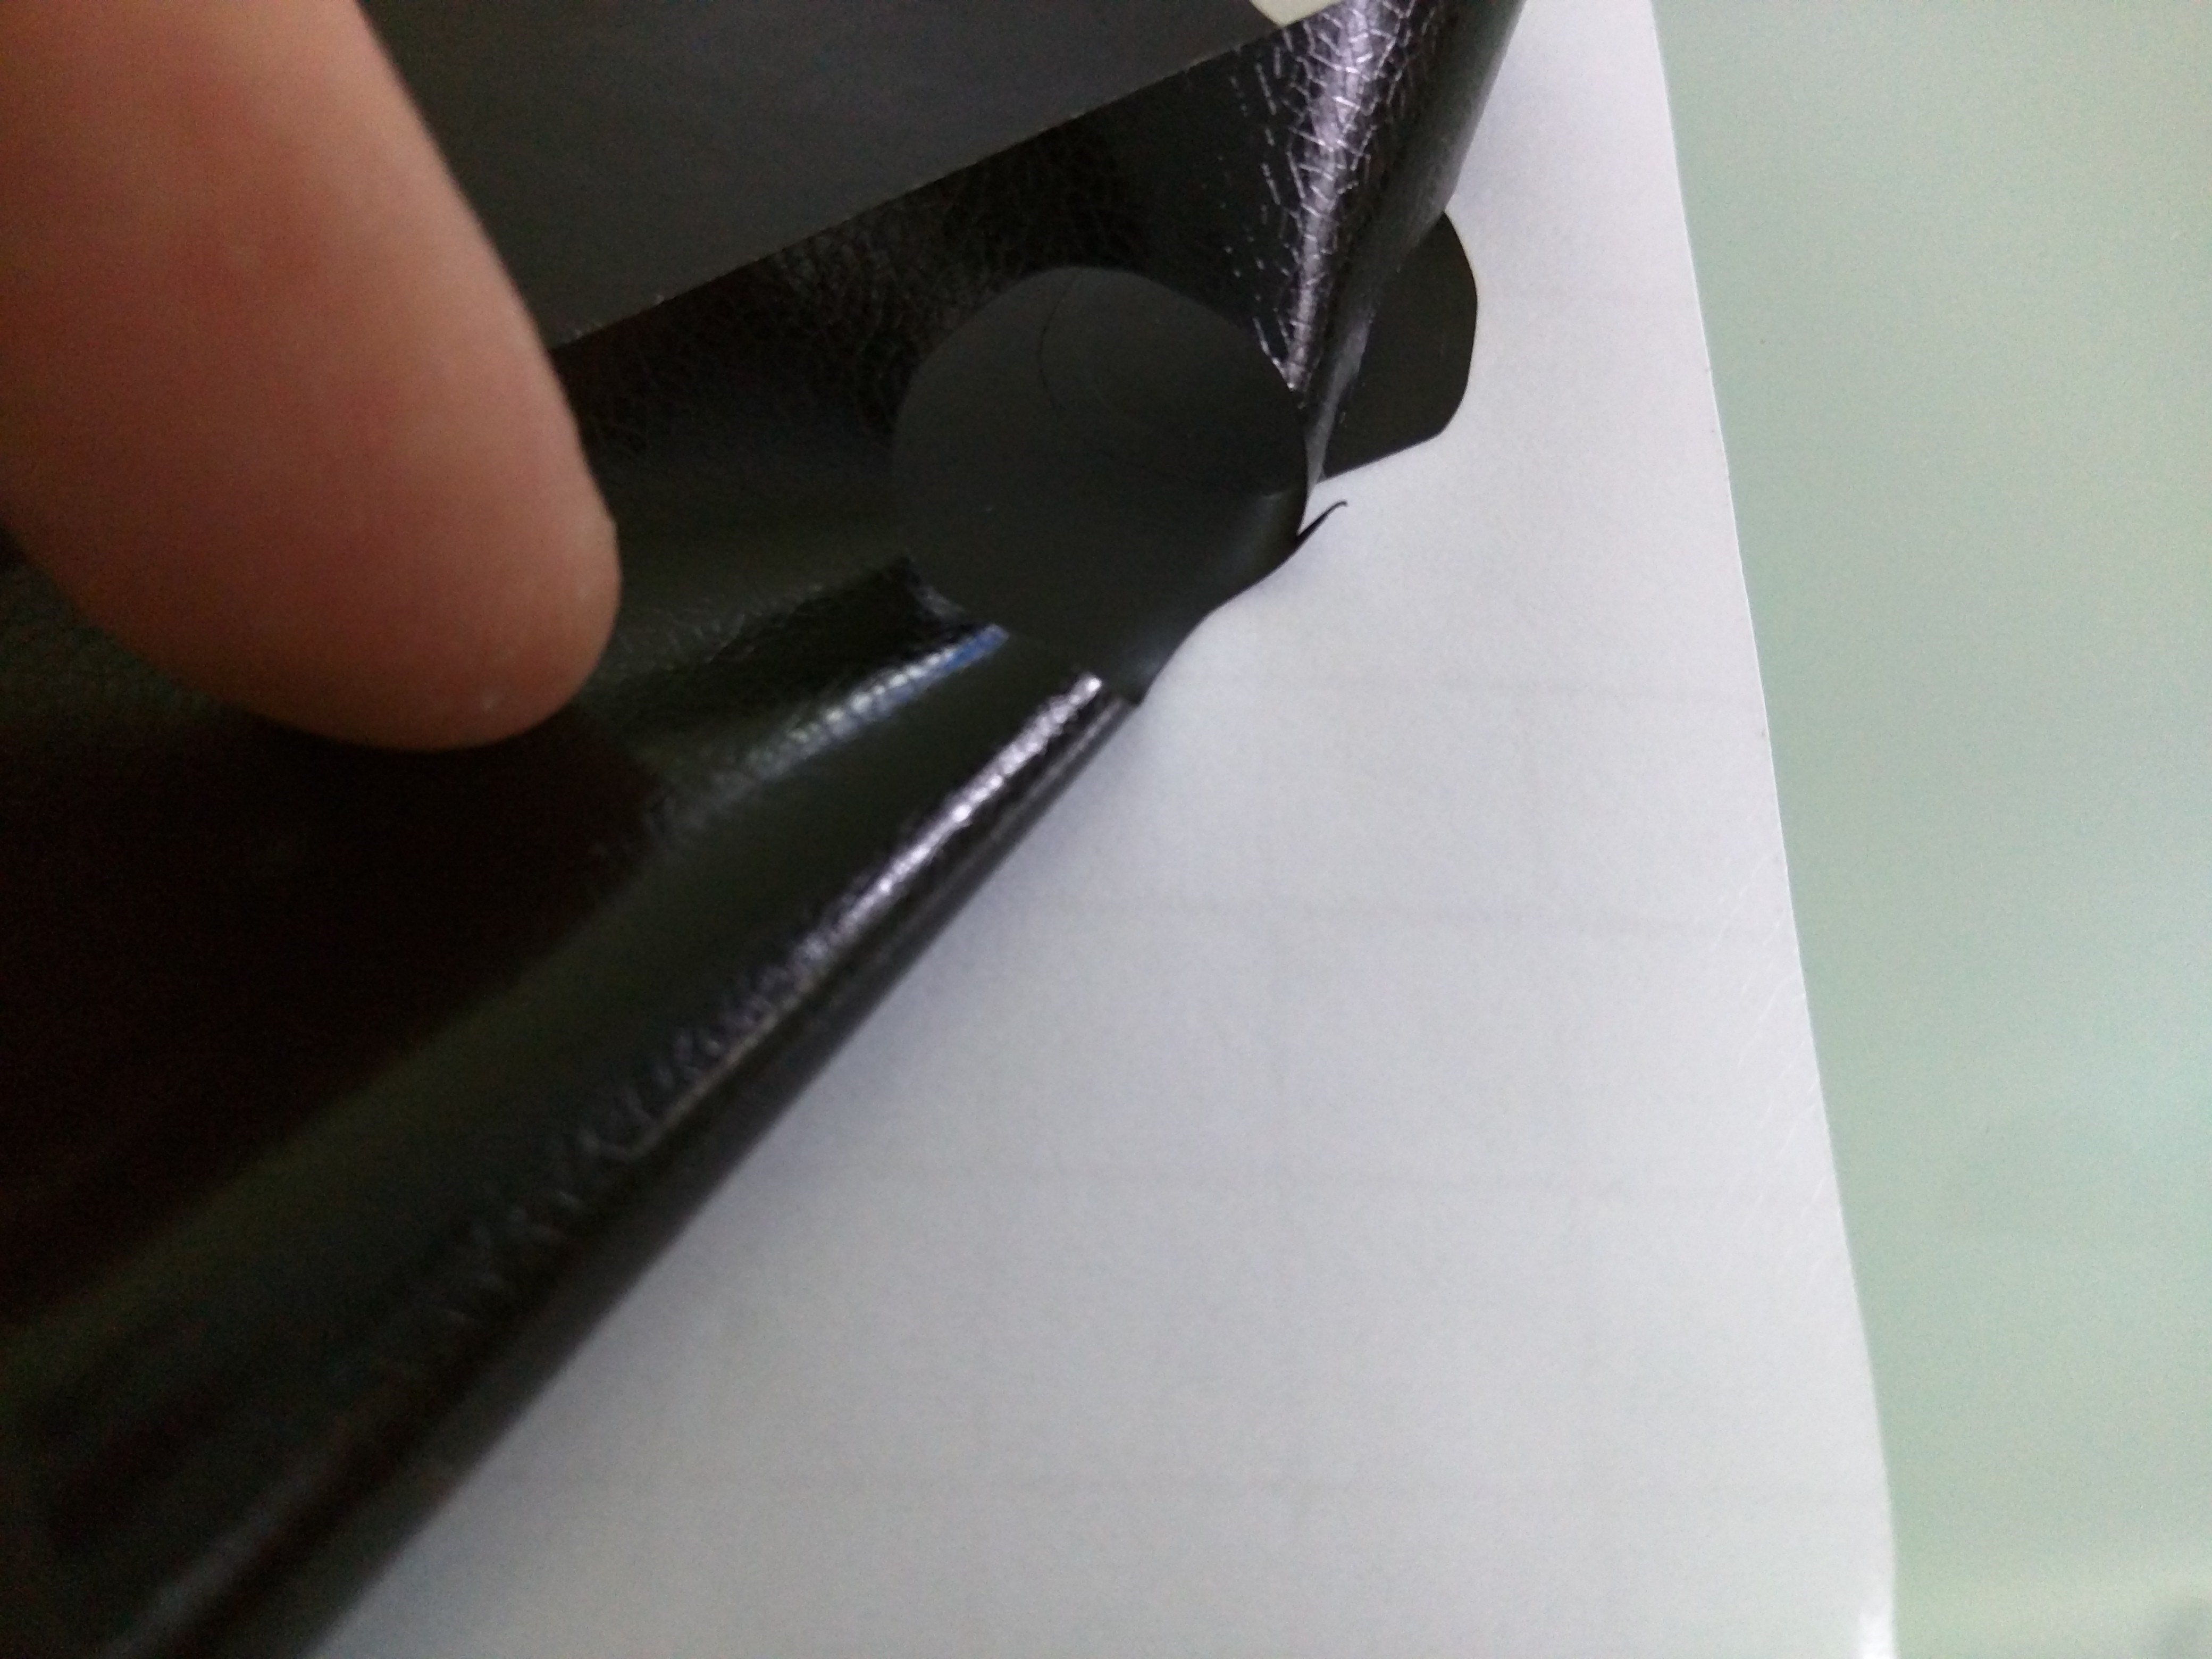
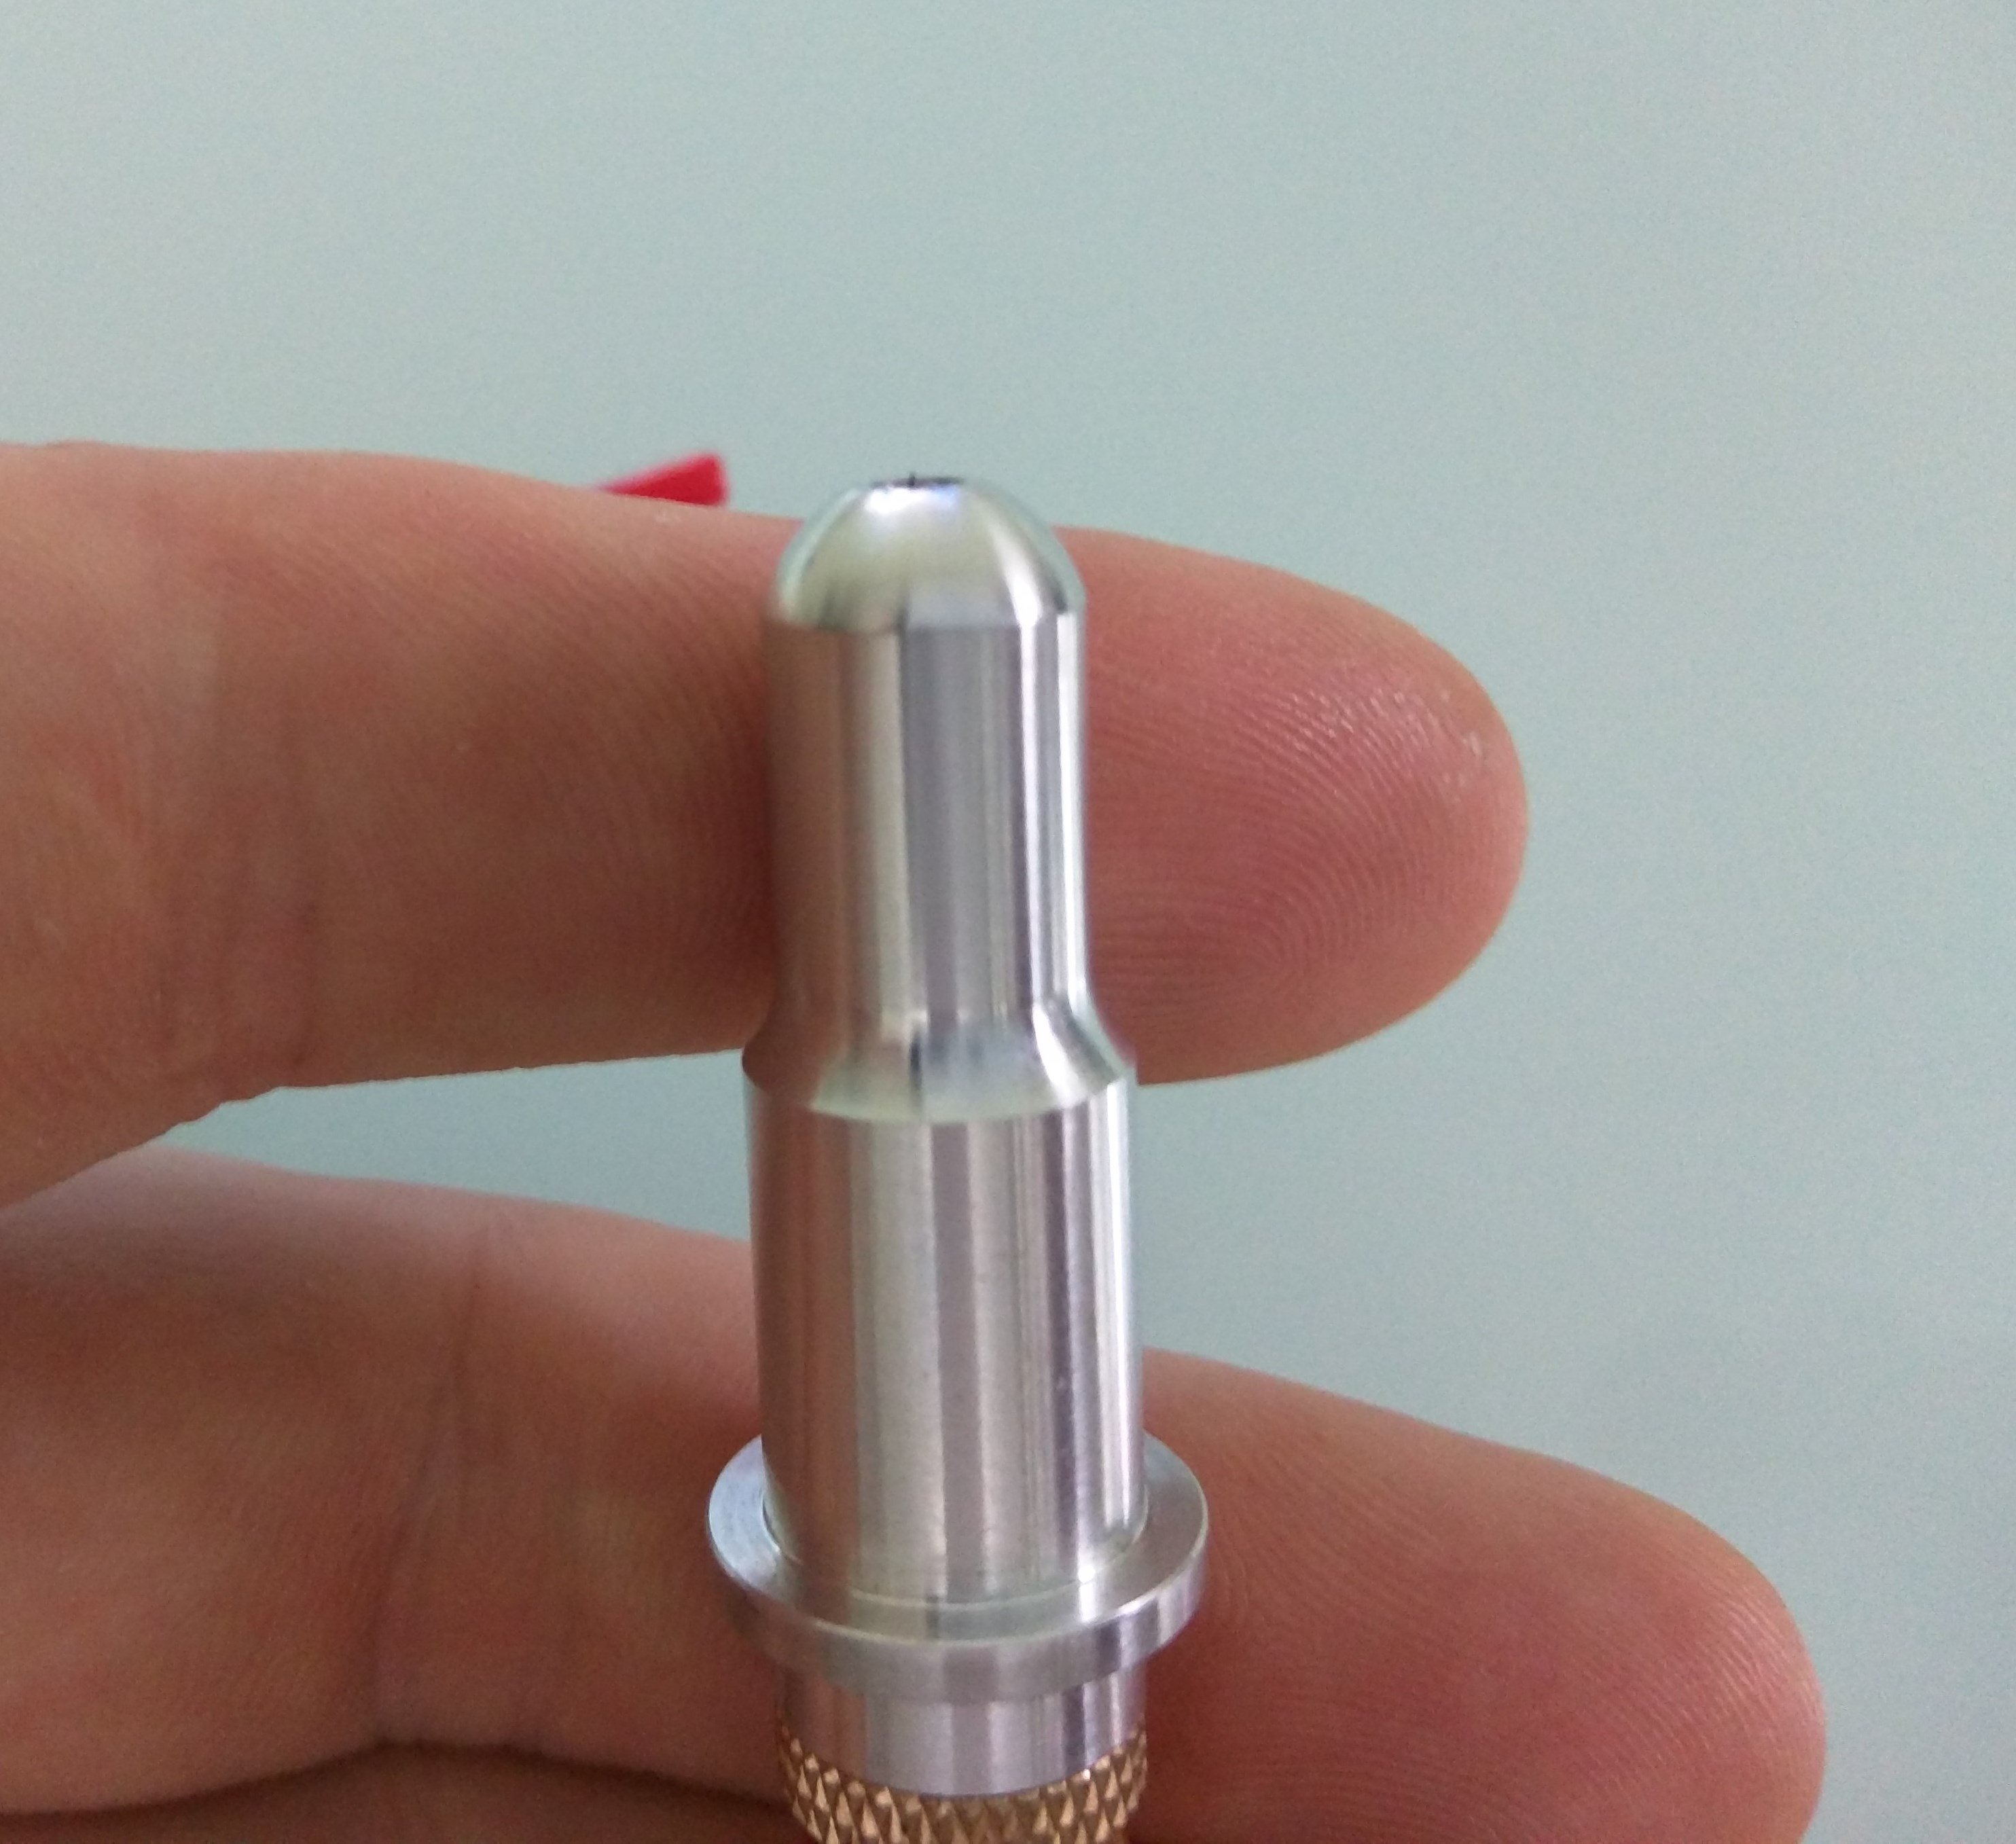
- The blade is barely visible.
- The depth will change depending on your material, but you are always looking to just barely leave a mark on the carrier material.
The Mount
- Now the new fancy mount, http://www.thingiverse.com/thing:1860310.
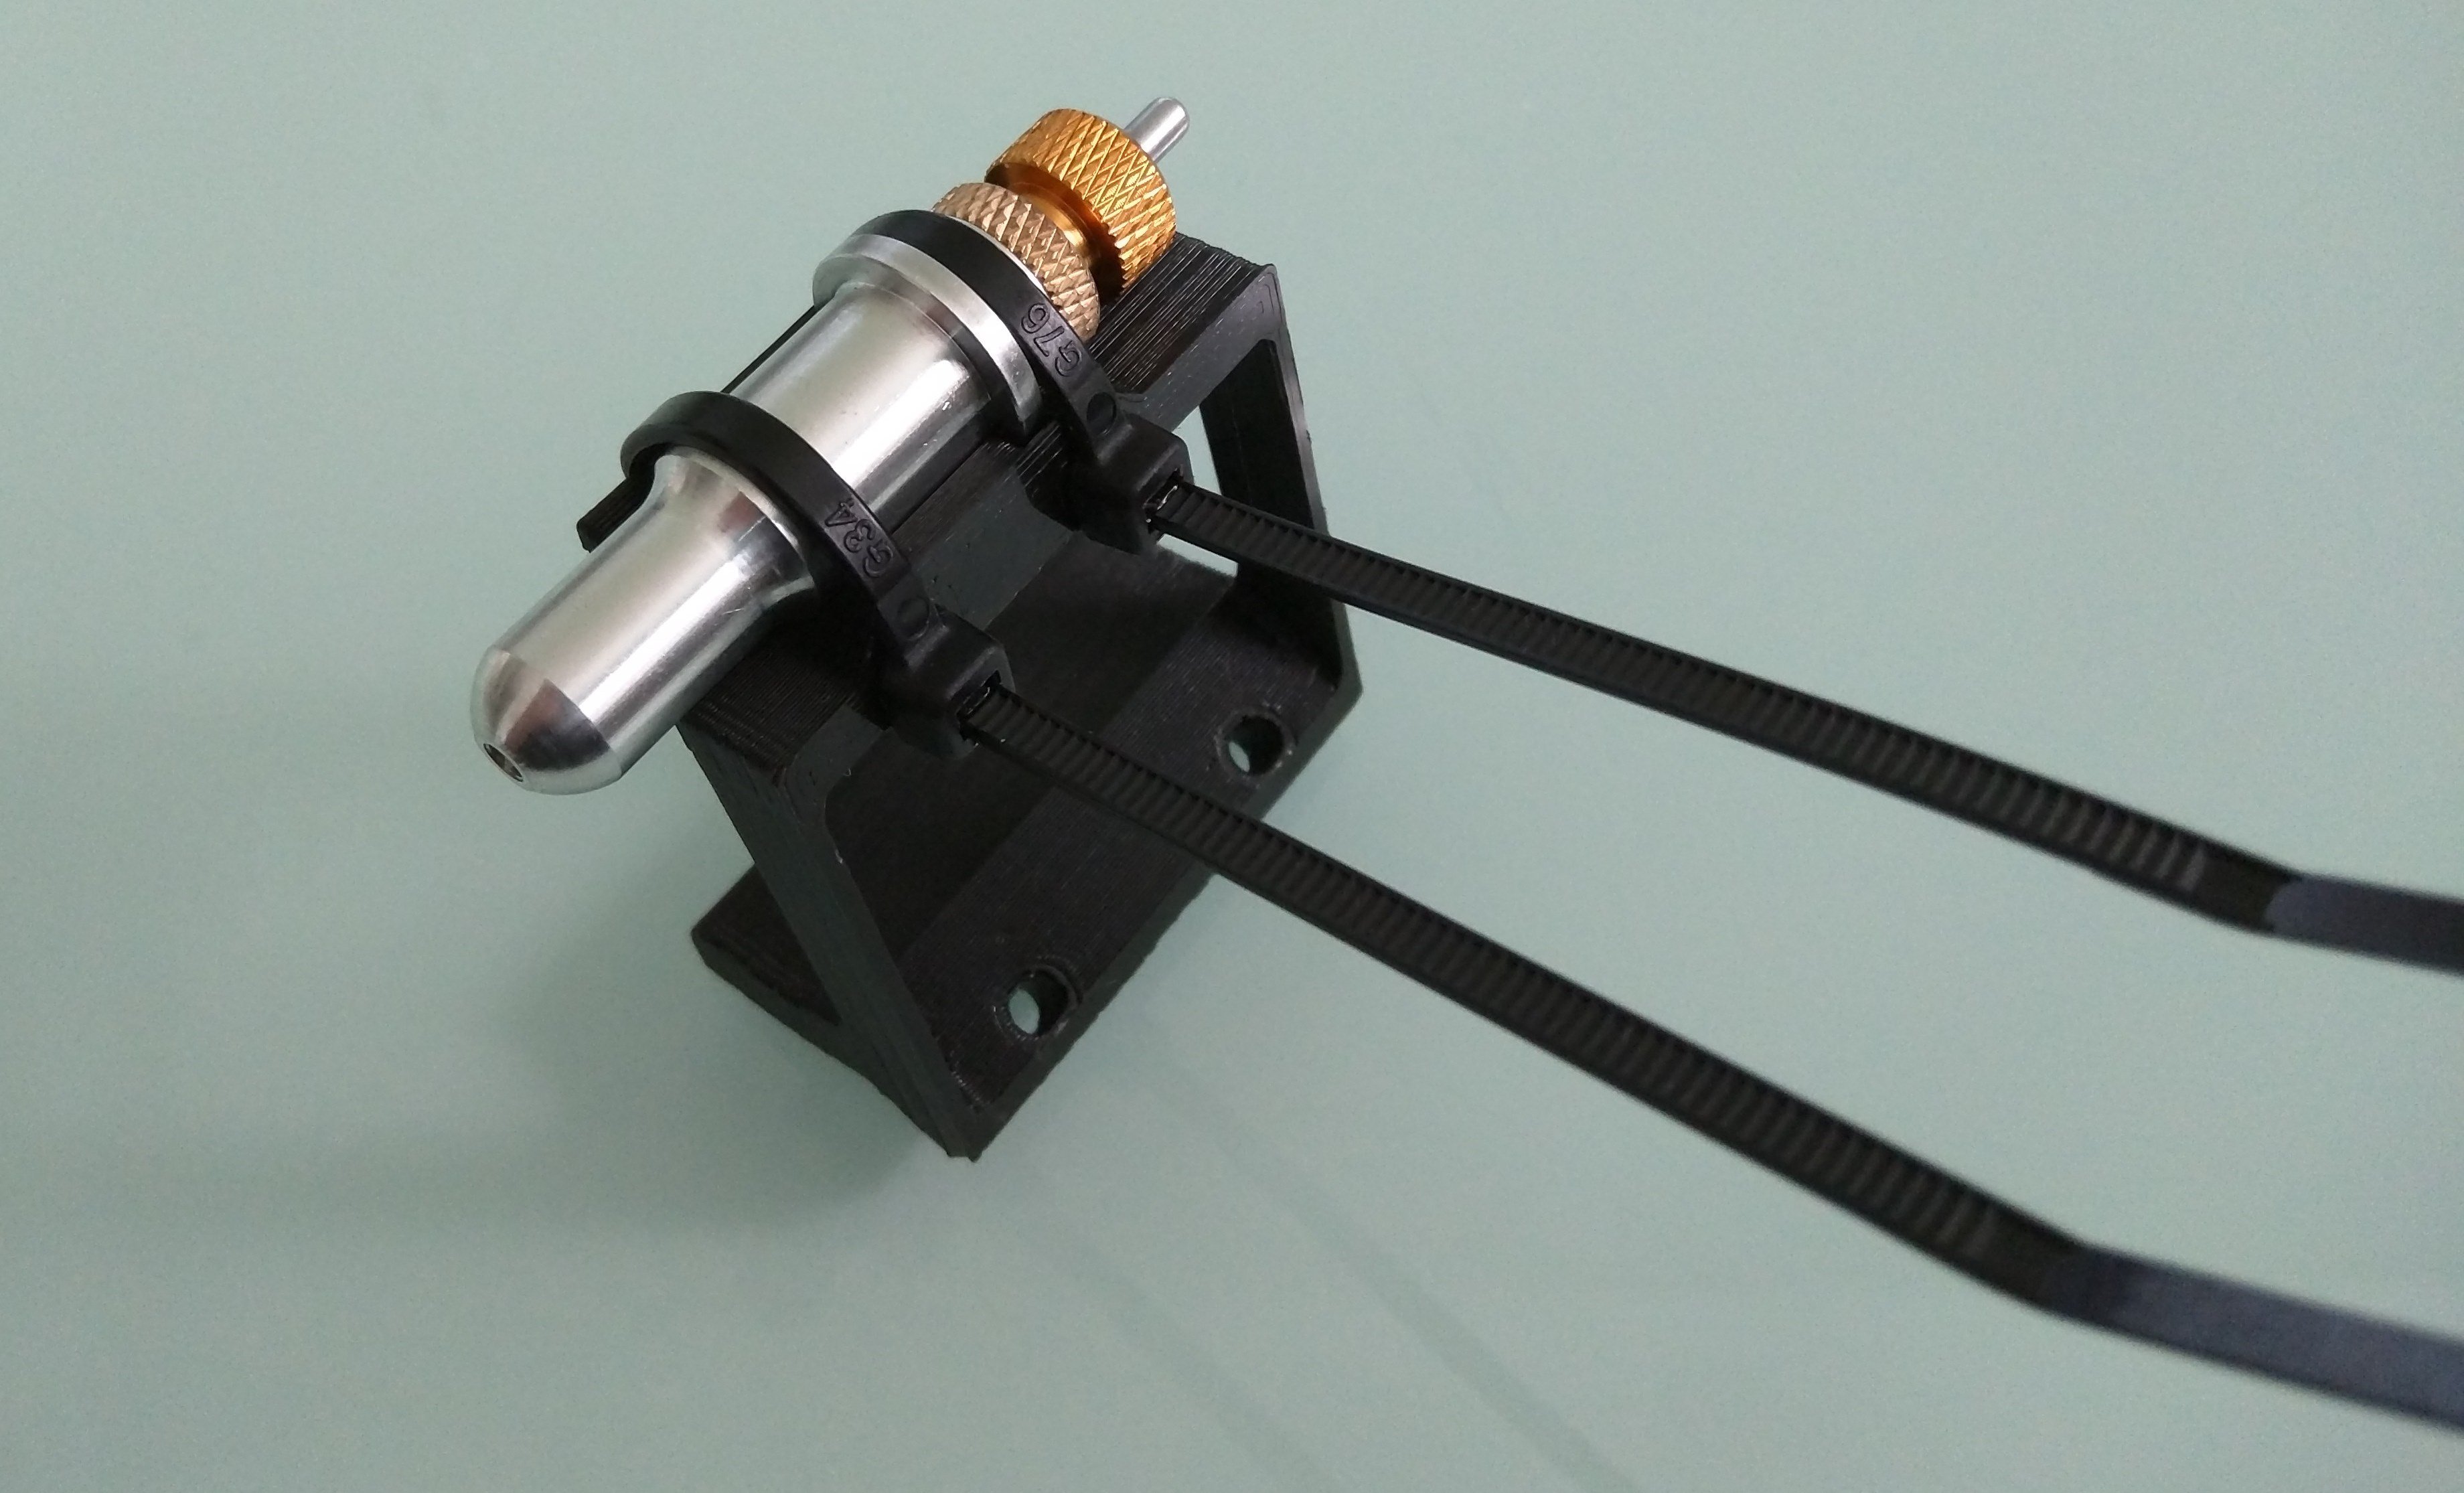
- 2 cable ties is all it needs, positioned as shown. Please clip the ends….pet peeve…
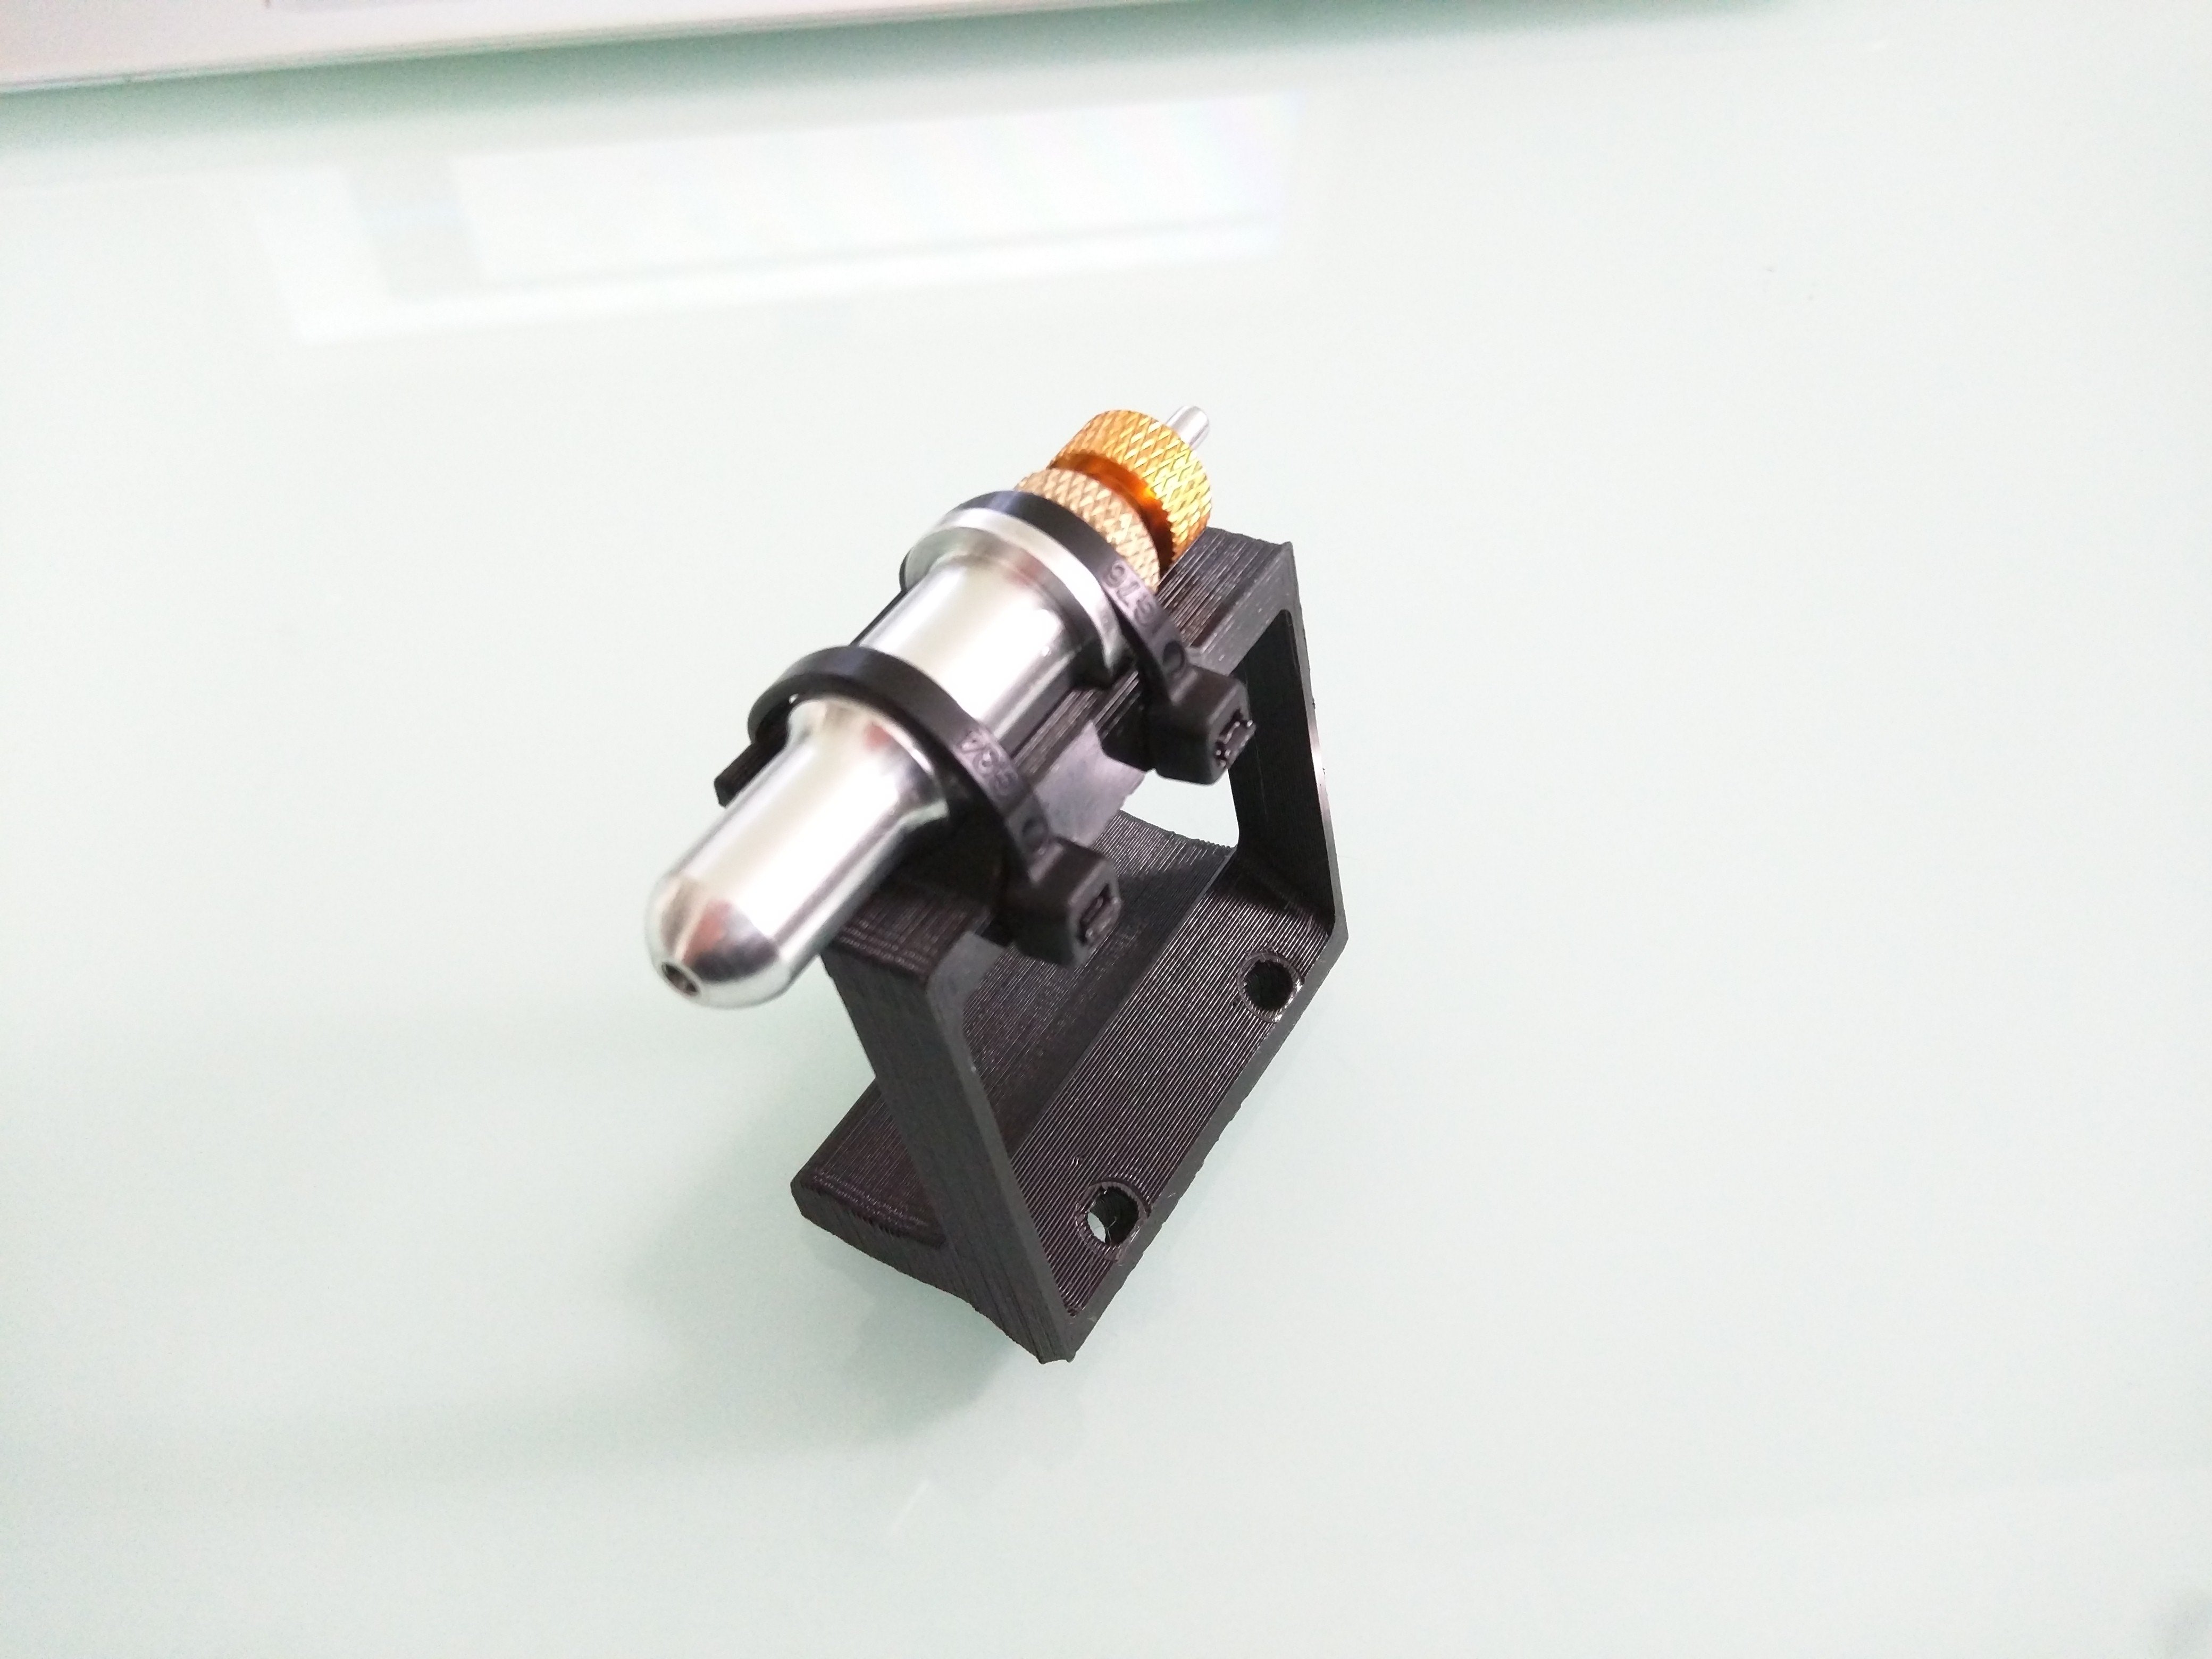
- Two screws on to the MPCNC, ready for action.
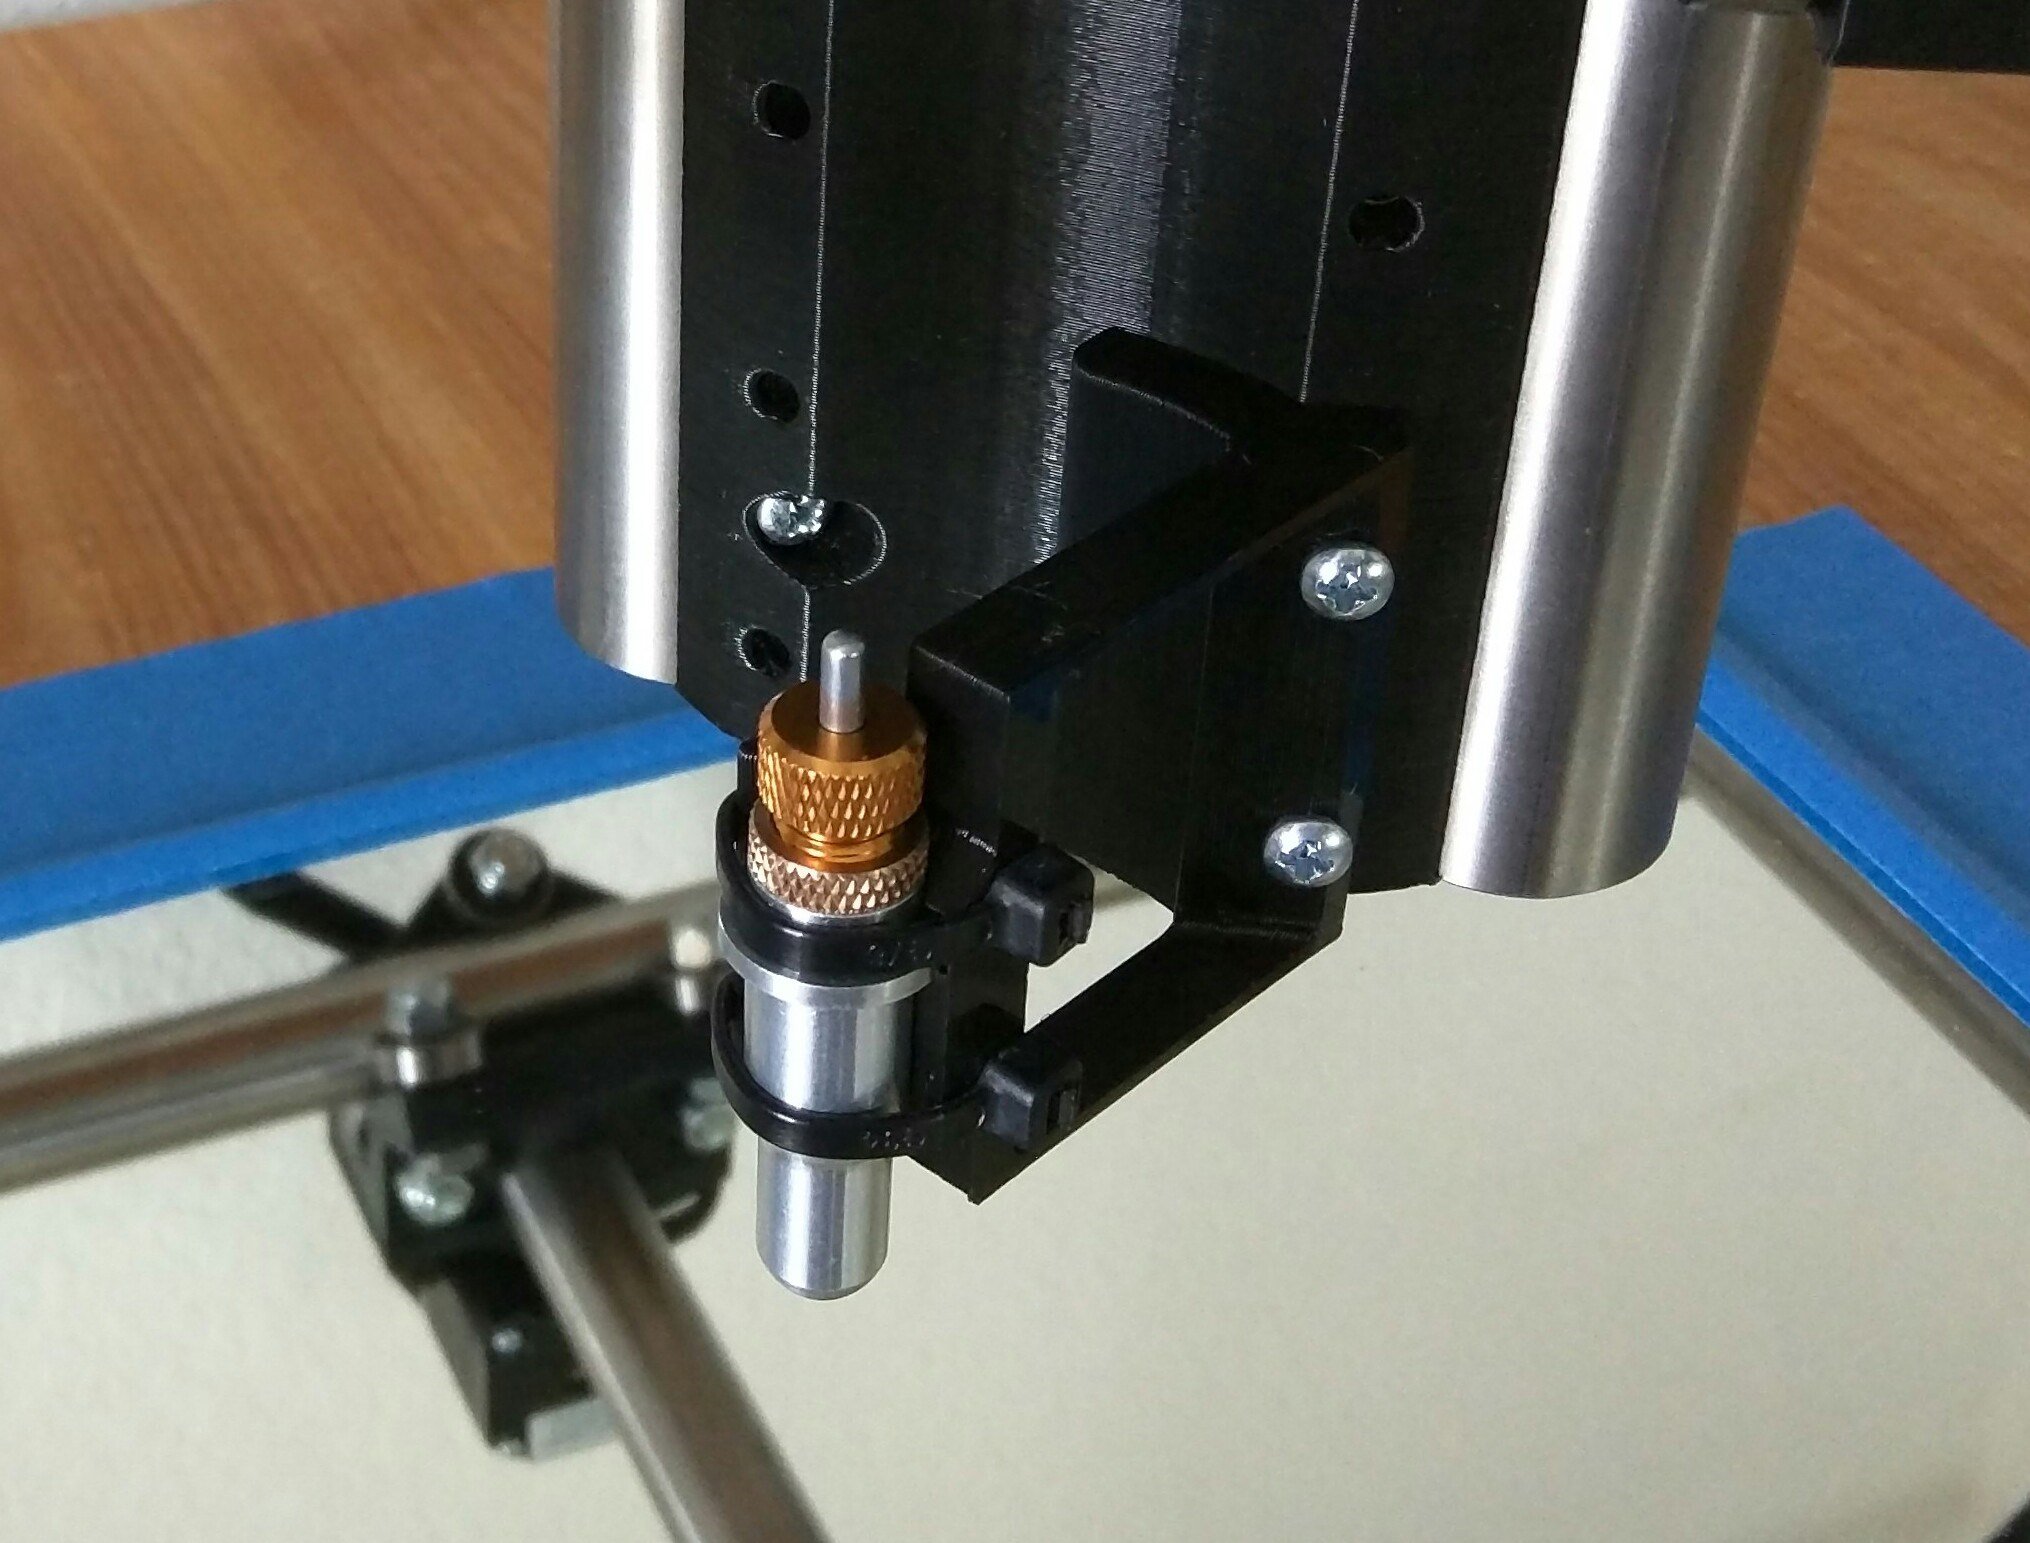
The Machine
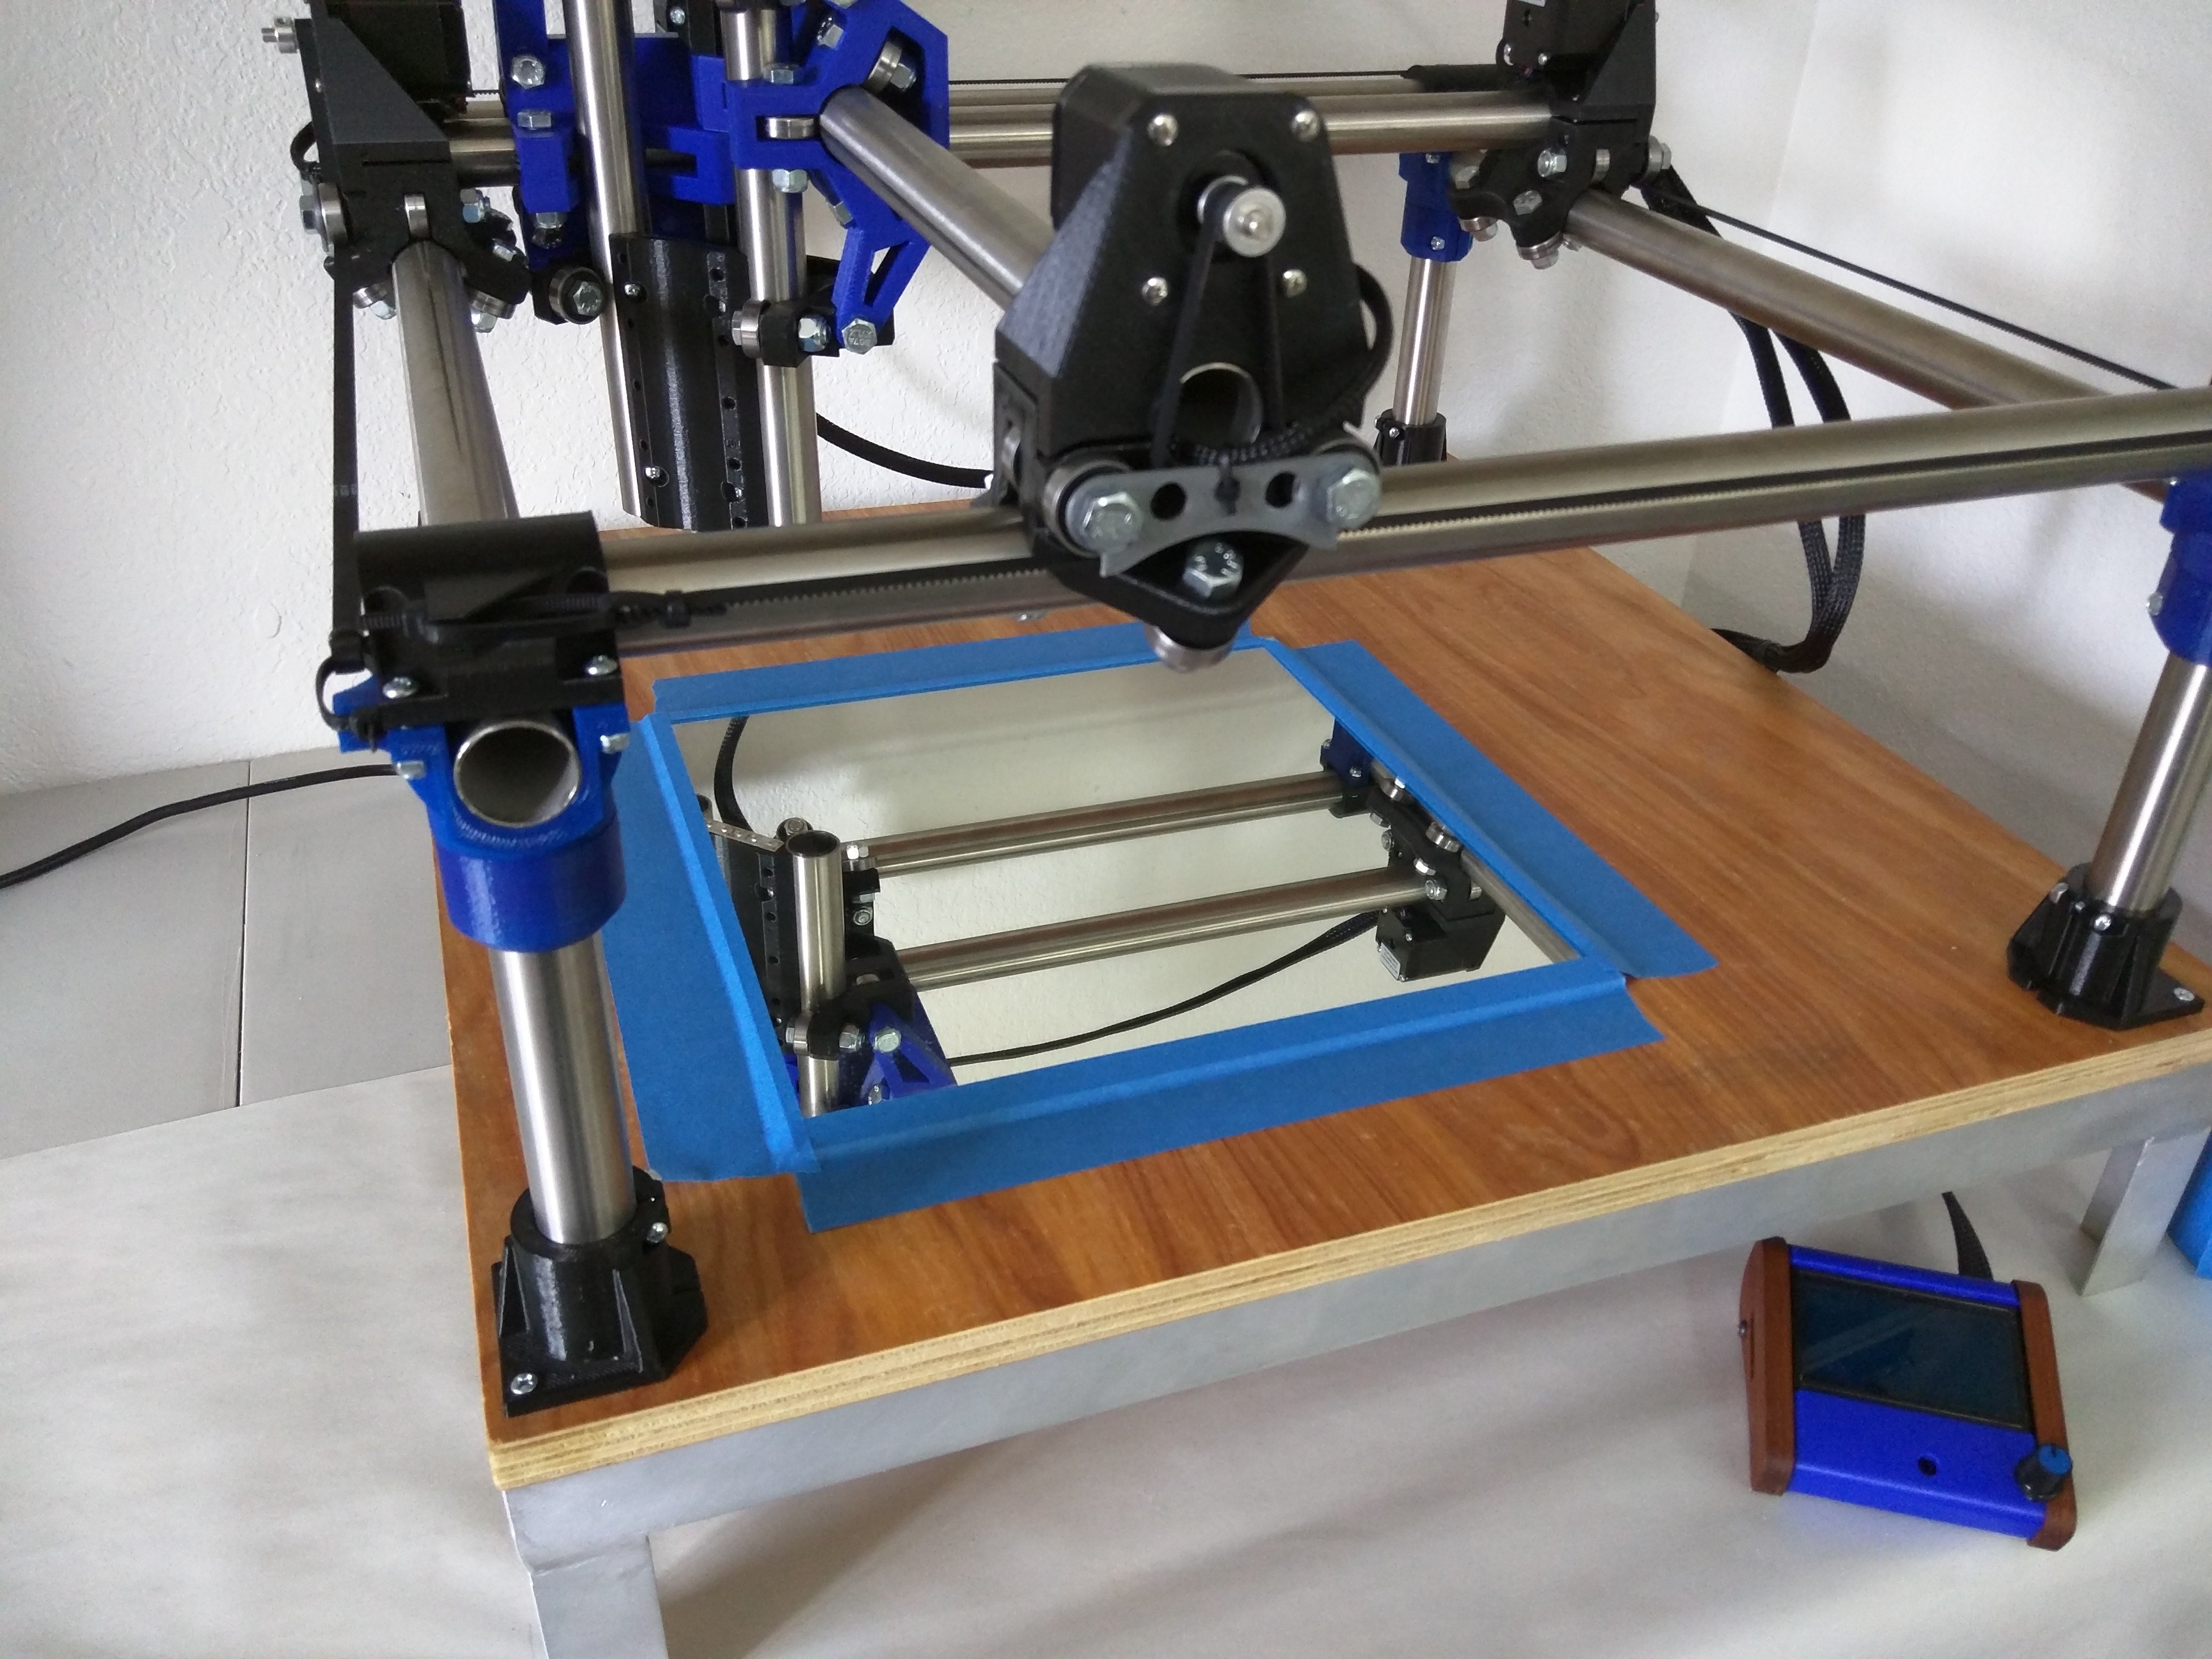
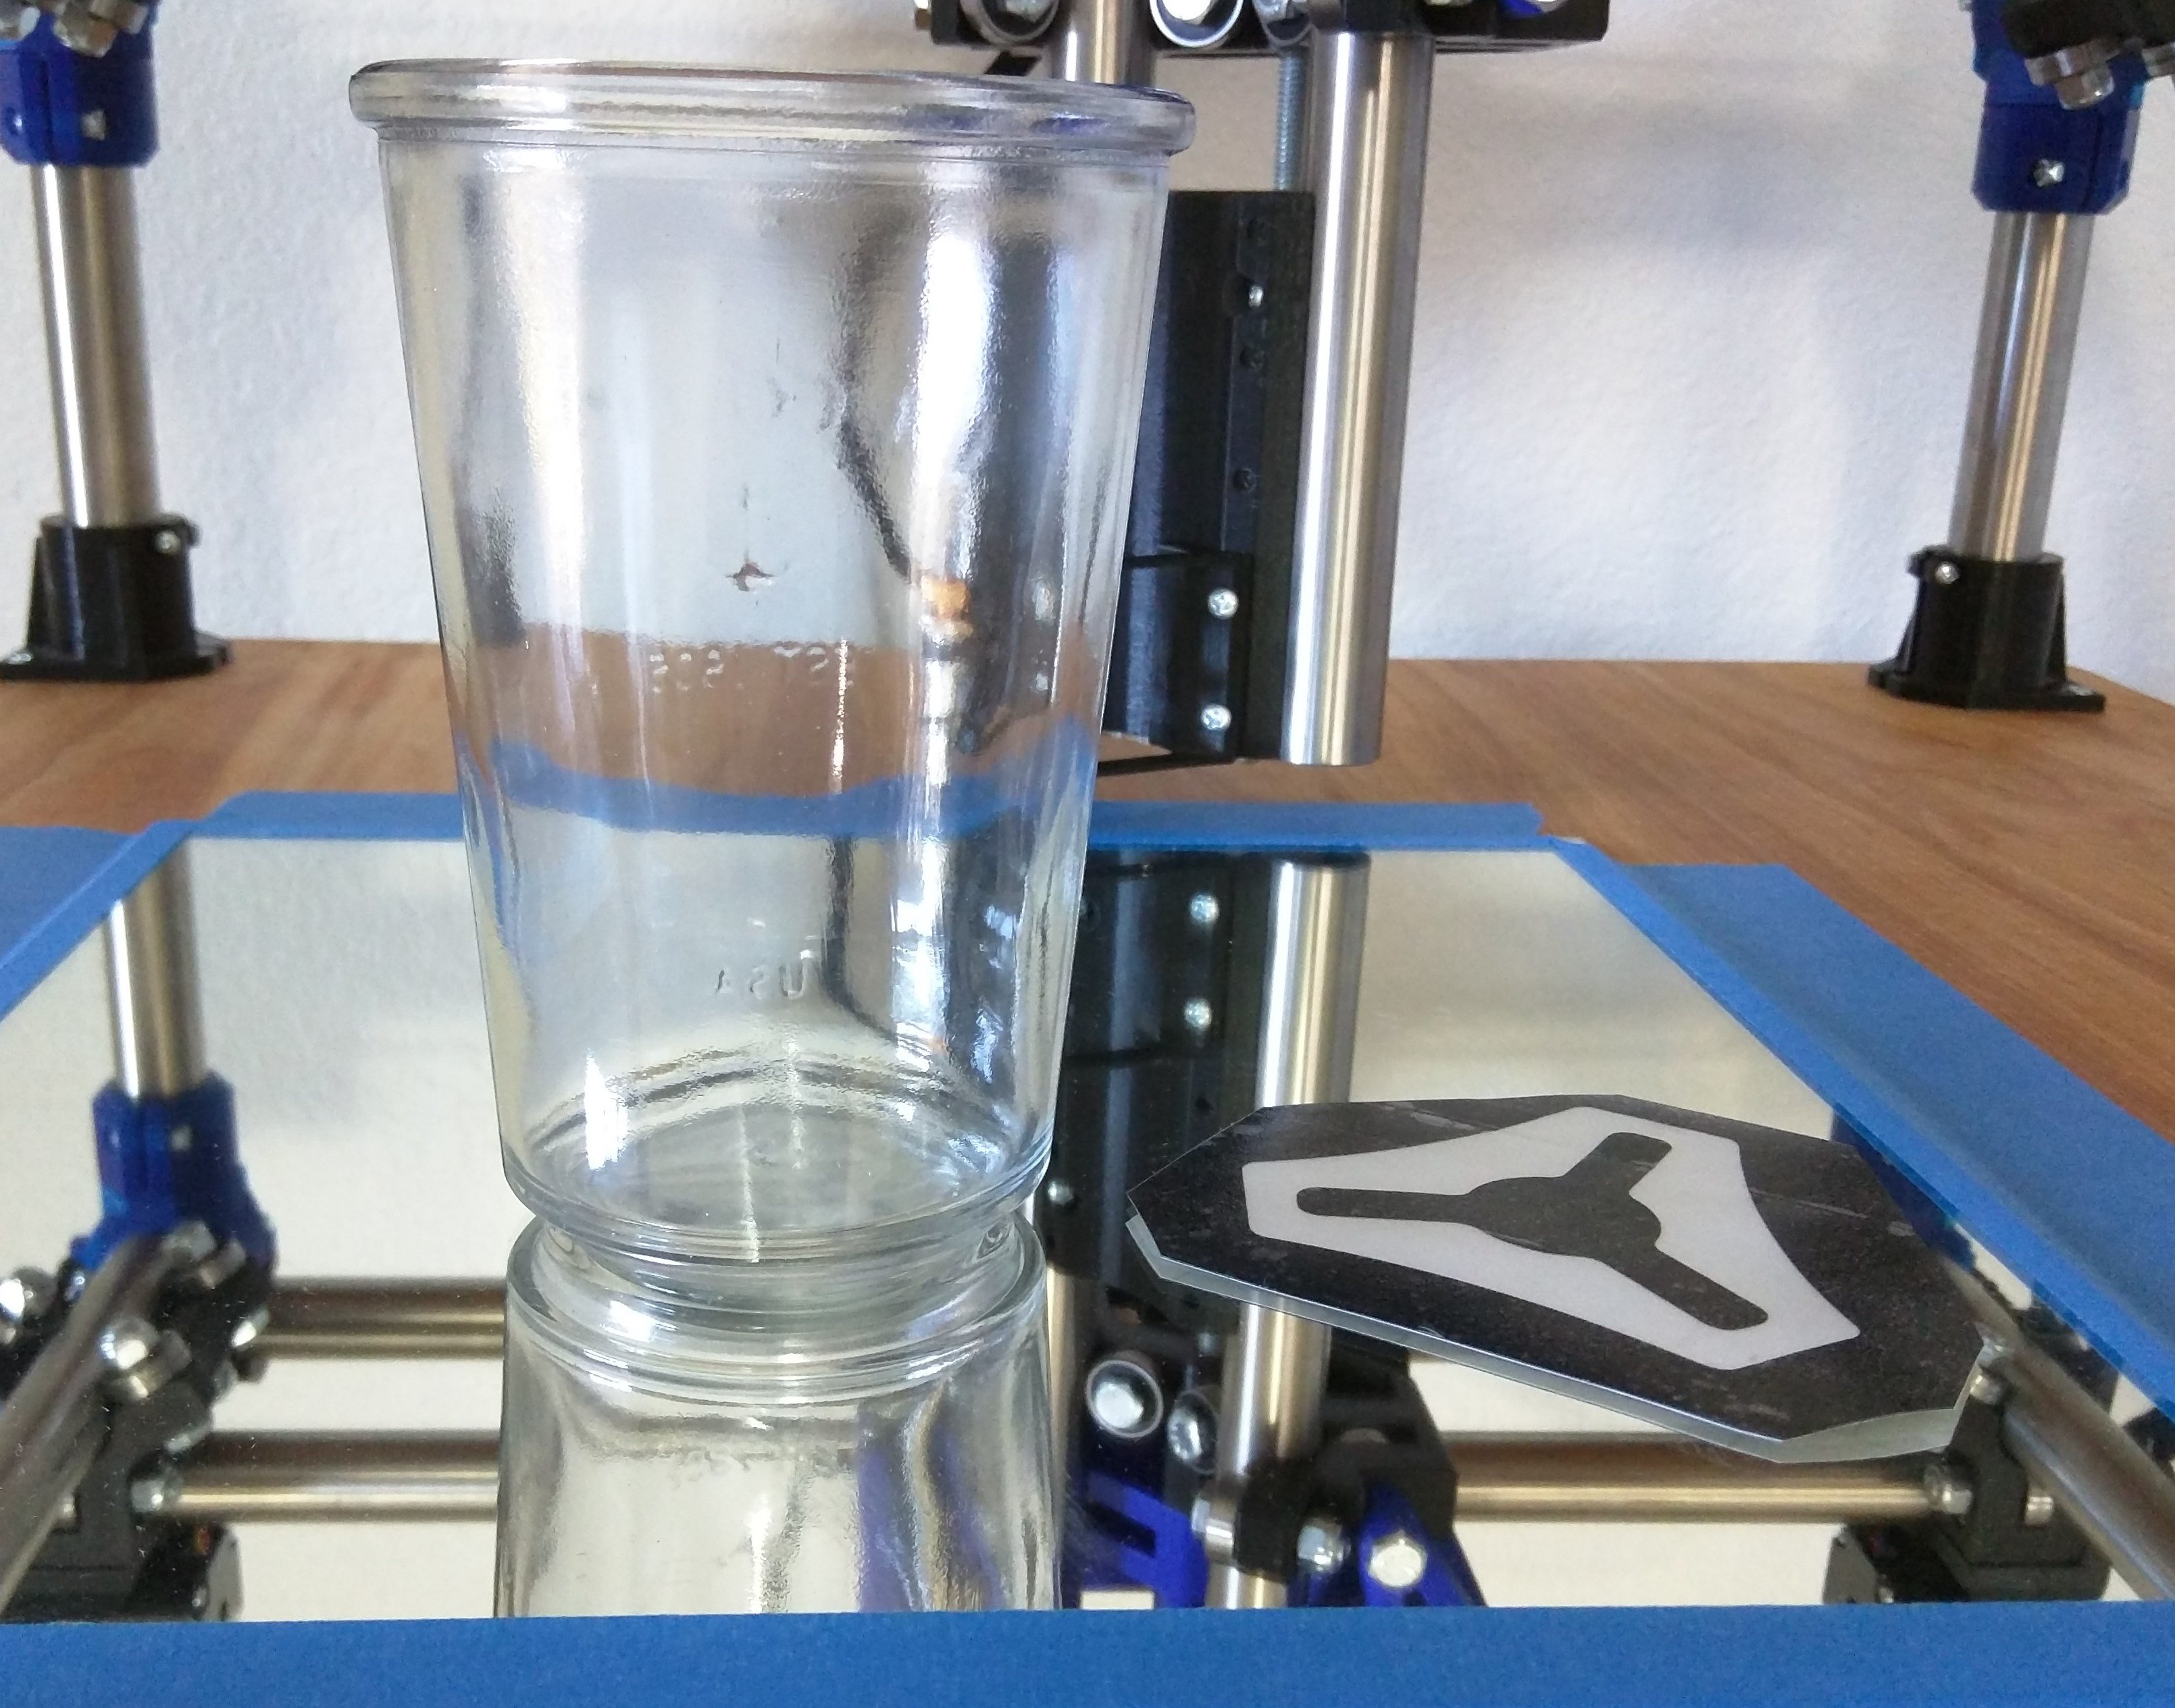
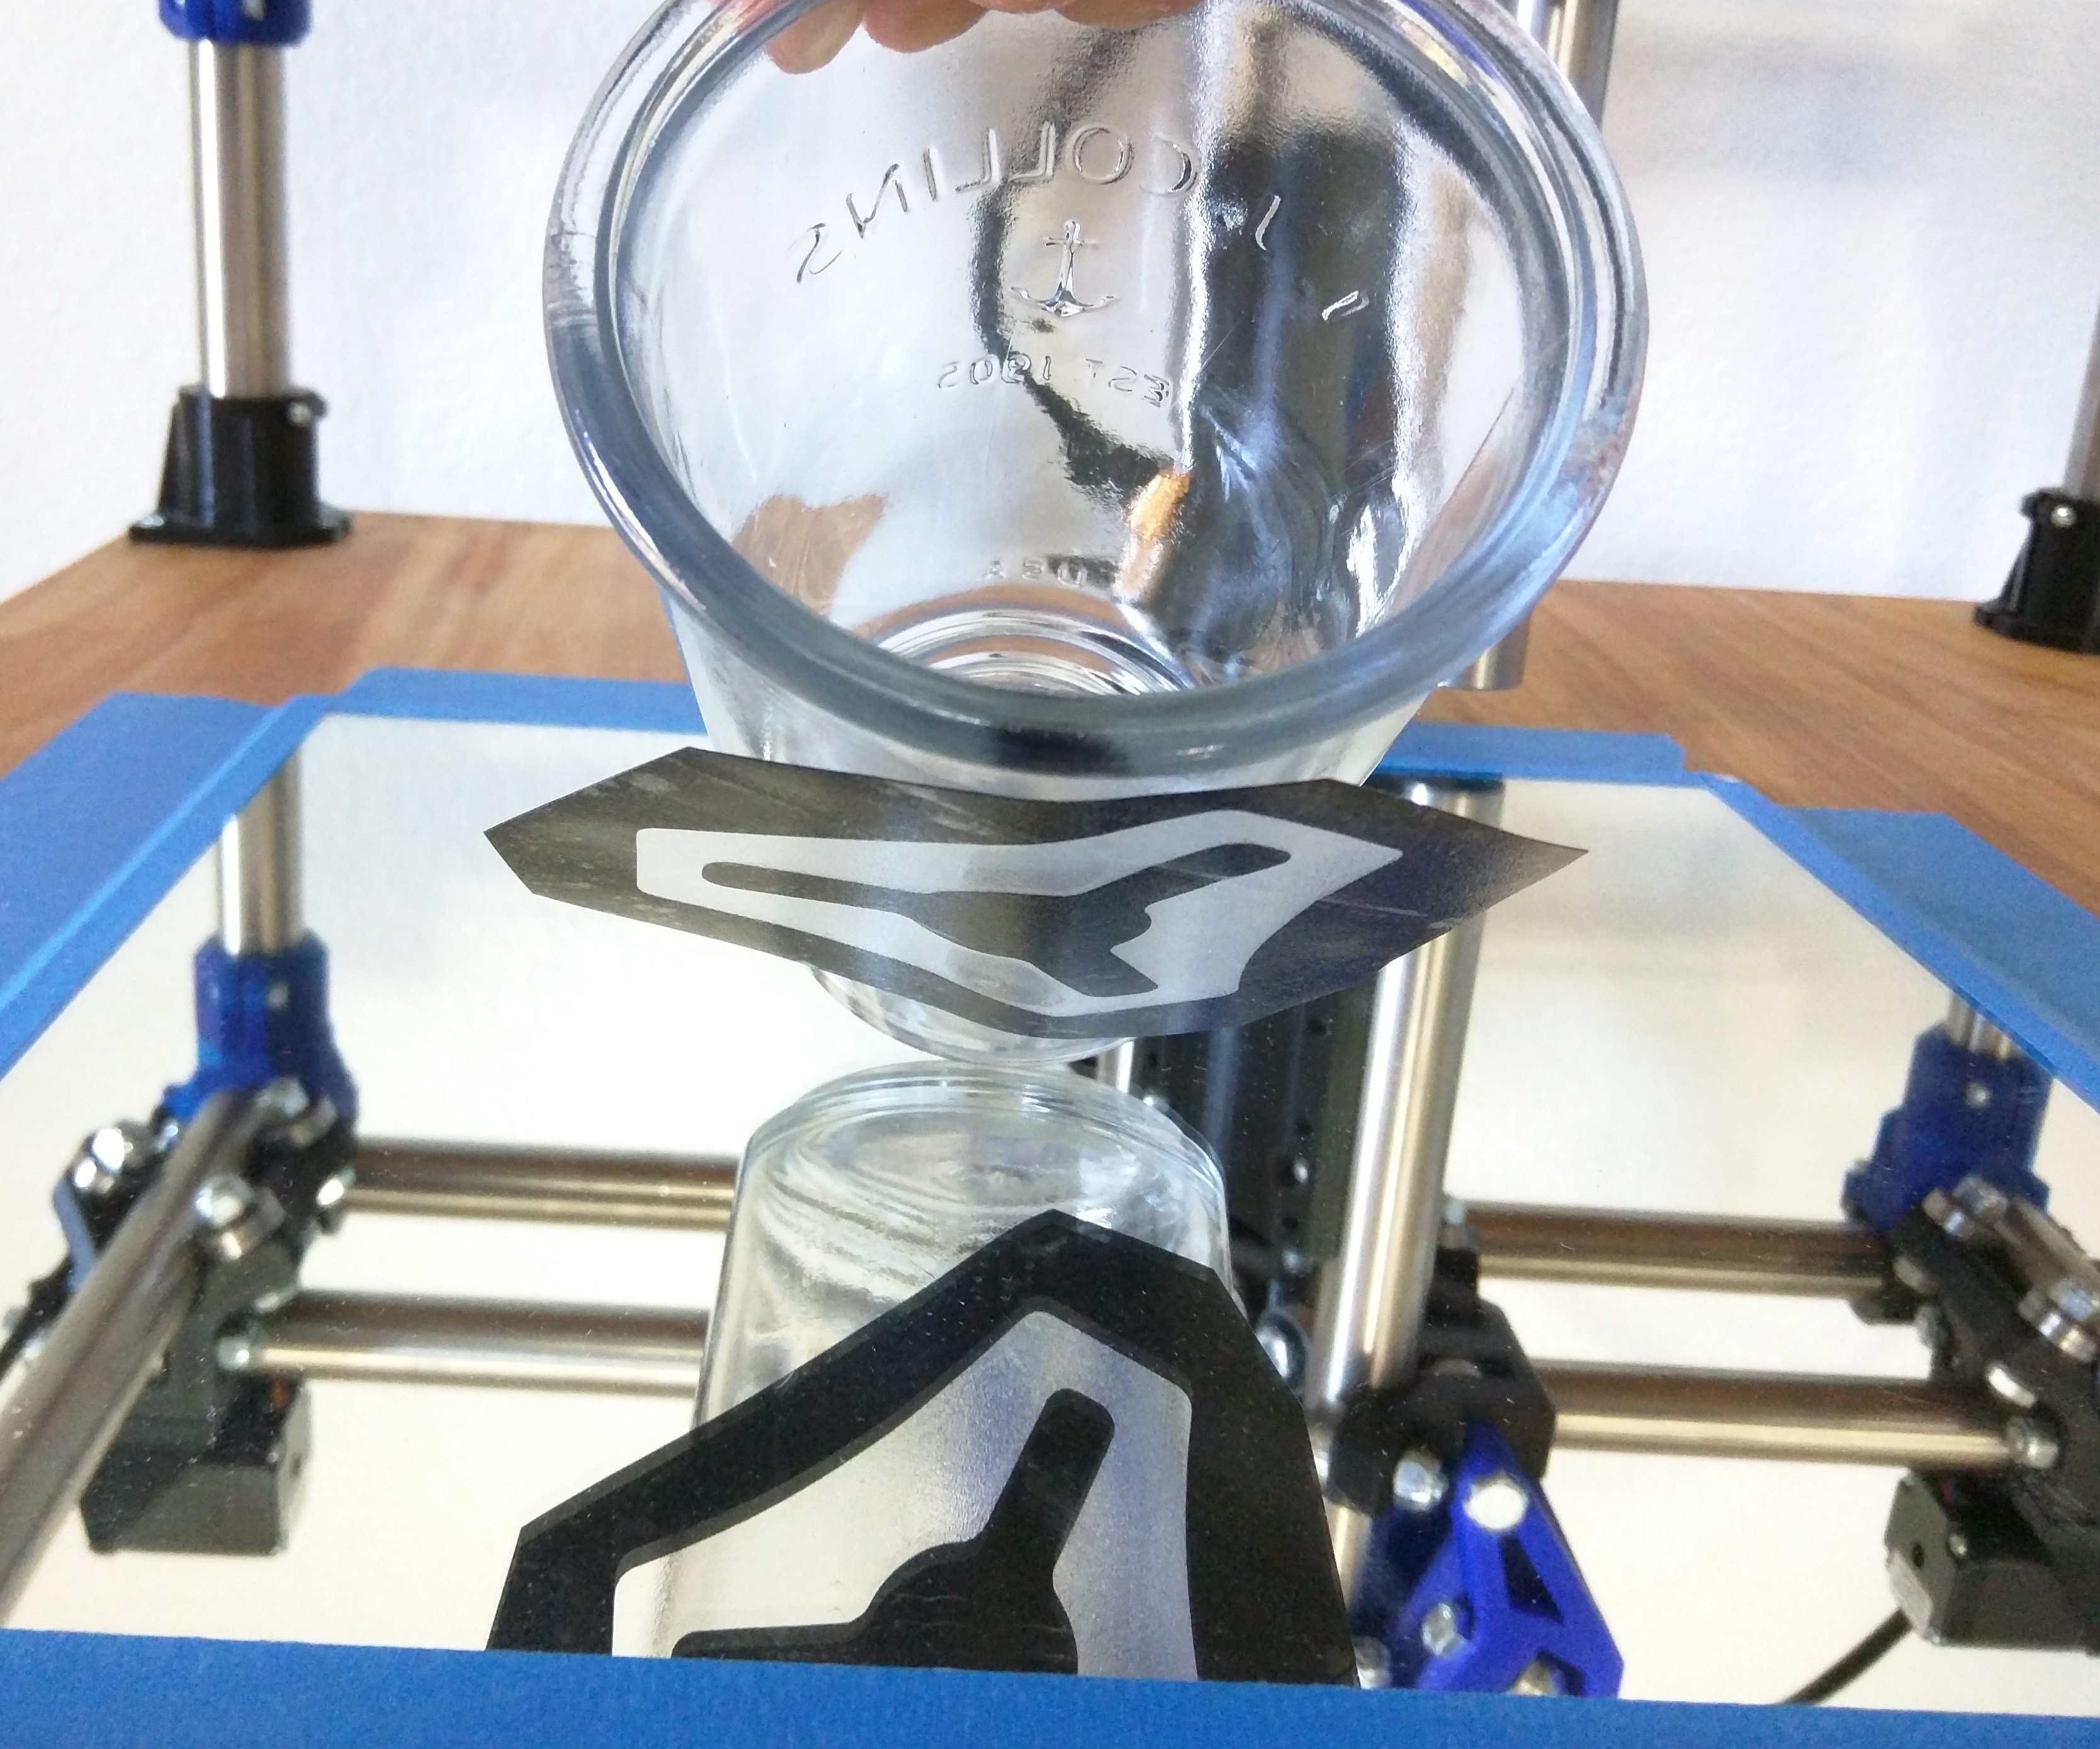
- The least expensive solution I could find for a nice cutting surface was a cheap 1′ square mirror. Just make sure to set your blade depth correctly, pretty sure the carbide can score the glass and make for a dangerous experience.
- Tape on all sides is more than enough, there is very little force when it is all set up nicely.
The Software
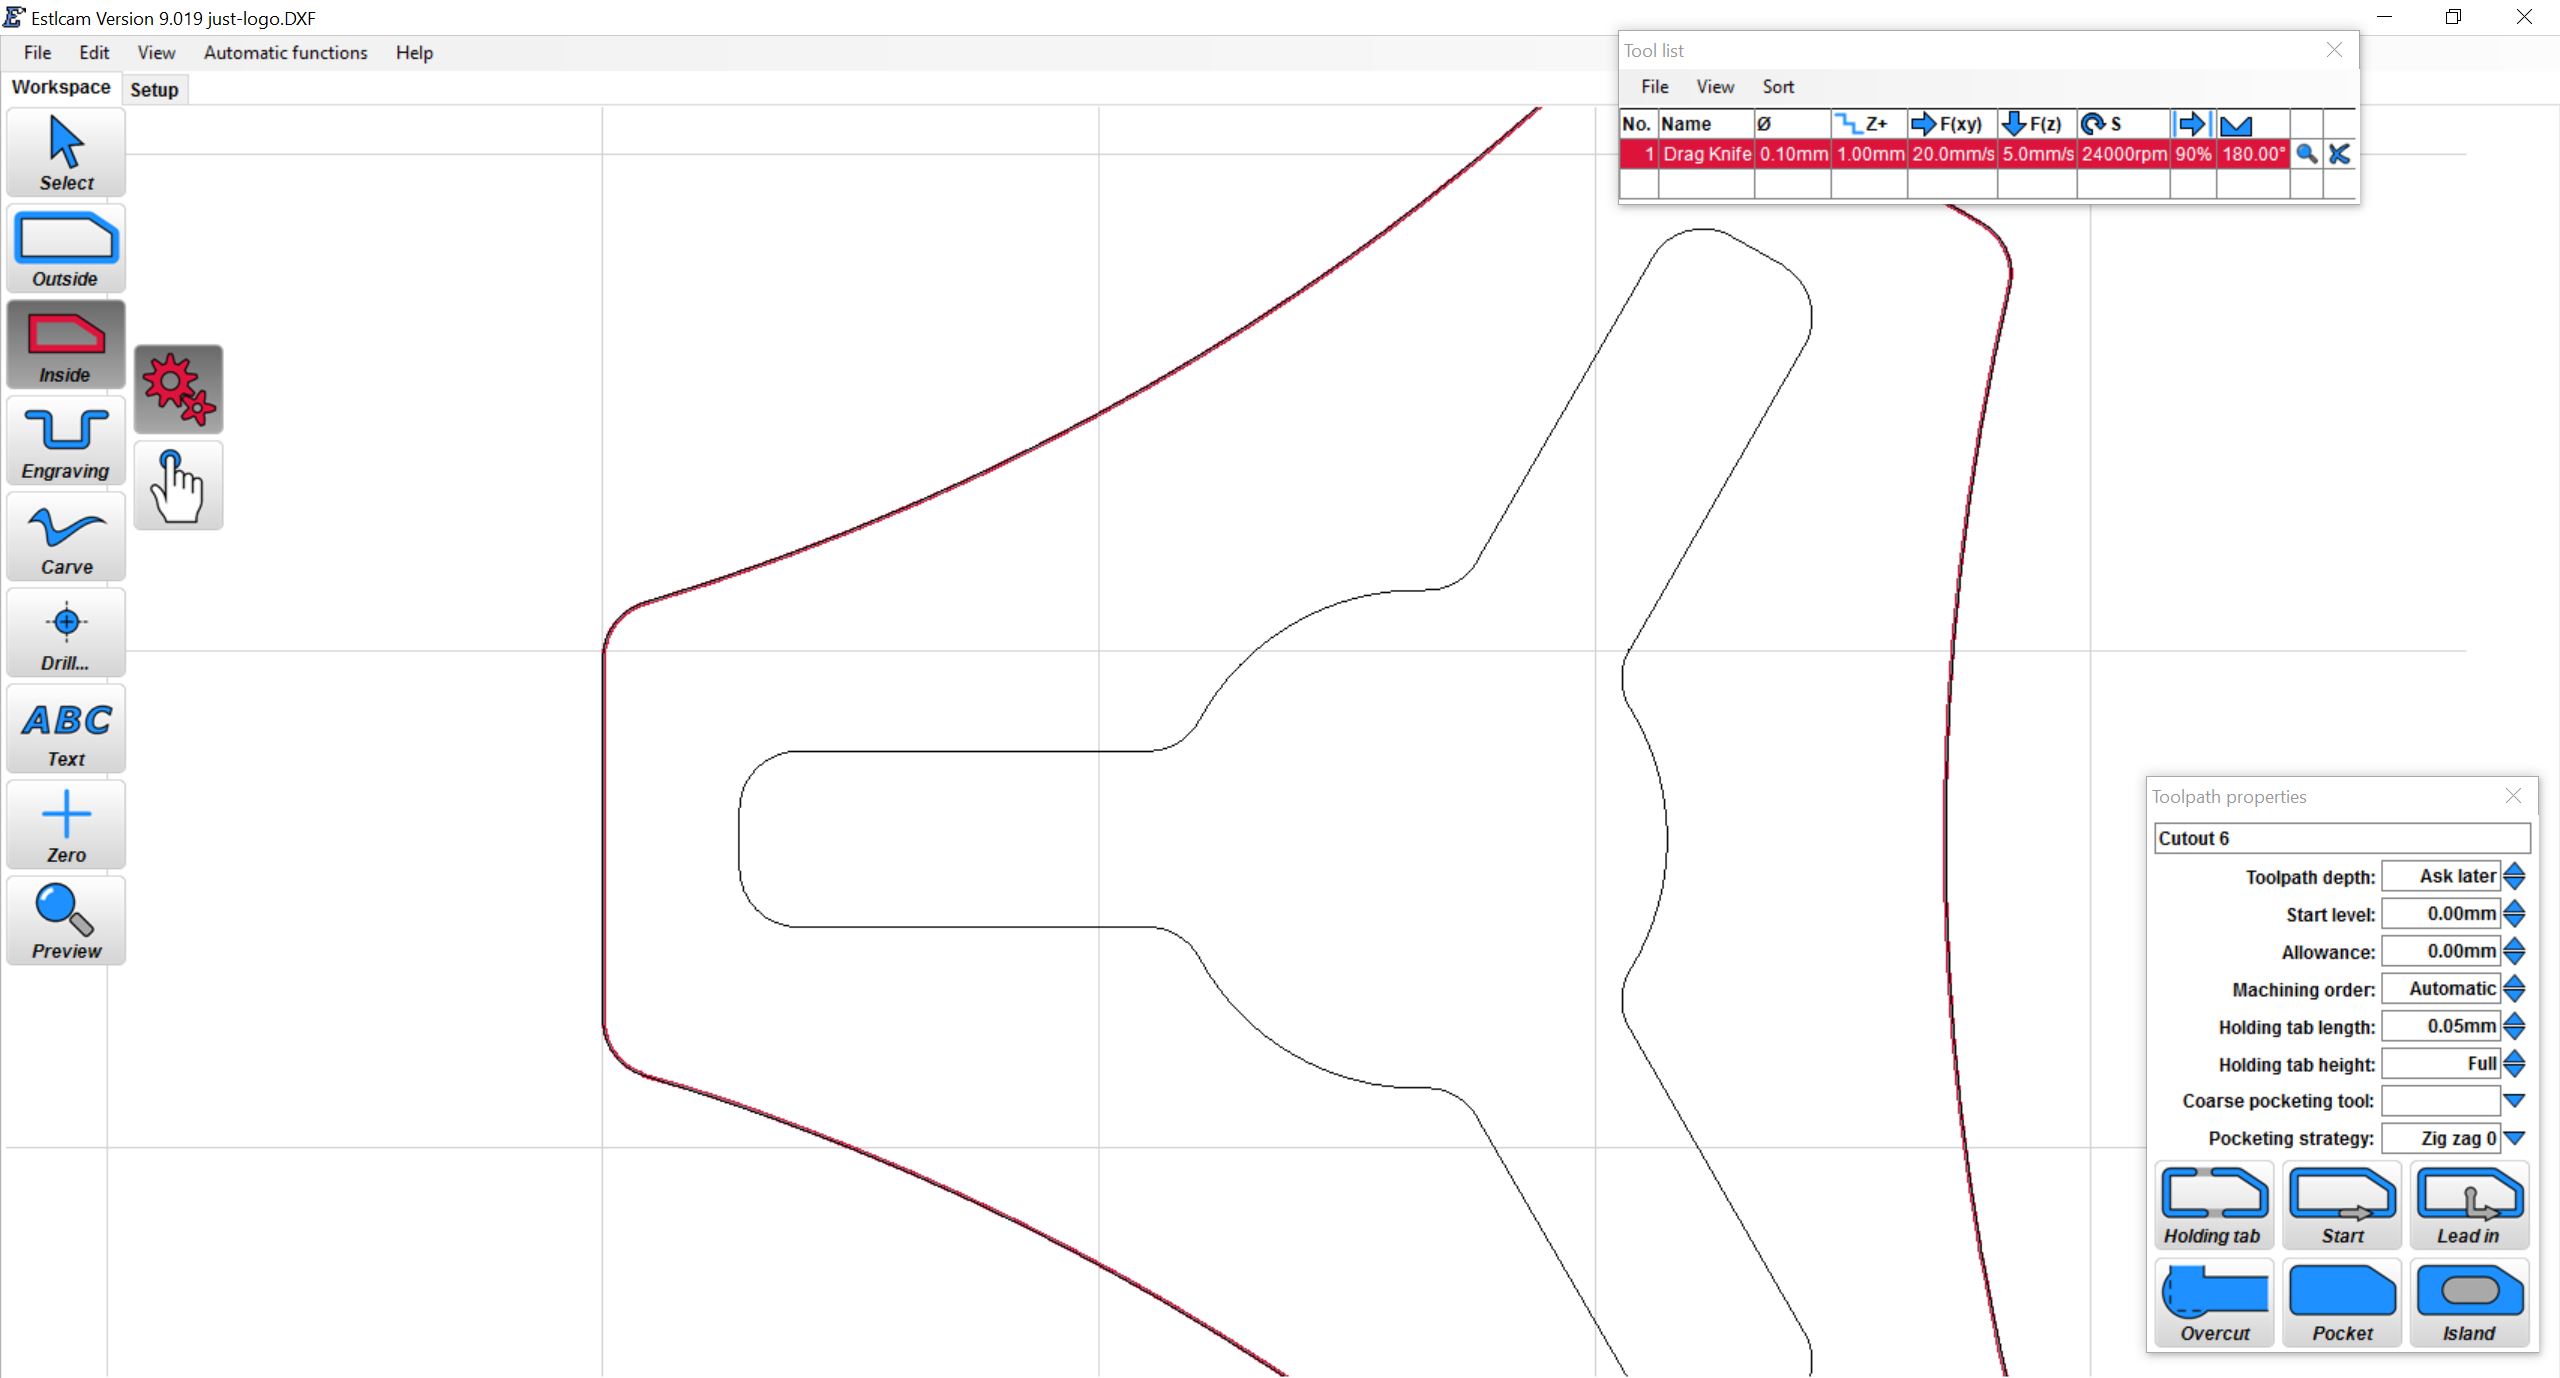
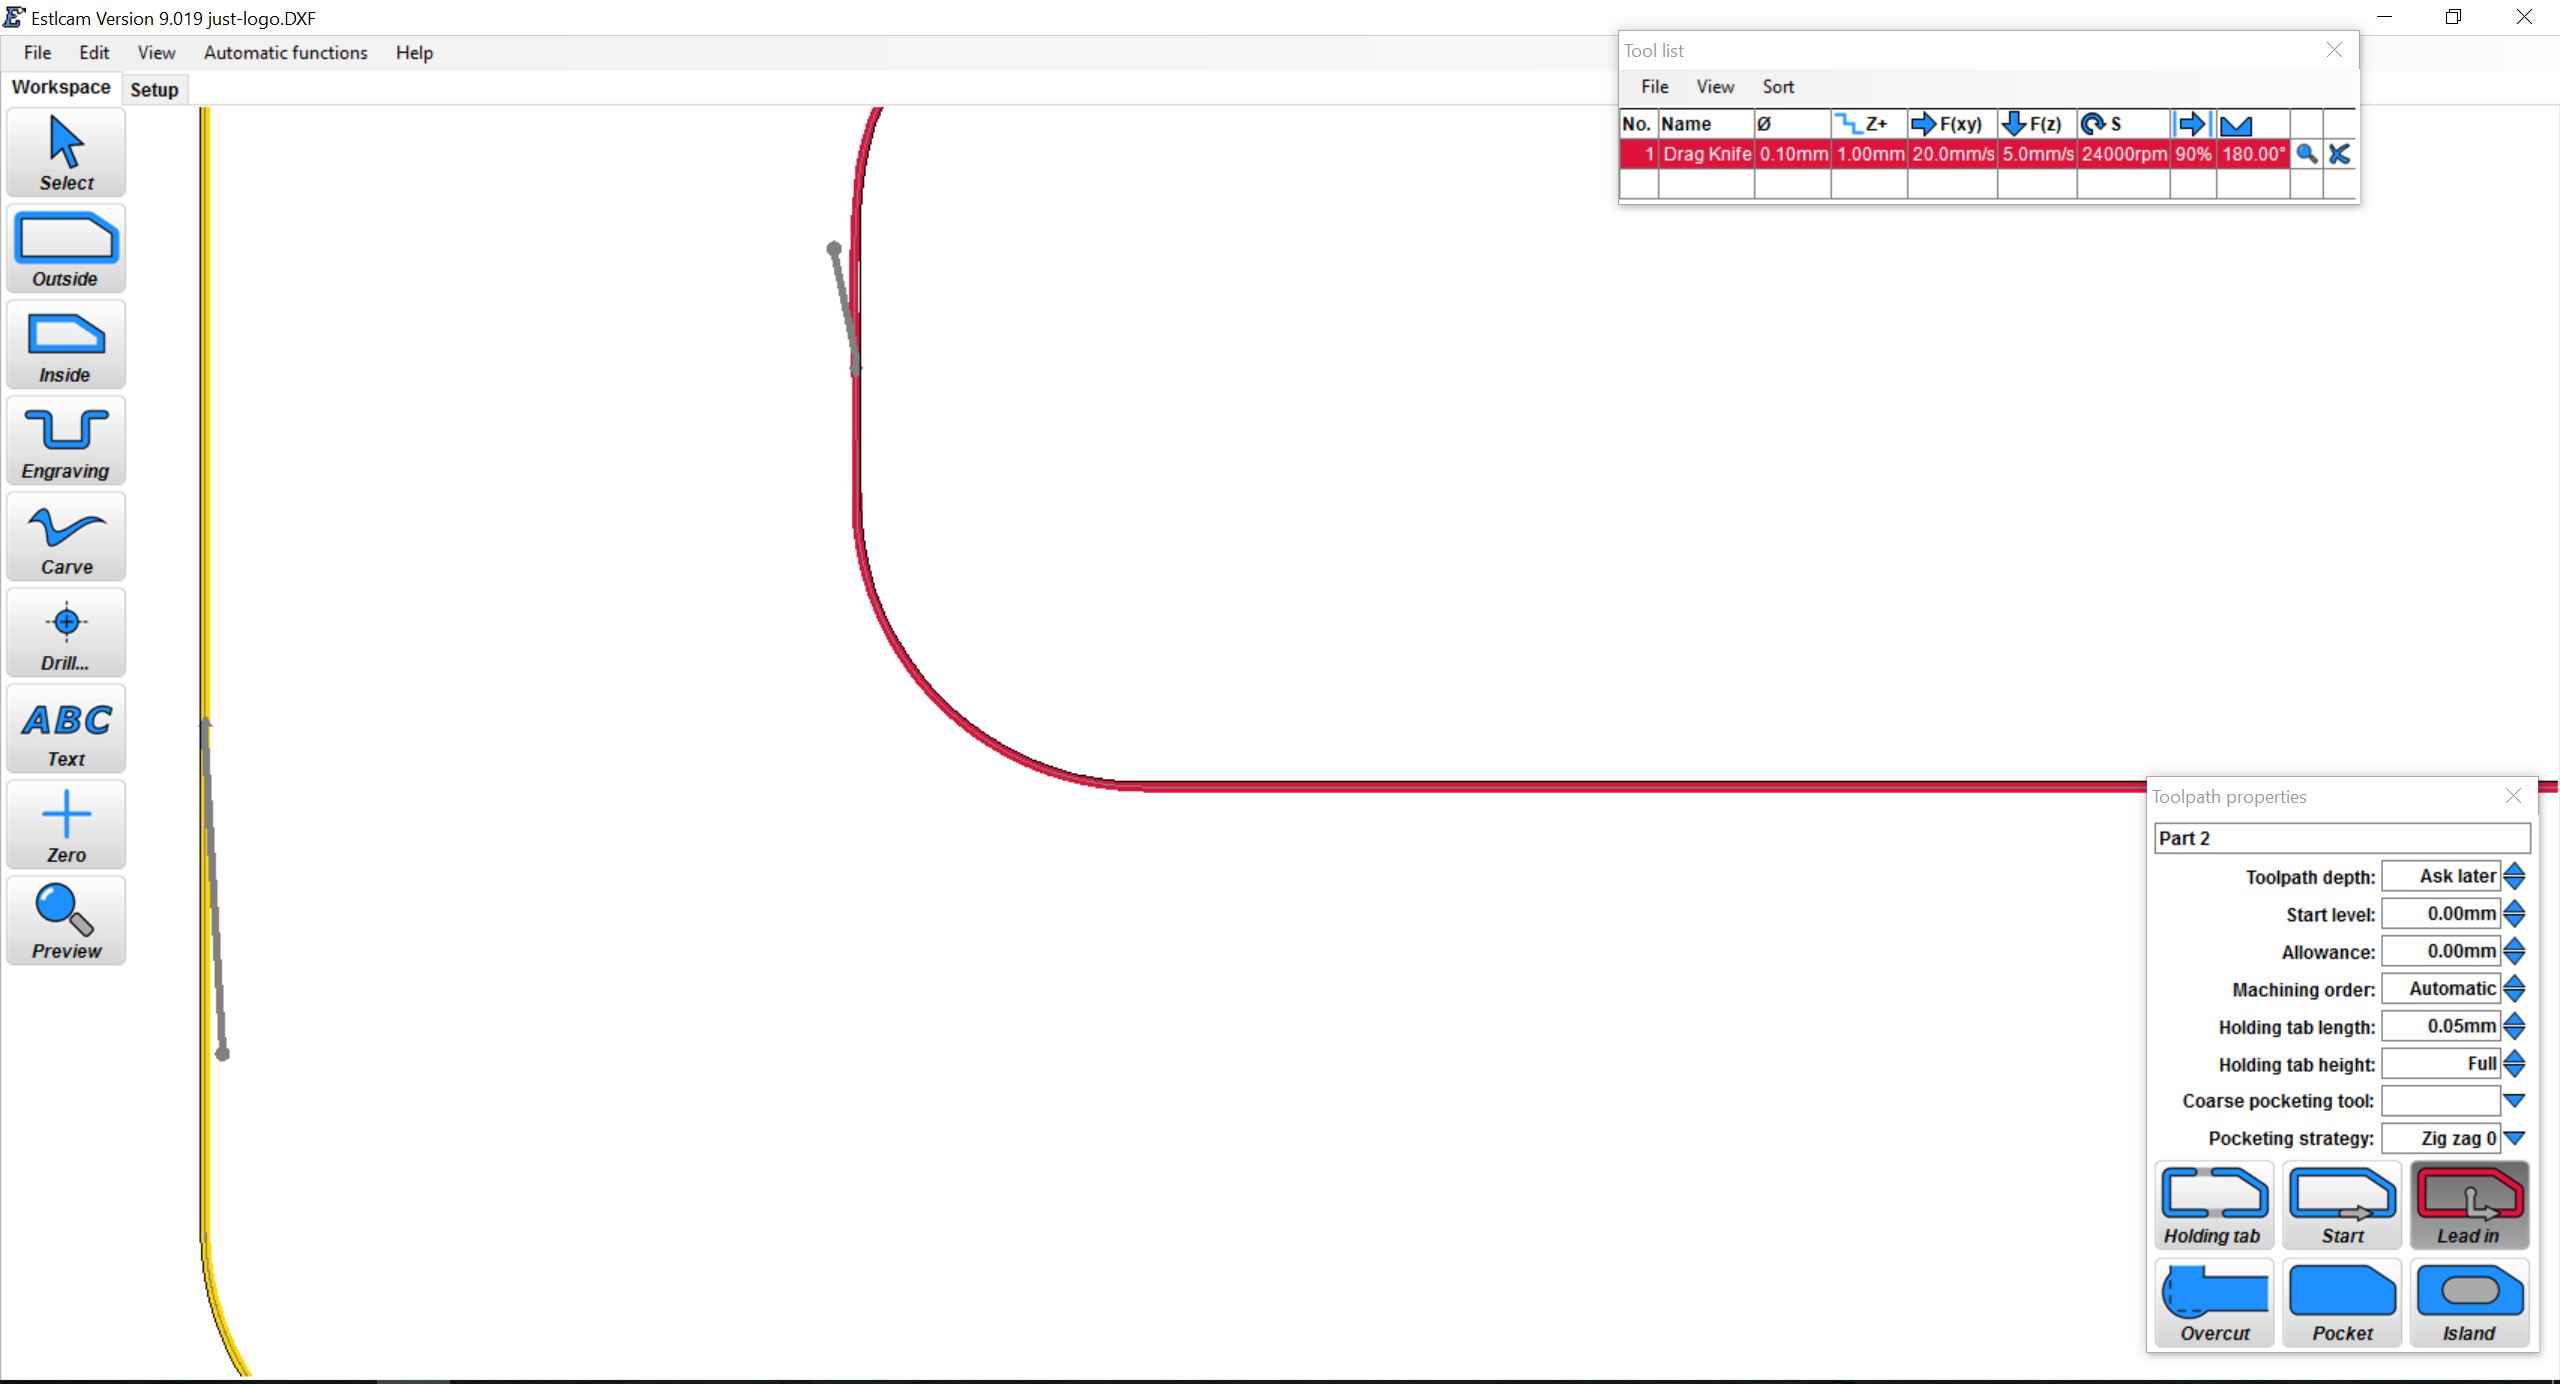
- I used Estlcam for this sticker. There are other vinyl cutting specific software but, Estlcam works well enough. I think the option for over cuts might be in Estlcam but the lead in works to prevent small tags keeping the part in from the blade offset.
- Open your dxf of choice and make sure the size is as expected. My grid is set at 25.4mm so this sticker will be about 3″.
- Engrave would be the ideal path option for this but I want to use the lead in, so I set the tool diameter as small as permitted, 0.1mm.
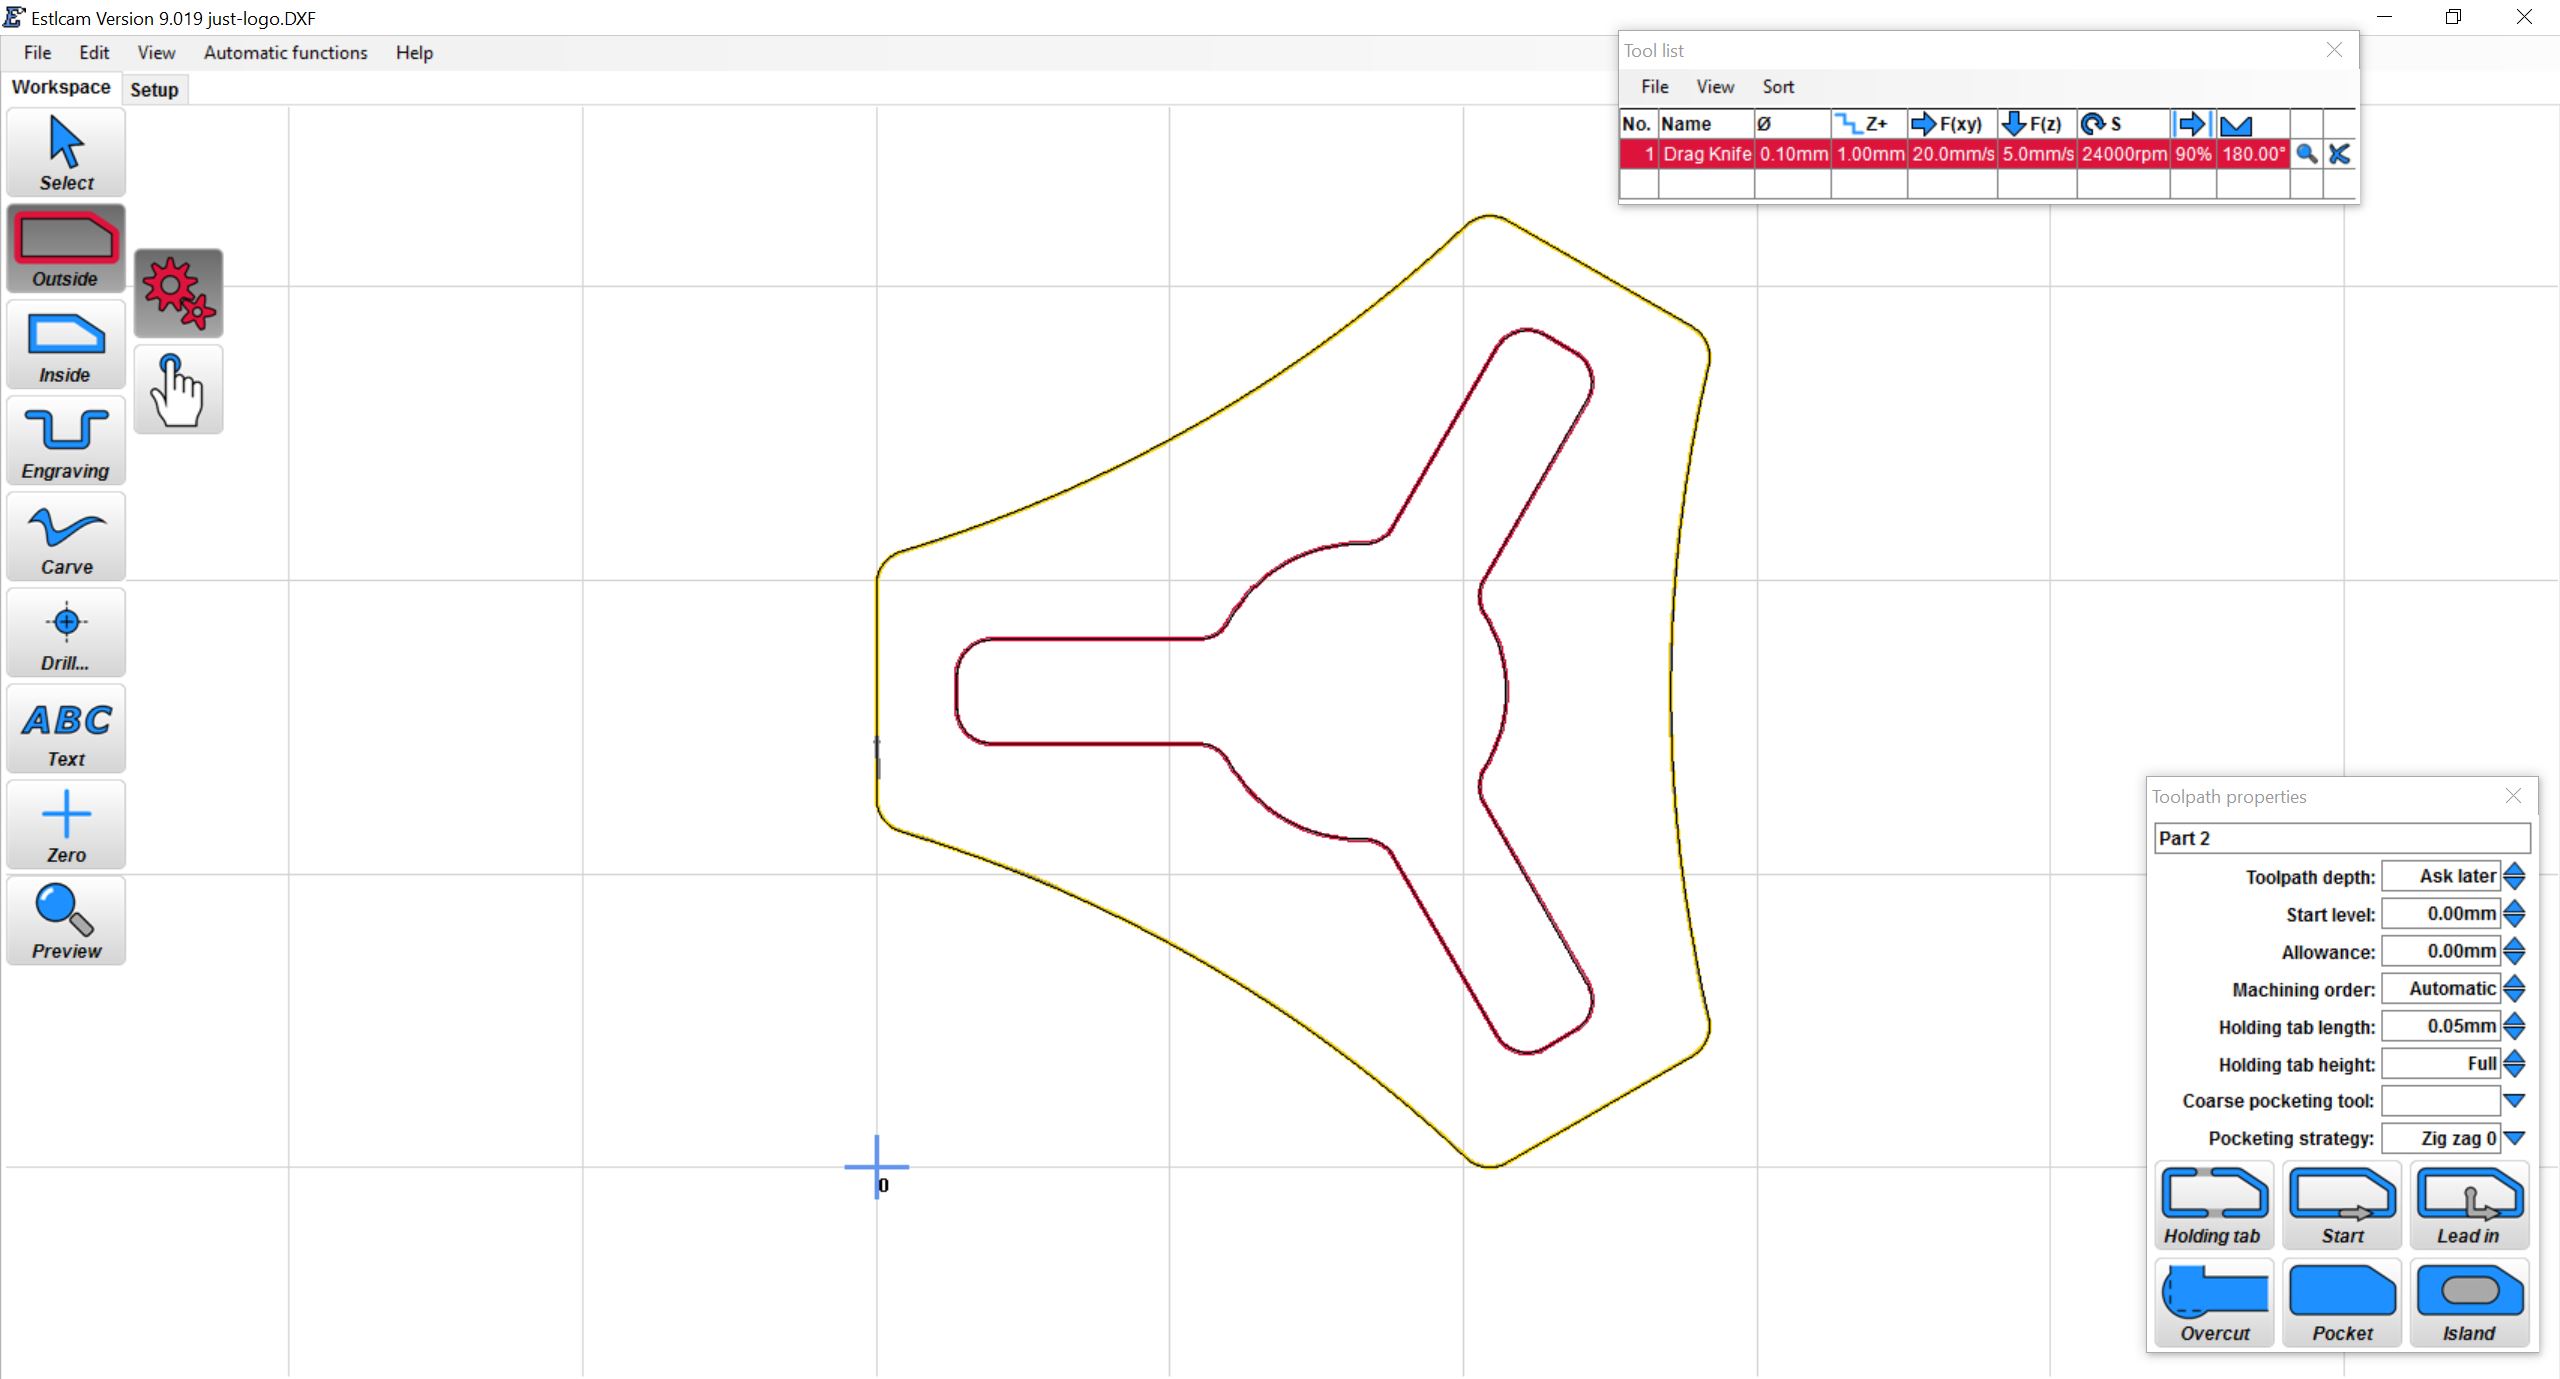
- Select the path with either inside or outside tool.
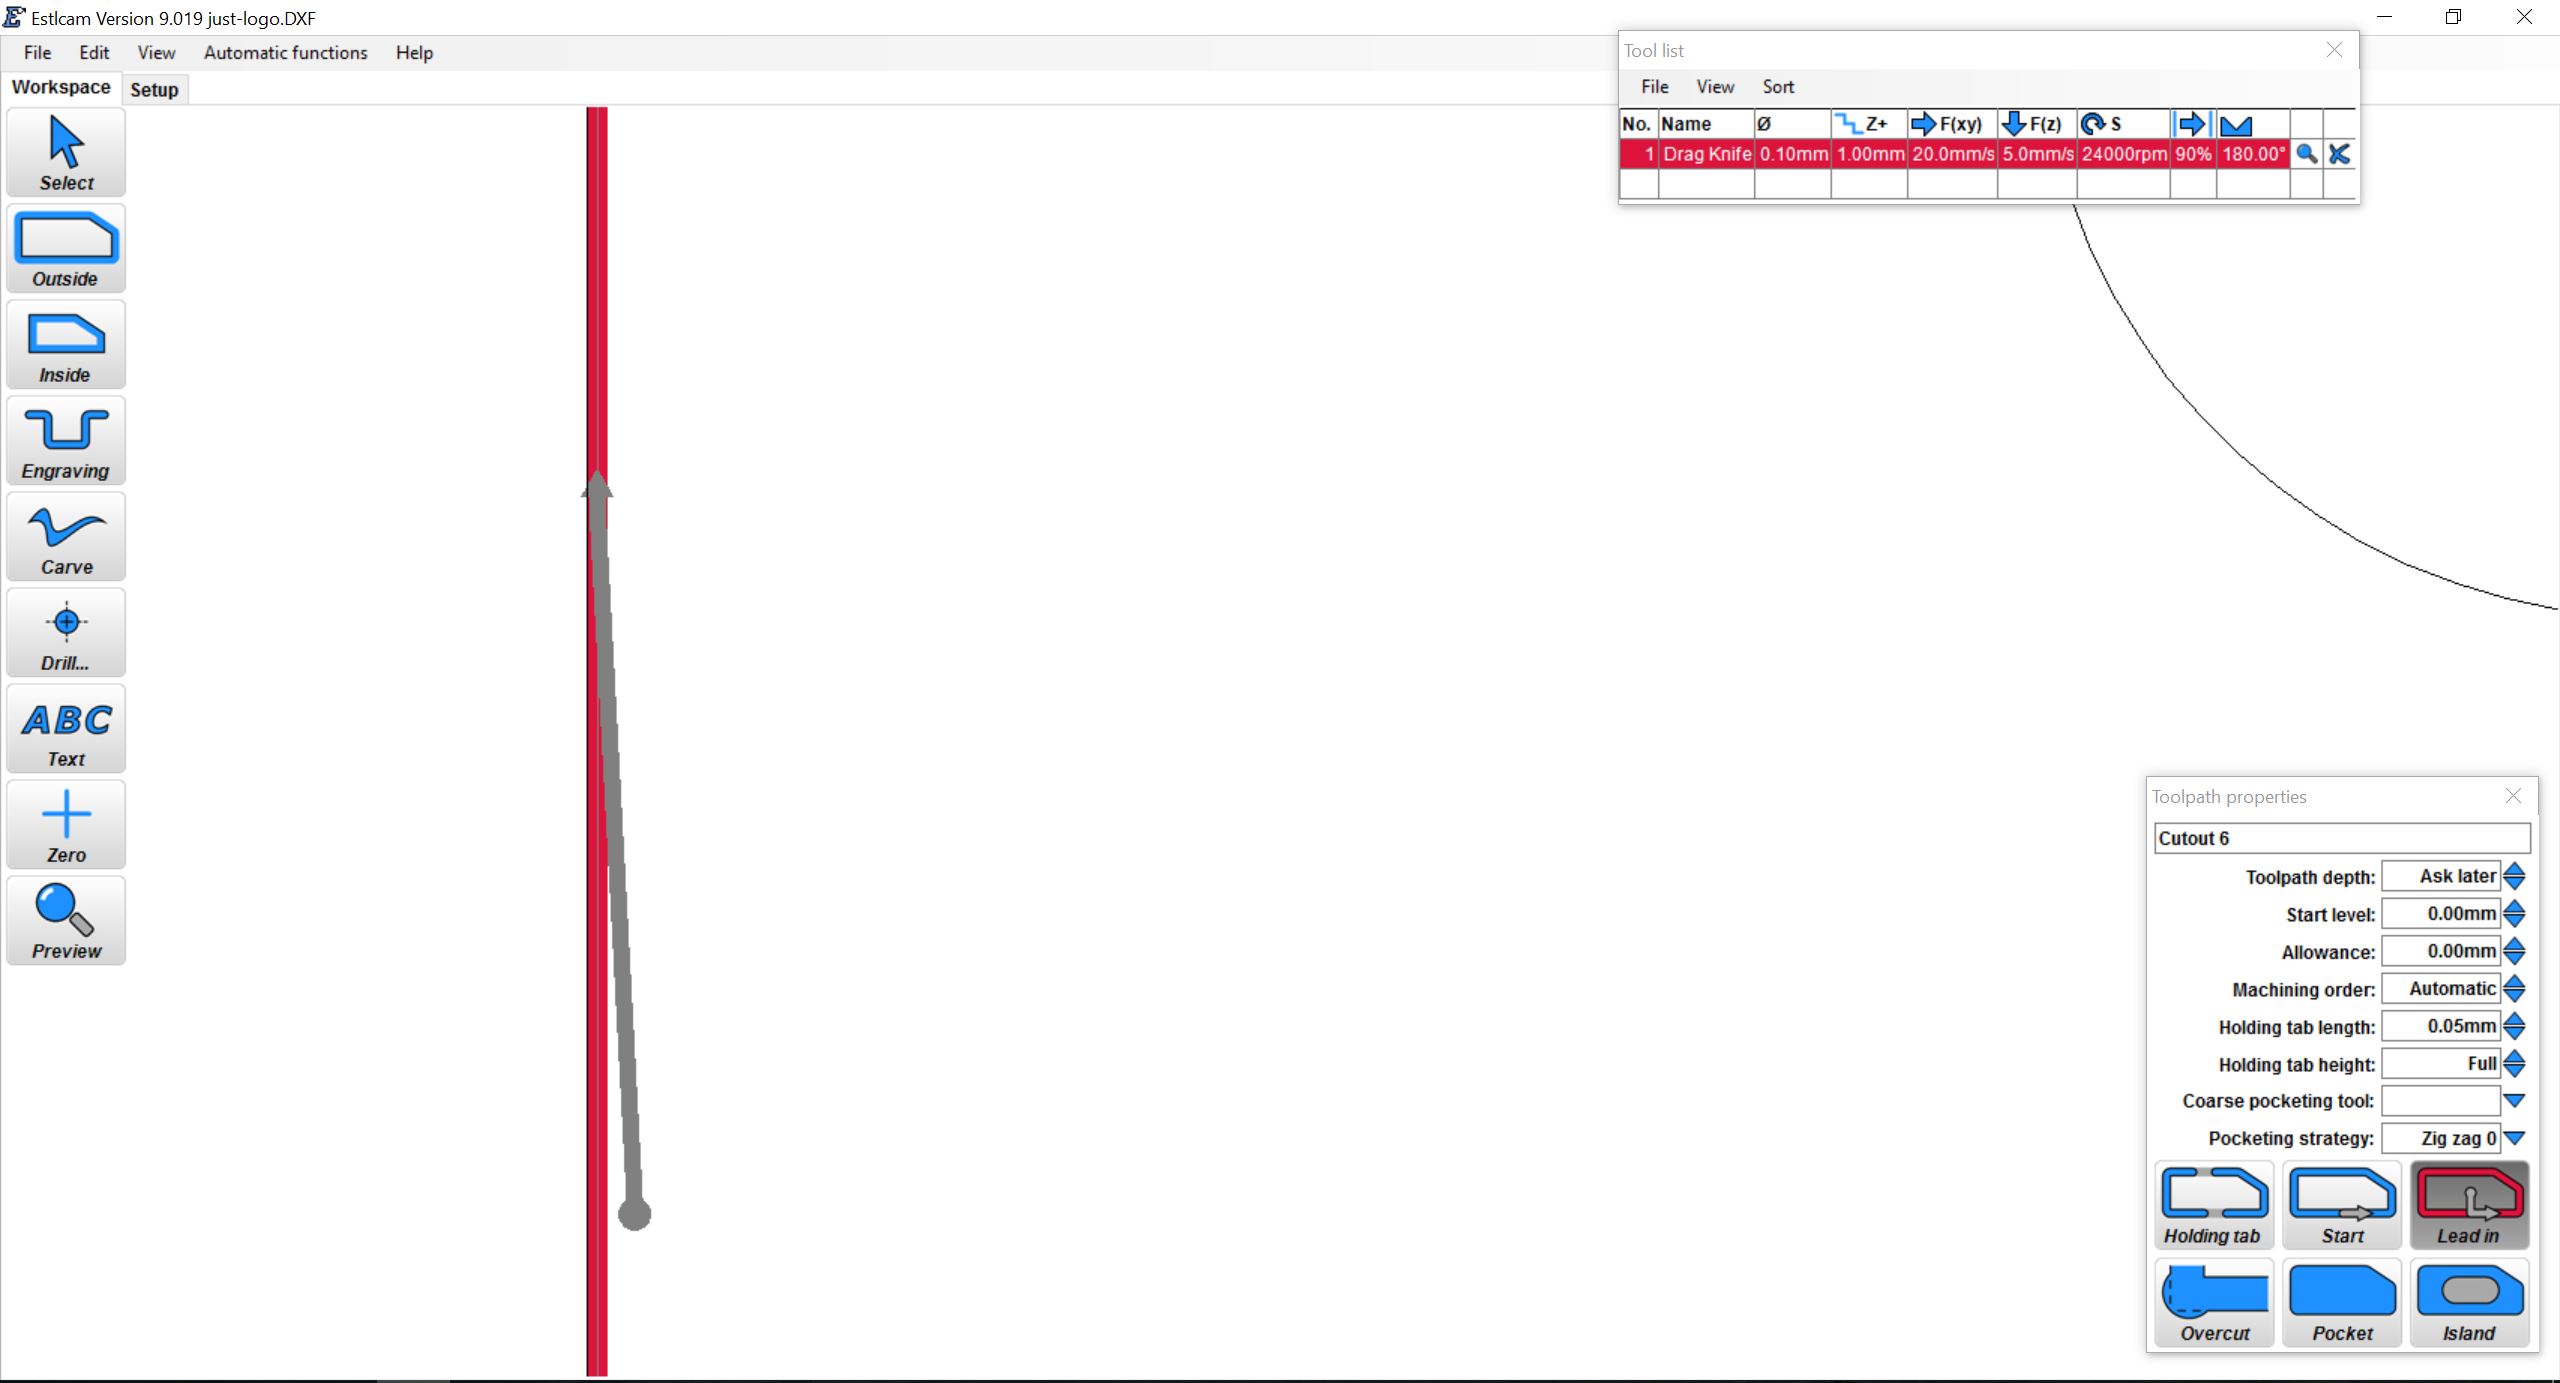
- Use the “lead in” button to get close to a path overlap. This makes sure the sticker has been completely cut out. I want this as an acid mask, so I chose to lead in from the inside of the design.
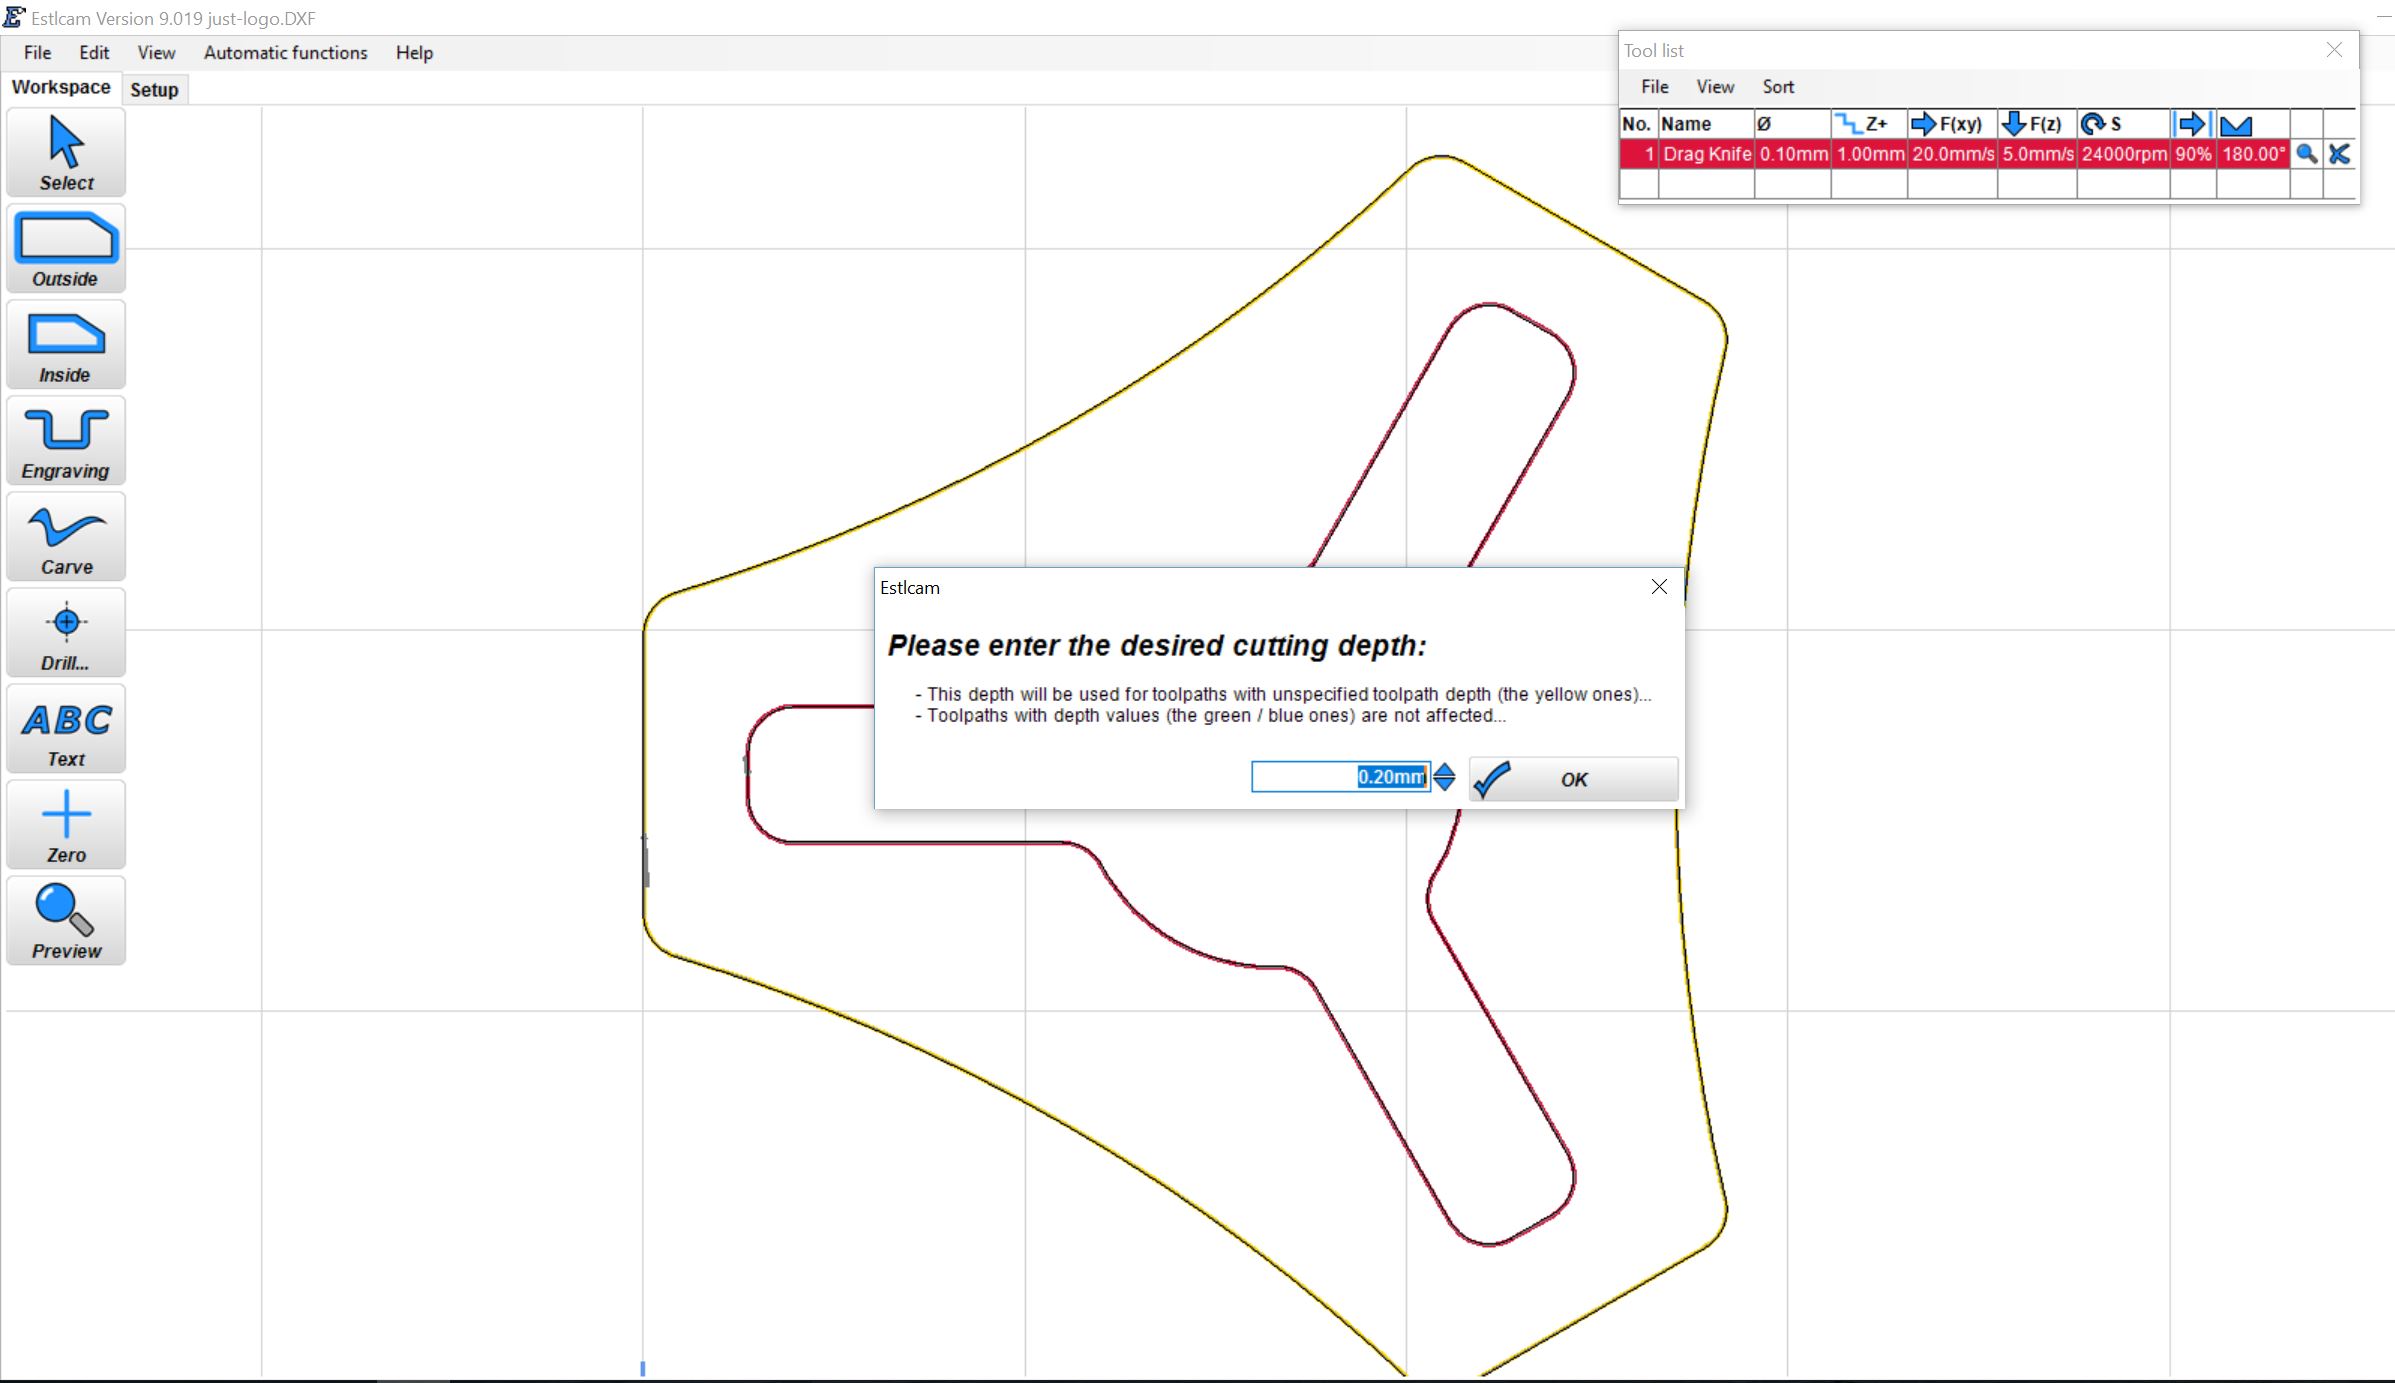
- Set the other path.
- Save the program, chose something small for the depth of cut. For this 0.2mm was used.
Run the Gcode
- You can either load the .gcode into repetier host or save it to an SD card and run it from the LCD.
- Secure your vinyl/material to your cutting surface. I use painters tape on all sides and try to get the material to lay as flat and taught as possible. I use vinyl similar to this, http://amzn.to/2eHGbJU, I prefer medium tack for easy release.
- Move the gantry/cutter to the home position and set the drag knife in contact with the material. Lowering it just enough to just engage the mount spring.
- Start the program.
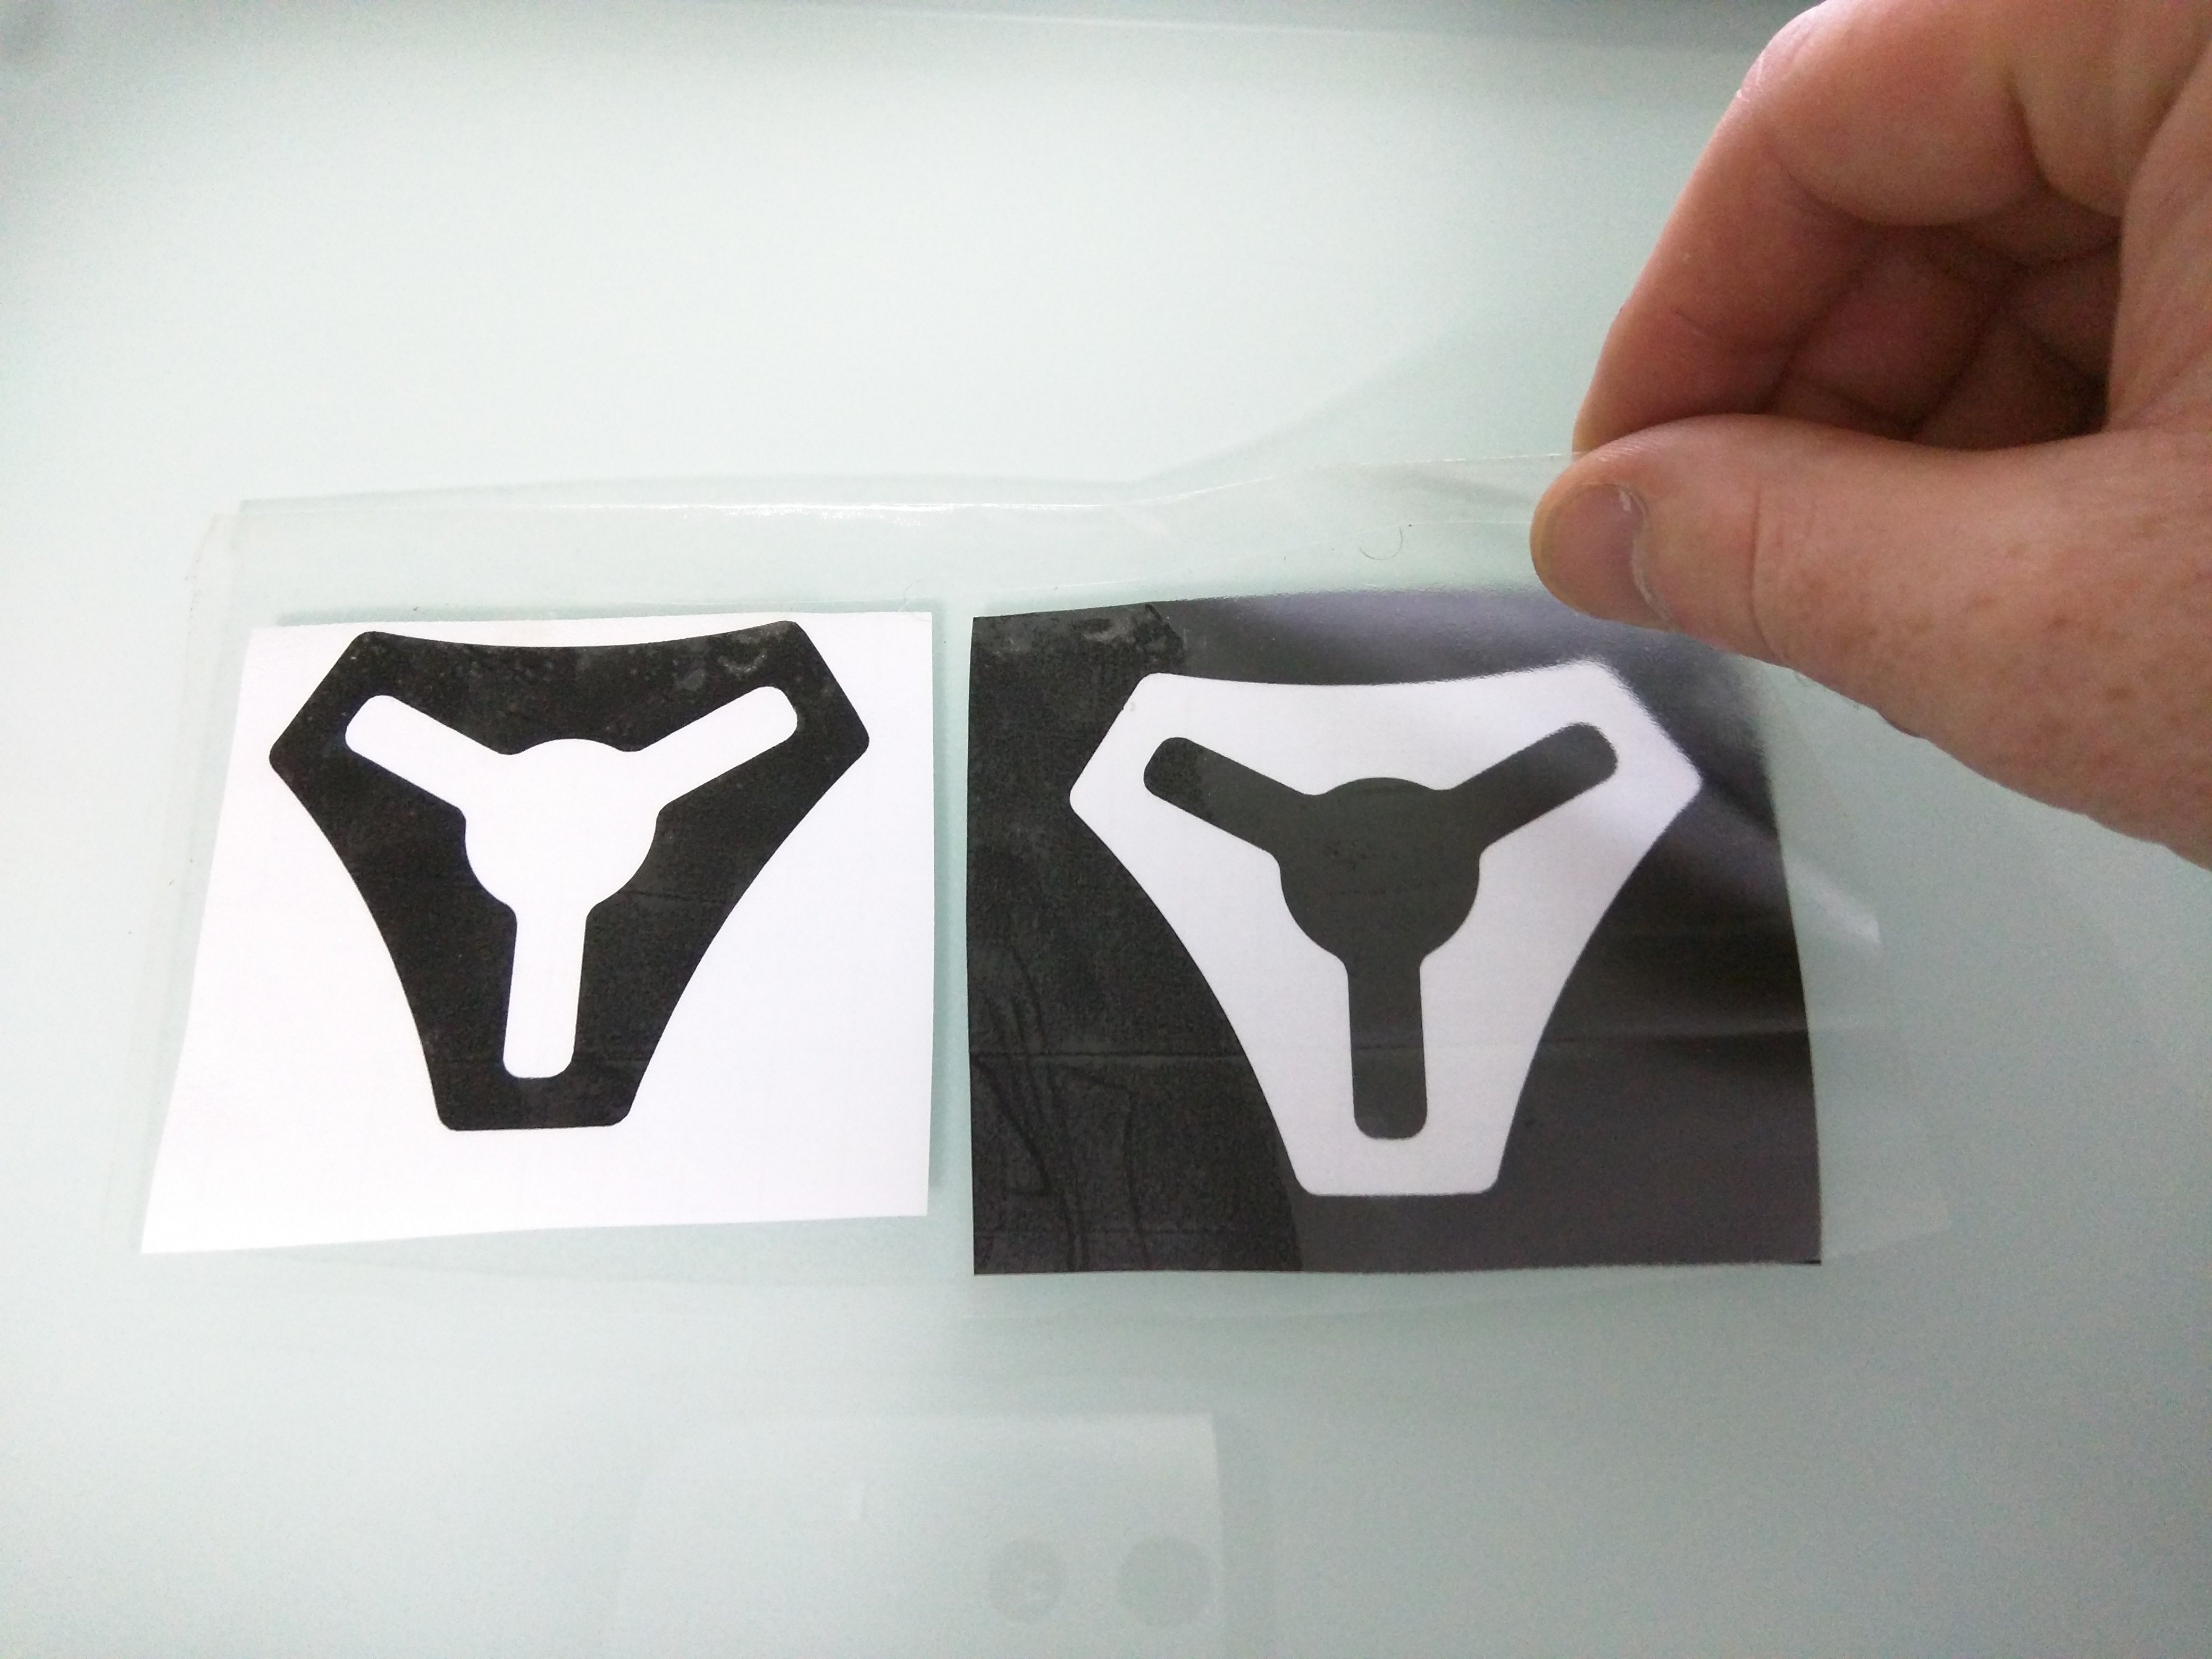
Making a sticker
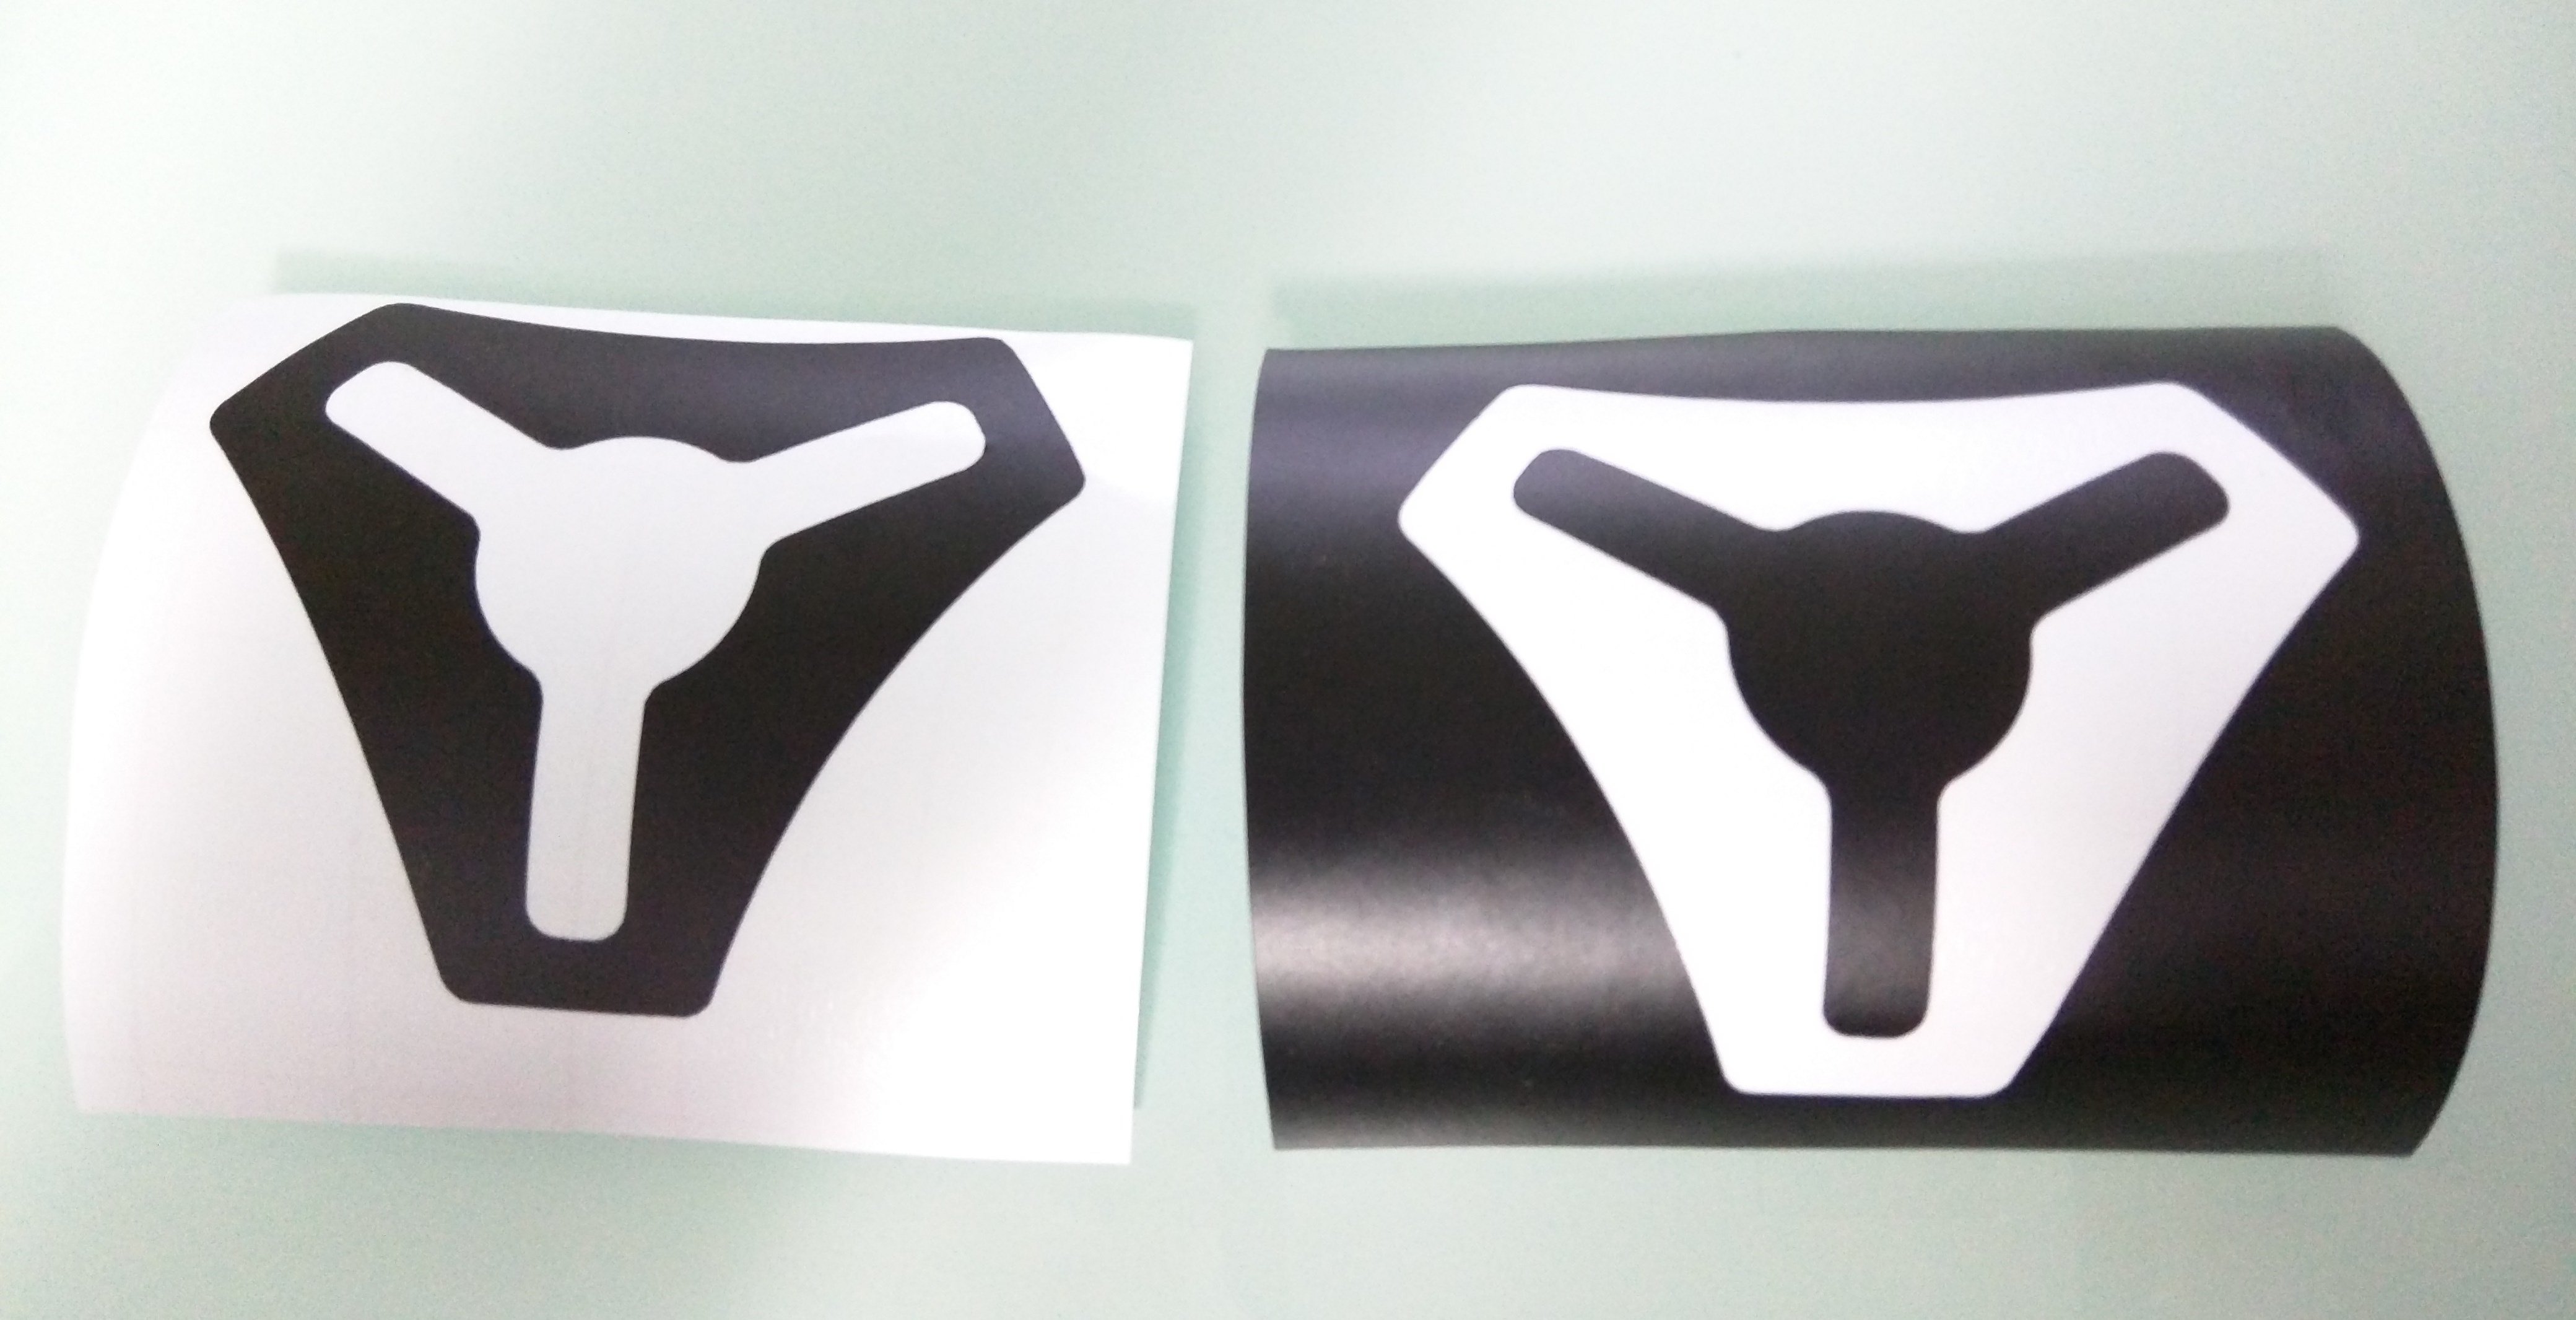
- After the machine is finished you “weed” out the pieces you don’t want. In the pictures I have a positive and a negative. The positive is a typical sticker, the negative is my acid mask.
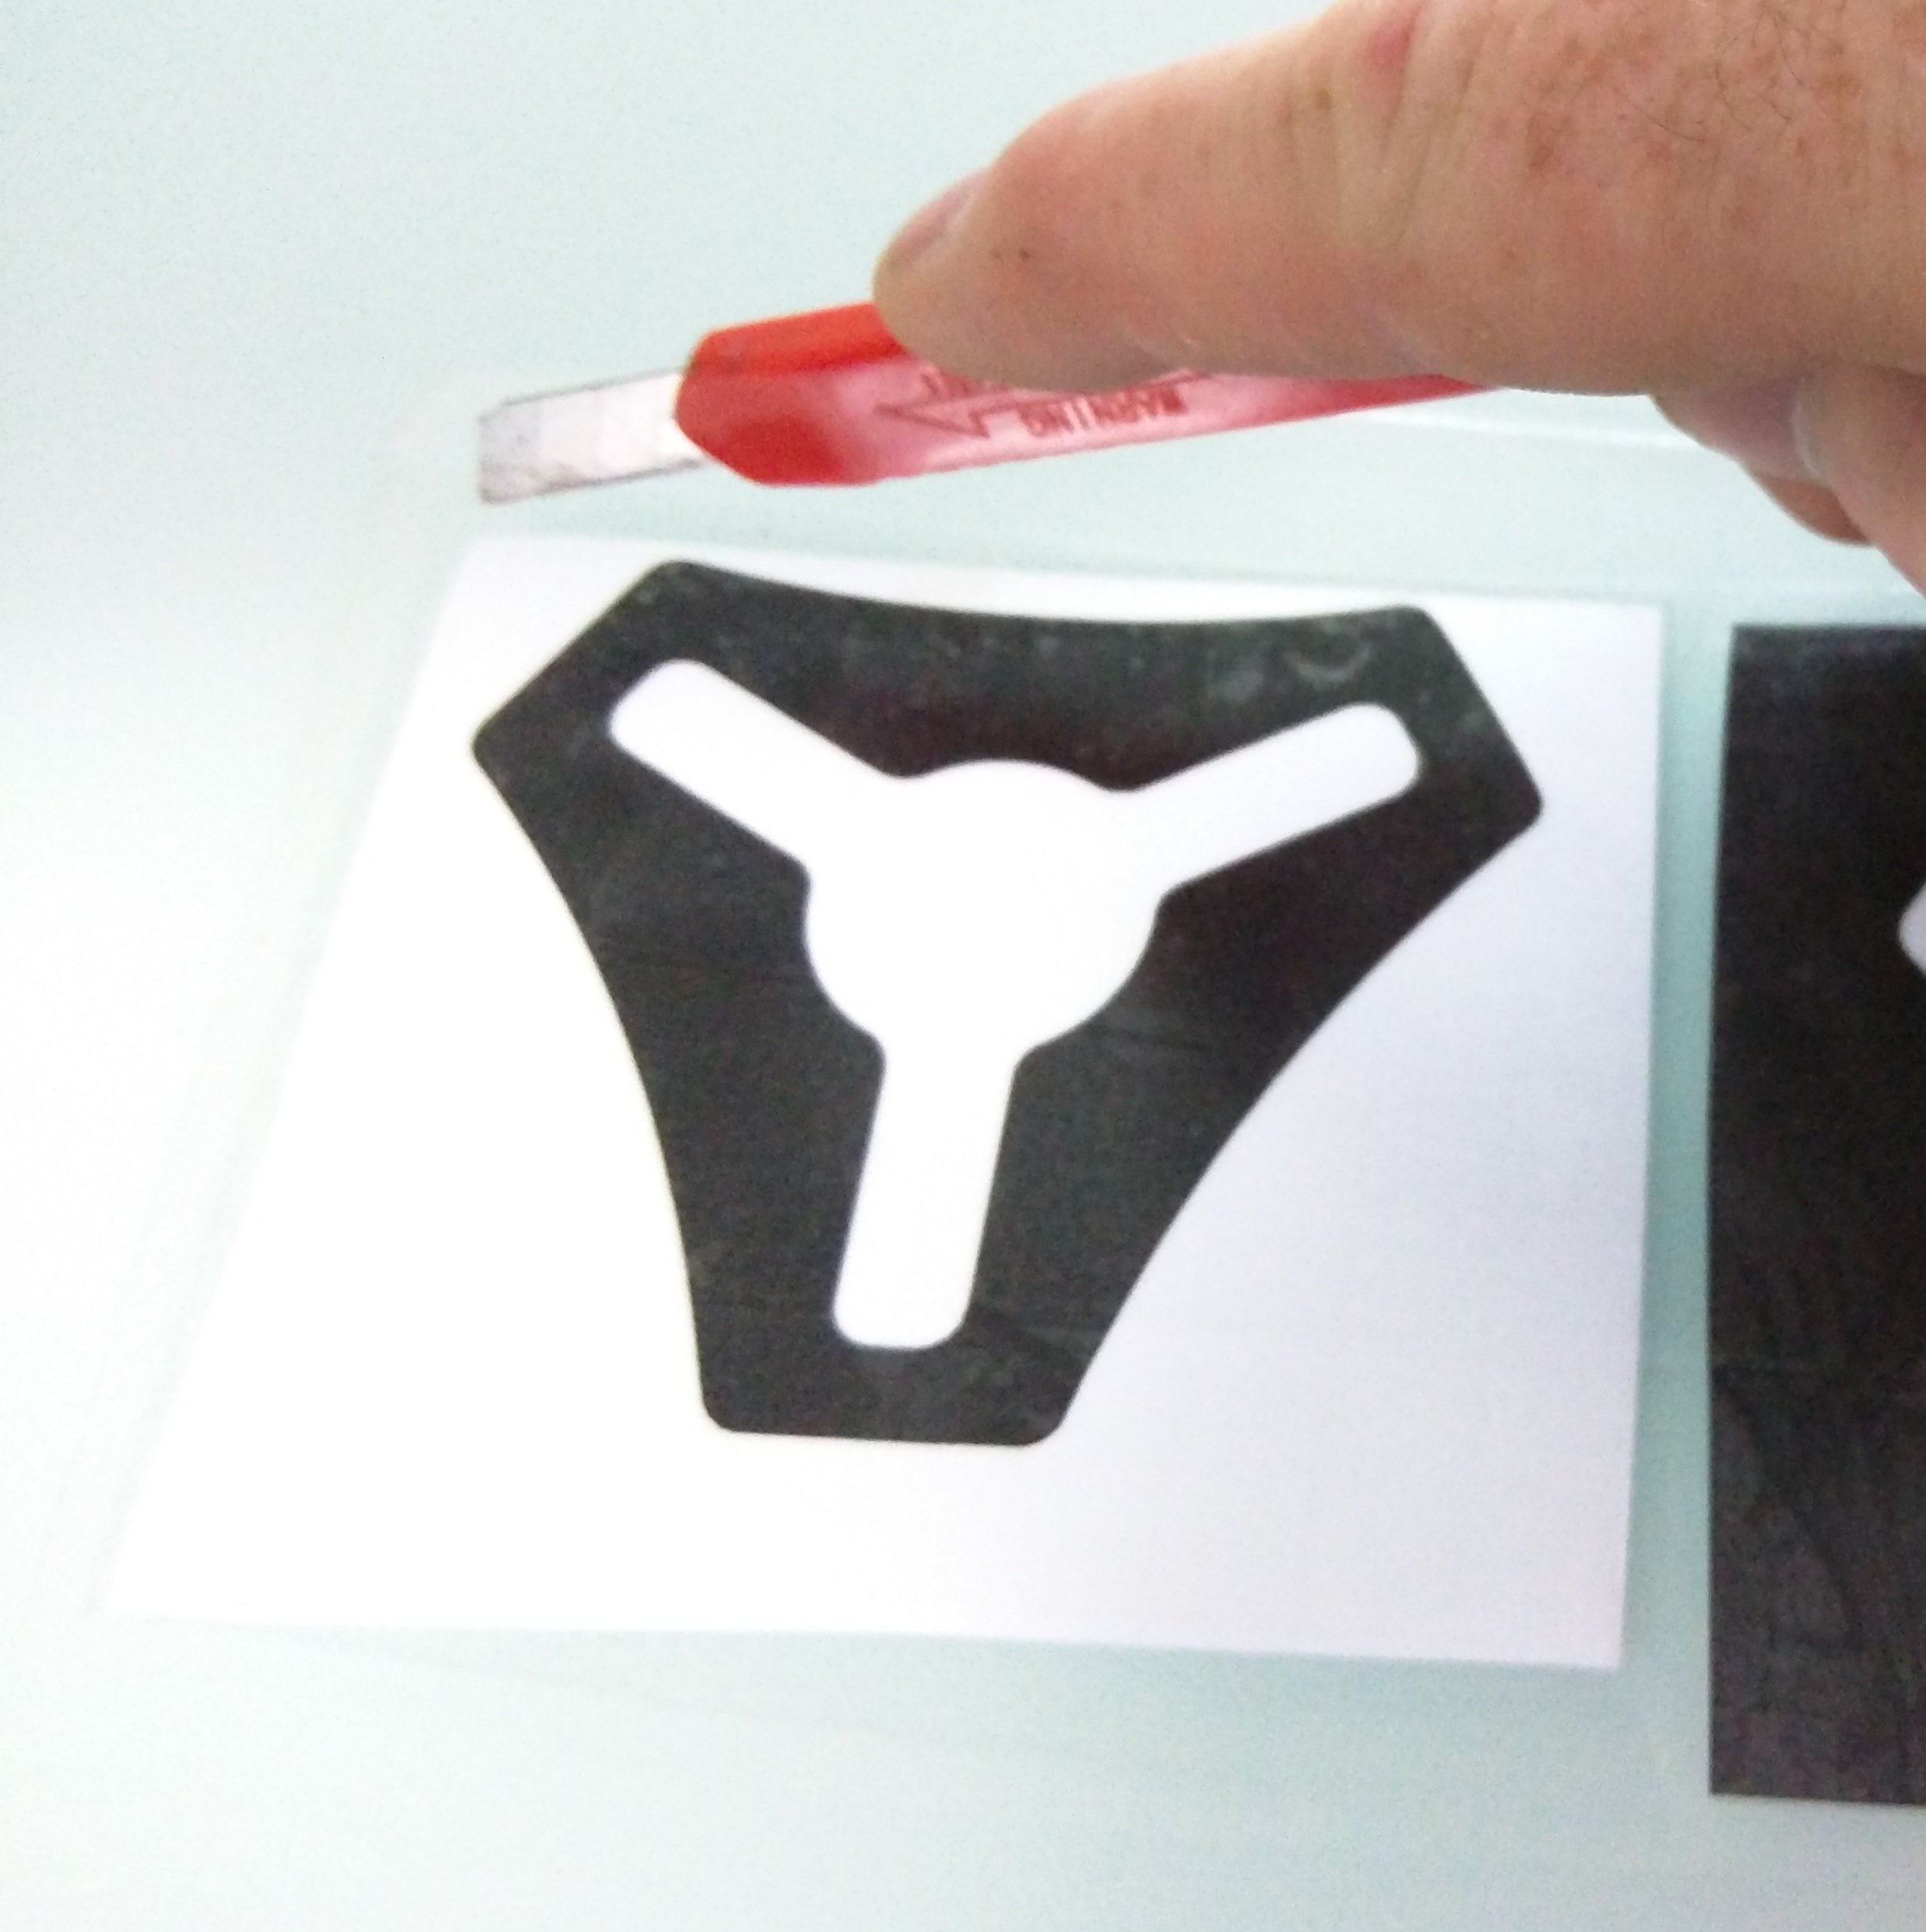
- Apply a piece of the transfer tape on the surface, trying to minimize bubbles between layers, not a big deal just best practice. Easiest way is to oversize the transfer tape and use it to tape it to a glass surface.
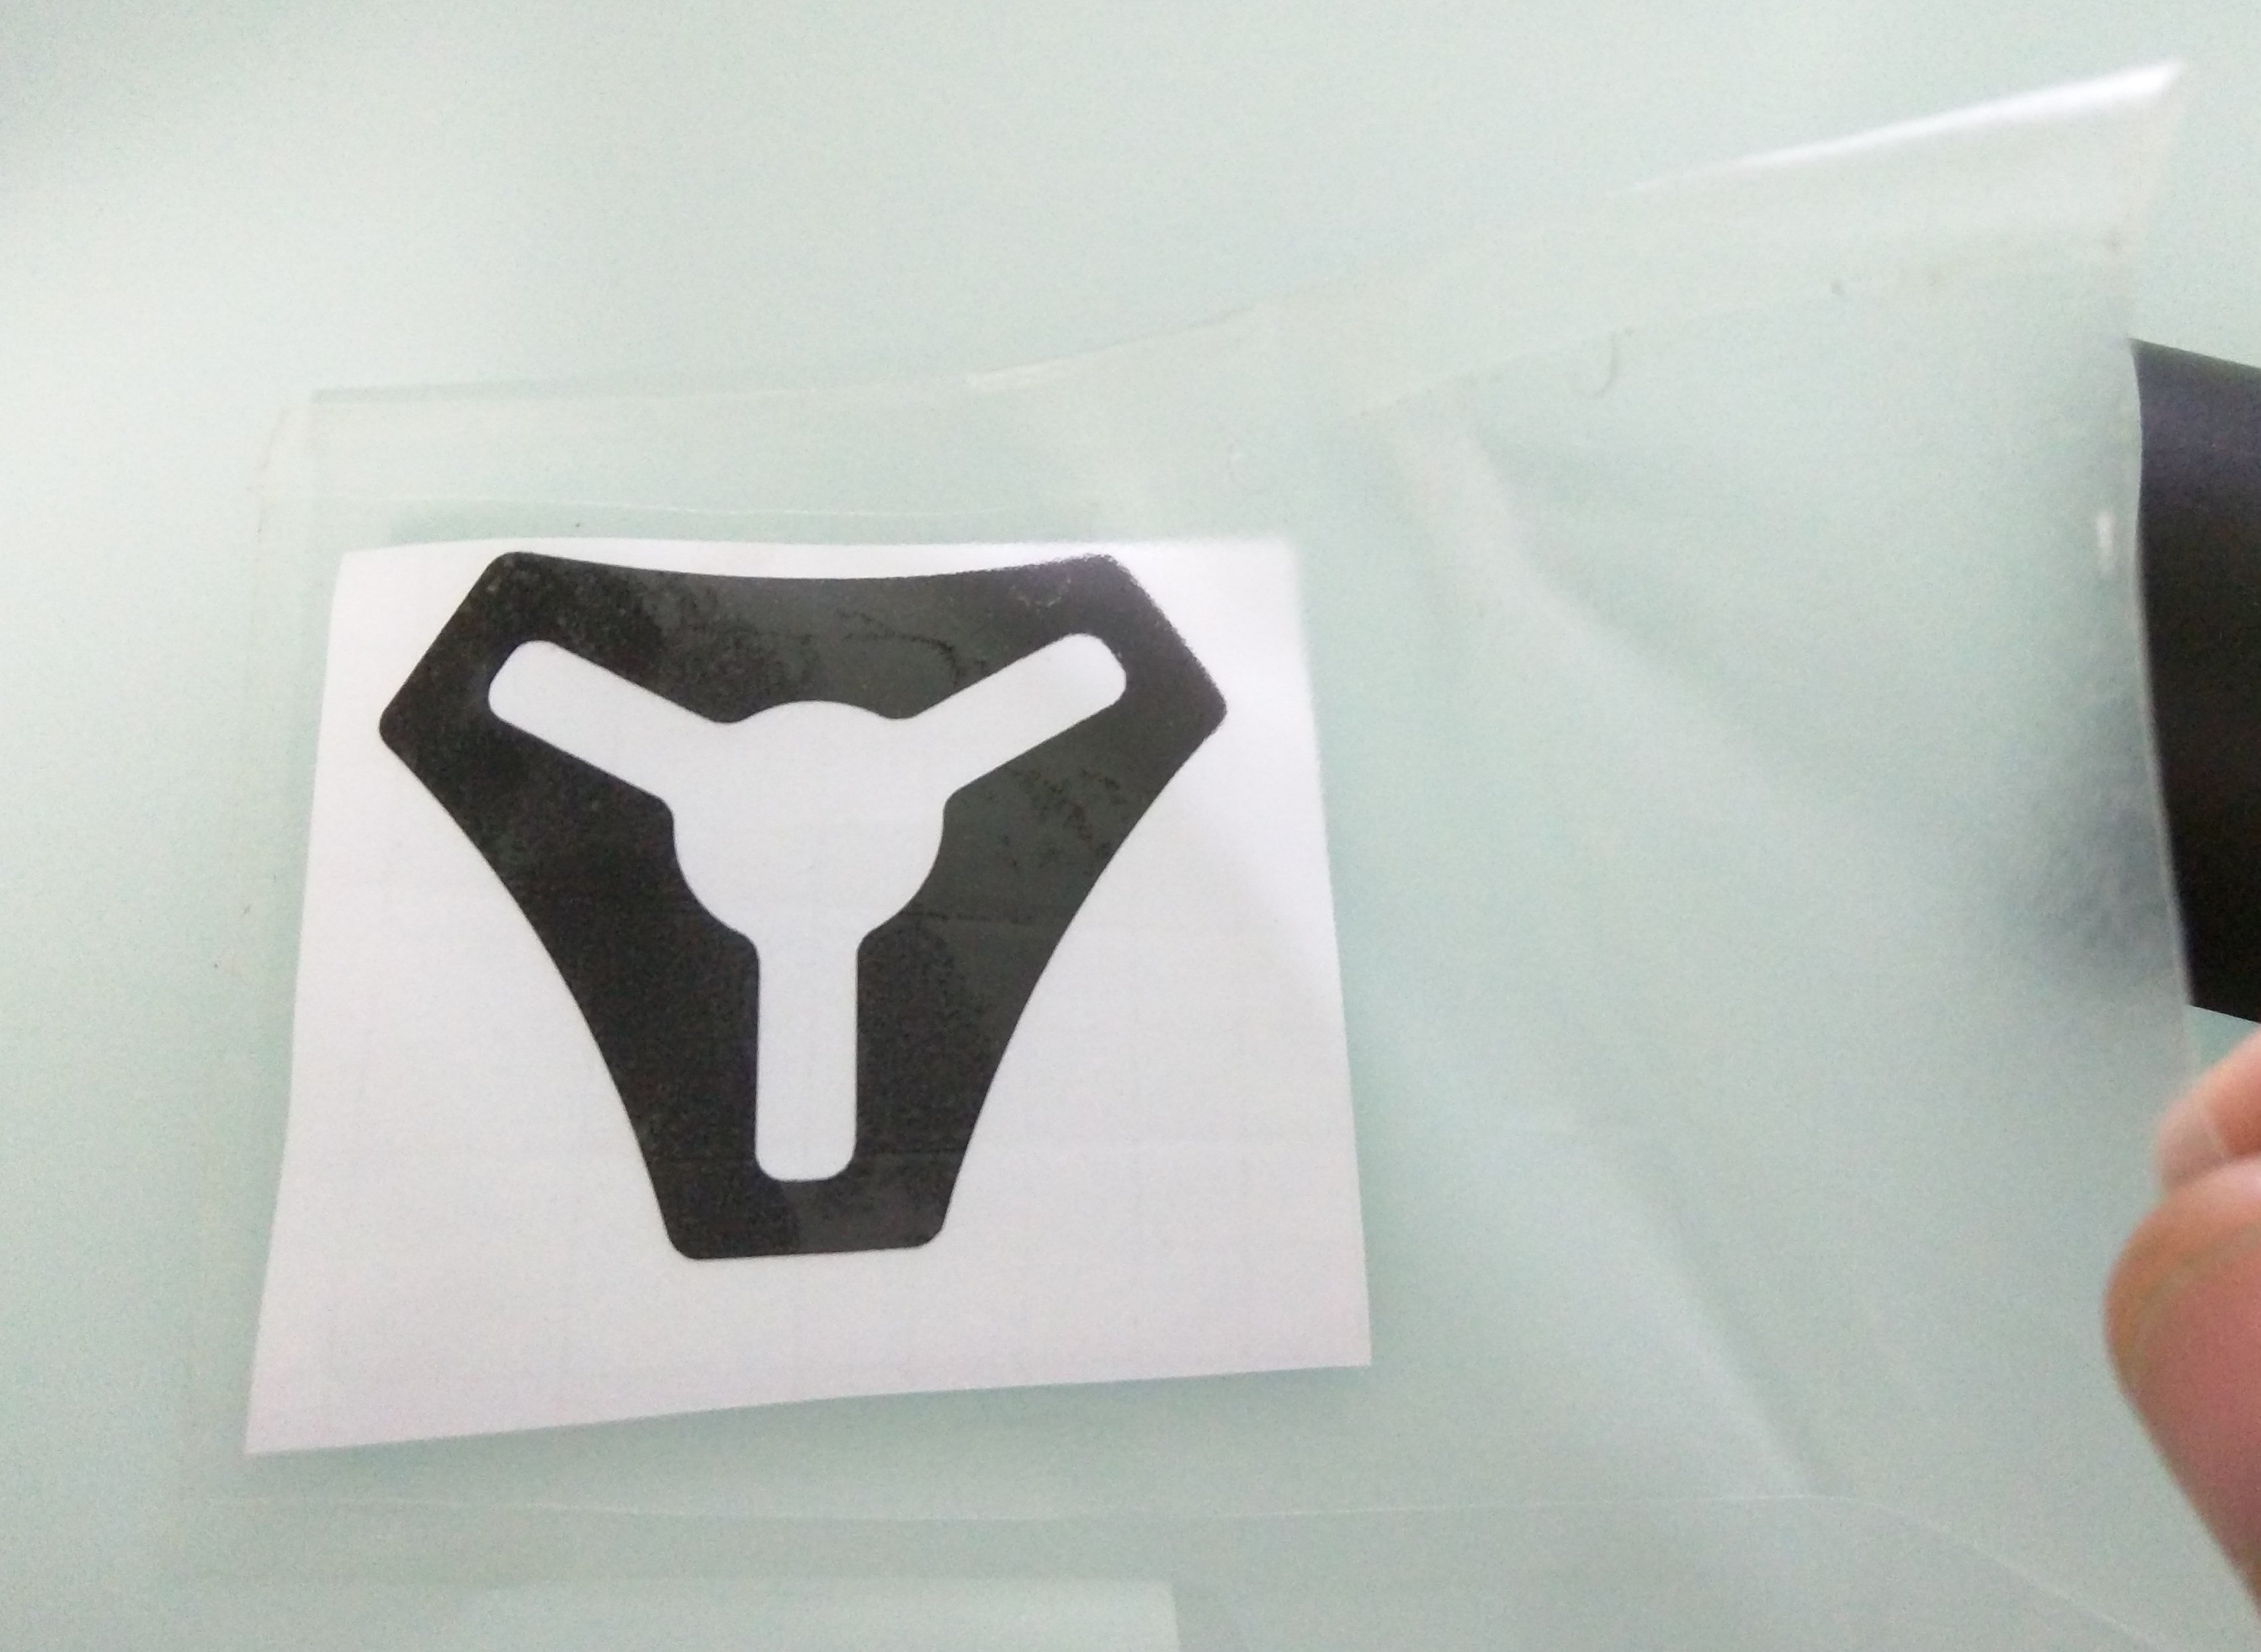
- You can do multiple “stickers” at once.
- trim the transfer tape and the backing at the same time. Bonus points for using a straight edge…
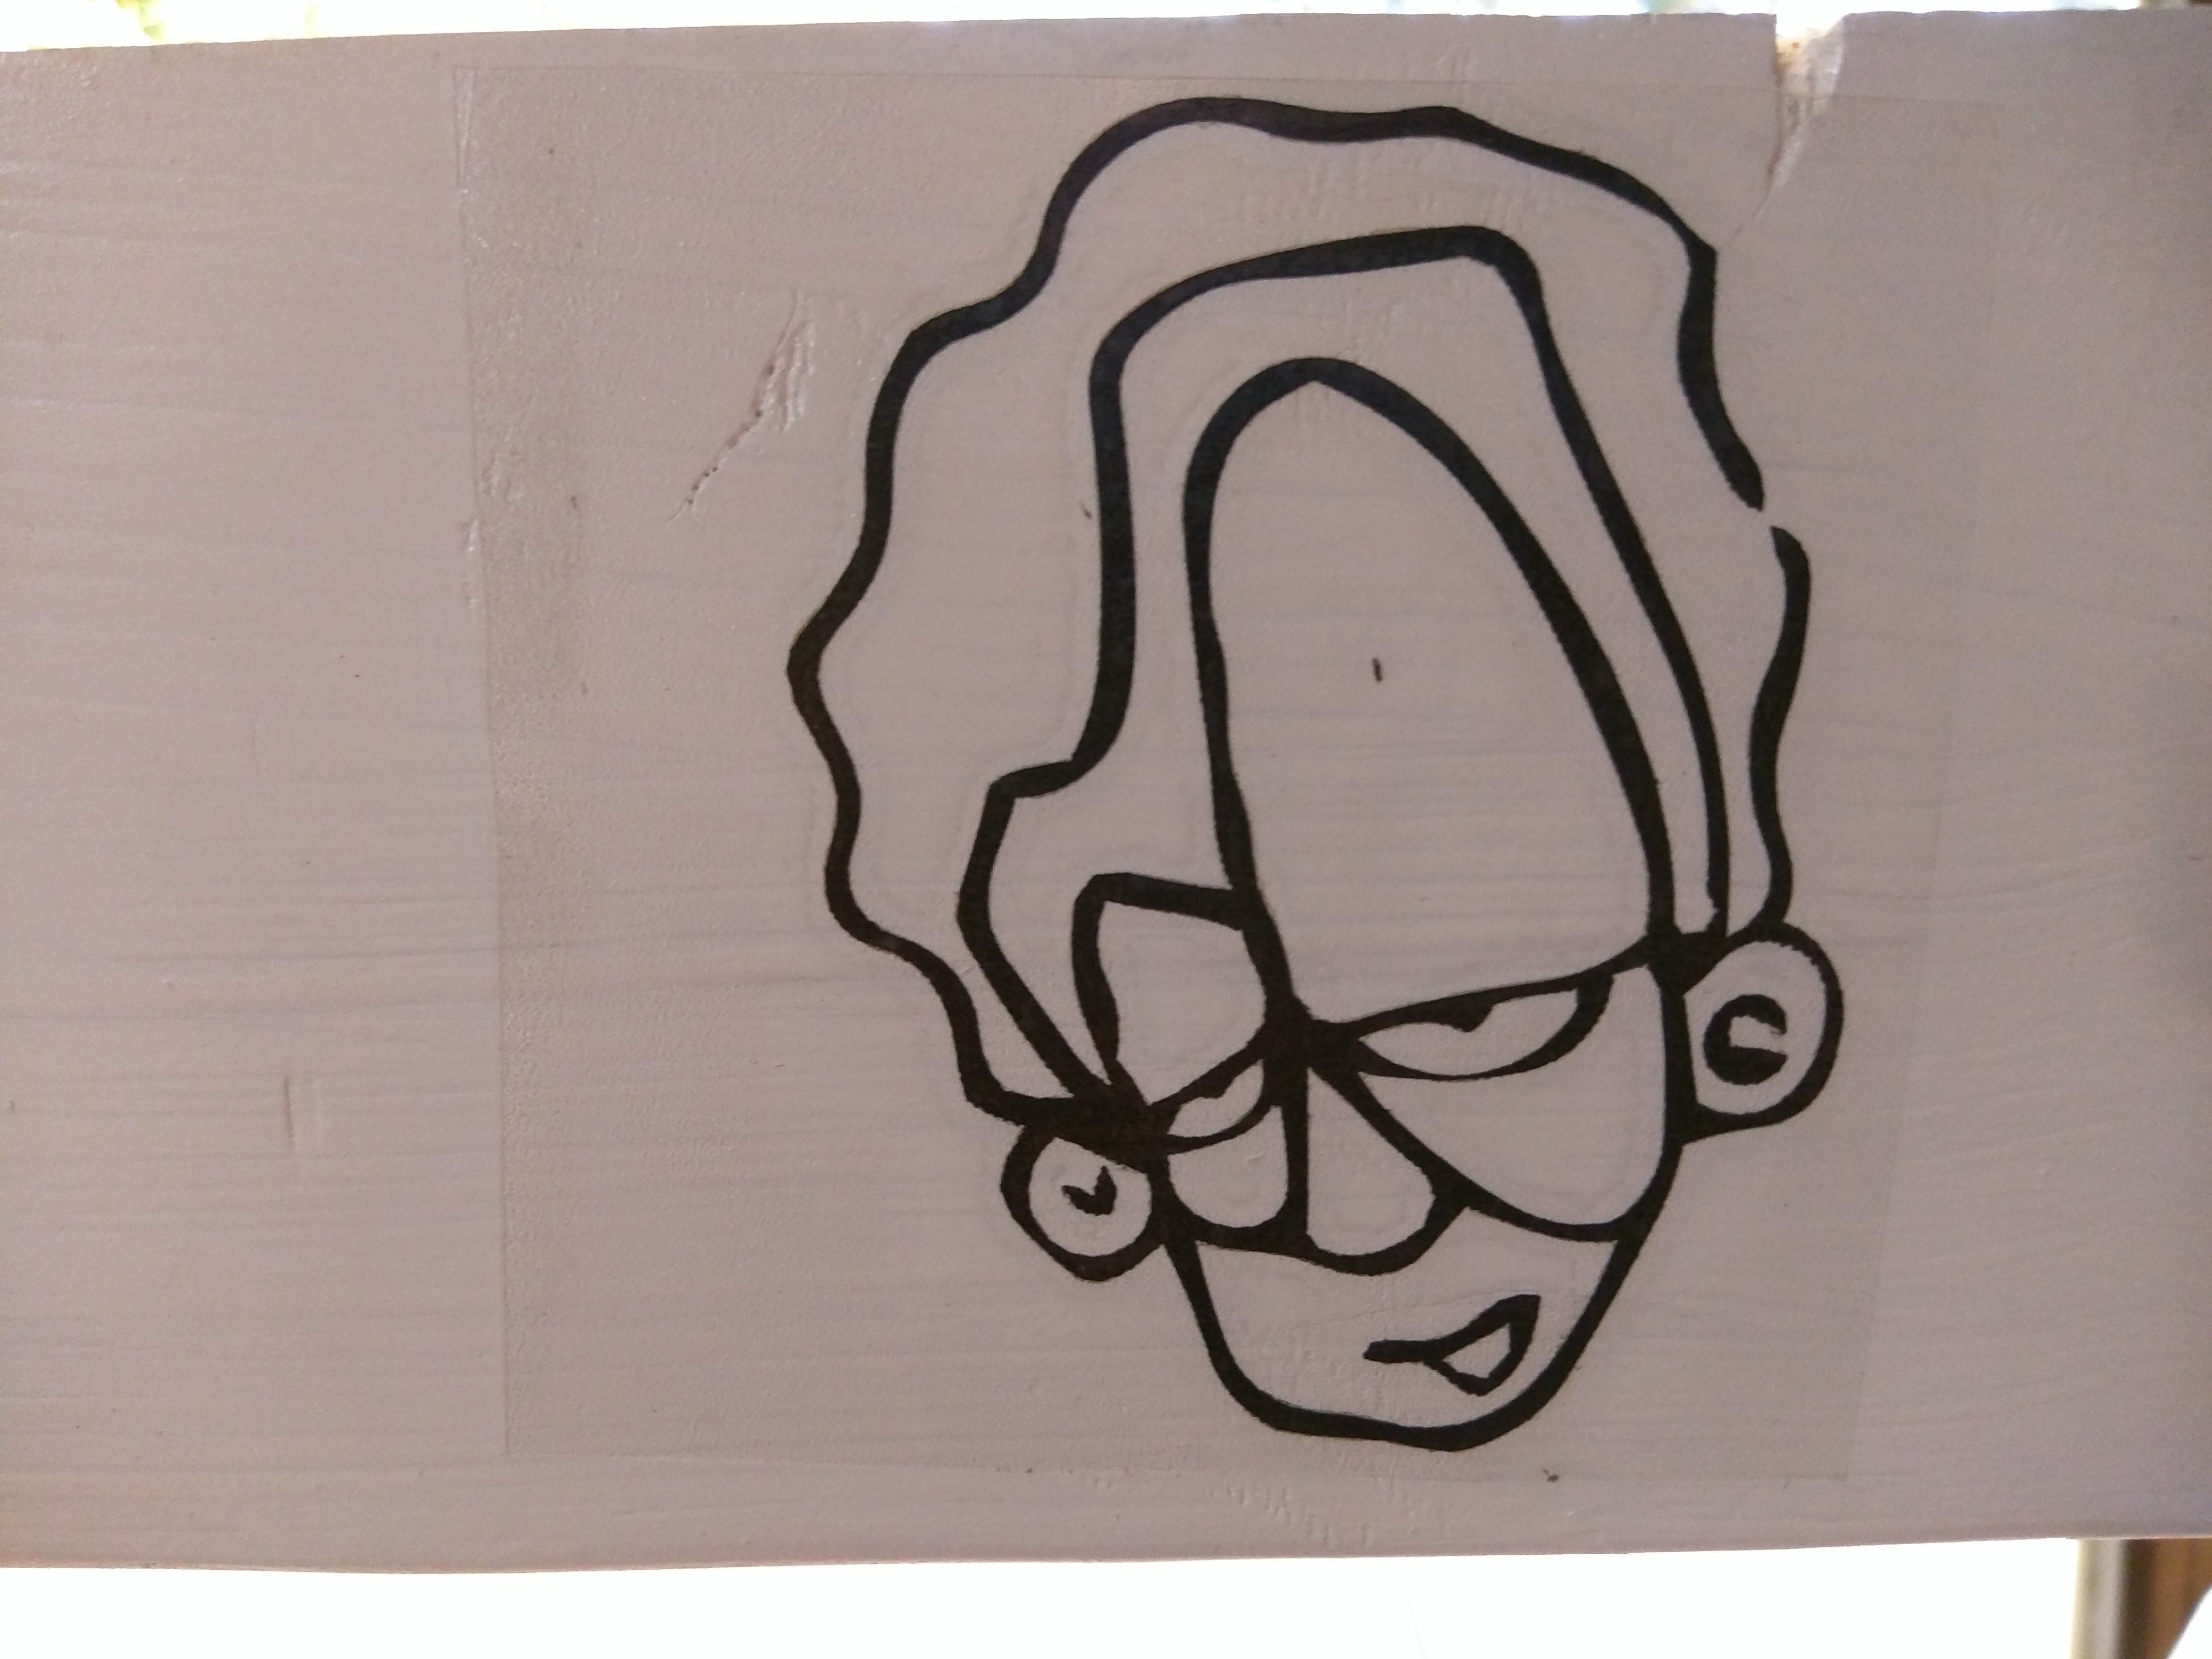
Applying a vinyl sticker
- Peel the backing paper off.
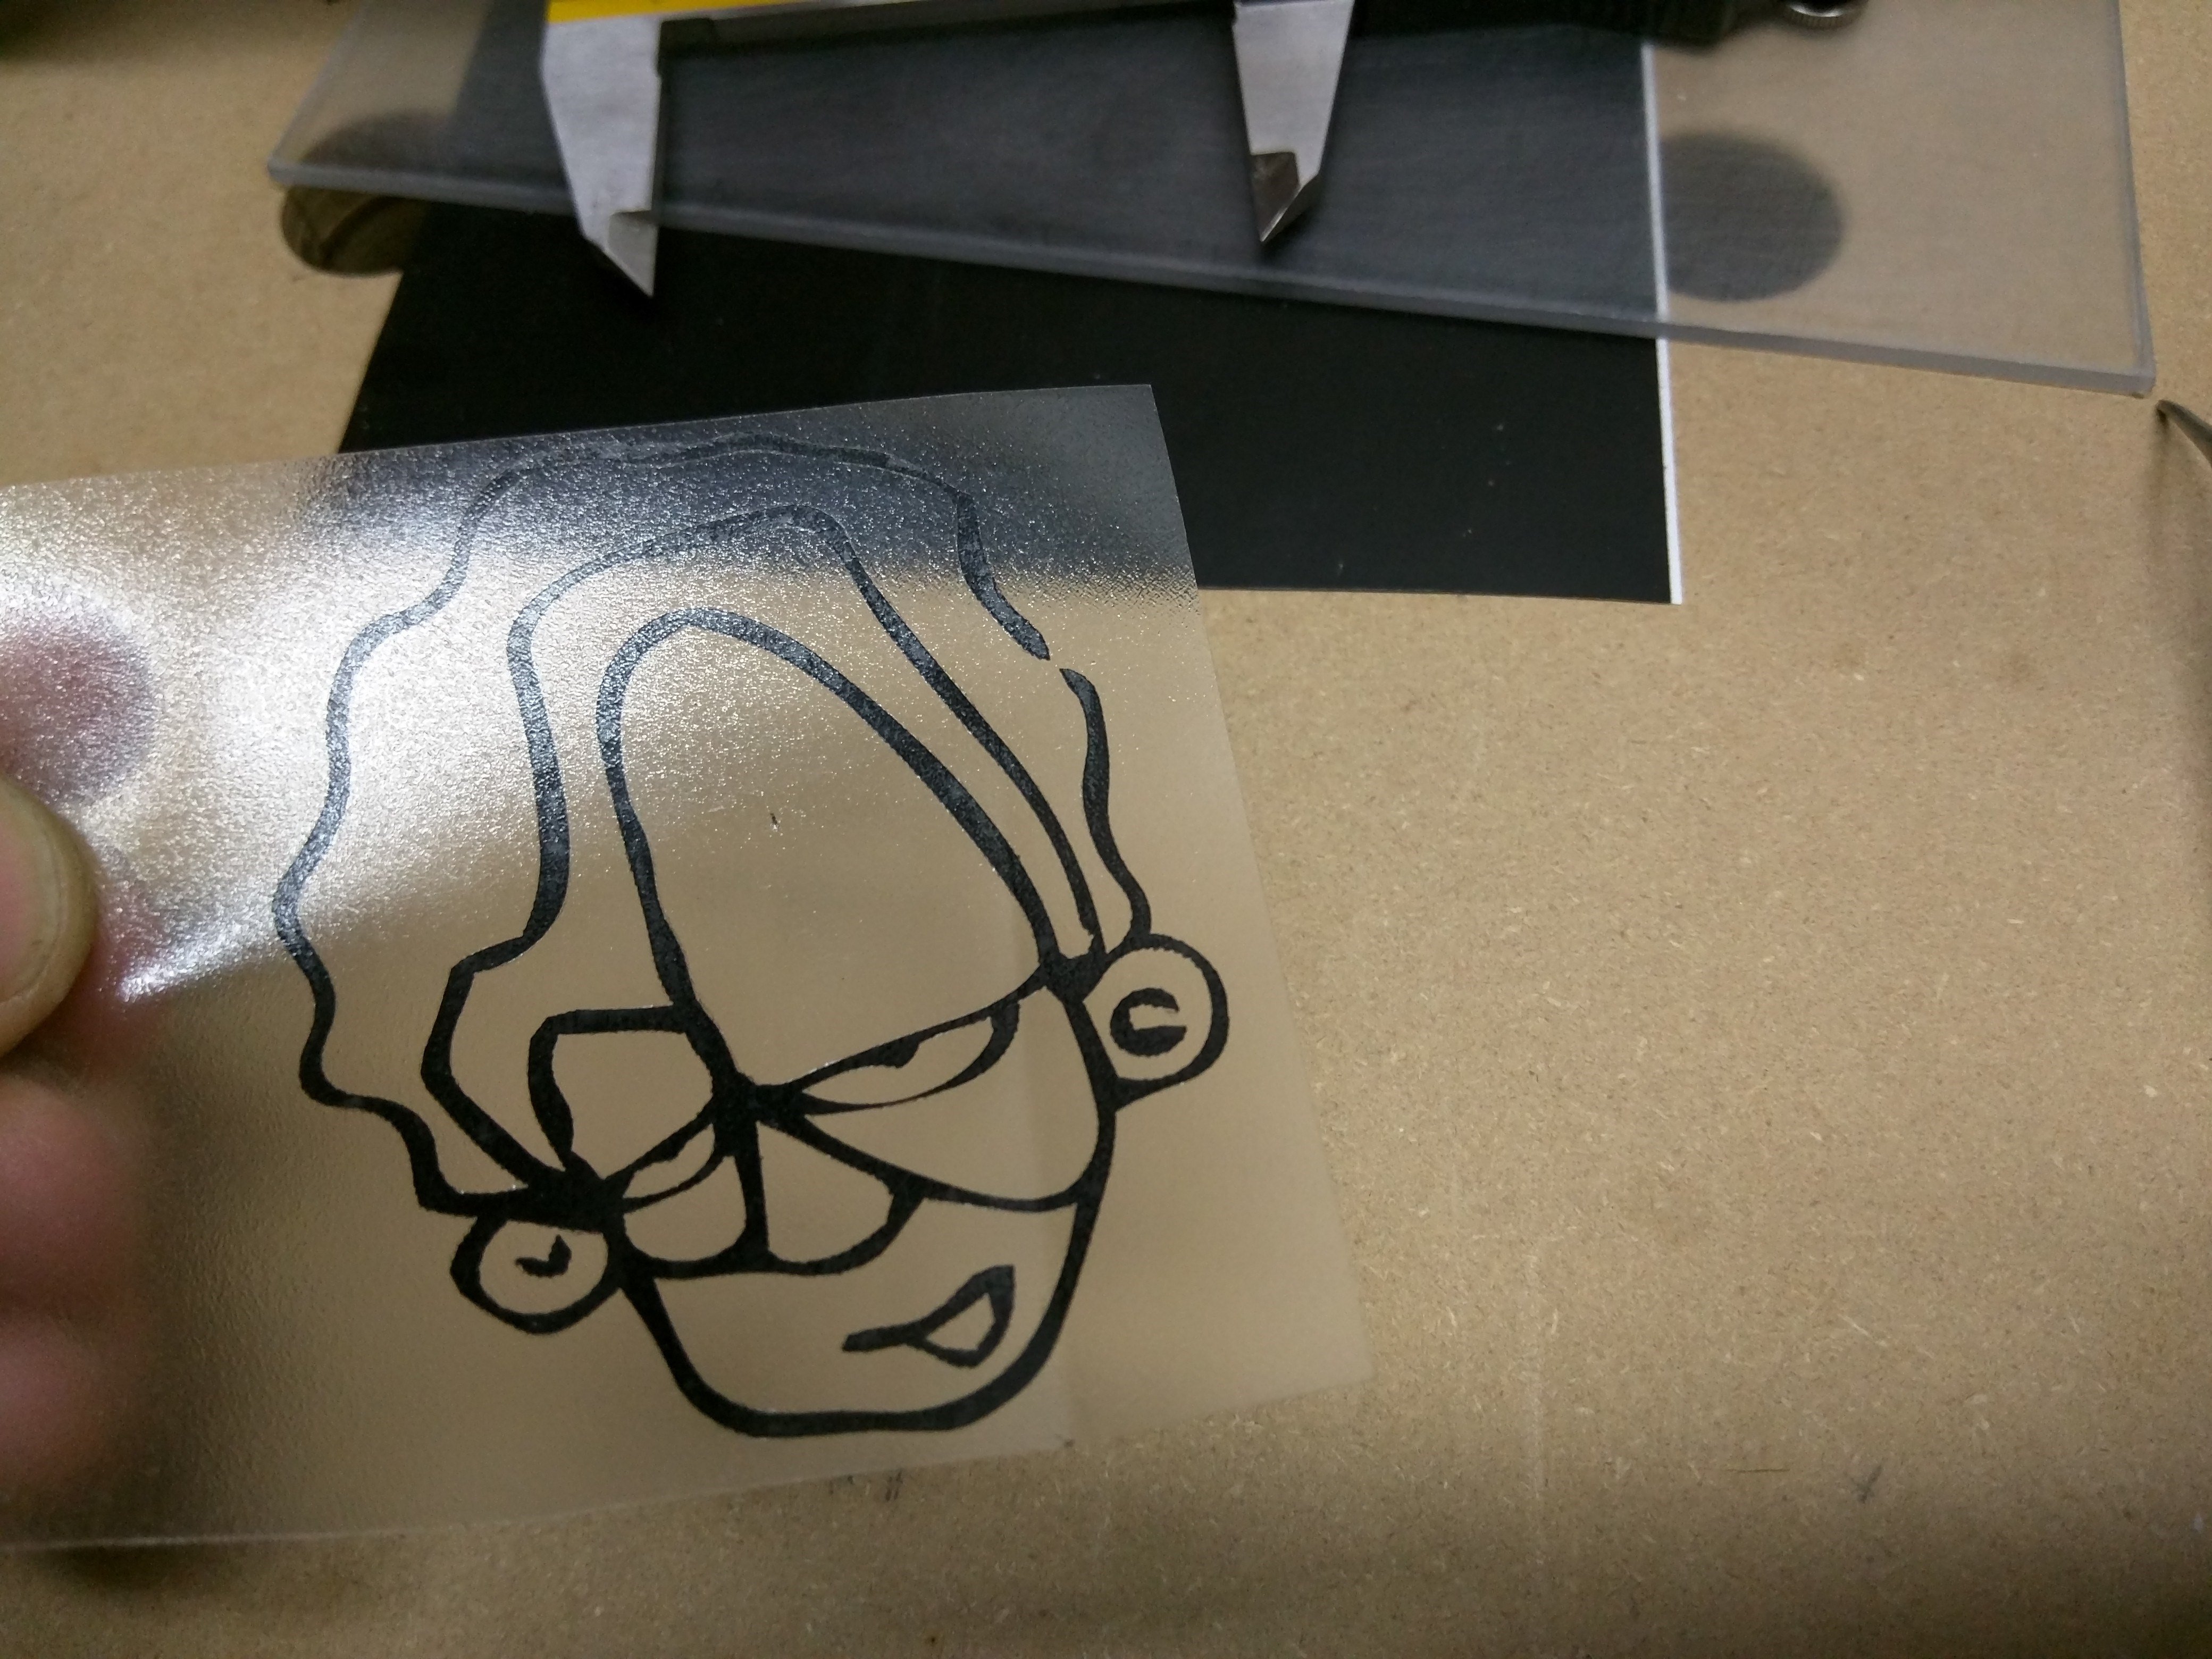
- Stick the vinyl and transfer tape to a clean surface.
- Carefully peel the transfer tape off, pulling at a 90 angle is best practice.
- Enjoy!
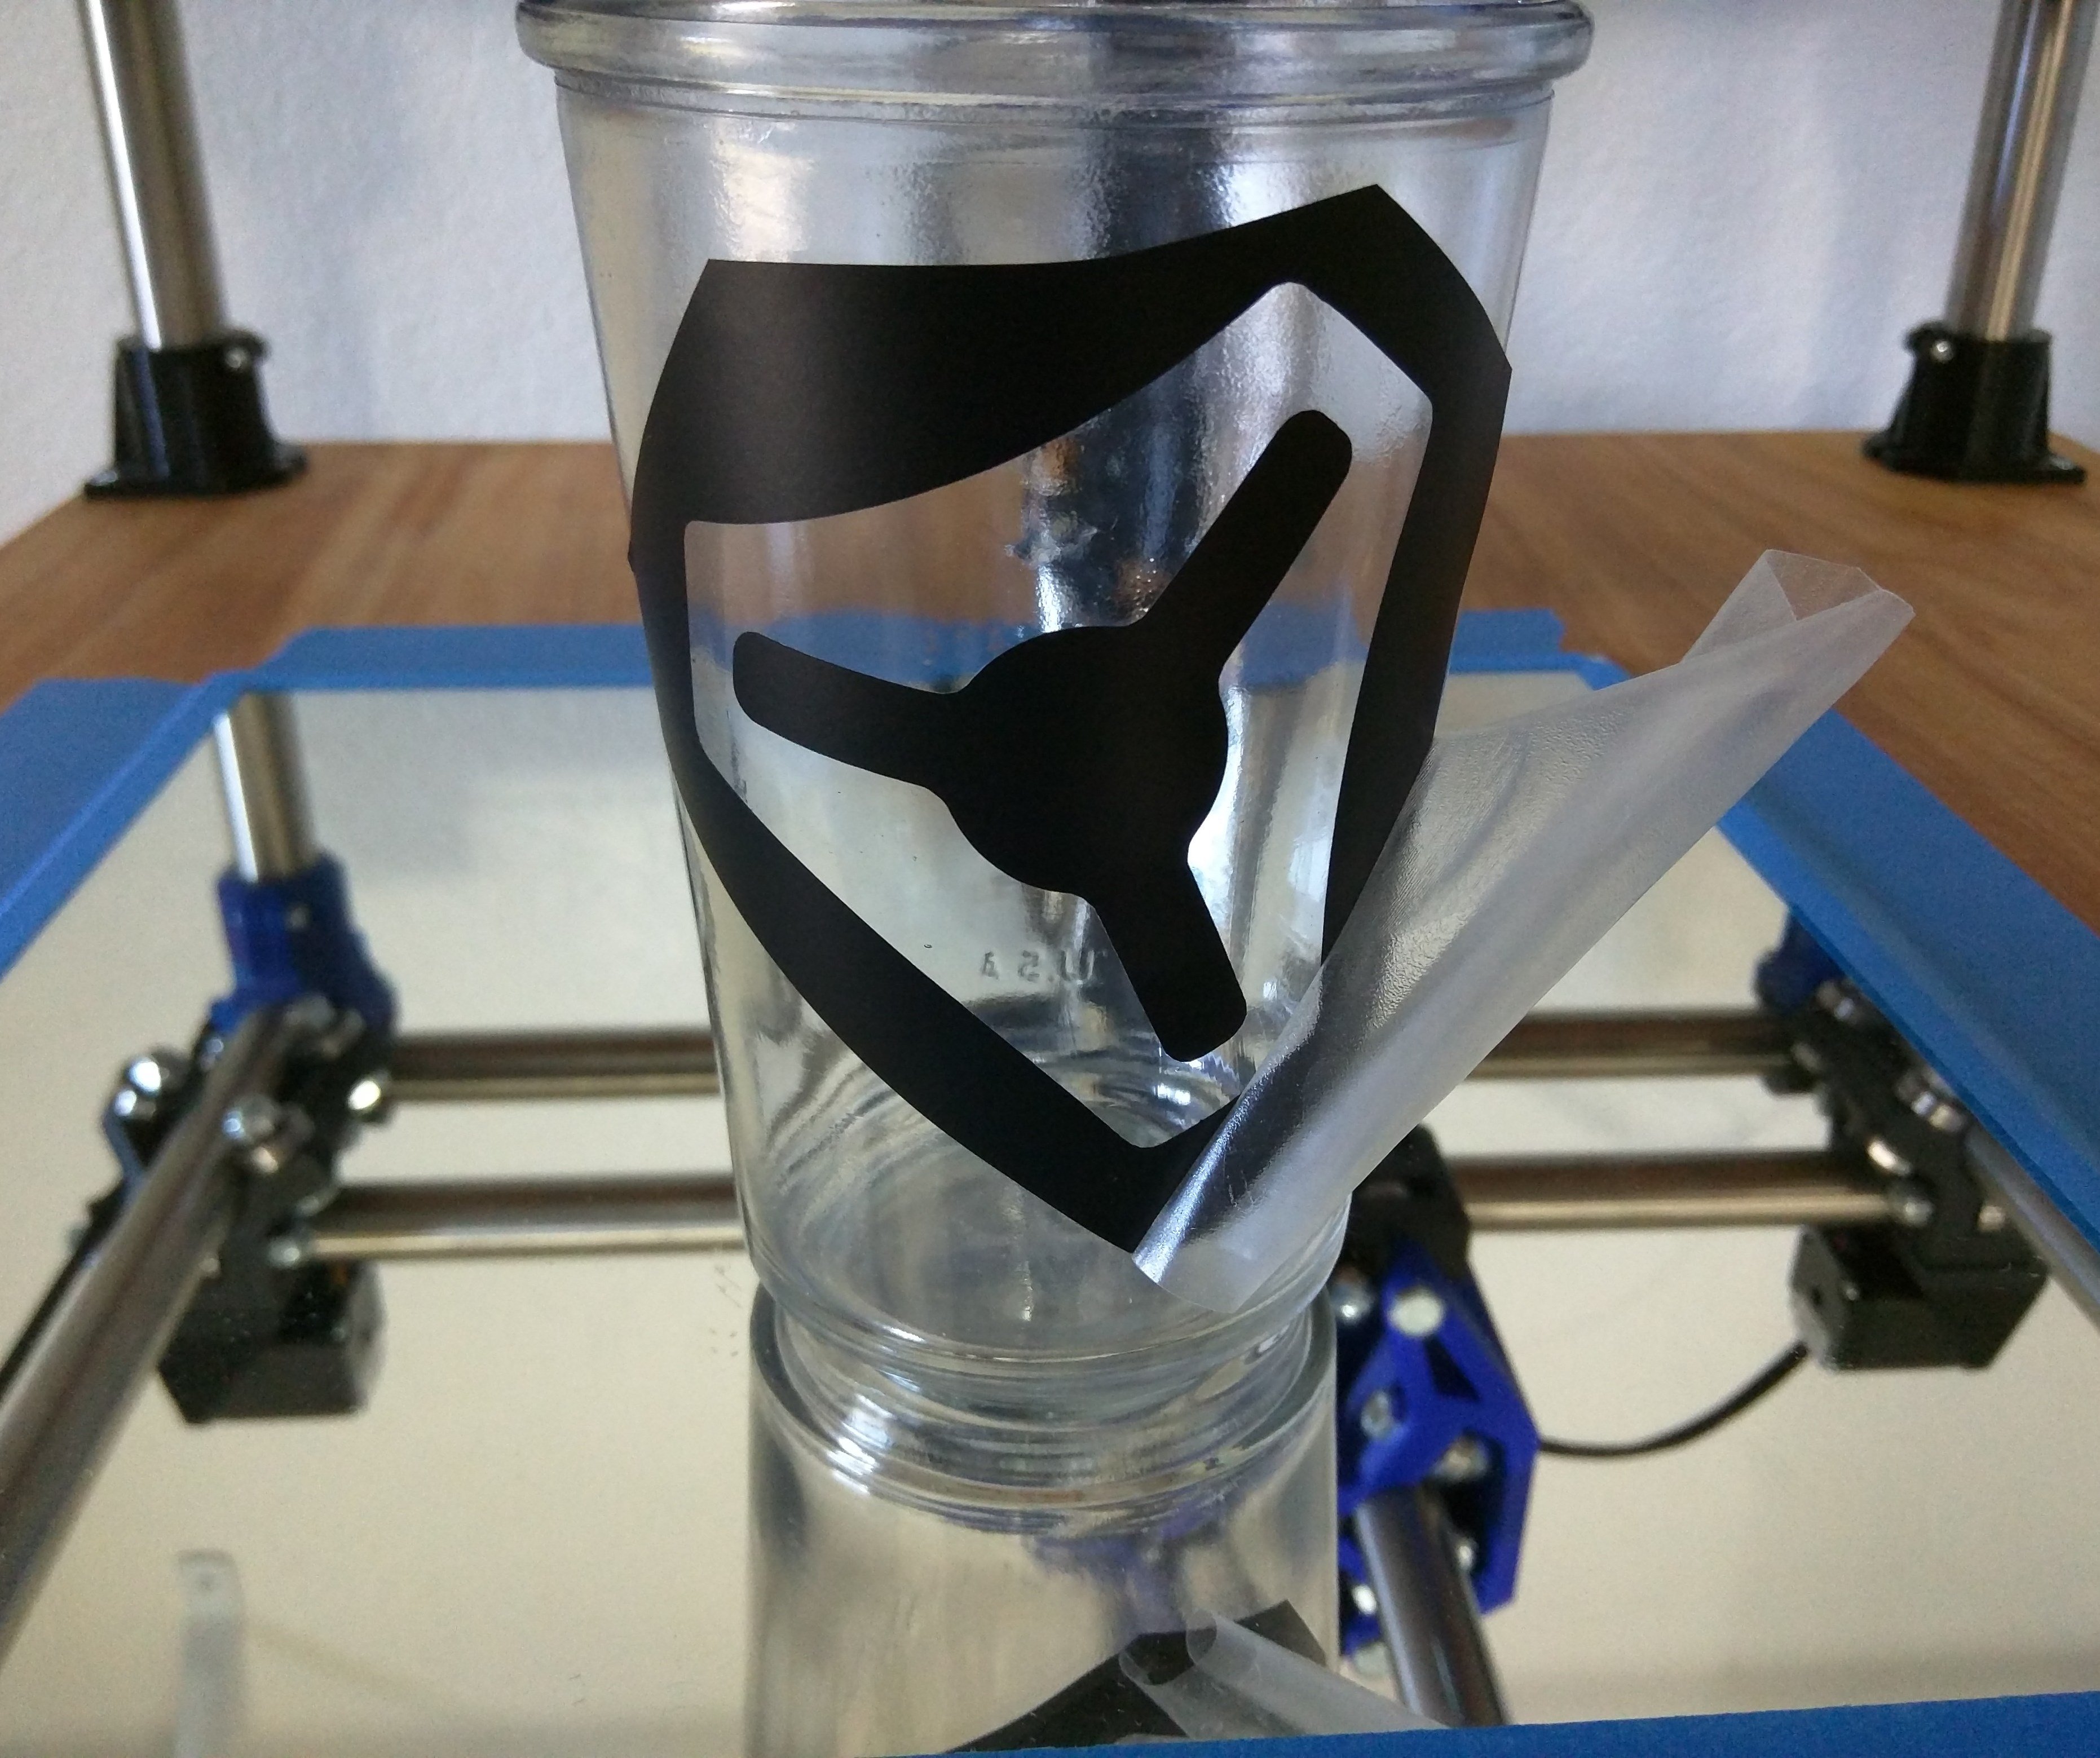
Acid Etching Glass
- Make sure to clean the glass surface thoroughly.
- Peel the backing and apply the mask from the center for easier alignment.
- stick down one side from the center out, then the other side.

-
Peel off the transfer tape and make sure all edges are completely stuck so acid cannot get under it.
-
I use this acid, http://amzn.to/2fpM1zK.
- Follow the directions, shake and apply liberally to the surface.
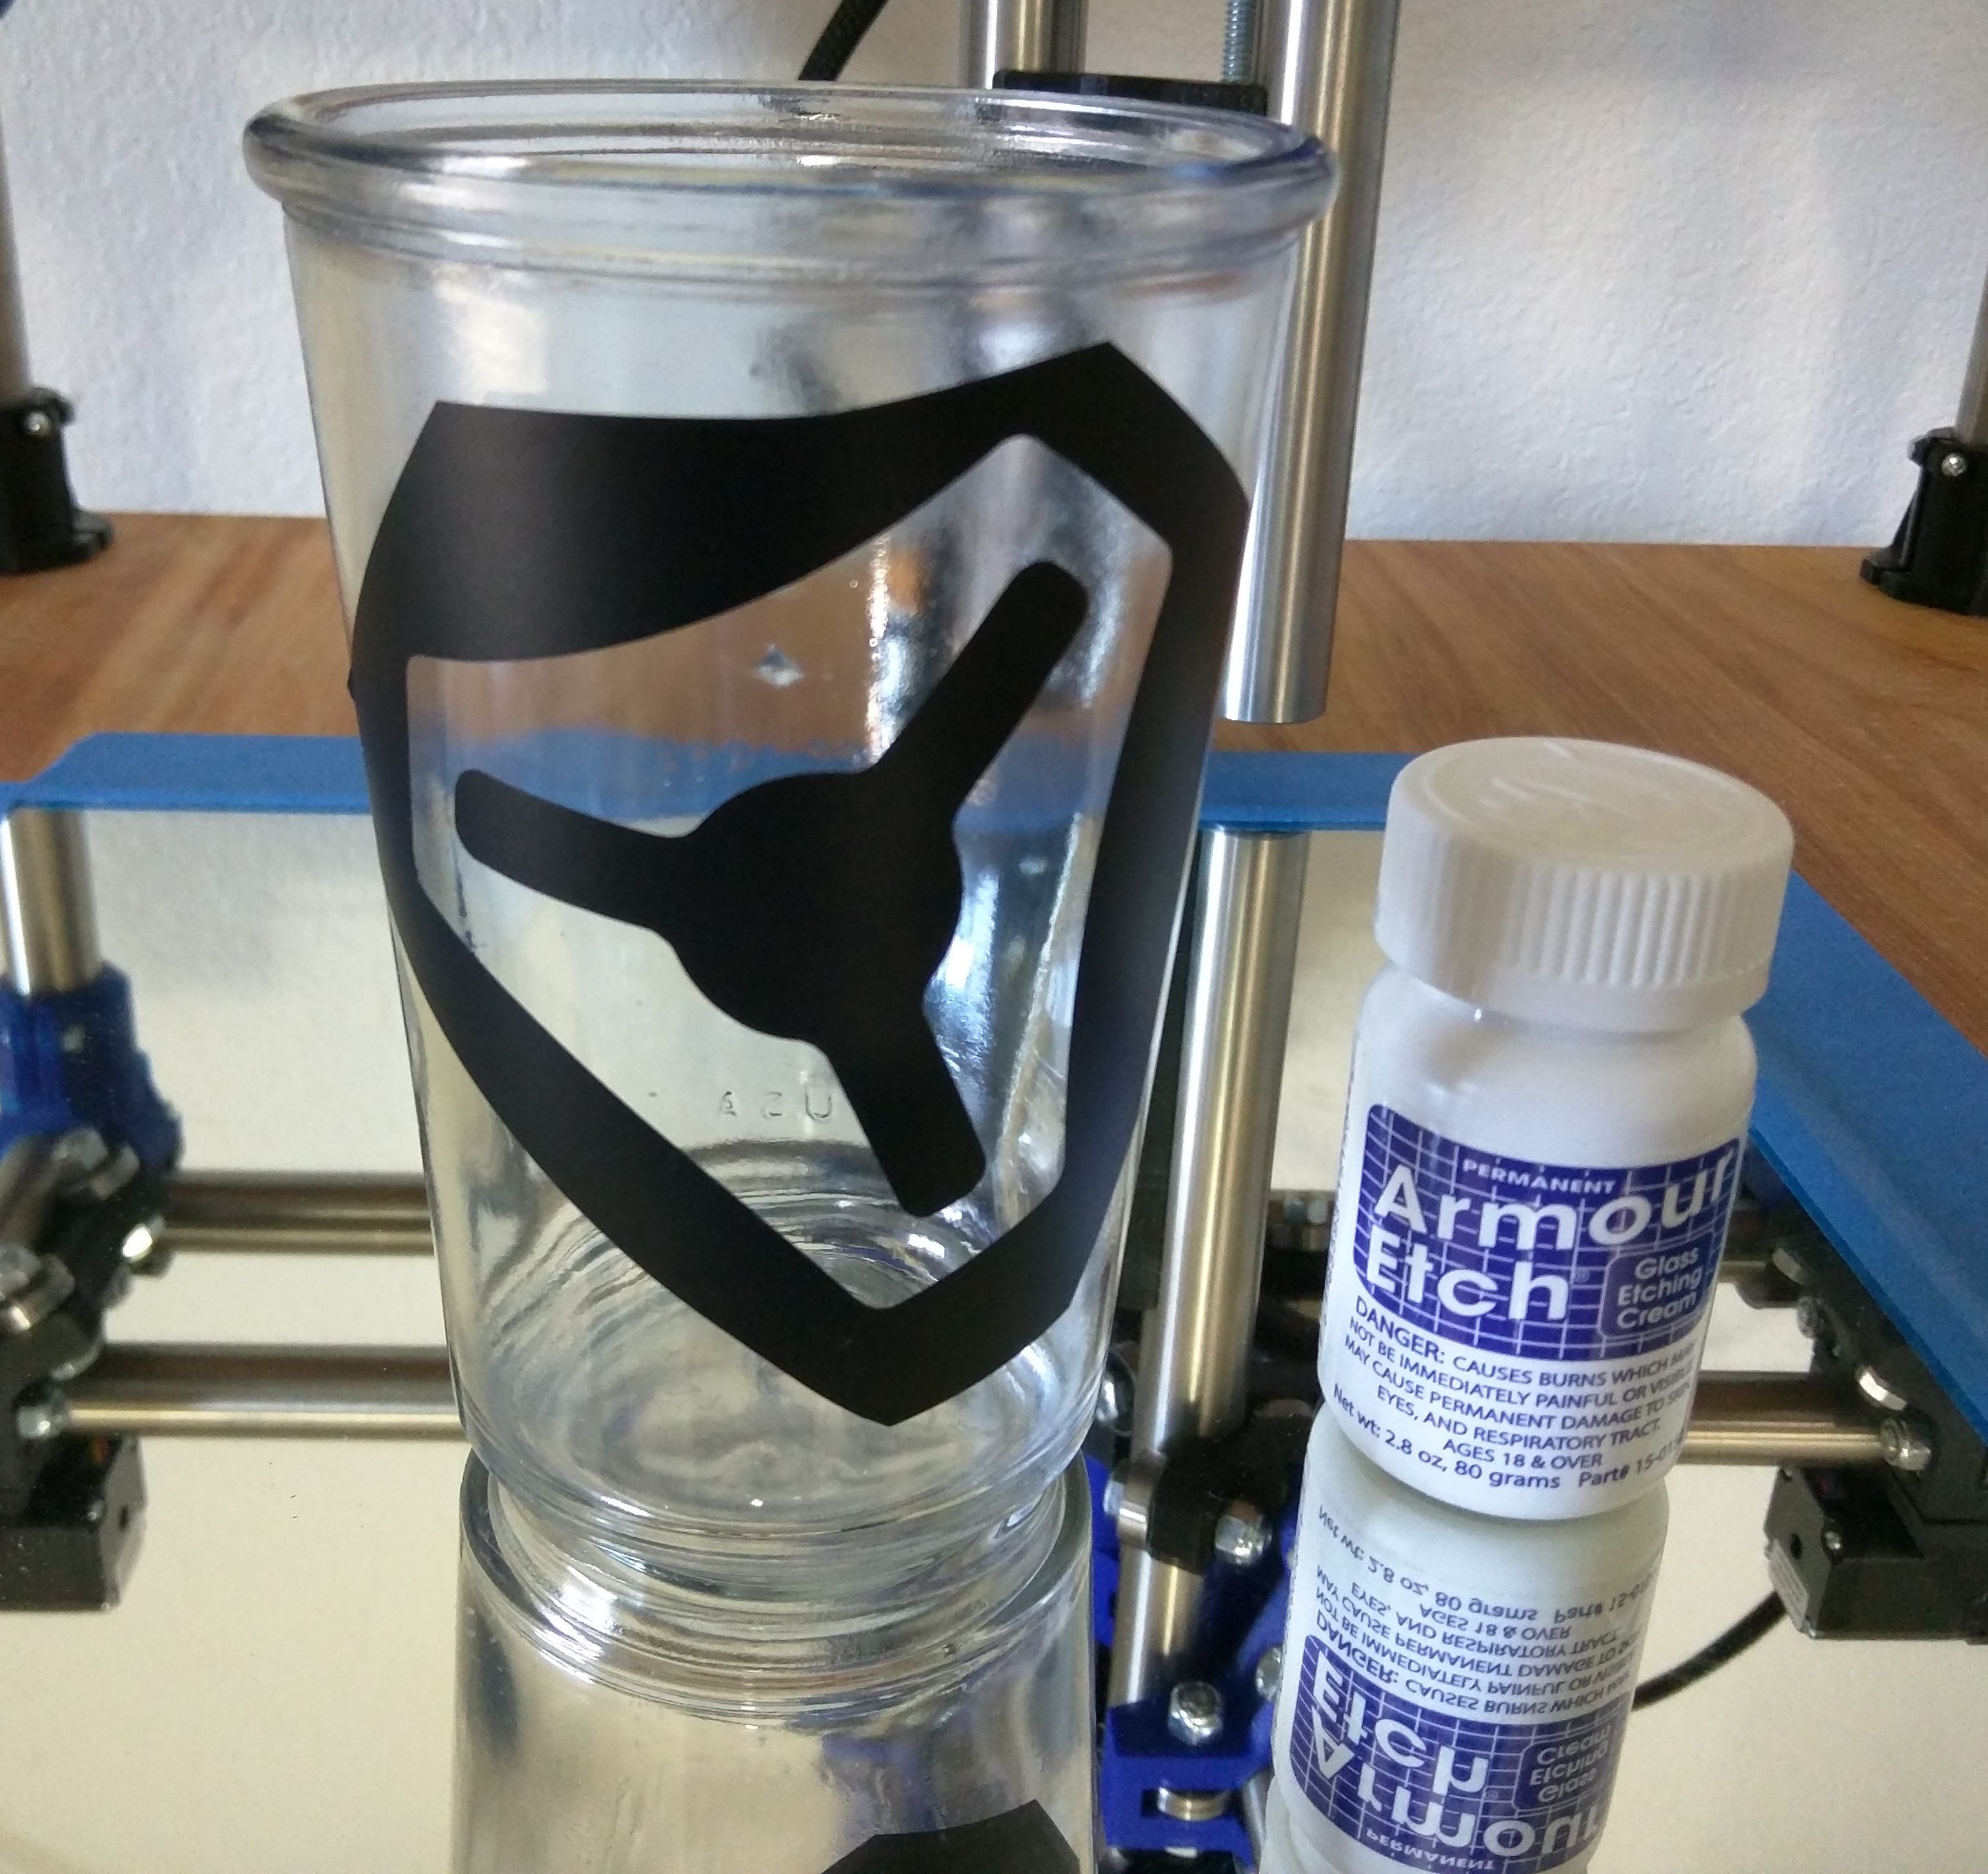
- Let is sit for about 10 minutes.
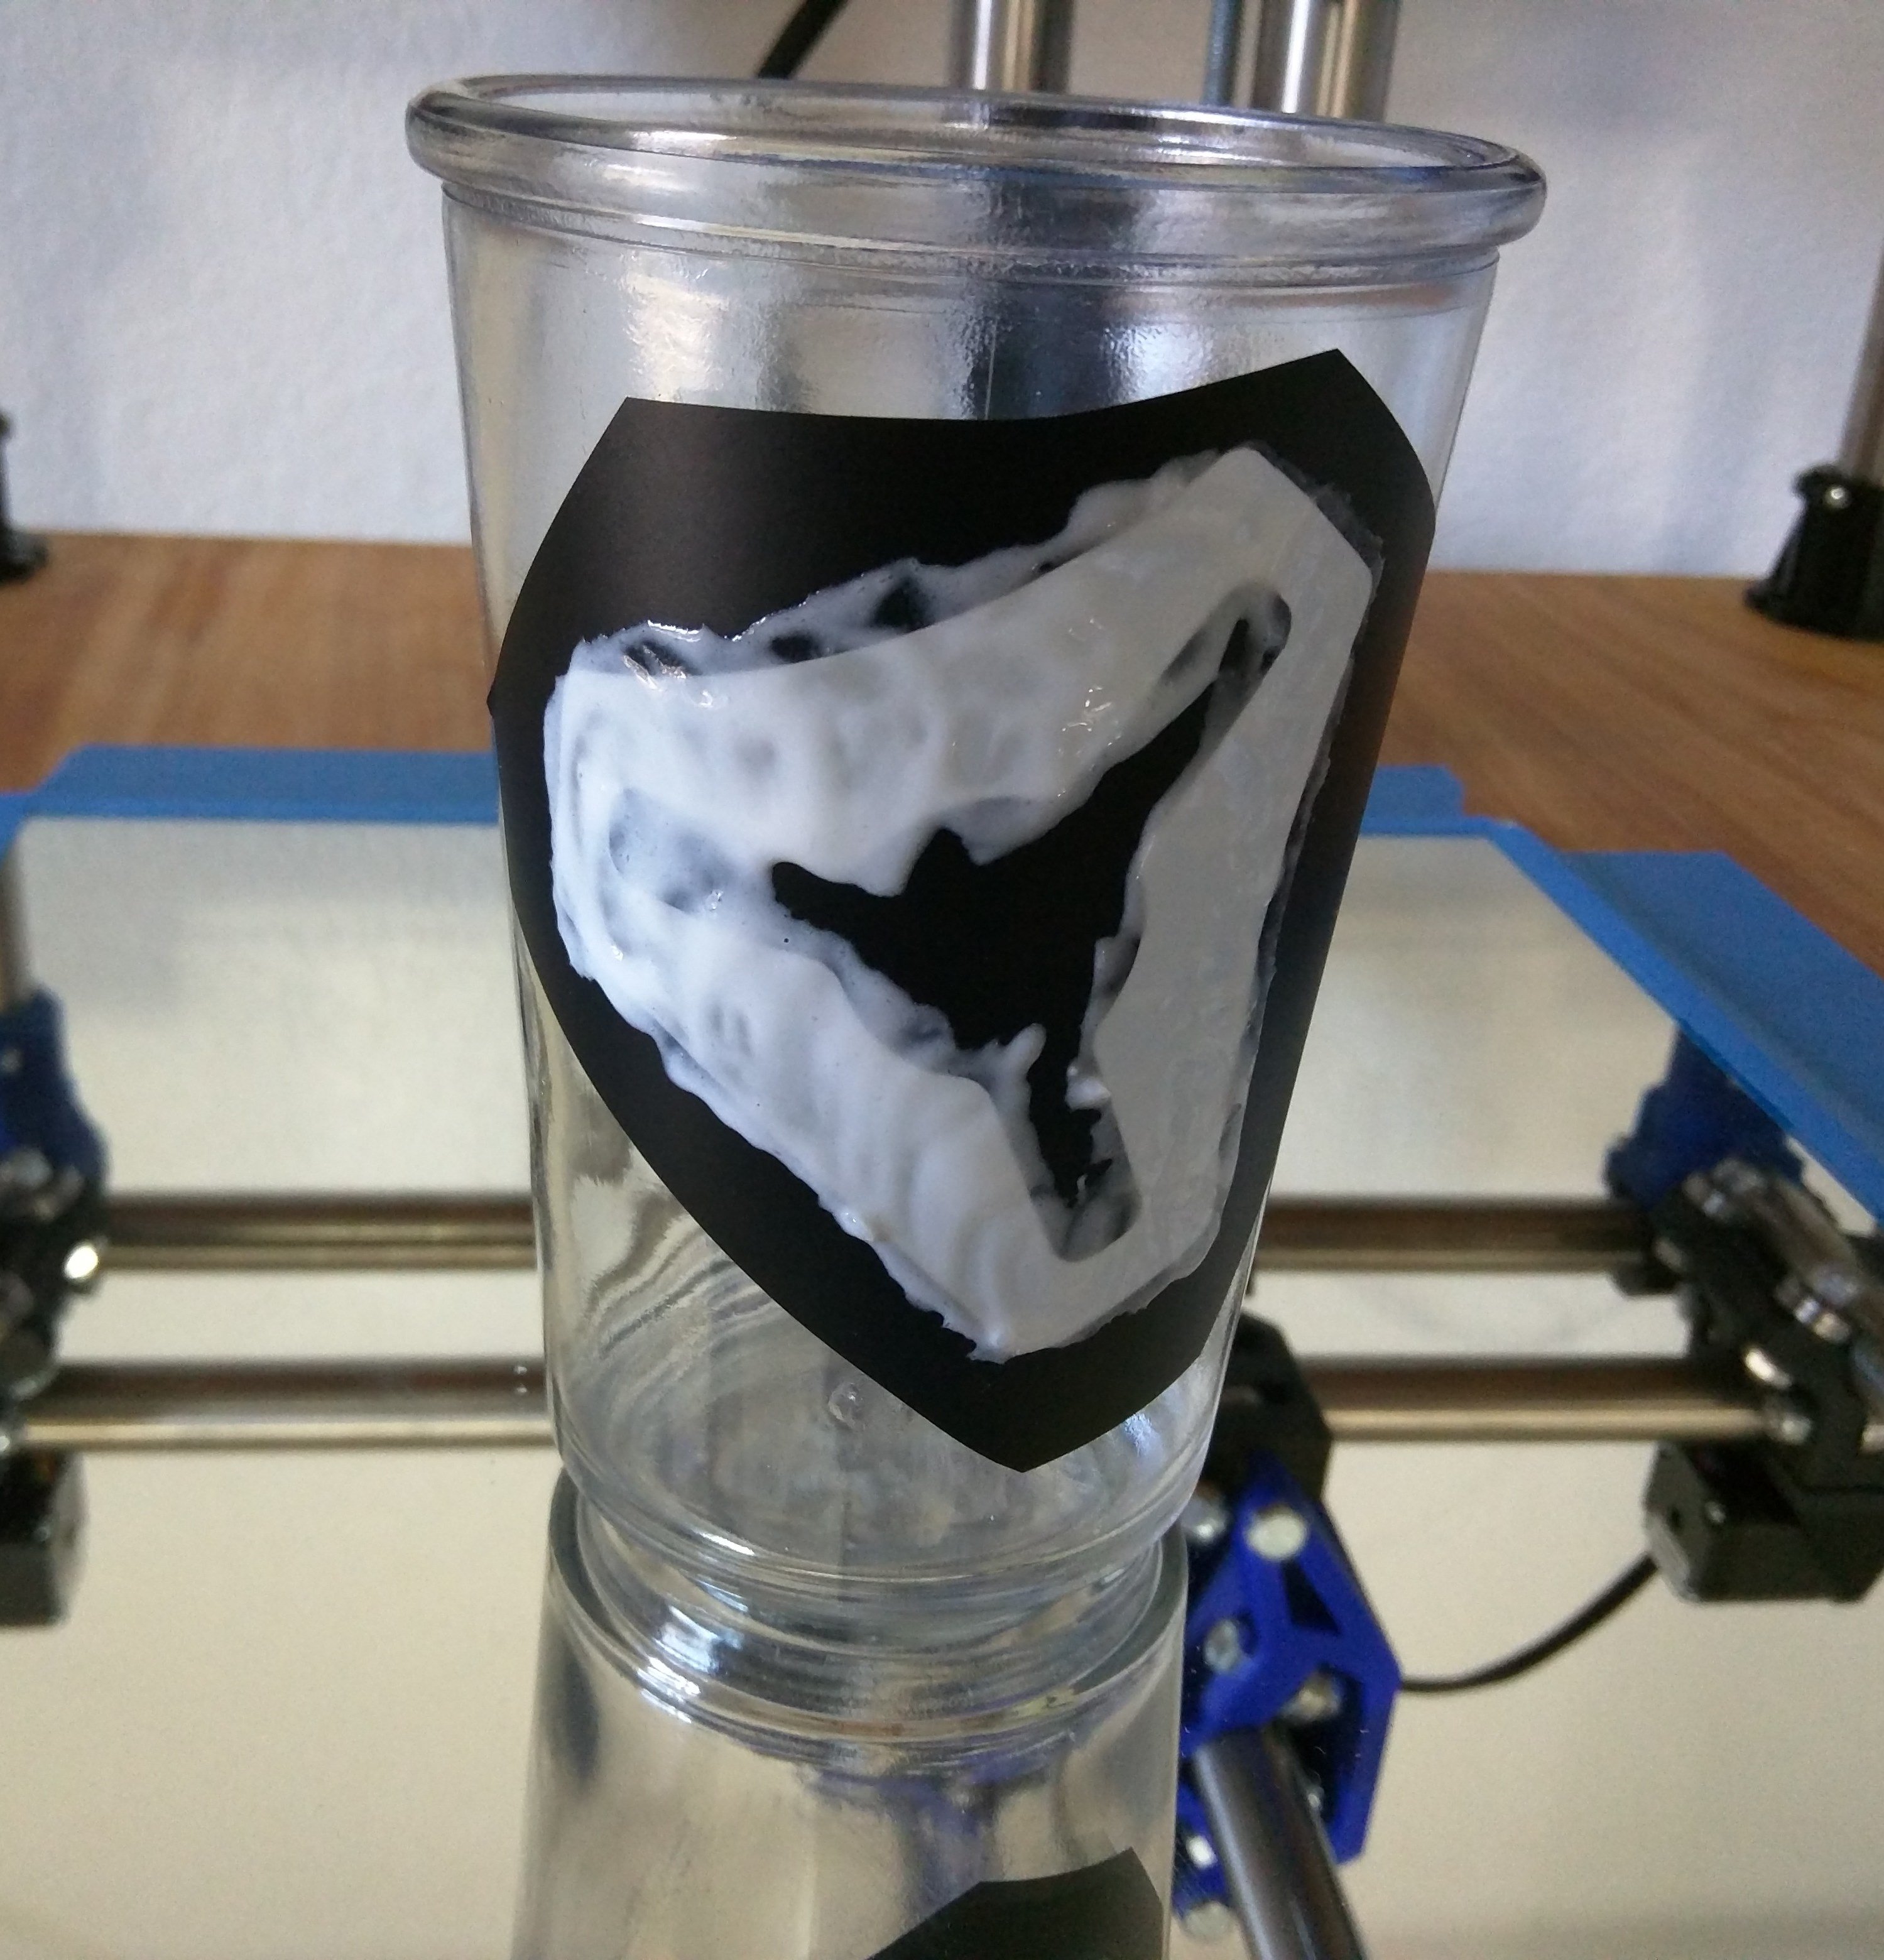
- Wash off with hot water and soap.
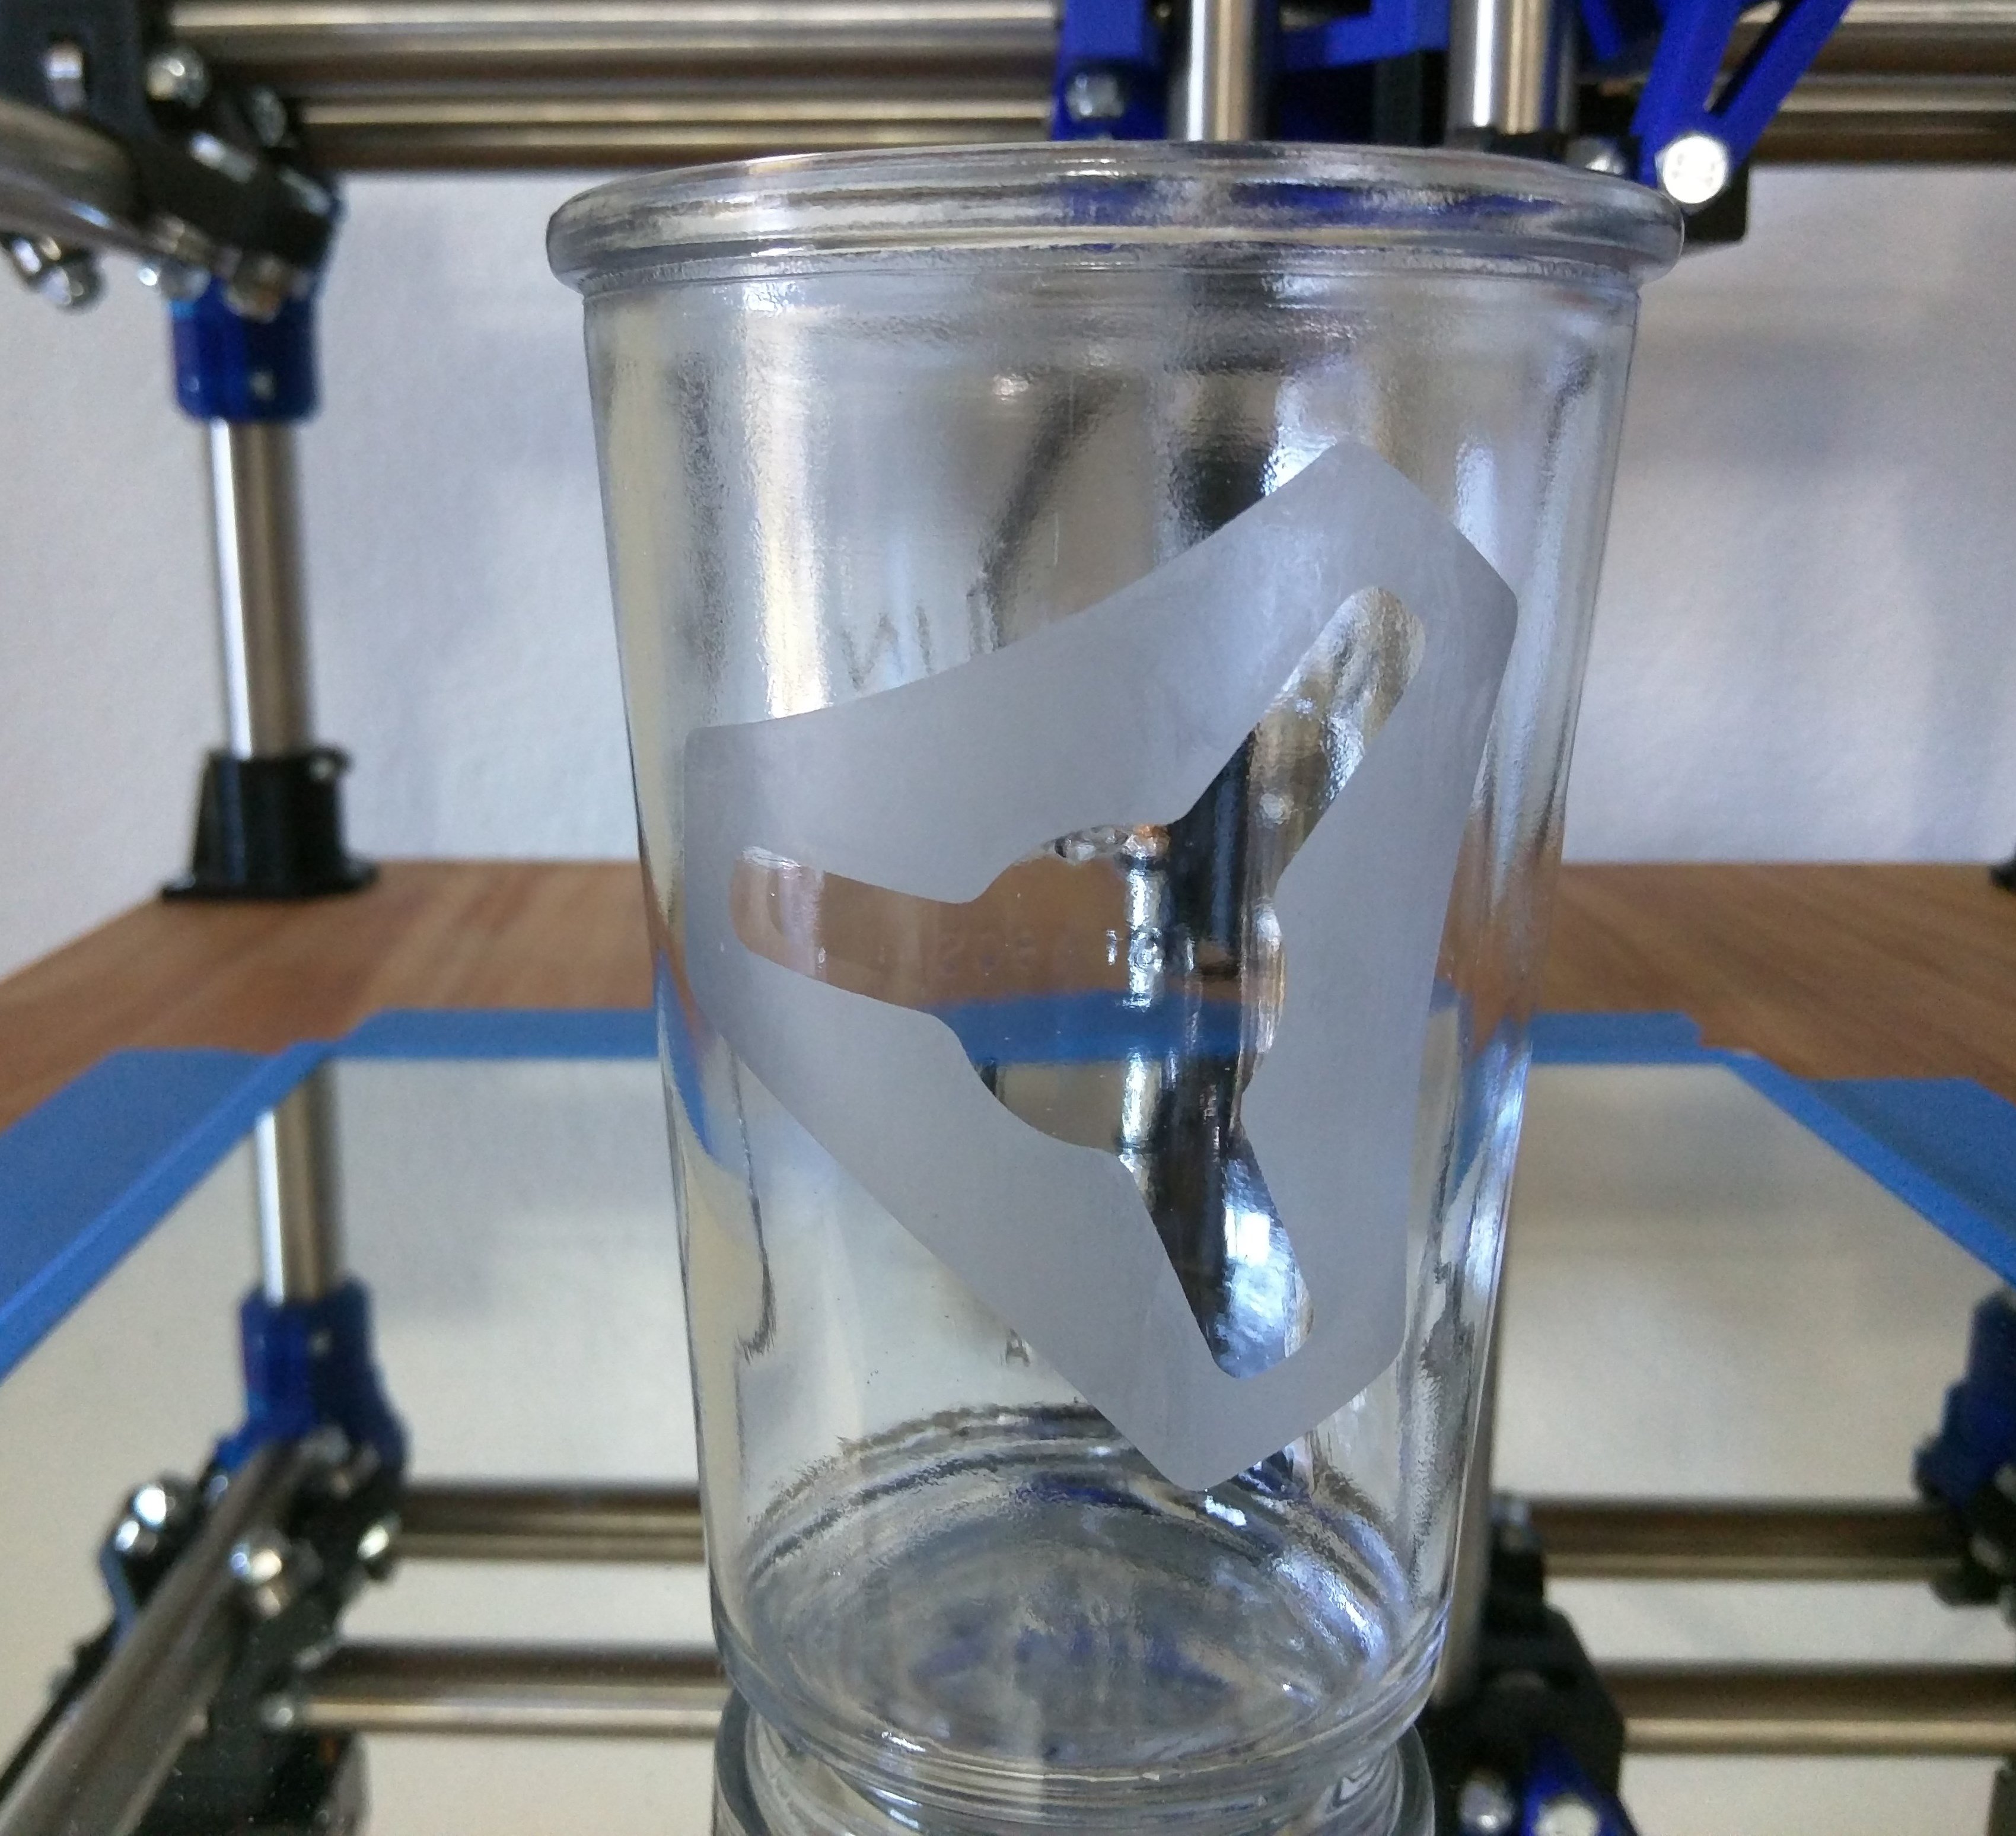
- The etch shows up when the glass is dry.