MPCNC Final Assembly
Squaring
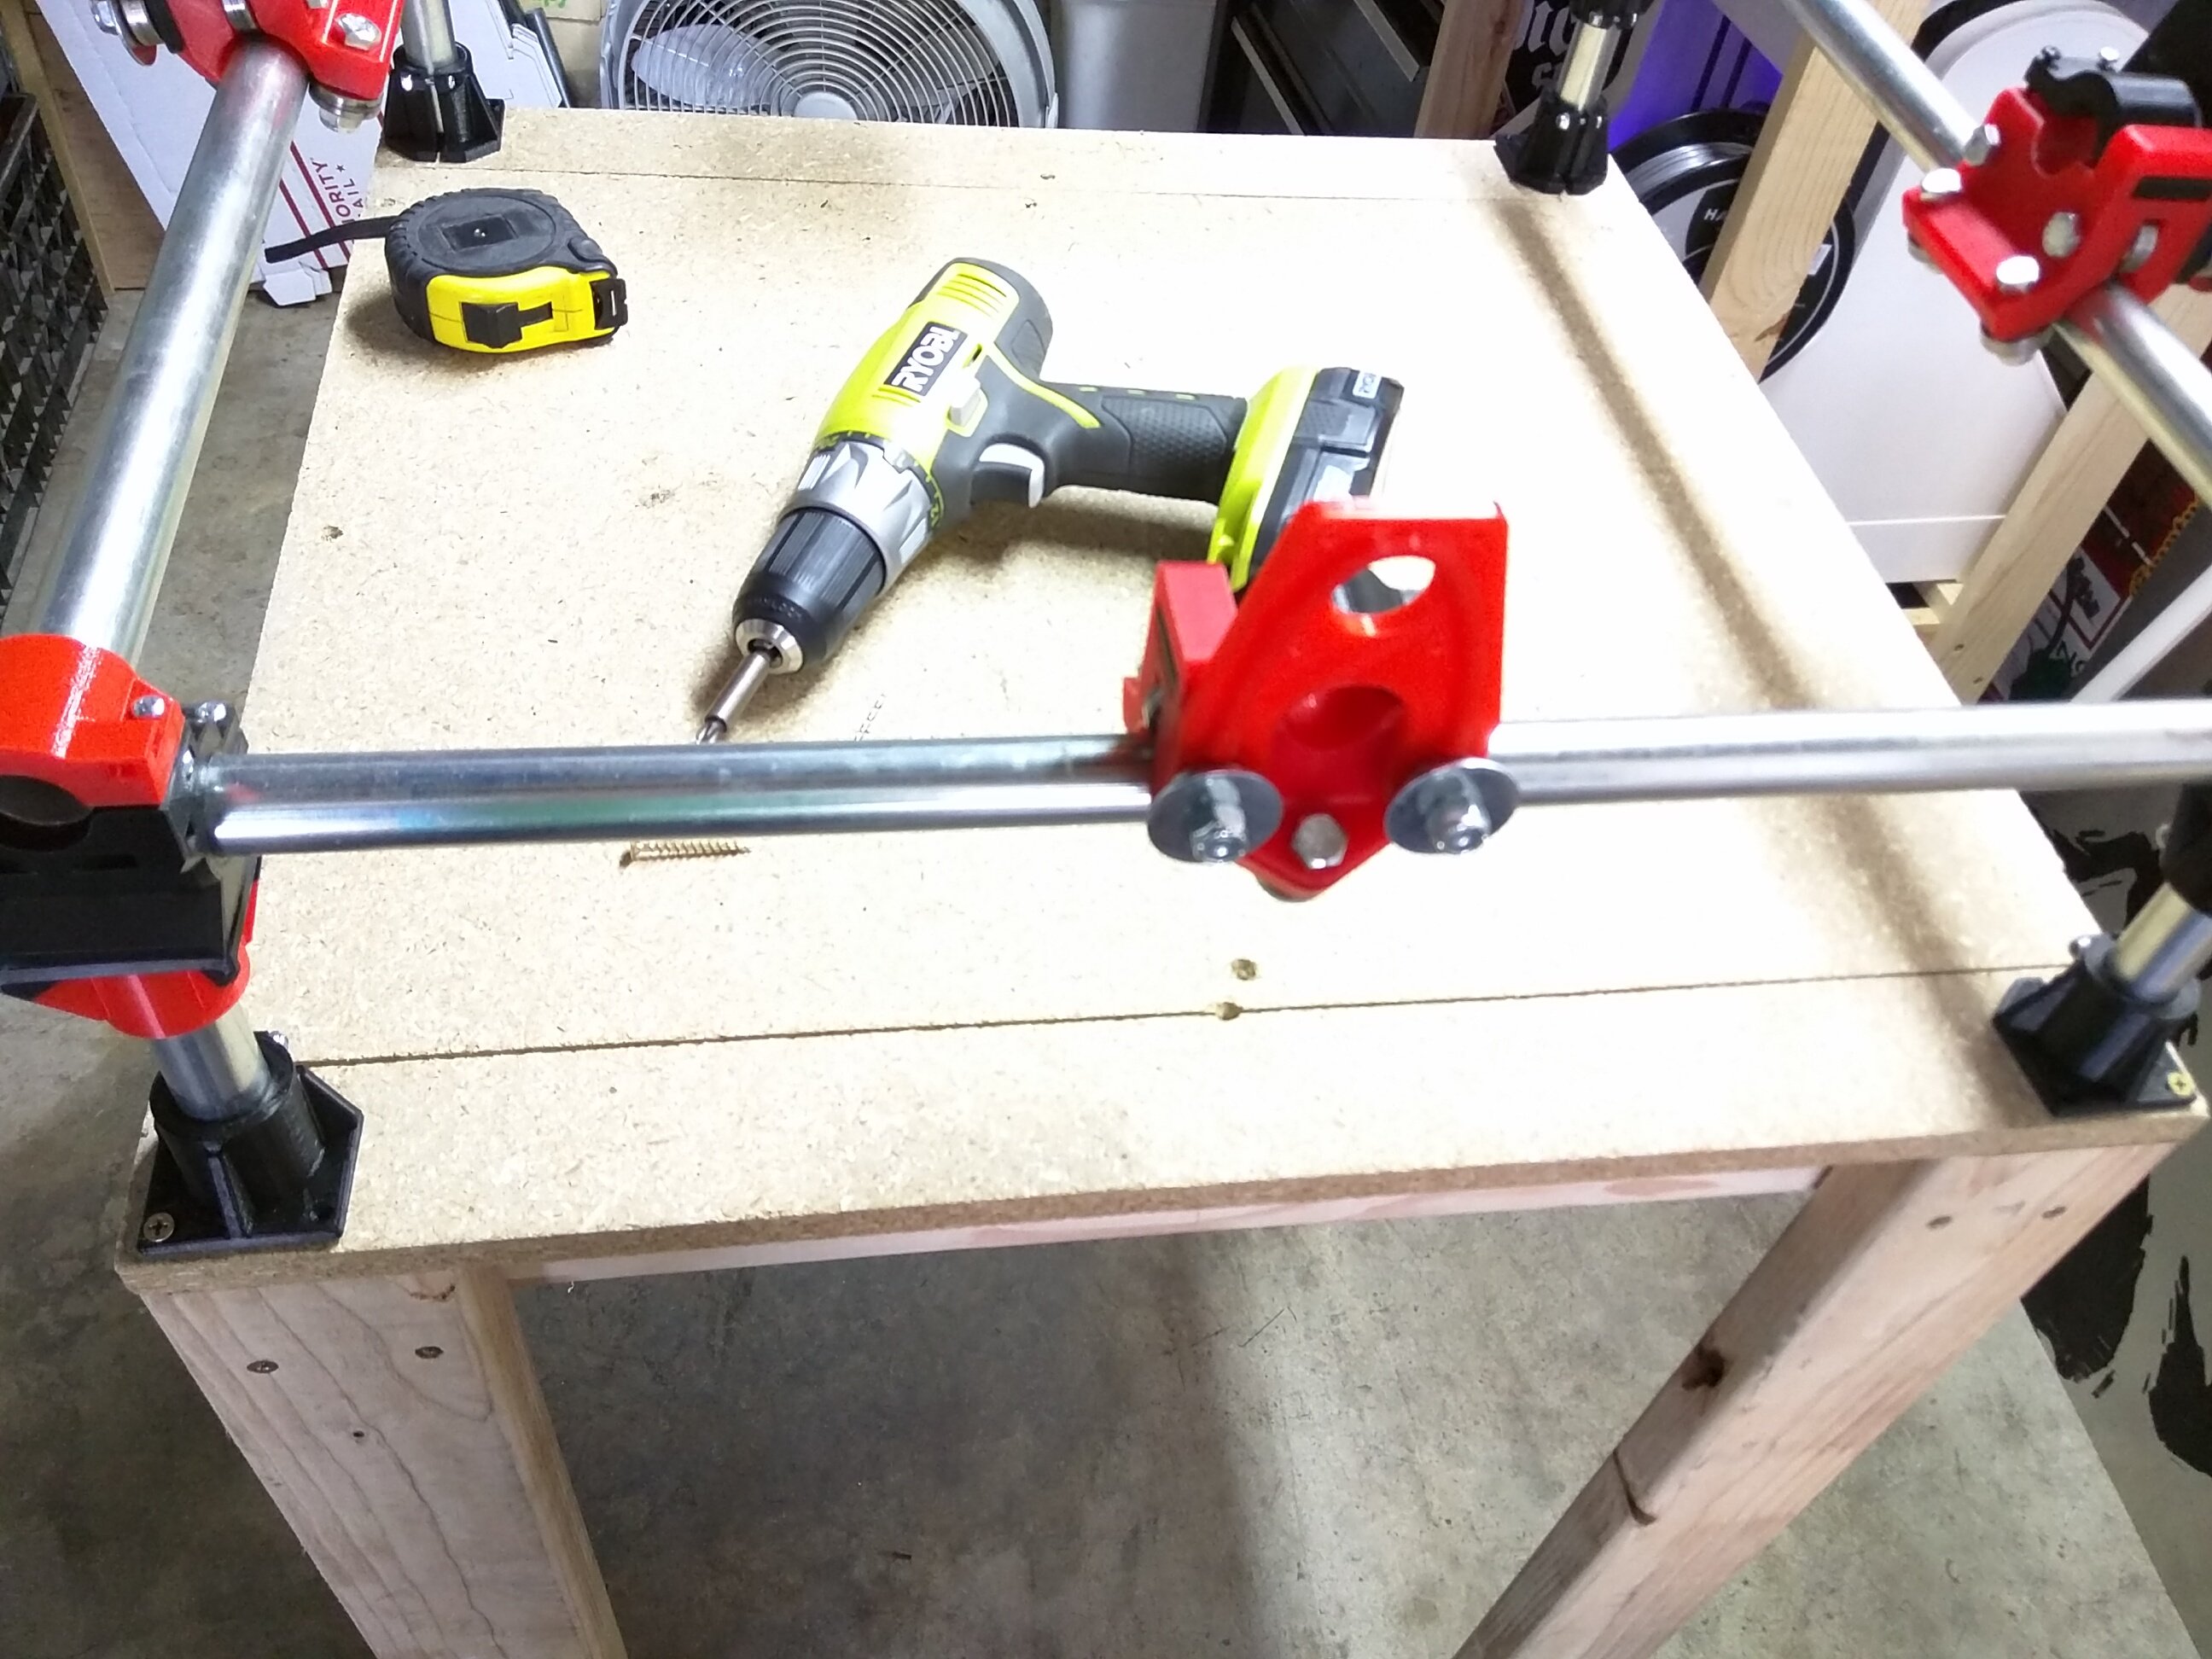
- Using the table as a straight guide screw down any two feet.
- Pre-drilling is recommended.
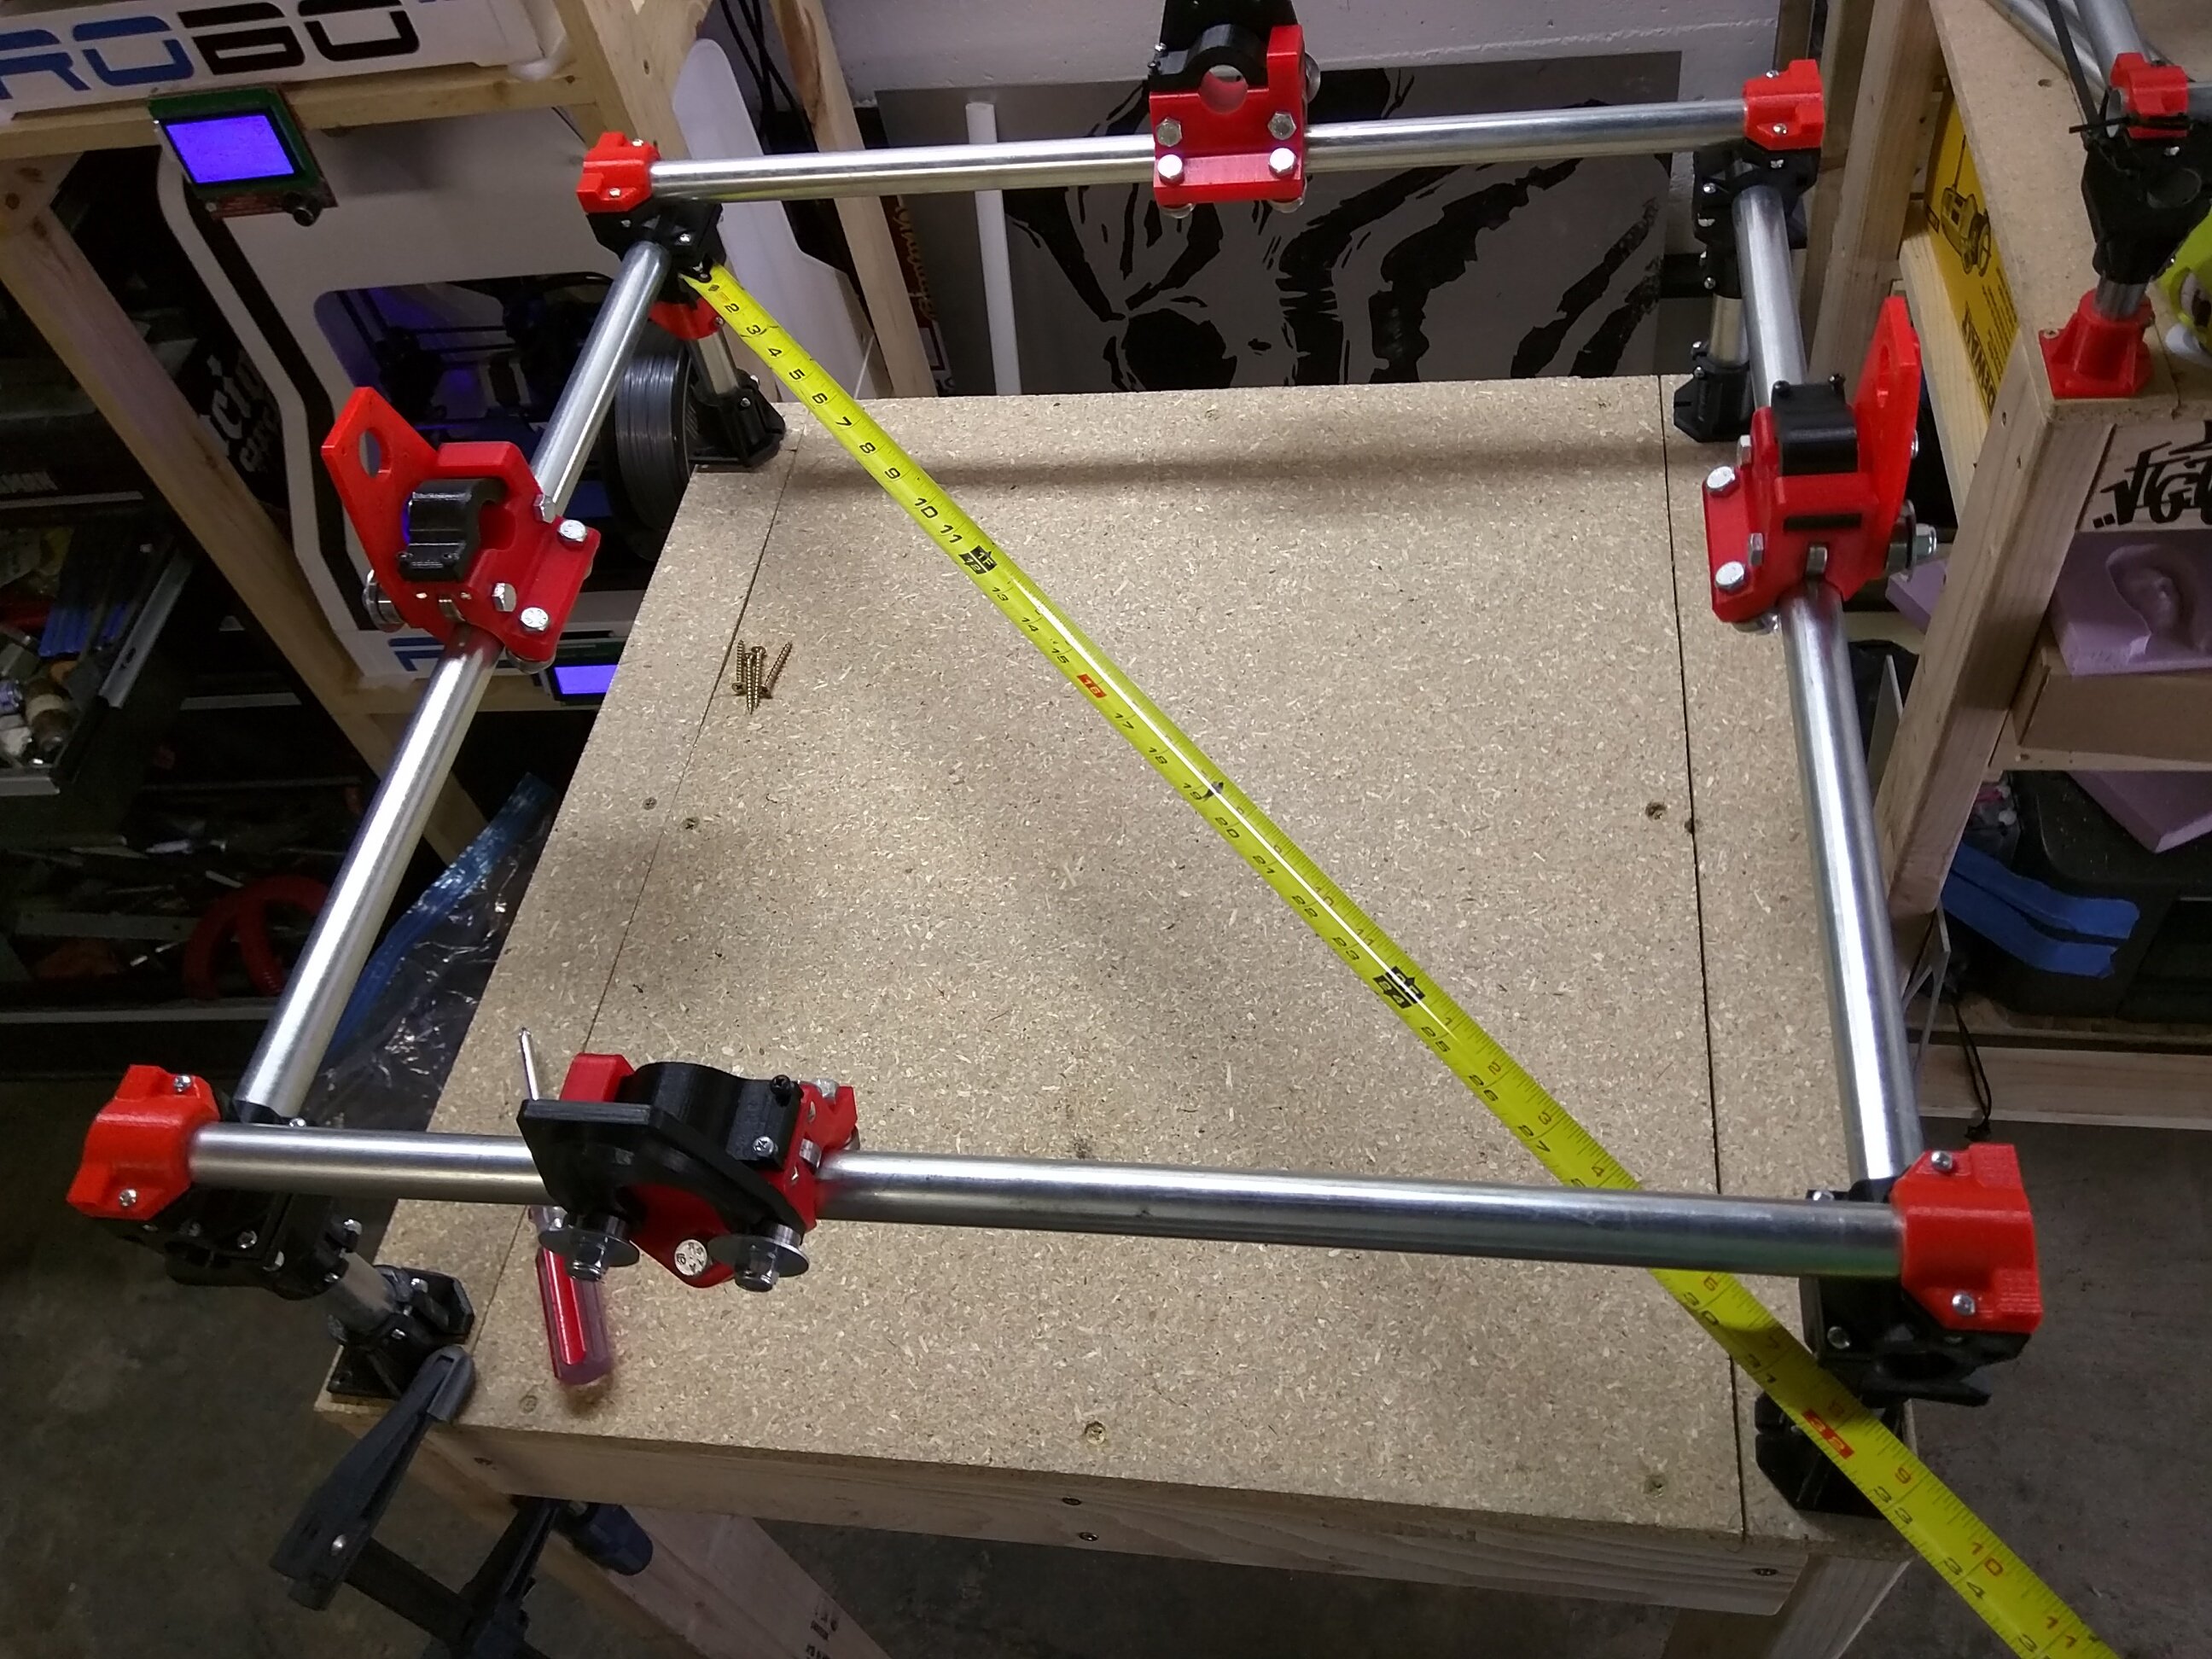
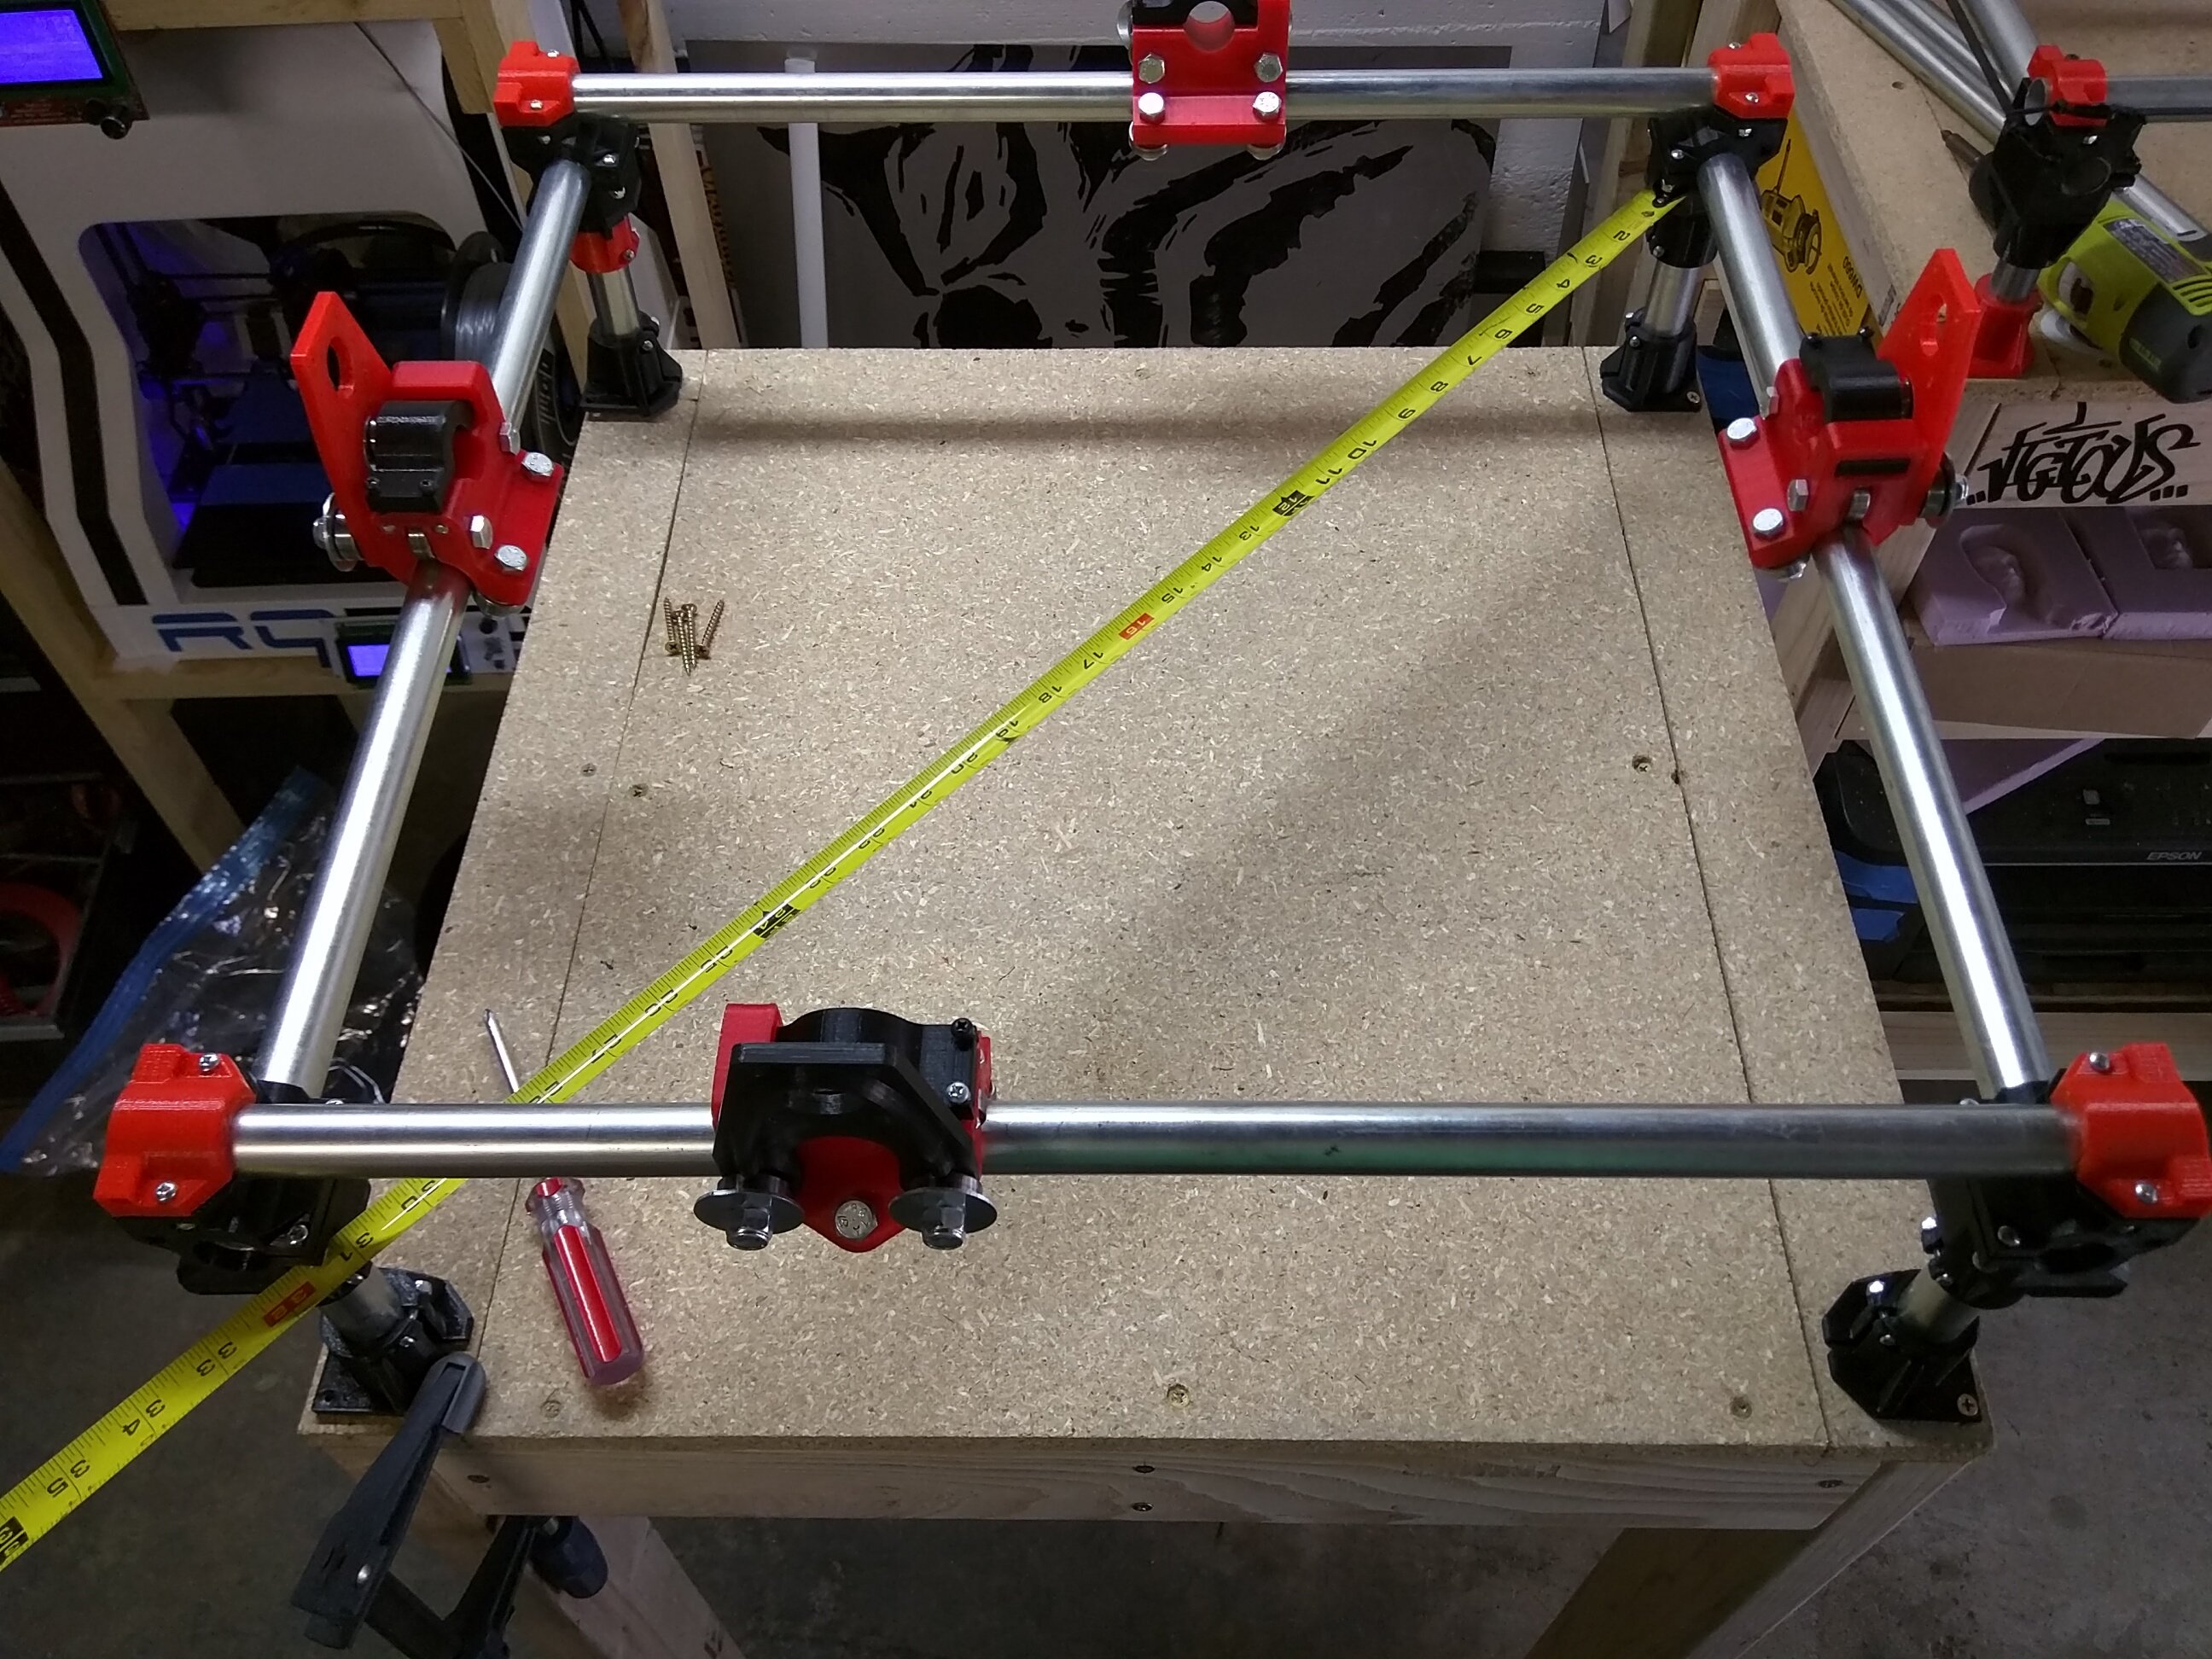
- Measure across the center both ways, make the dimension as equal as you can.
- Clamp down the feet before you screw them down, pre-drilling really helps here. Do one foot then the next. Clamp, drill screw.
- This is a critical measurement, if this is too far off you will cut parallelograms instead of squares.
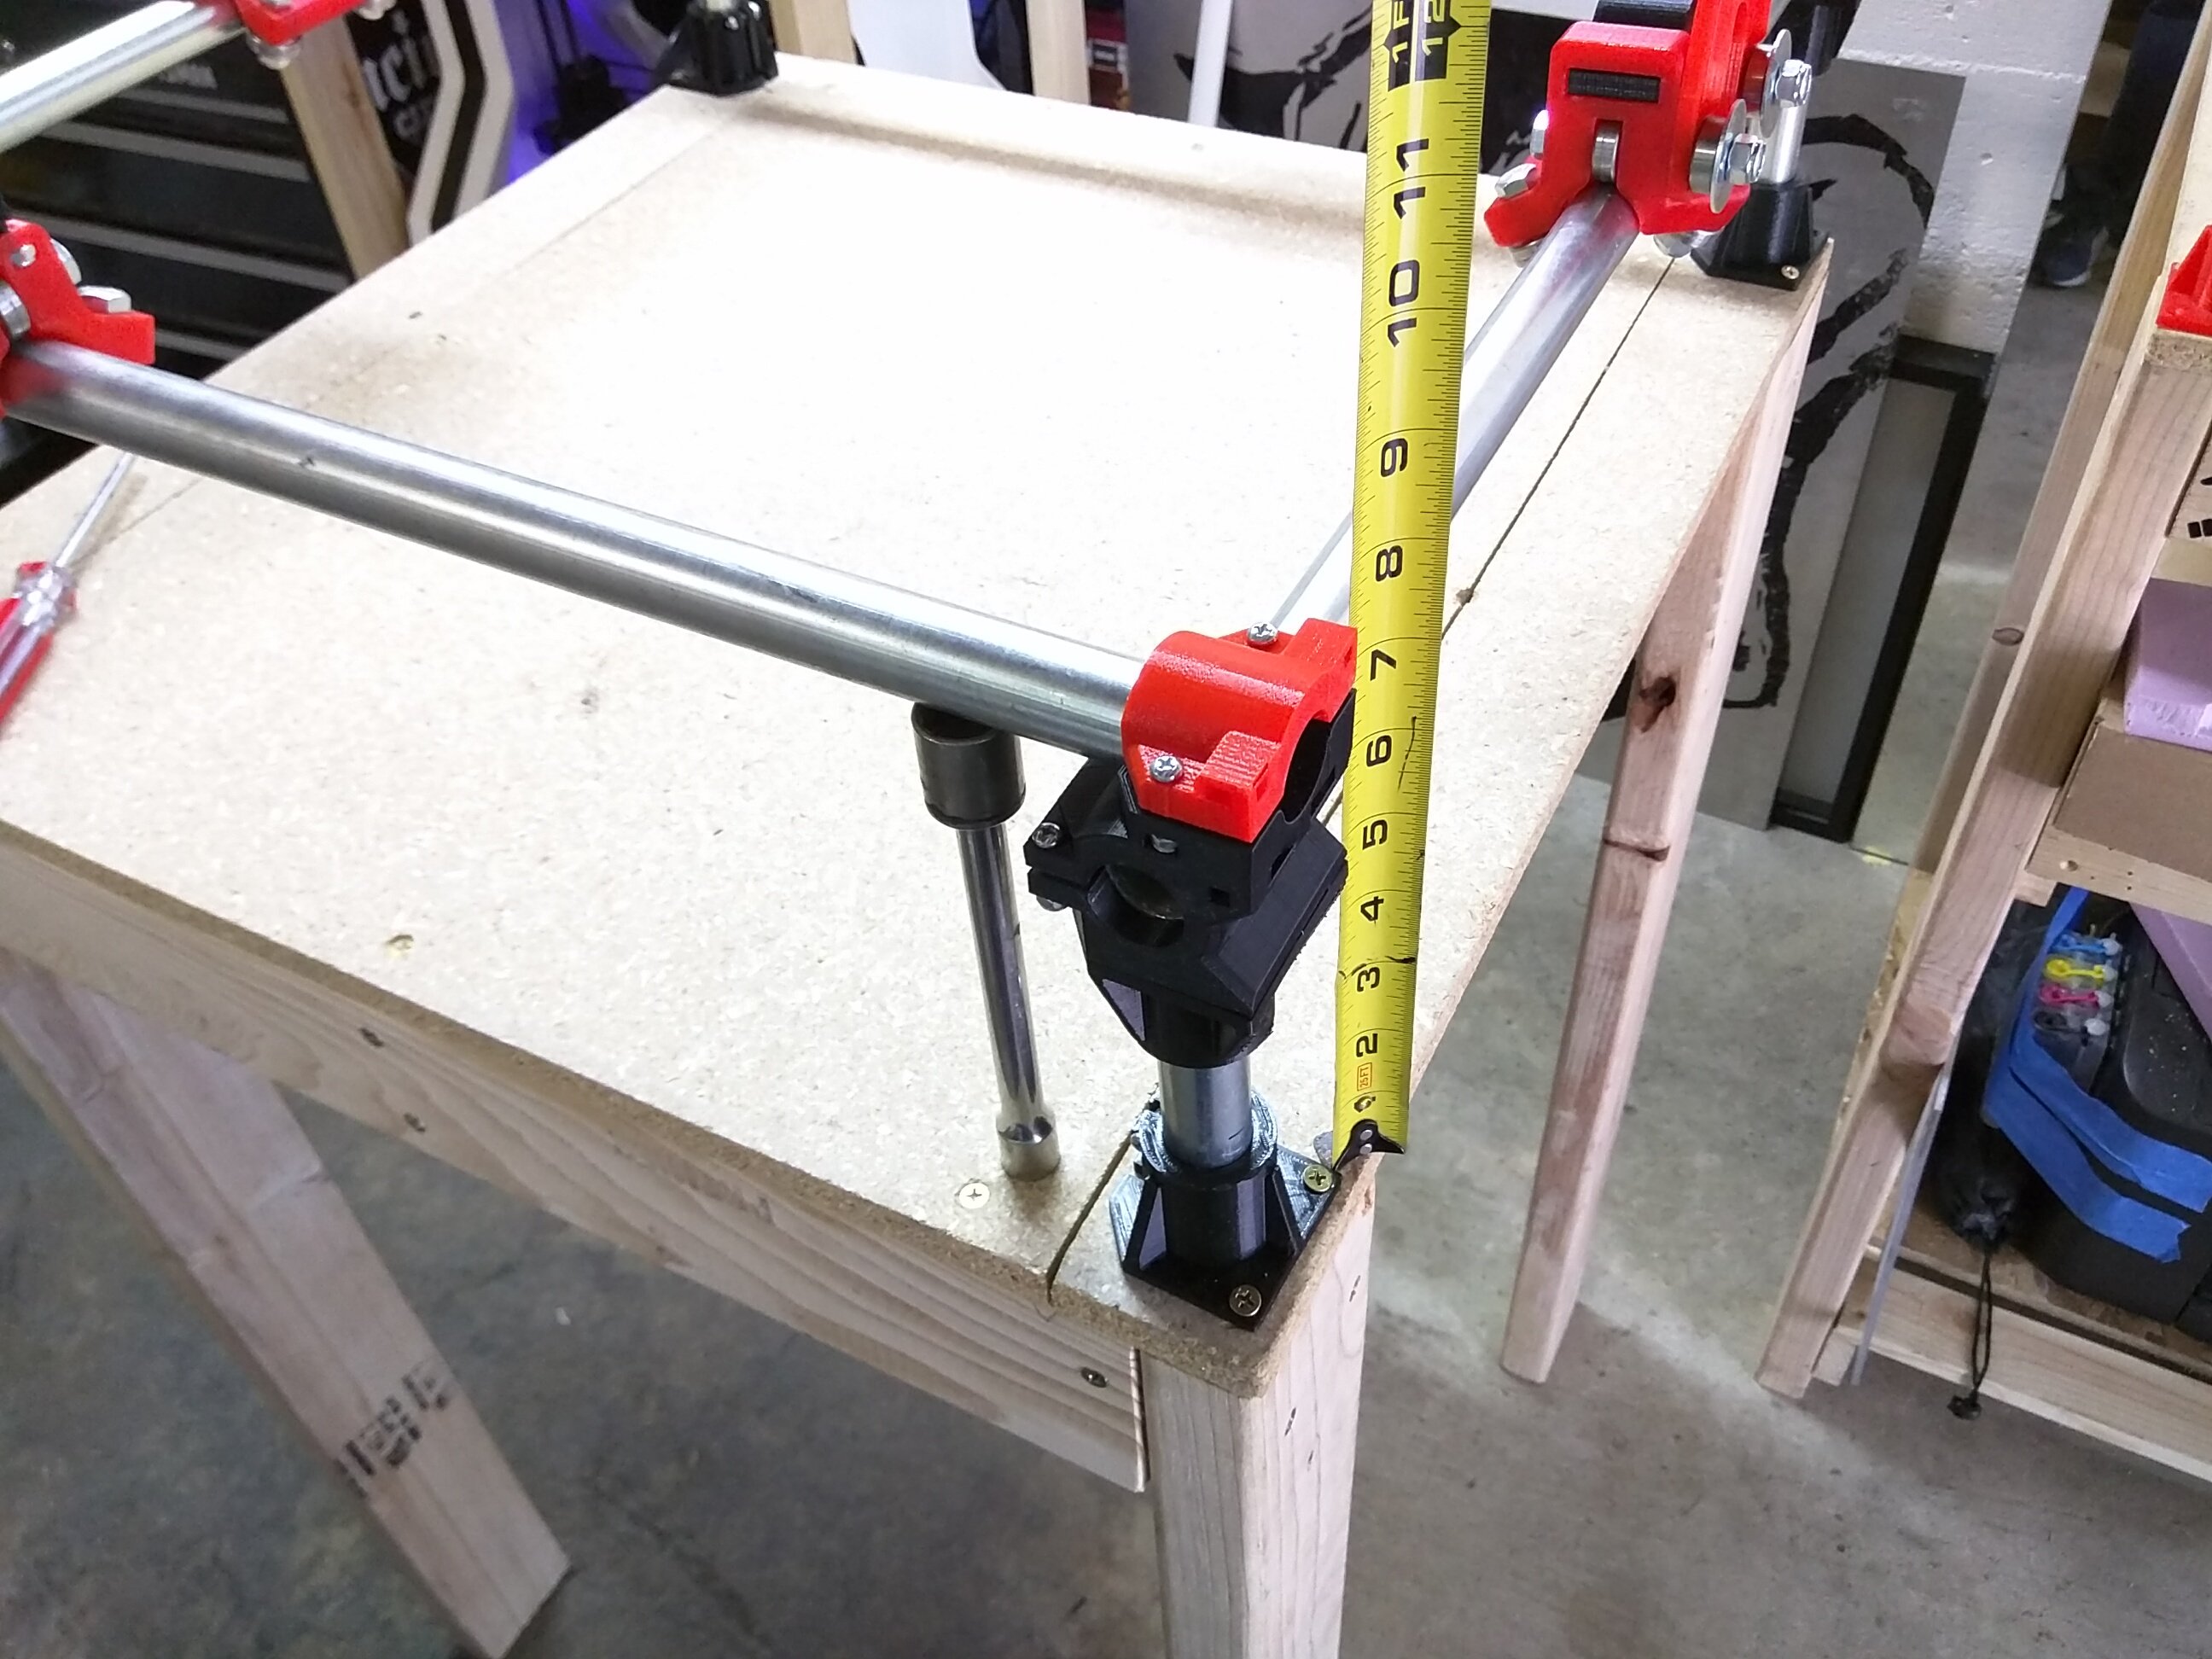
- Either measure or use a block (or socket and extension) to set all the legs to the same height.
- Lightly snug up the Feet screws and the lock screws.
Pro tip
If you were careful with your leg cuts, this can be a very easy step…
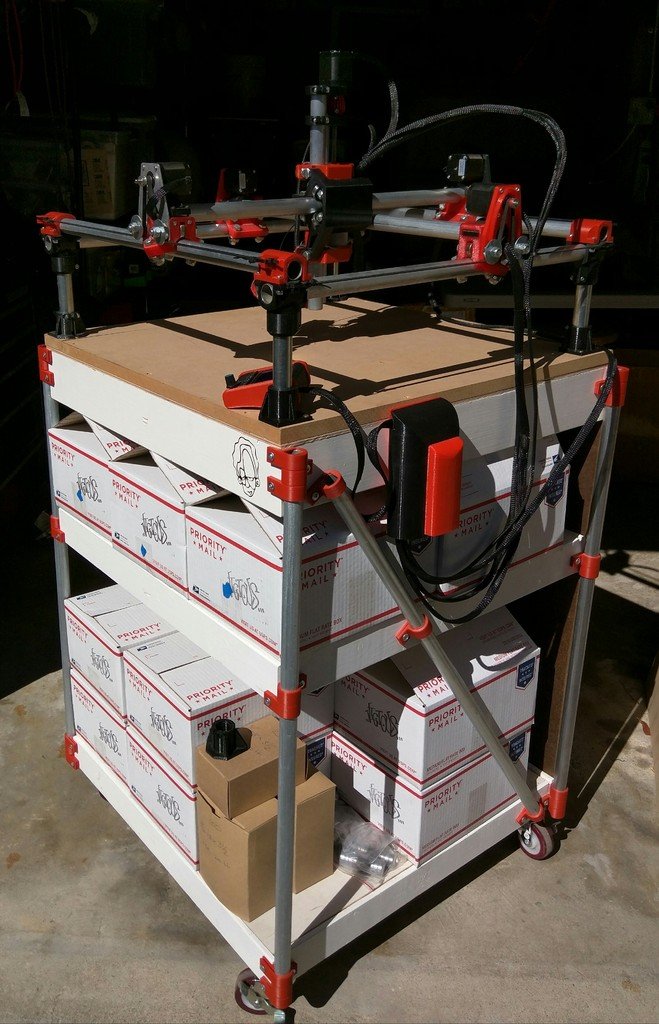
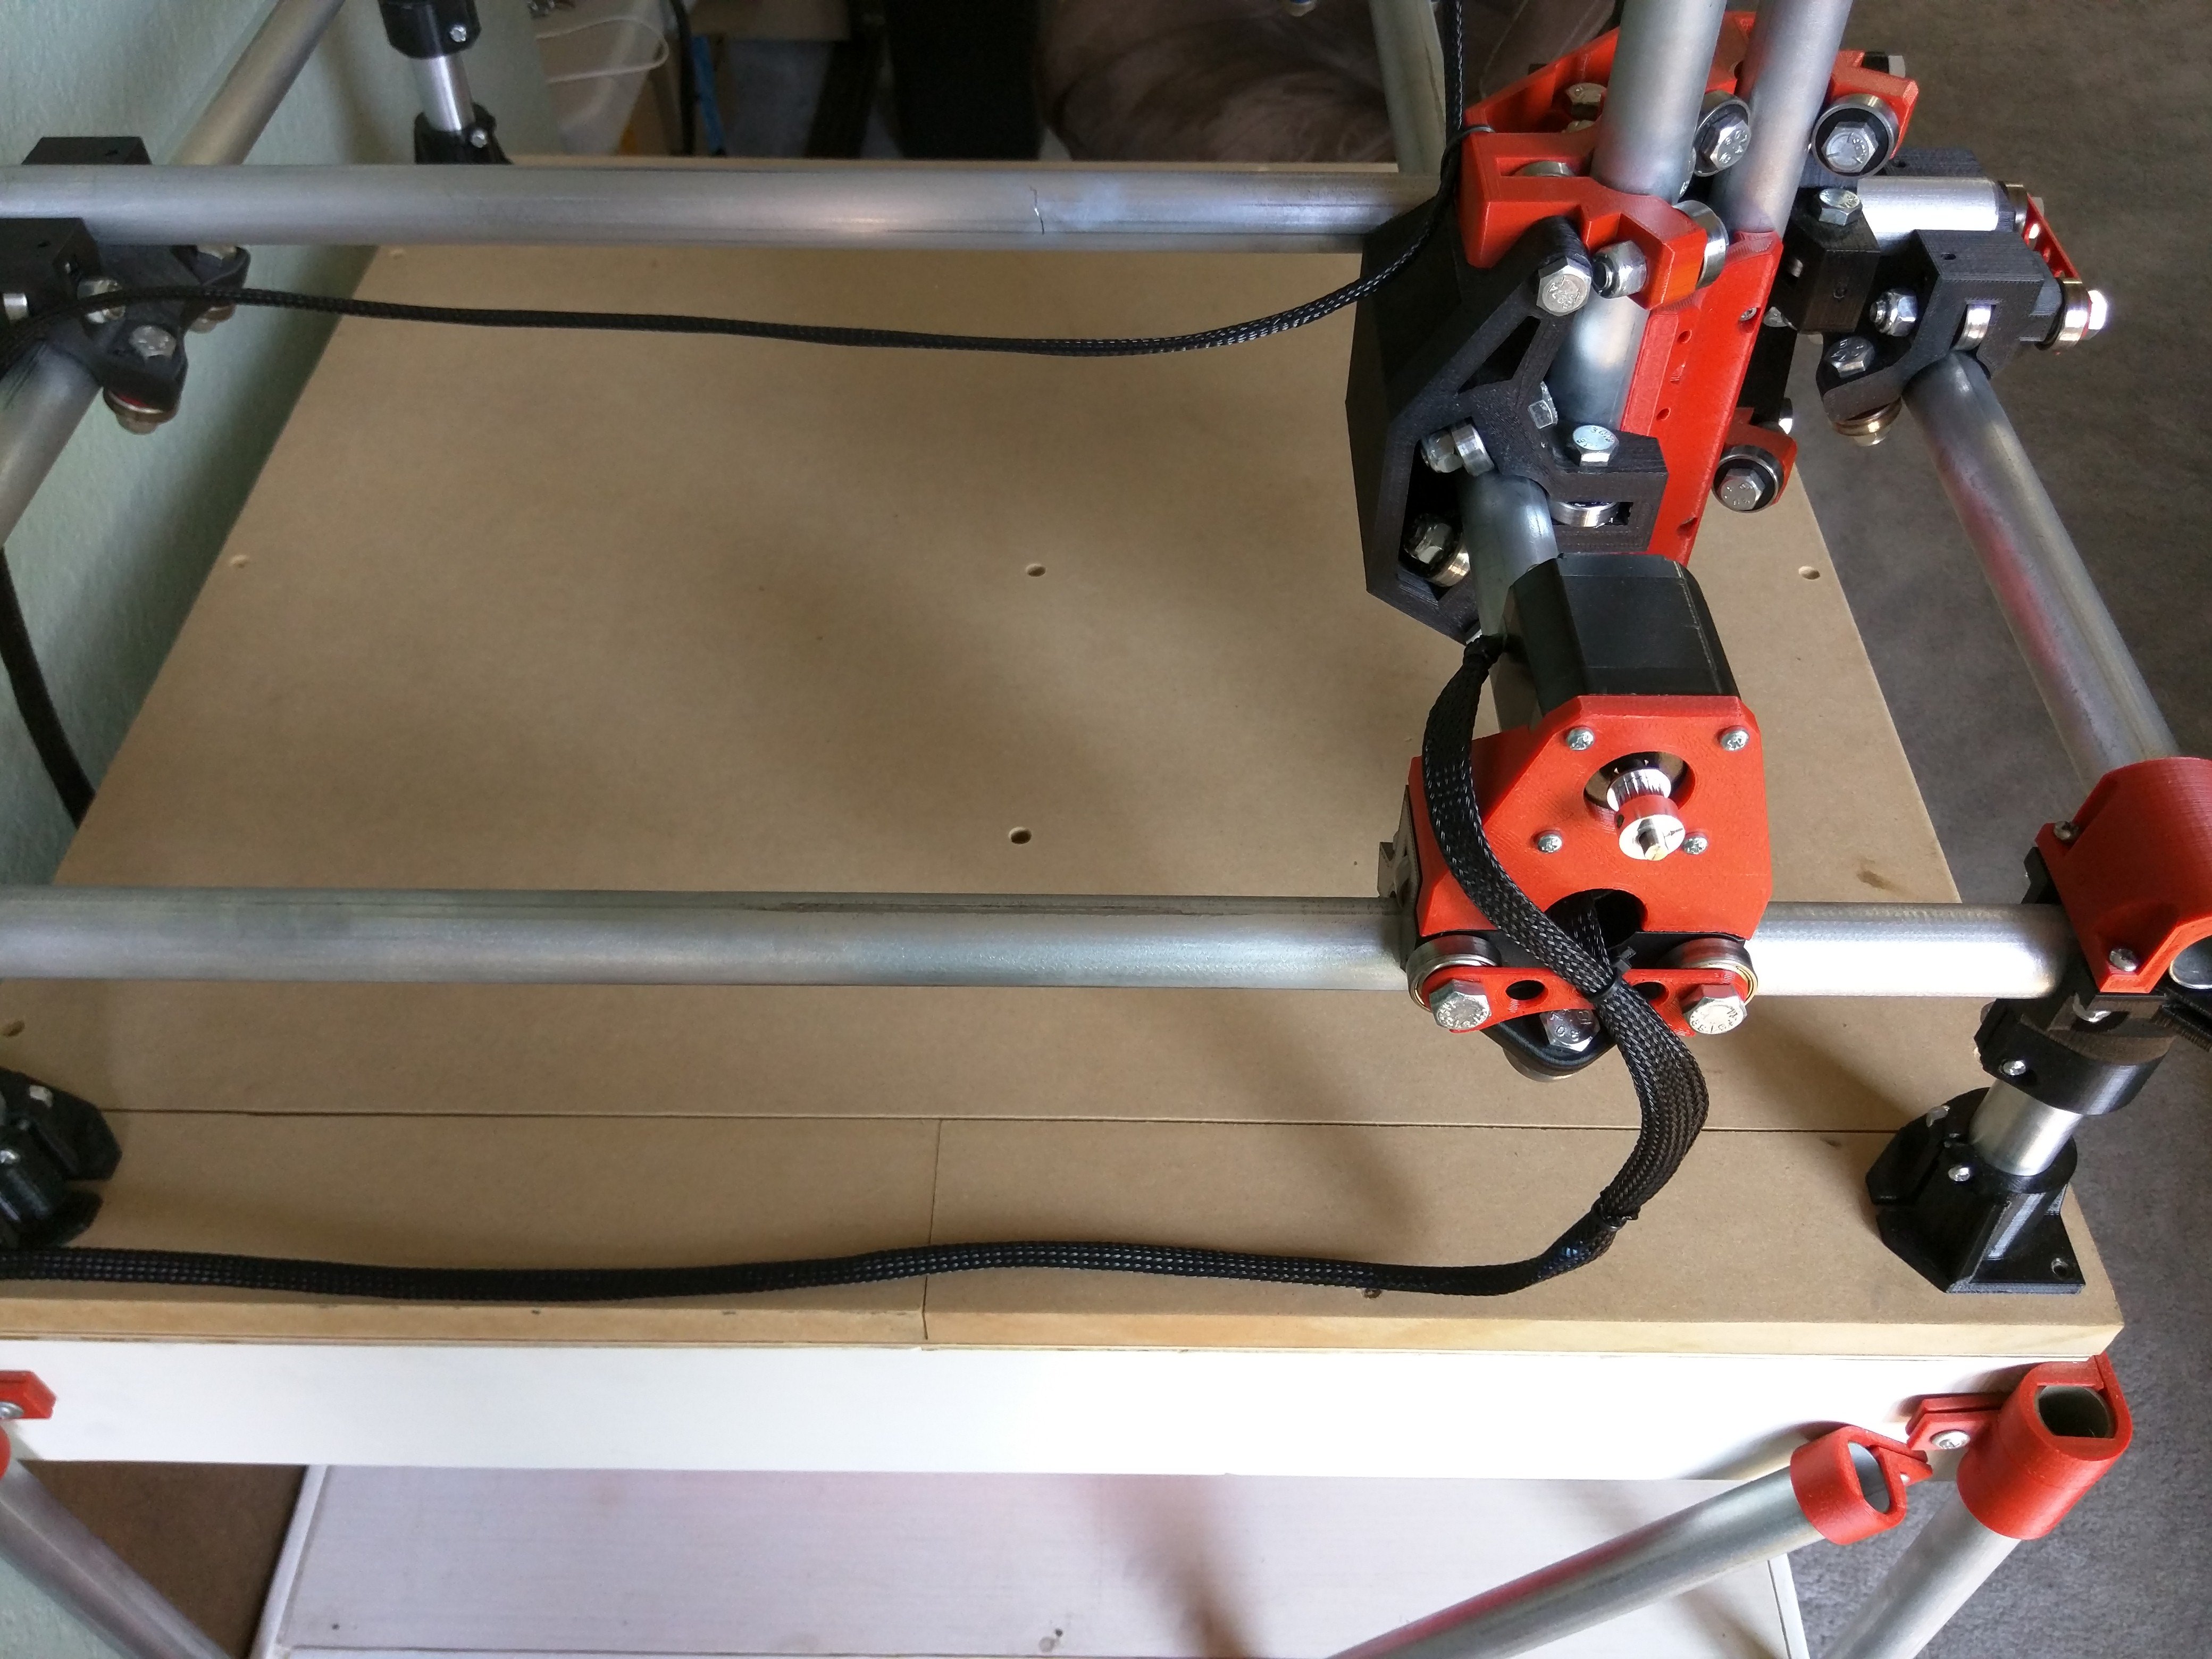
Running the Wires
- Decide where your control board will be located.
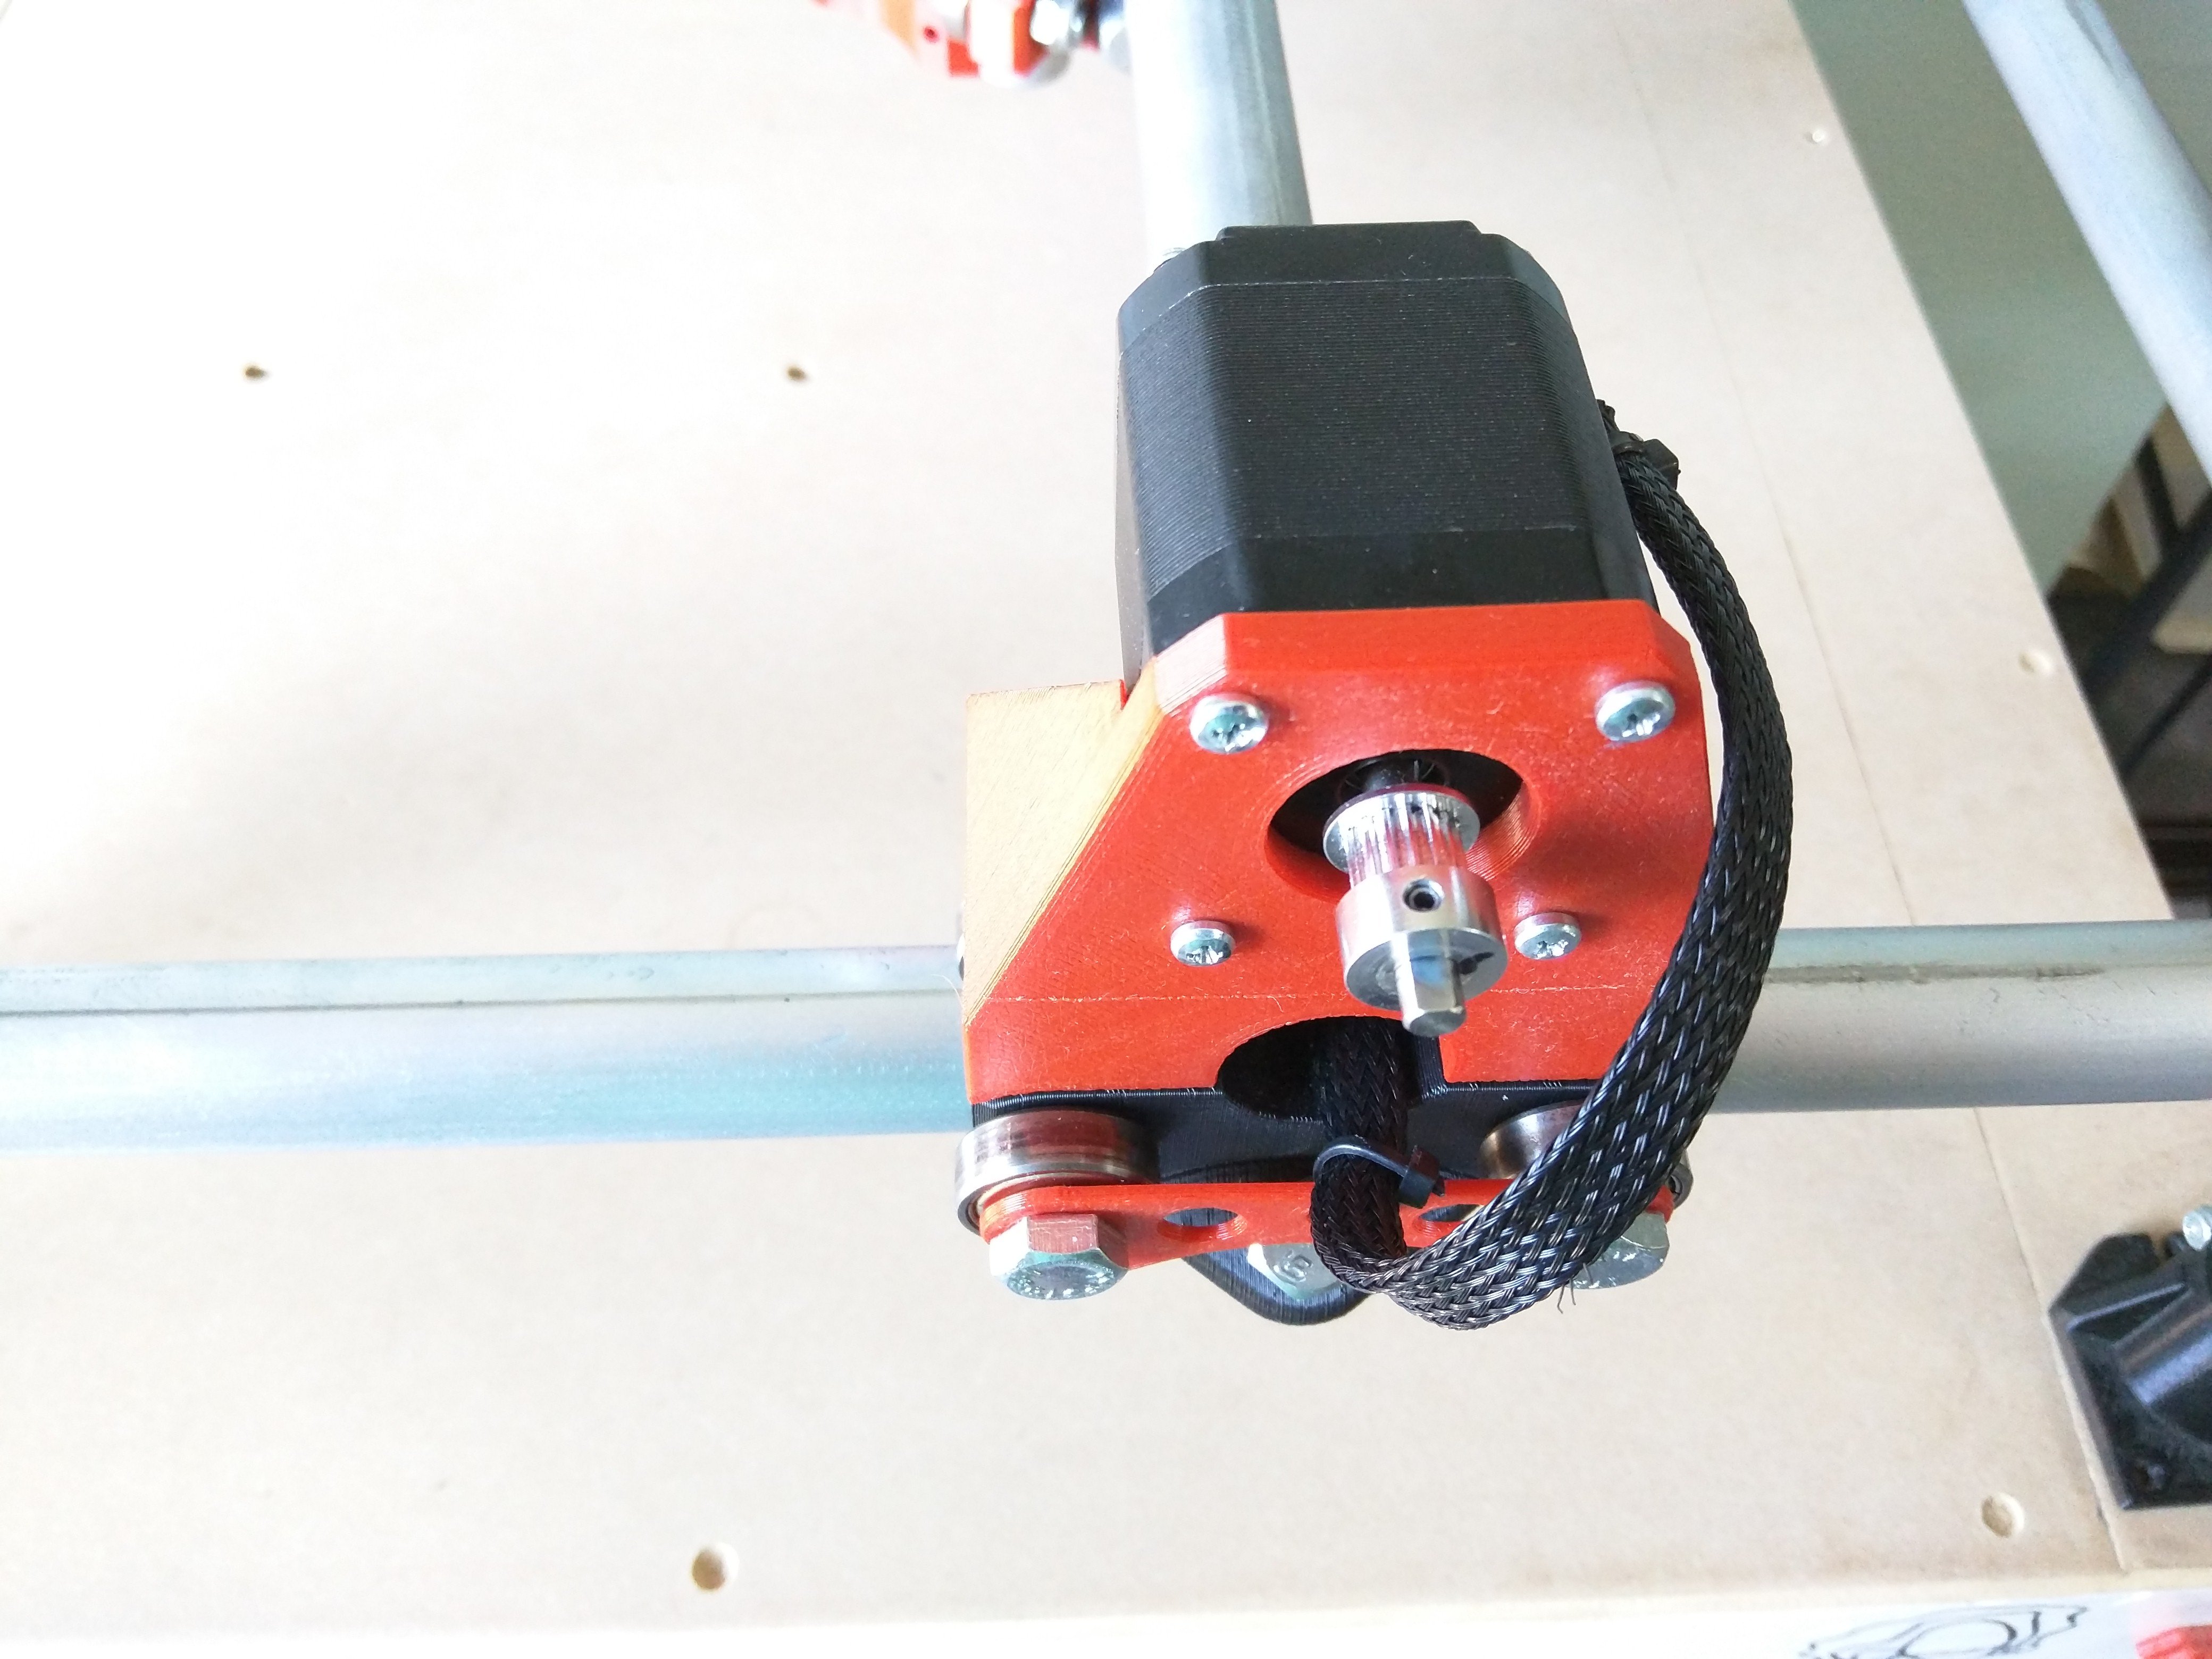
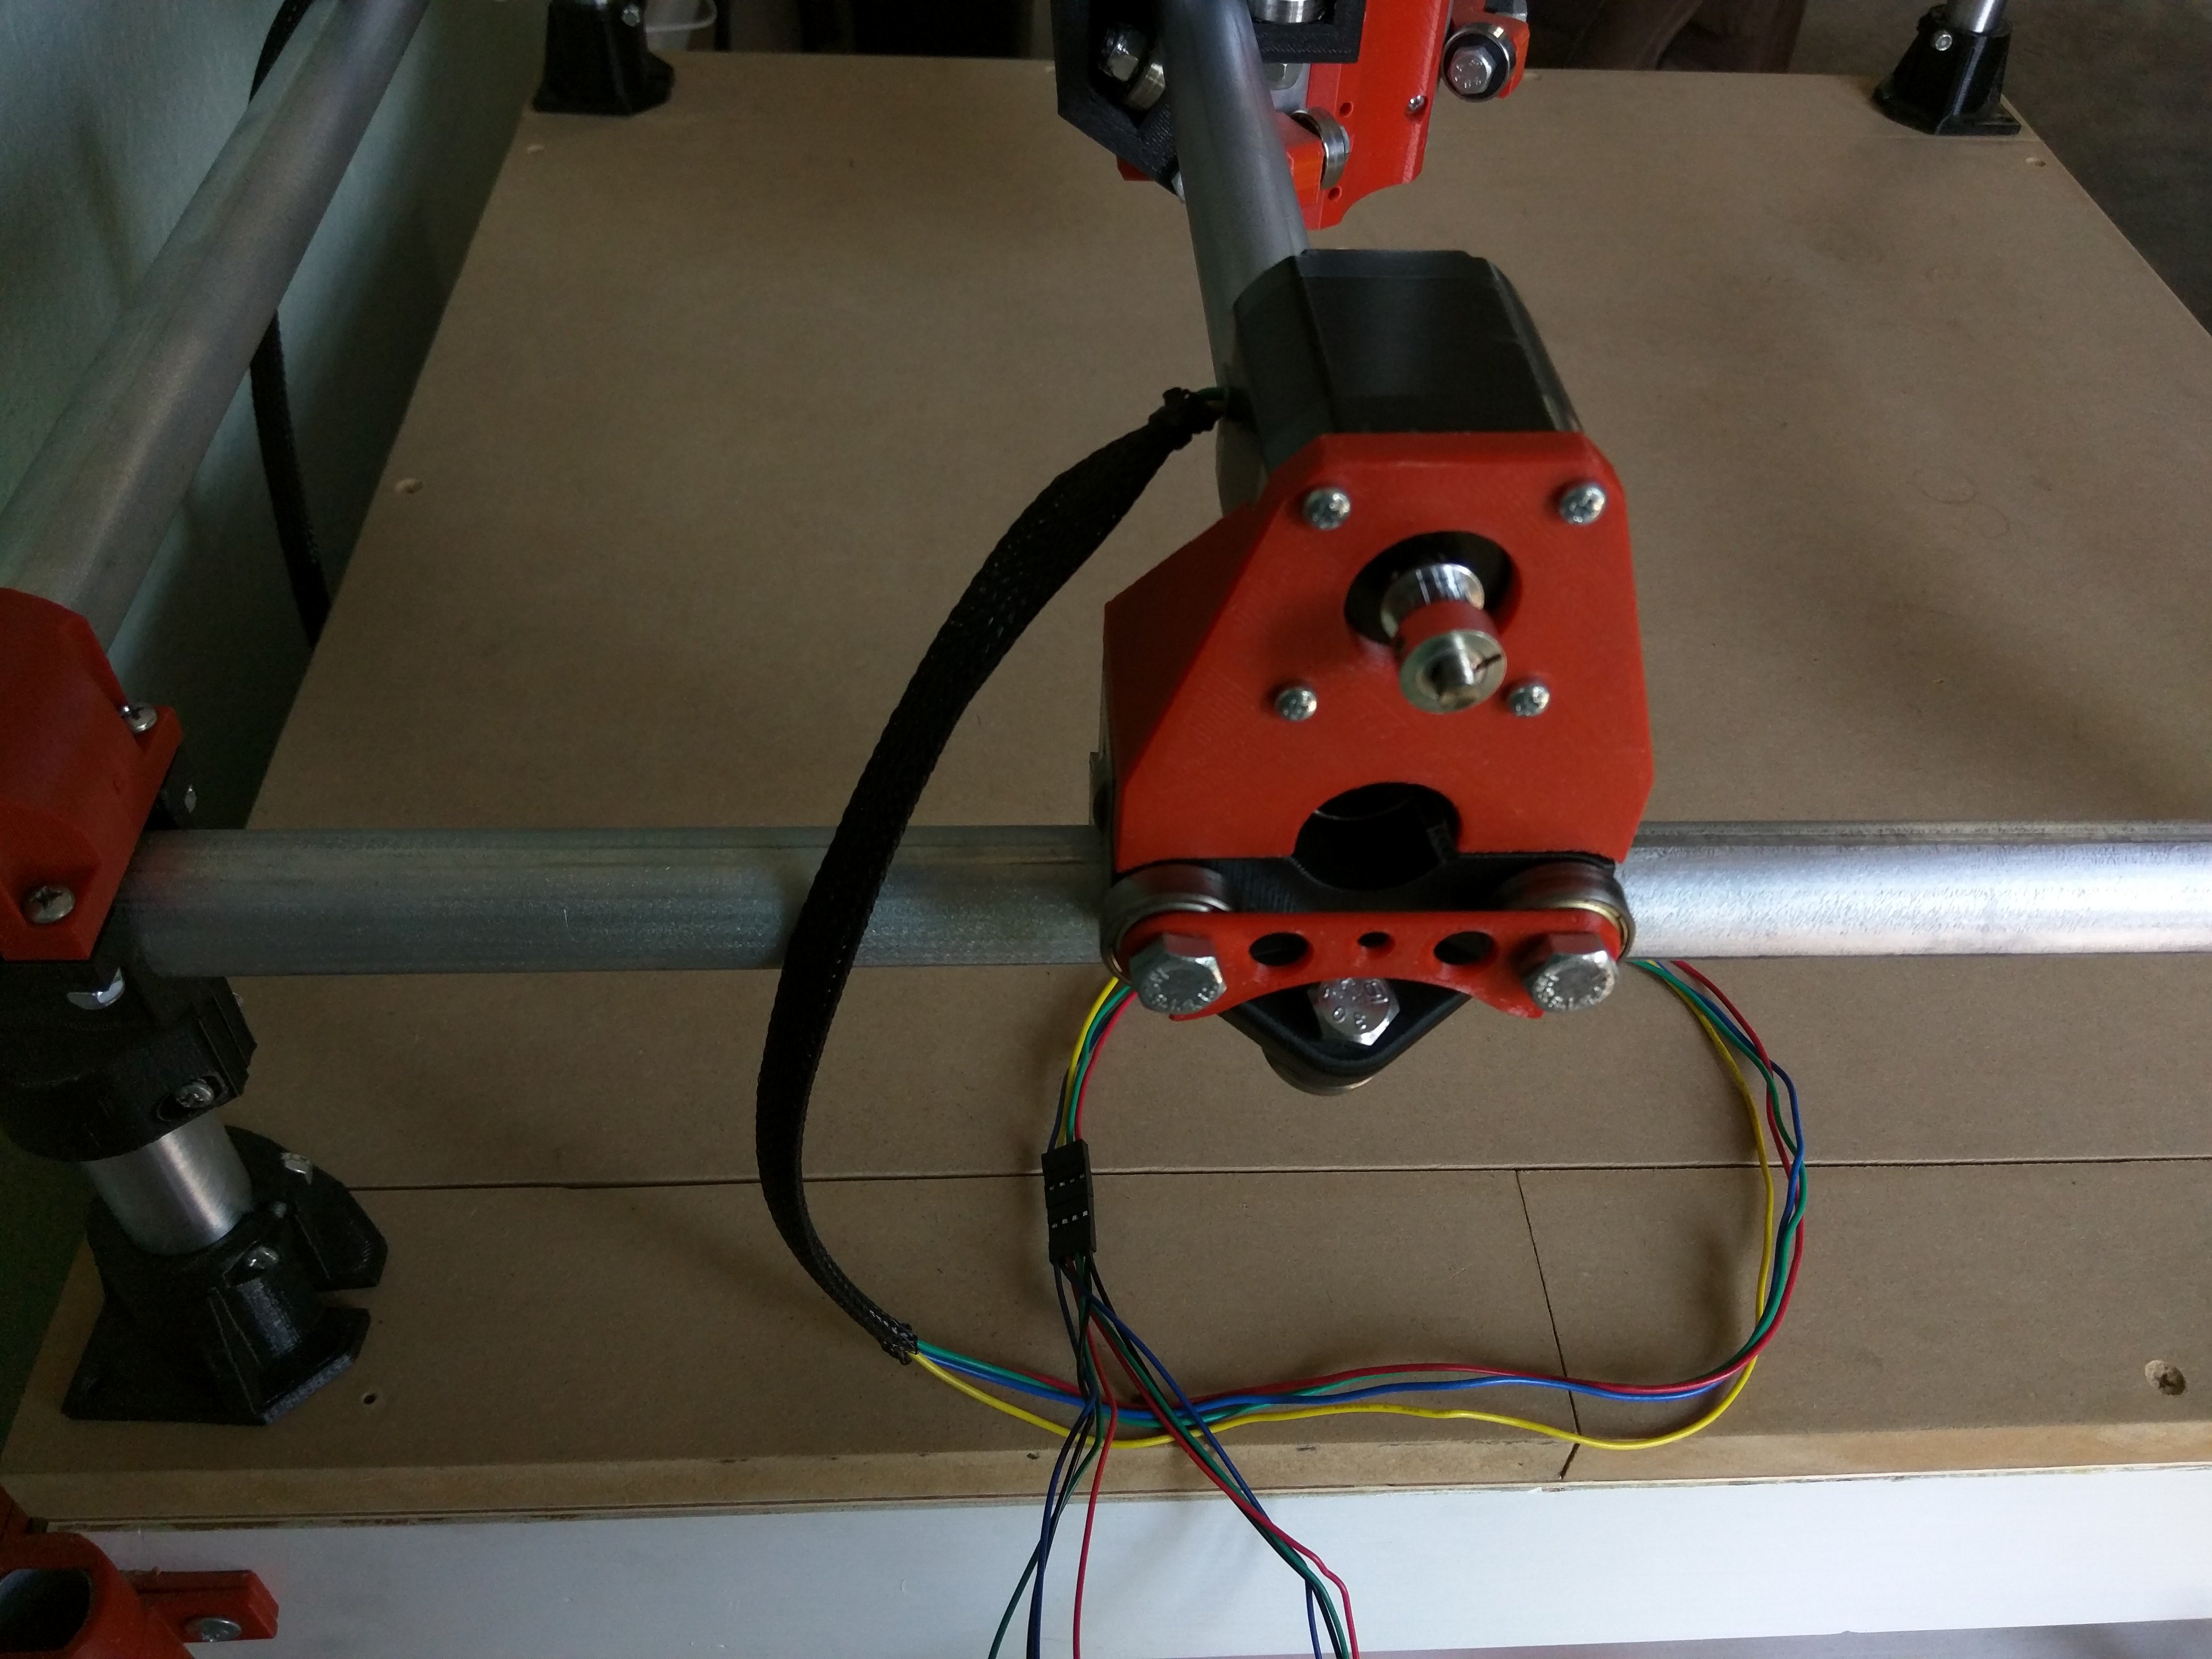
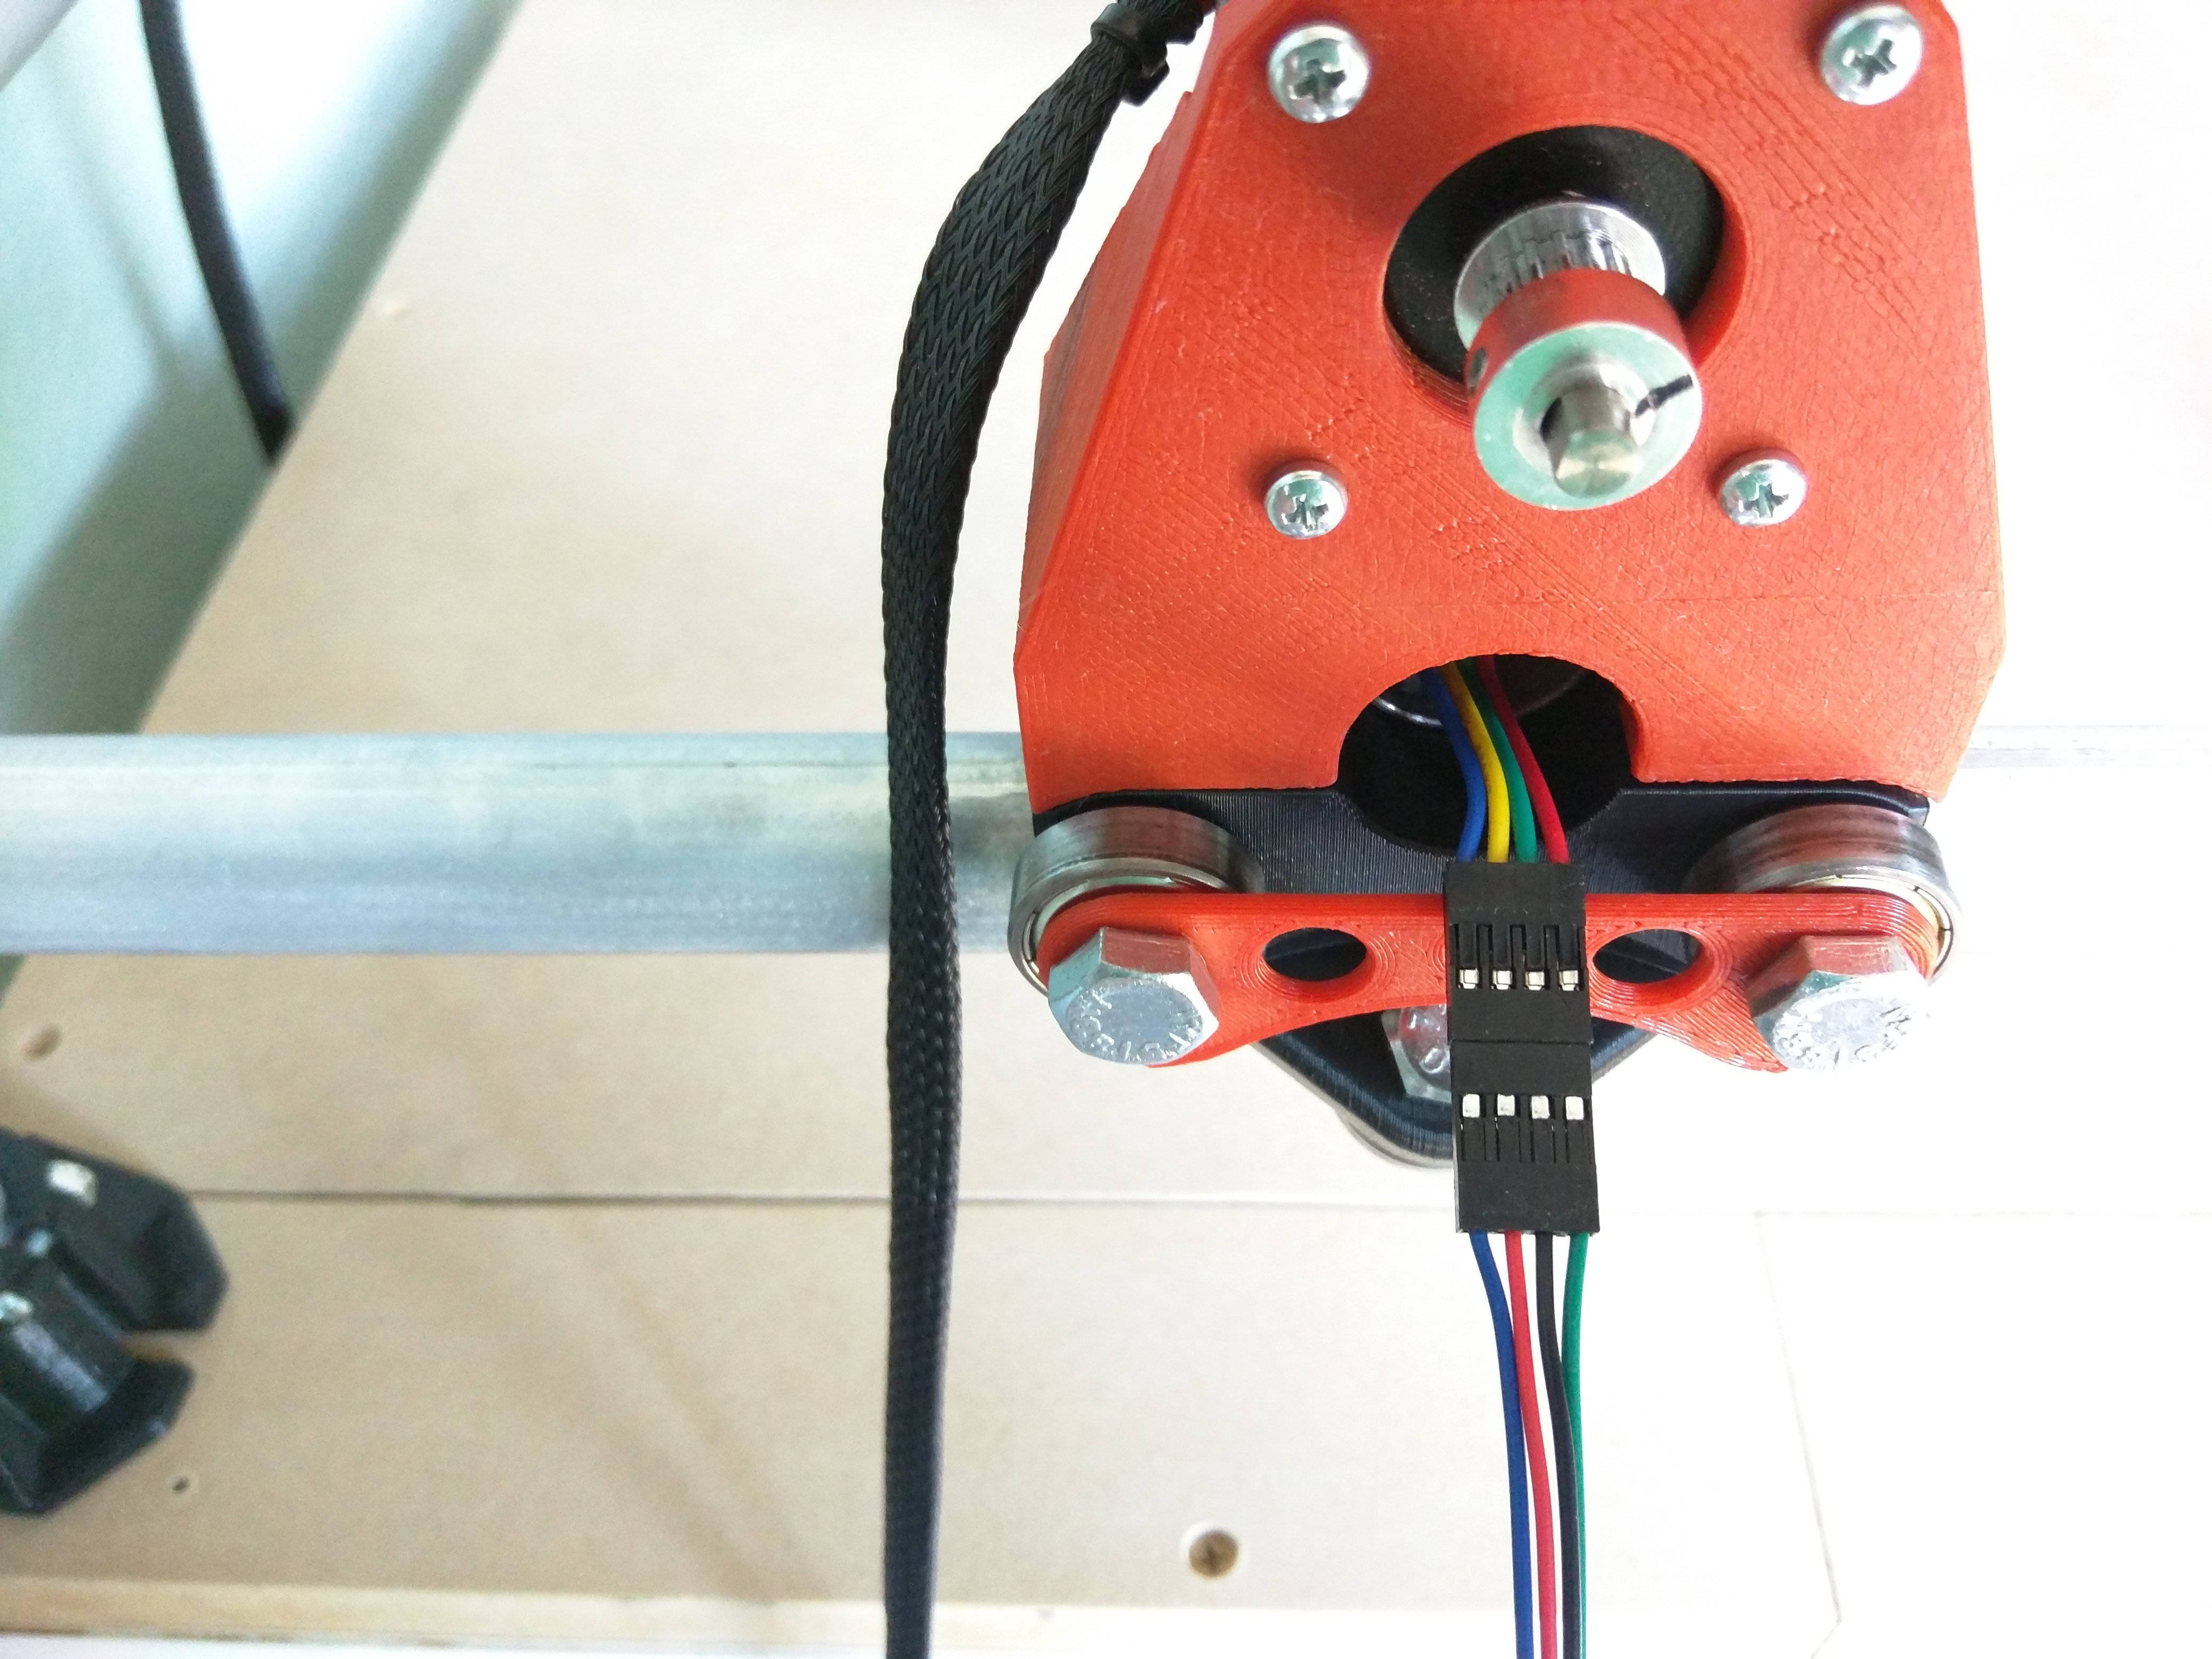
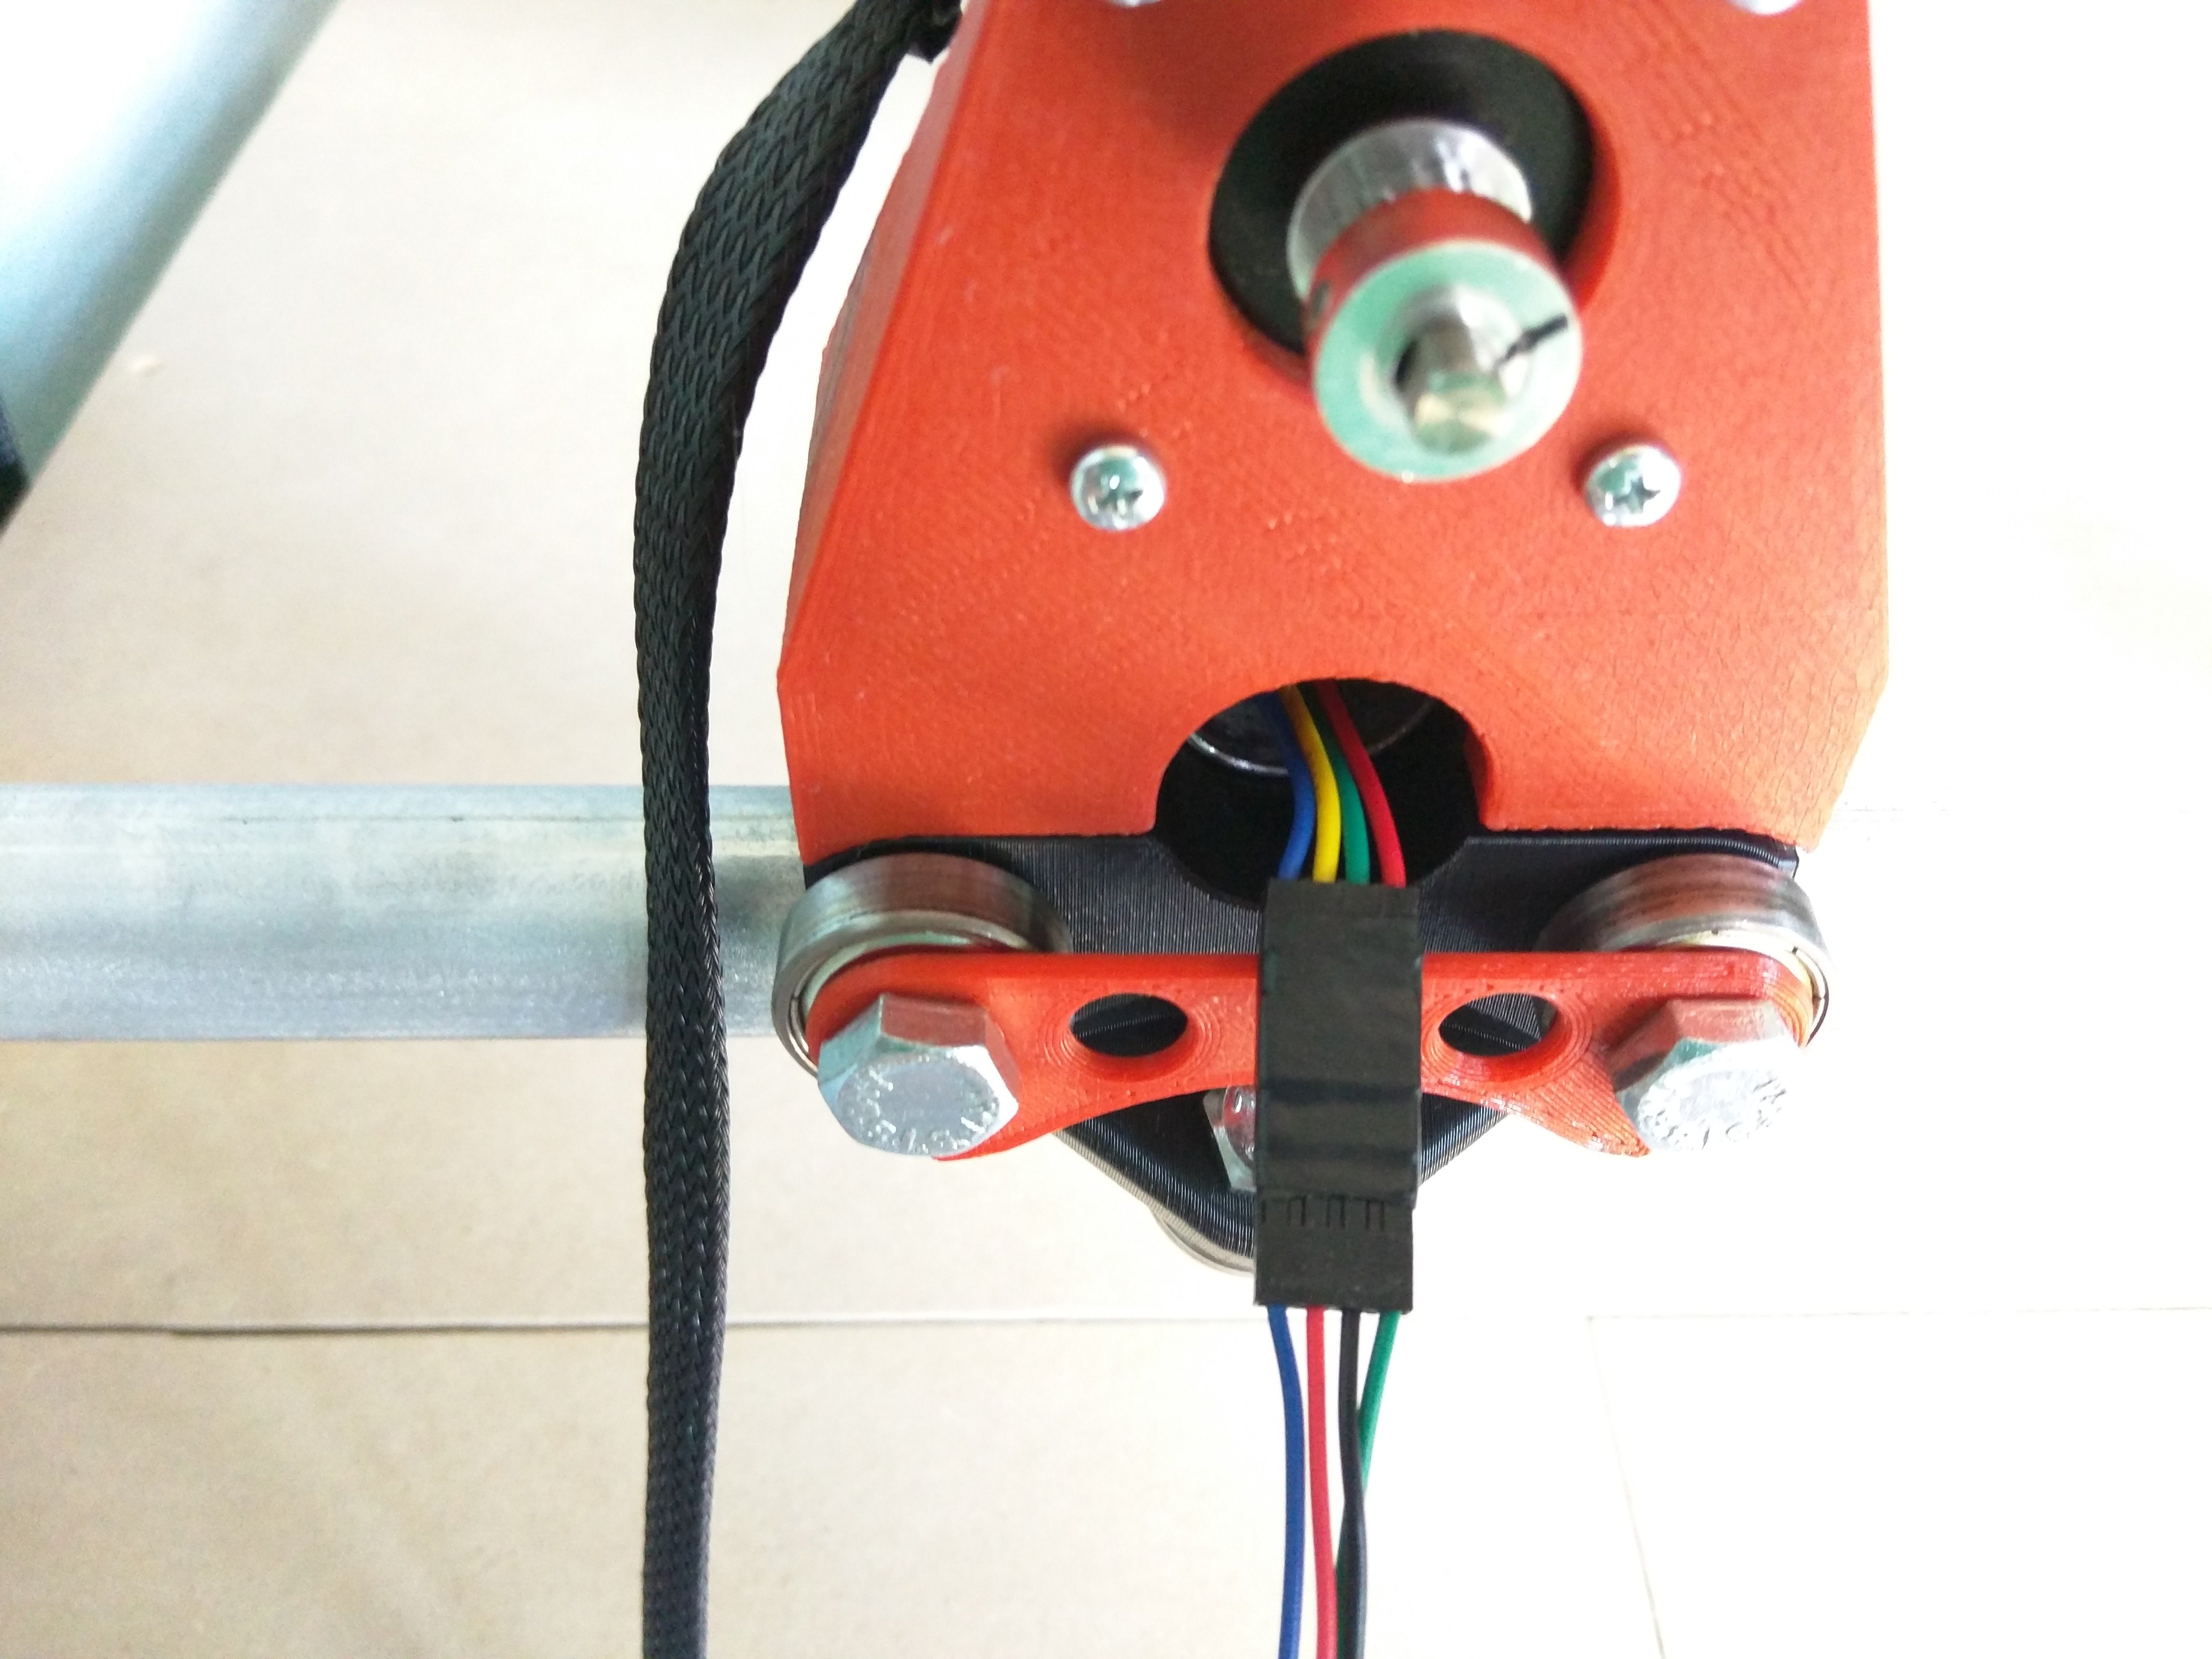
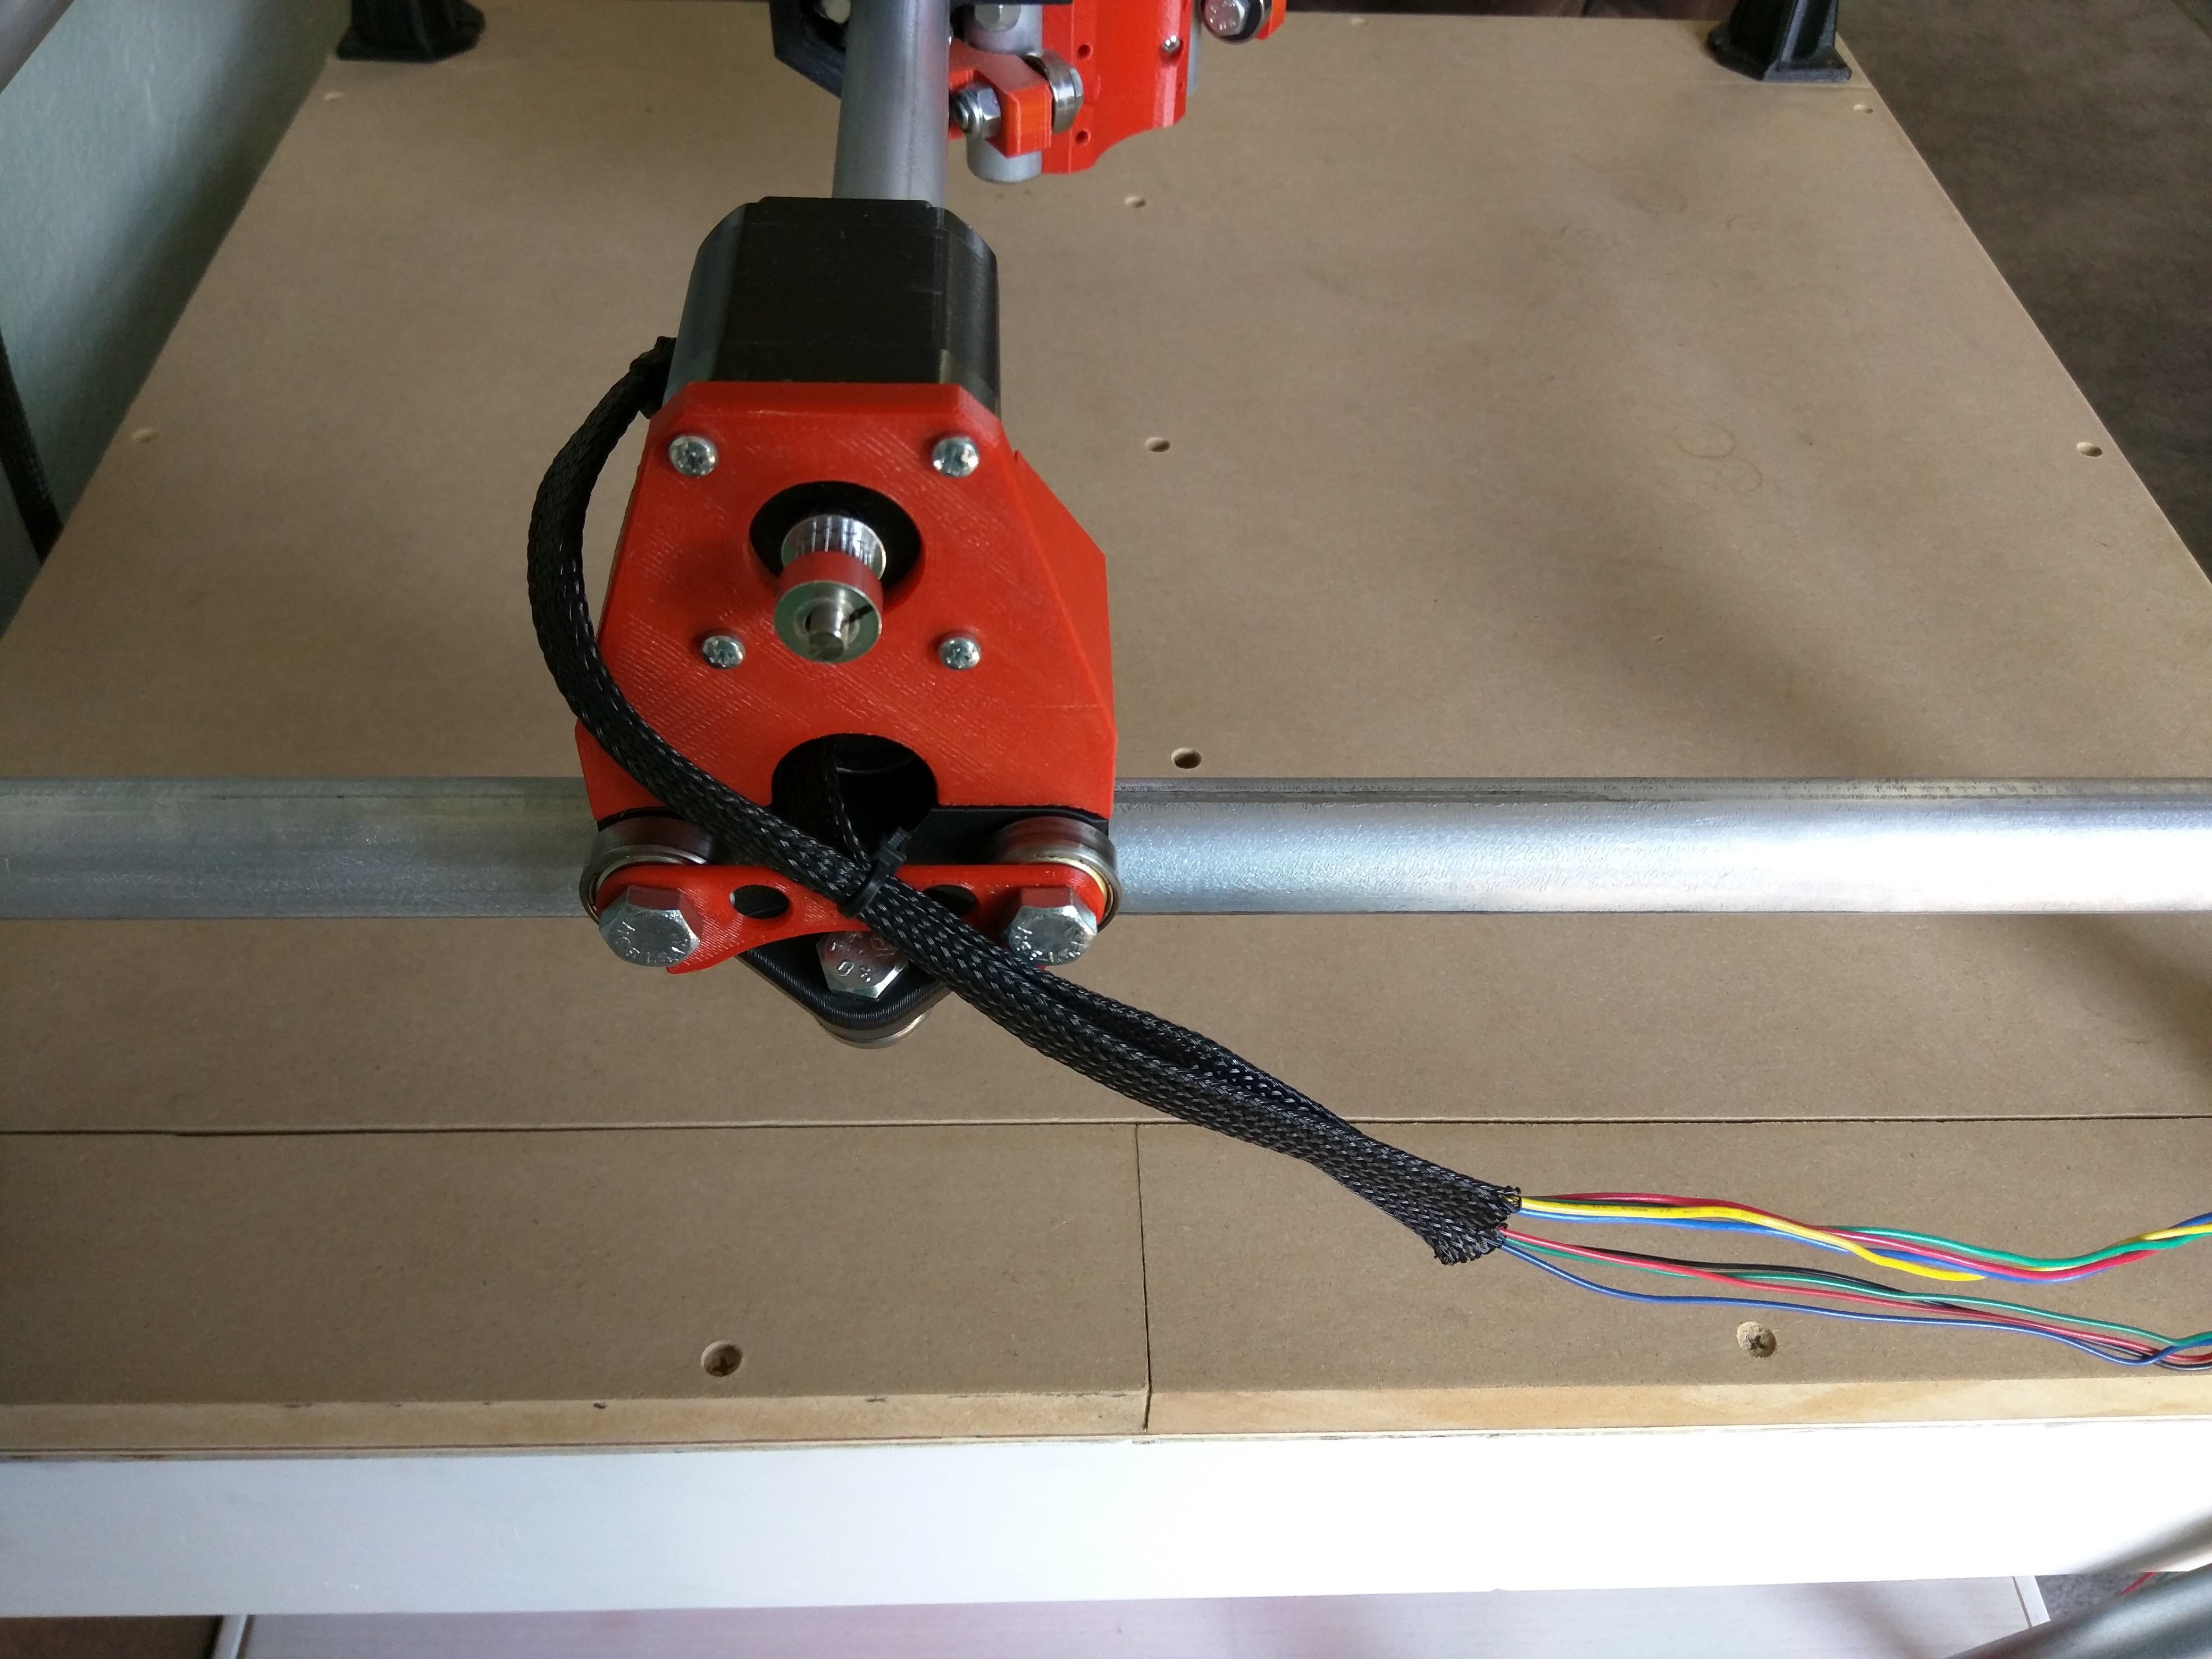
- Run the wire through the rail to the stepper furthest from the control board and secure with a cable tie to the plate. (I chose to cover the wires with PET braiding on this build).
- Make sure the belt will have a clear path.
- For the Series wiring harness, connect the closer stepper to the plug in the middle of the harness with these steppers I match the pin side or non-pin side of the plugs. For the “Individual/dual endstop” wiring harness, run each wire all the way from each stepper to the control board.
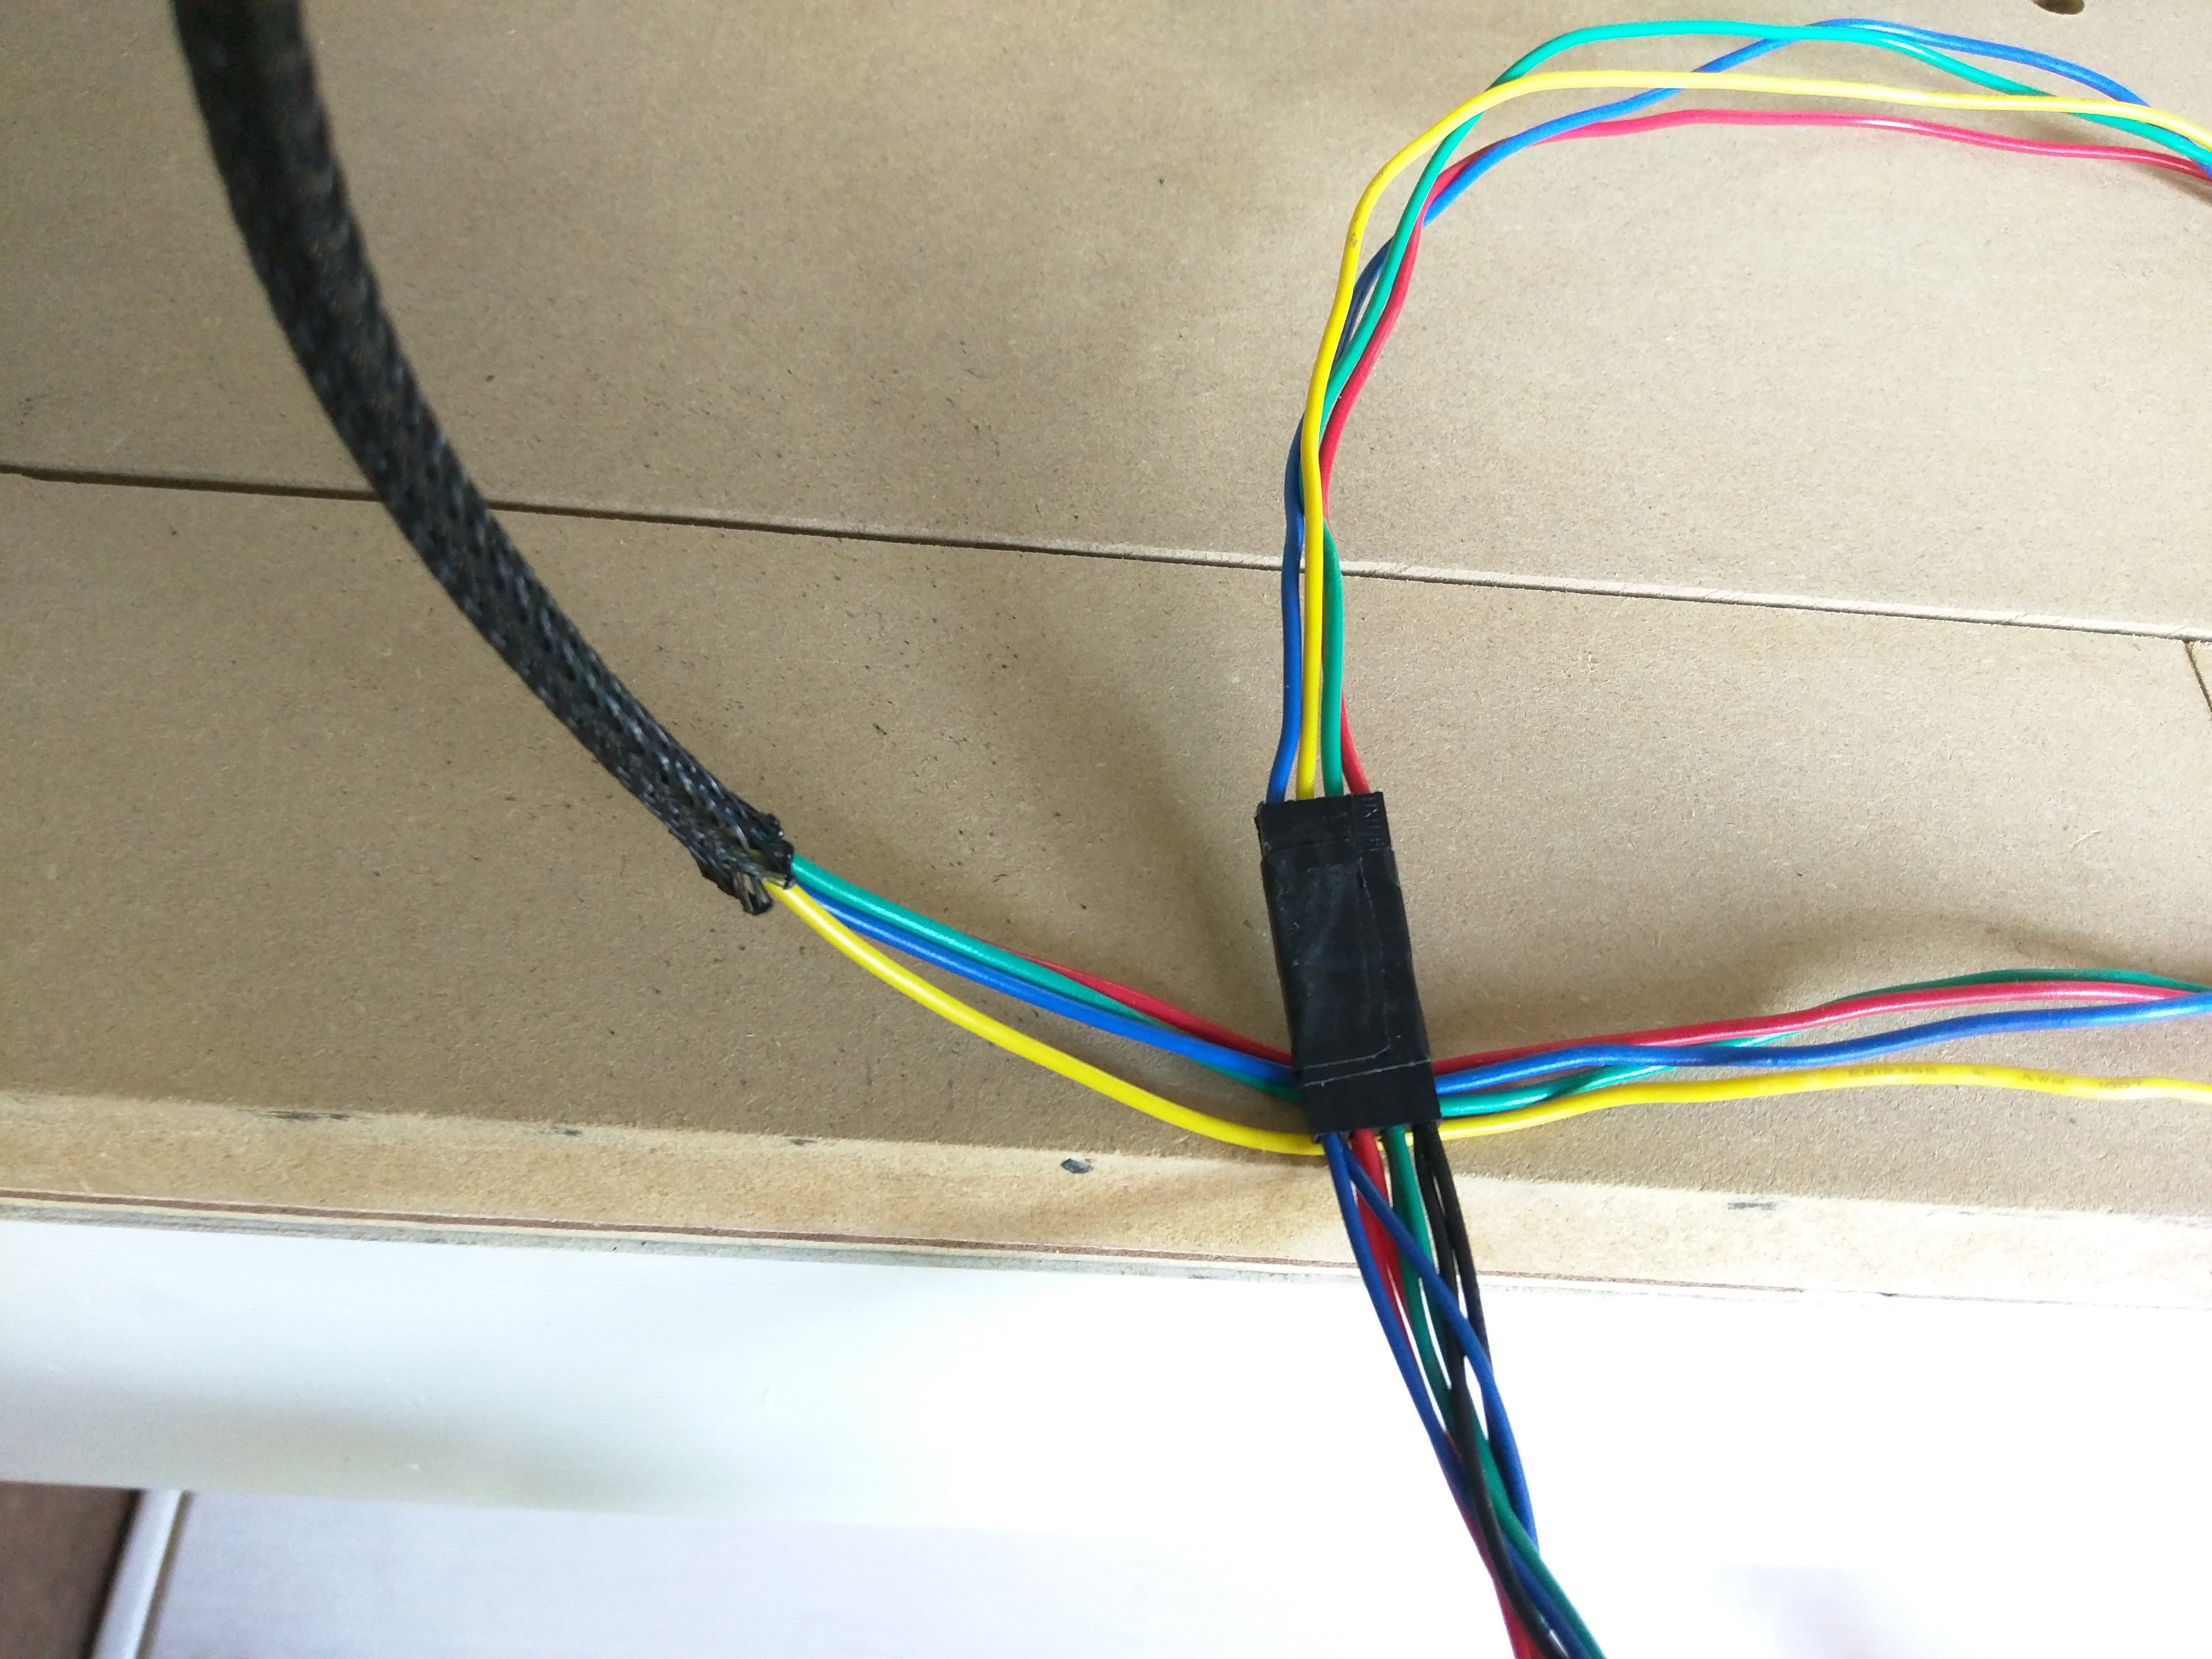
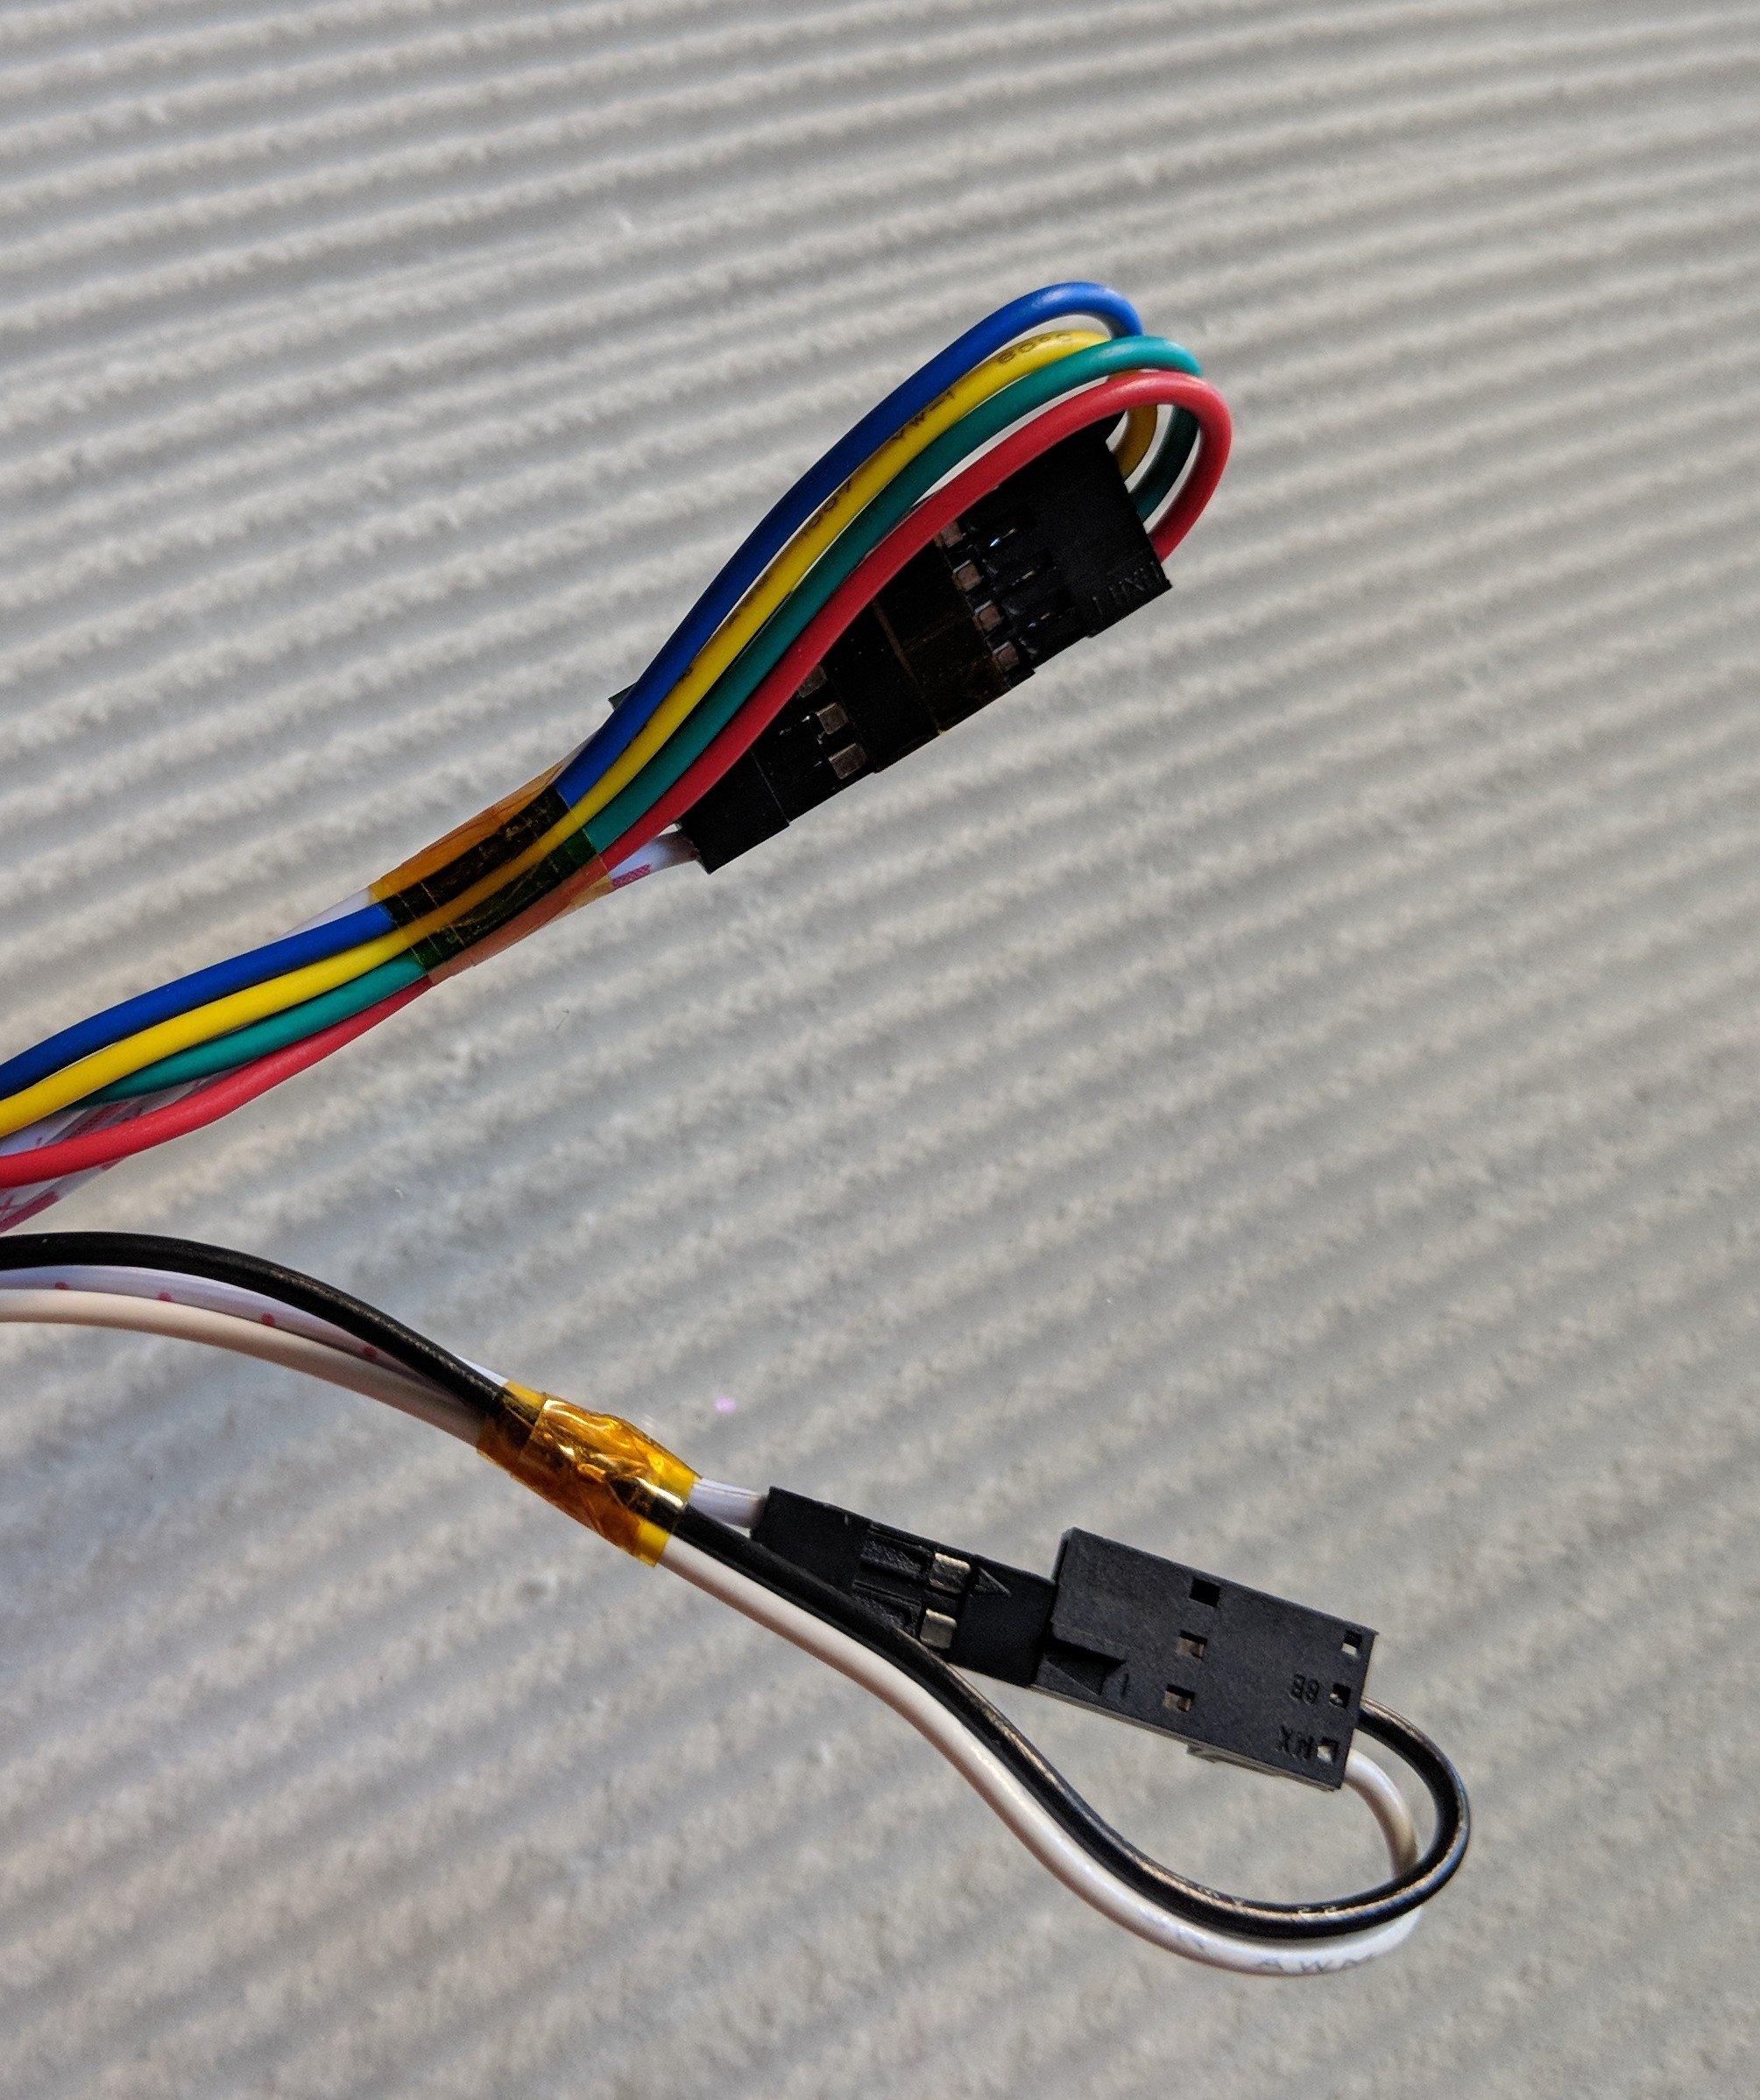
- Secure all connections with tape as shown in both pictures. Tape the connection, then fold and tape again.
Warning
You don’t want any stepper wires to come loose while running. It will probably ruin the project and might ruin the motor driver.
- Connect the wire coming from the far stepper (Series wiring harness only).
- Secure all the connections with tape.
- Angle both wires away from your control board. secure with a cable tie to the plate.
- Move your axis away from the control board as far as possible.
- Leave a slight bend in the wires.
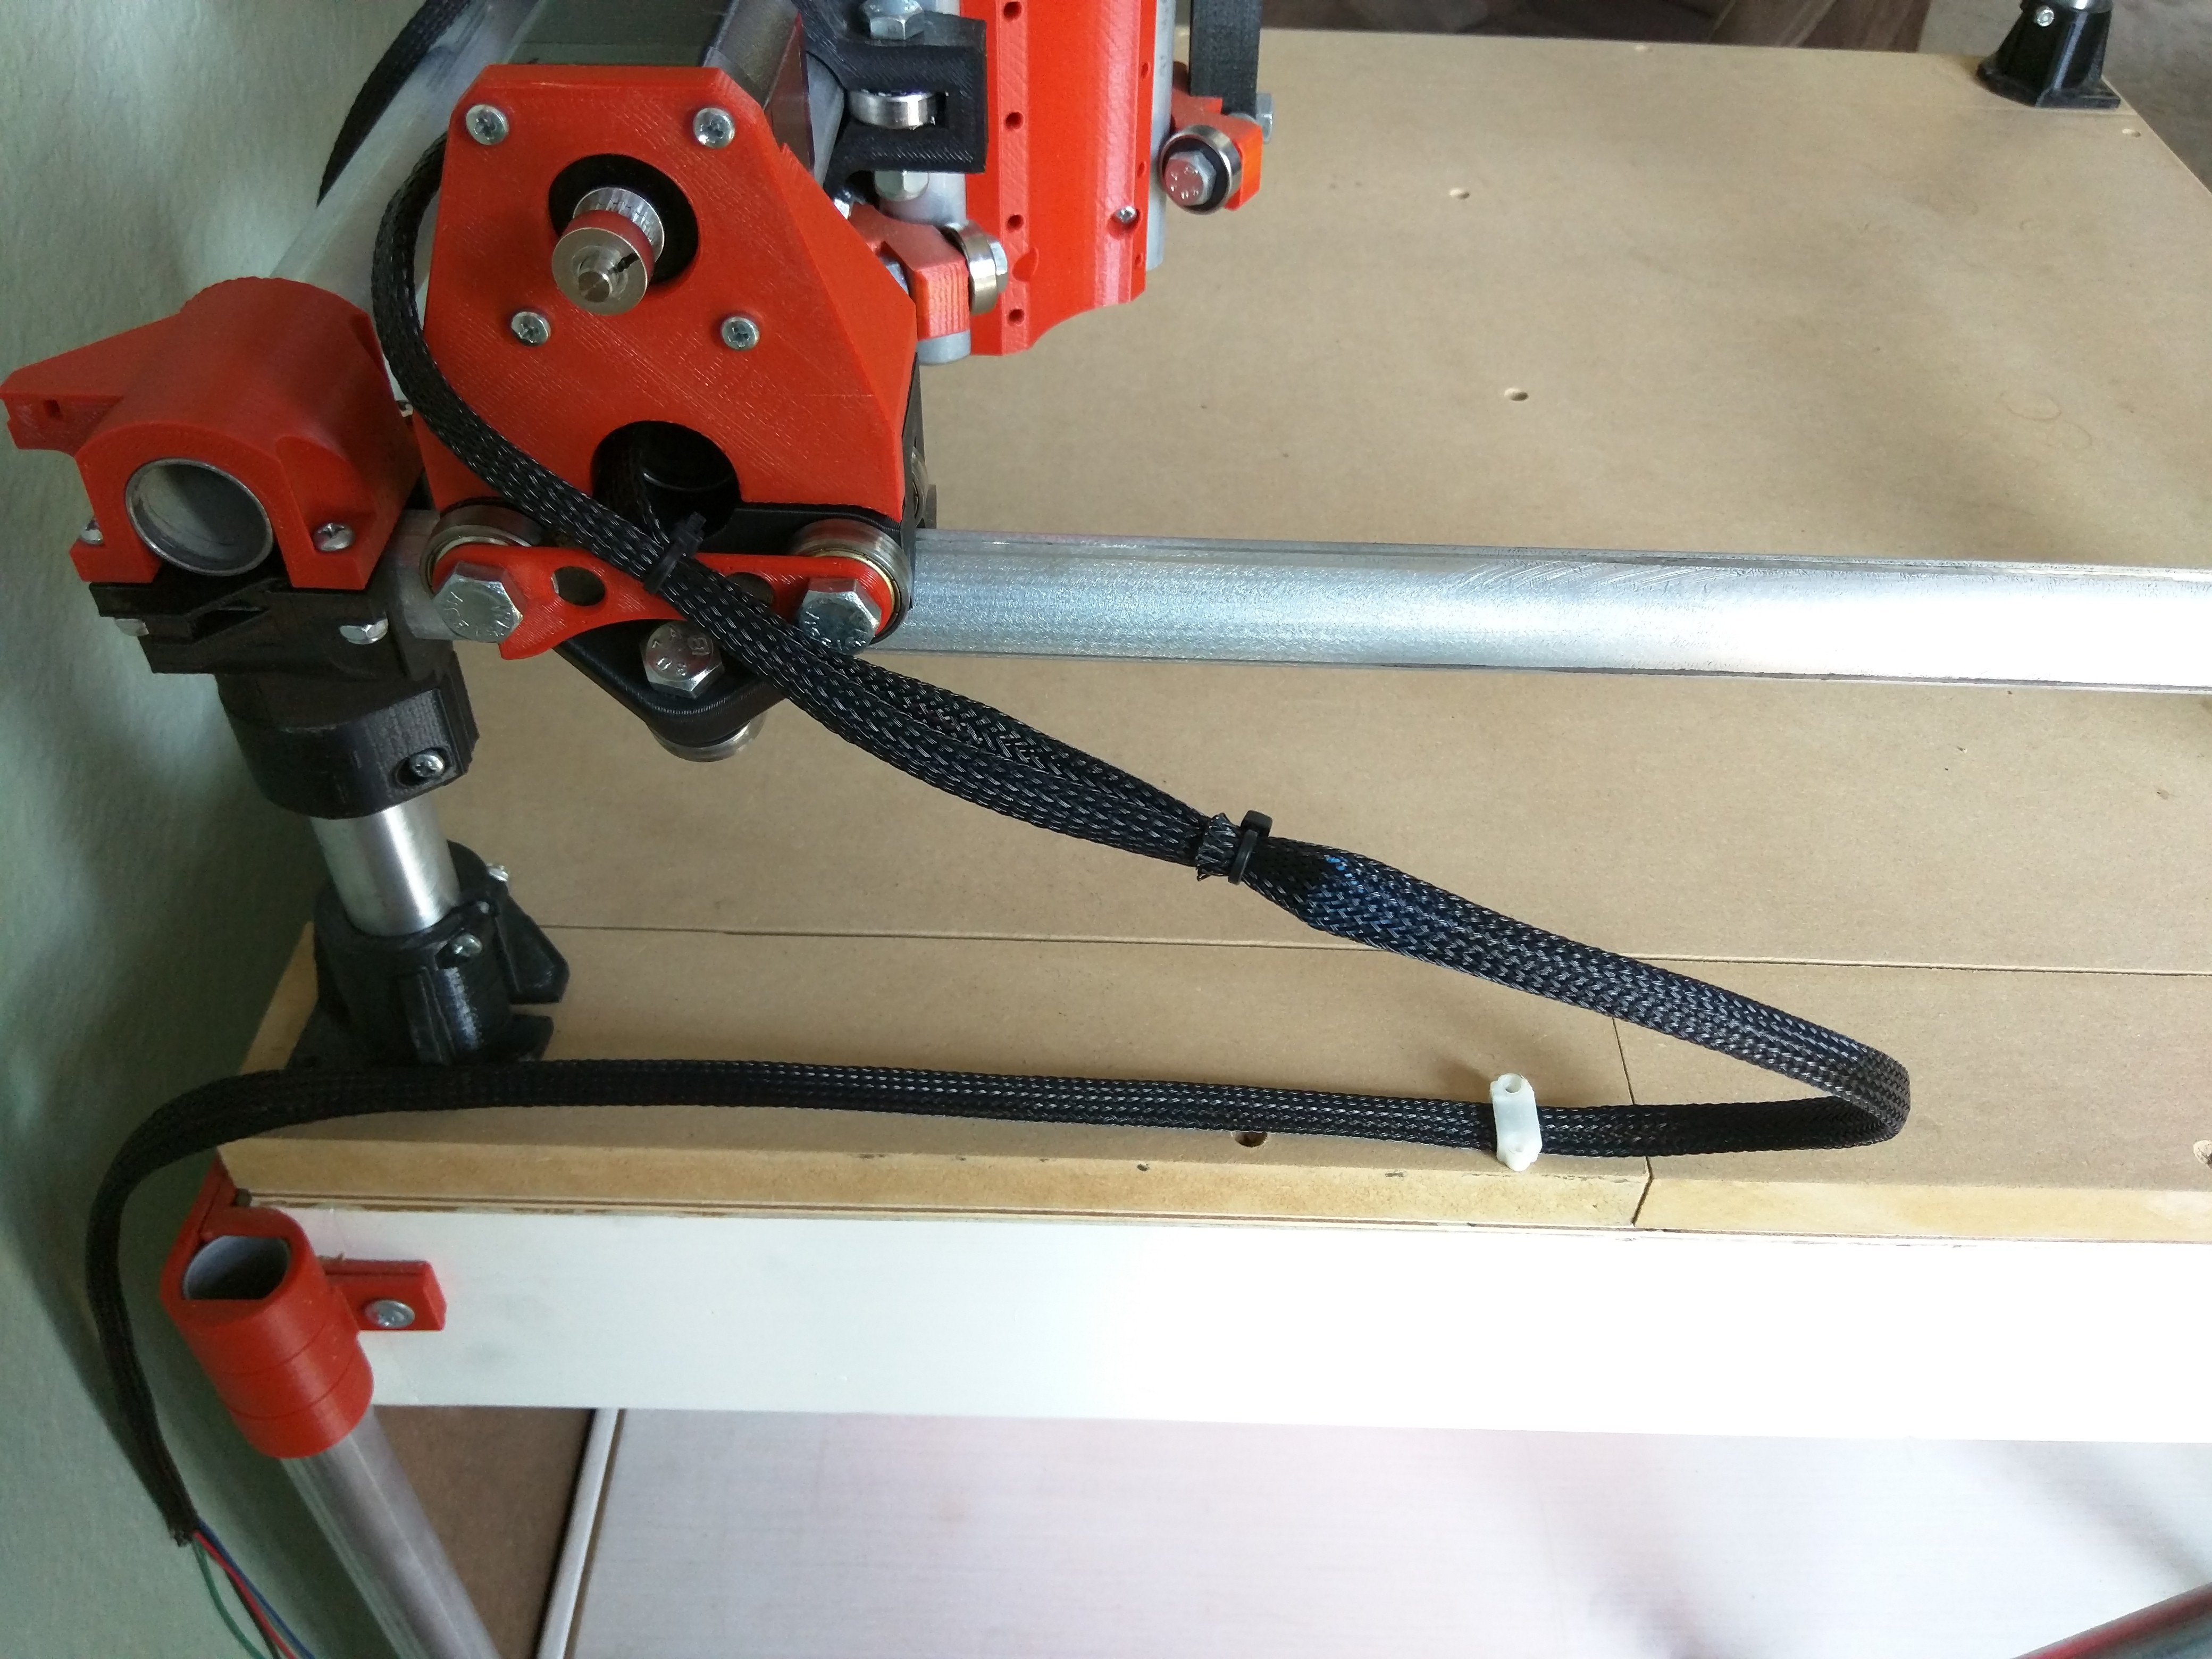
- Hold the wires in place at the far end and move your axis as close to the control board as possible.
- Secure the wires a little past where the wires are bent and still touching the surface. Leave a little slack in the line, you do not want to stress the wires. They will be subject to repeated flexing.
Info
I have control box and LCD cases, here.
Info
As for wire management I have found nothing works better than the tape measure trick In use here! Again, nothing should be connected to your Z axis, especially cable chain, it will mess with your accuracy.