PlatformIO
PlatformIO is another way to prepare firmware (amongst other things) to use on your control board after making any changes or updates. Previously most of us had used ArduinoIDE but PlatformIO is helping to get around some of Arduino’s 32bit compile limitiations. Luckily in the end only one single line in the firmware needs to get changed to make it work, and I will be making that change, and you will now be free to decide which you want to use. Even better is this is cross platform!
Installation
I will write this from a Windows perspective, as far as I know it will look very similar for MAC and Linux. If it does not, please help out and add some pictures to clarify.
Install 1 - VS Code
The first step is to install Microsoft Visual Studio Code. This is cross platform and it is a very simple, yet powerful tool. VS Code
Info
Linux users with snap support can also install VS Code from the command Line: “sudo snap install –classic code”
Install 2 - PlatformIO
PLatformIO is actually and “Extension” for VS Code. To install PlatformIO you click on the broken block icon on the left side of VSCODE shown here highlighted.
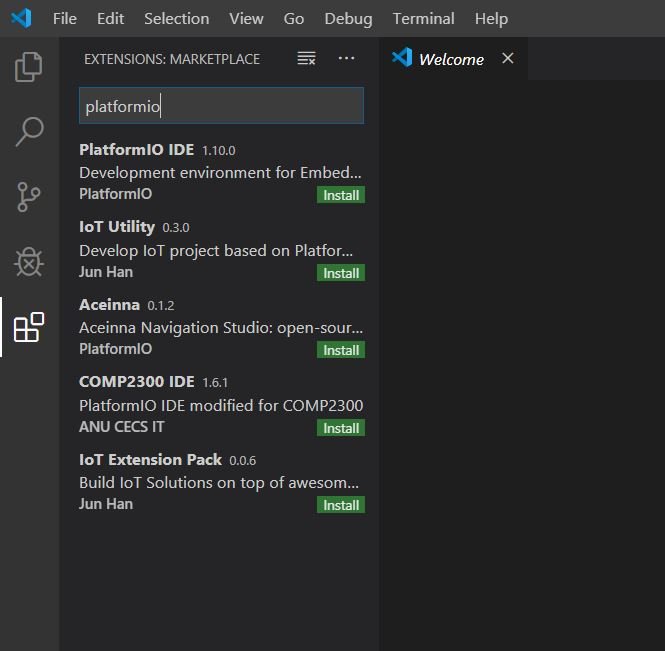
This will pop up a search window. Type in “PlatformIO”. It should be the first result, now just click the green install button.
Now the difficult part....you have to wait for it to finish. It can take up to 15 minutes on an older machine.
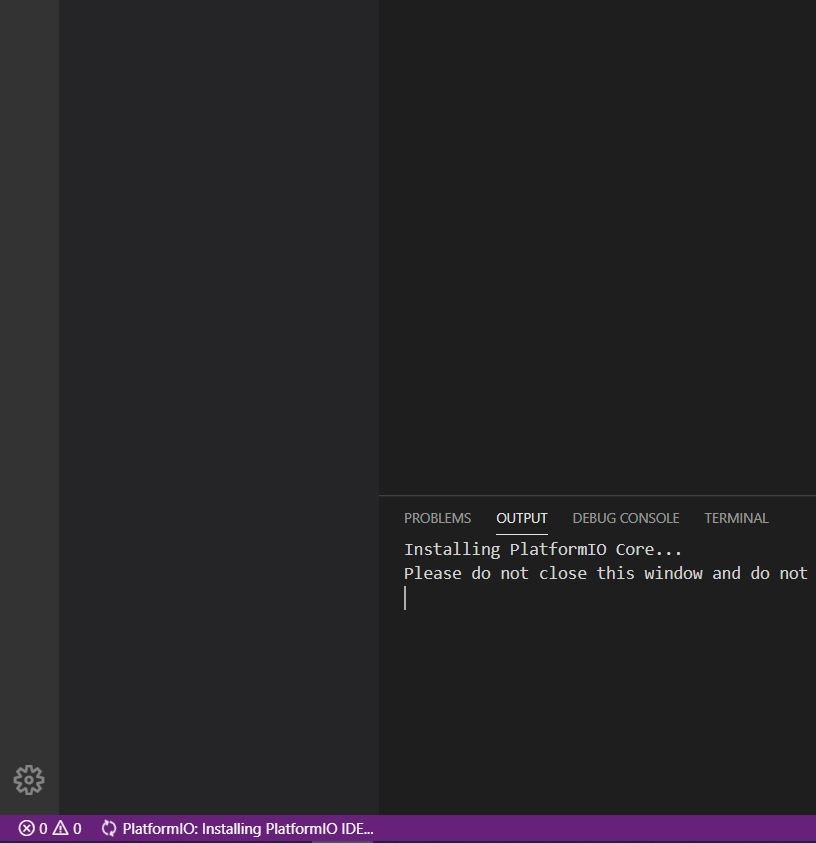
At the very bottom of the VS Code window you will see a purple bar and the installing icon and message, don’t touch anything while it works. When it is done it will pop up a “Reload Now” button.
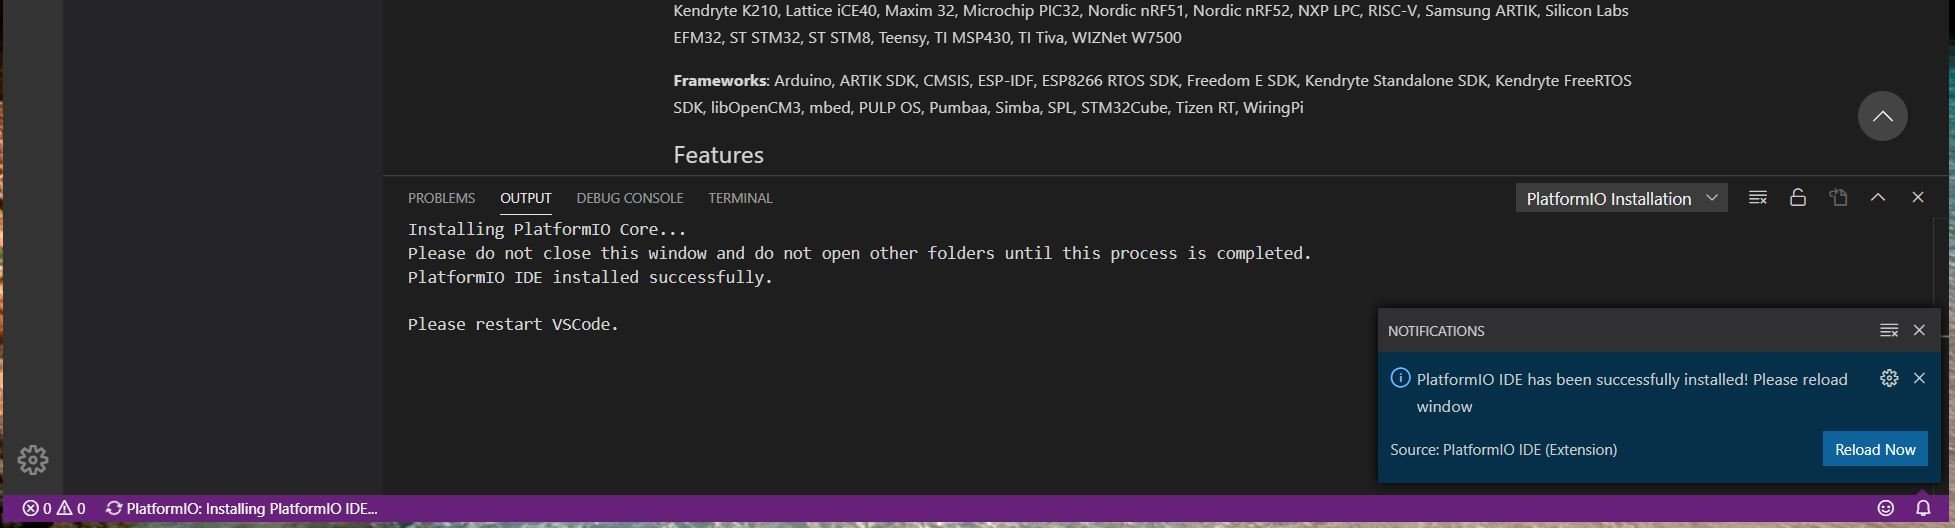
Congratulations you are done with the “hard part”!
Using PlatformIO
Once you have PlatformIO installed there is really nothing else that needs to be added. Now you can load your firmware of choice and flash or compile.
Load Your Firmware
You should already have downloaded and Unzipped the firmware for your board. If you are unsure of that step have a look here.
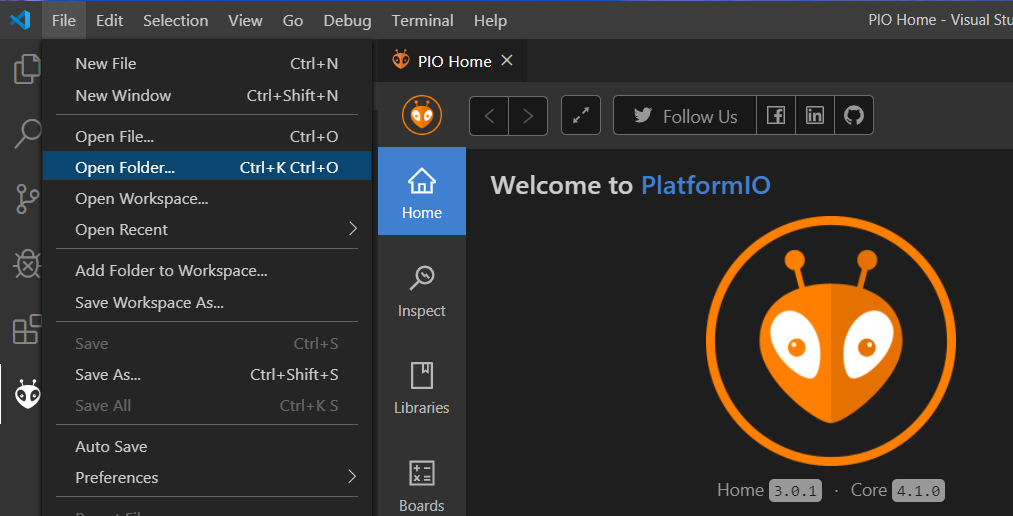
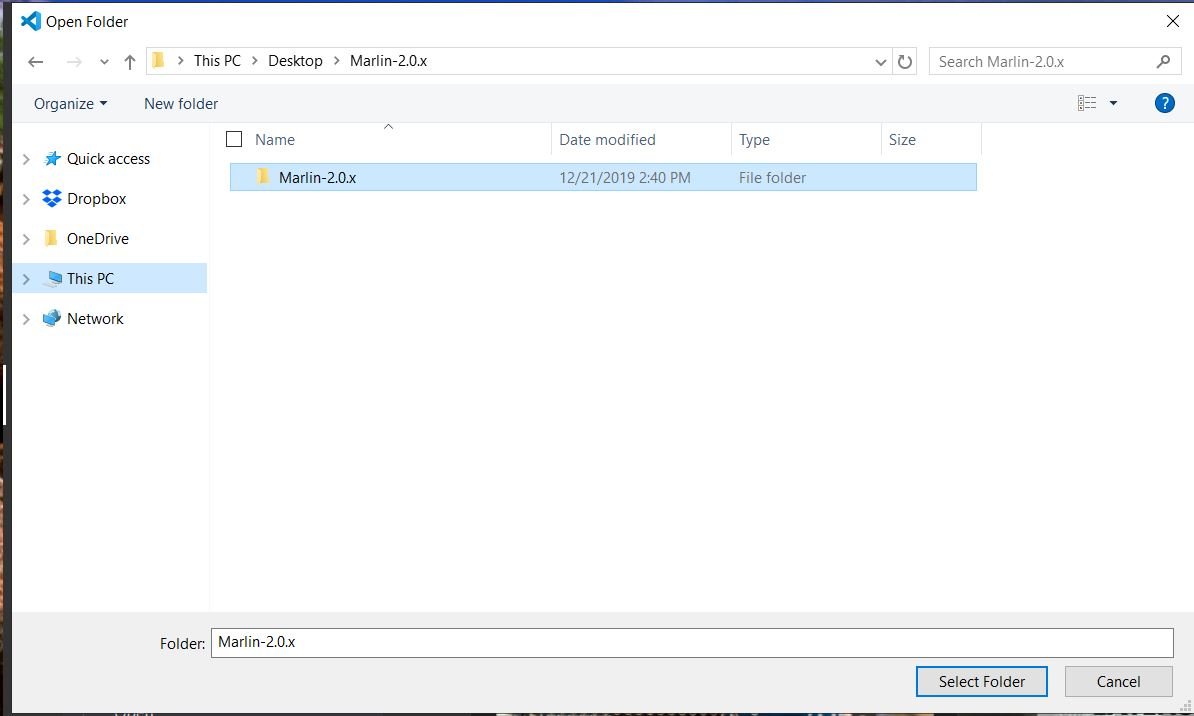
In the top left of the VS Code window select “File”, then “Open Folder”.
You can select the entire folder you have unzipped. If that is unclear - You need the entire folder that contains “platformio.ini” and the “marlin” folder. Here is a picture of what that looks like. The name will vary as the versions progress, bugfix 2.0.x is another common one.
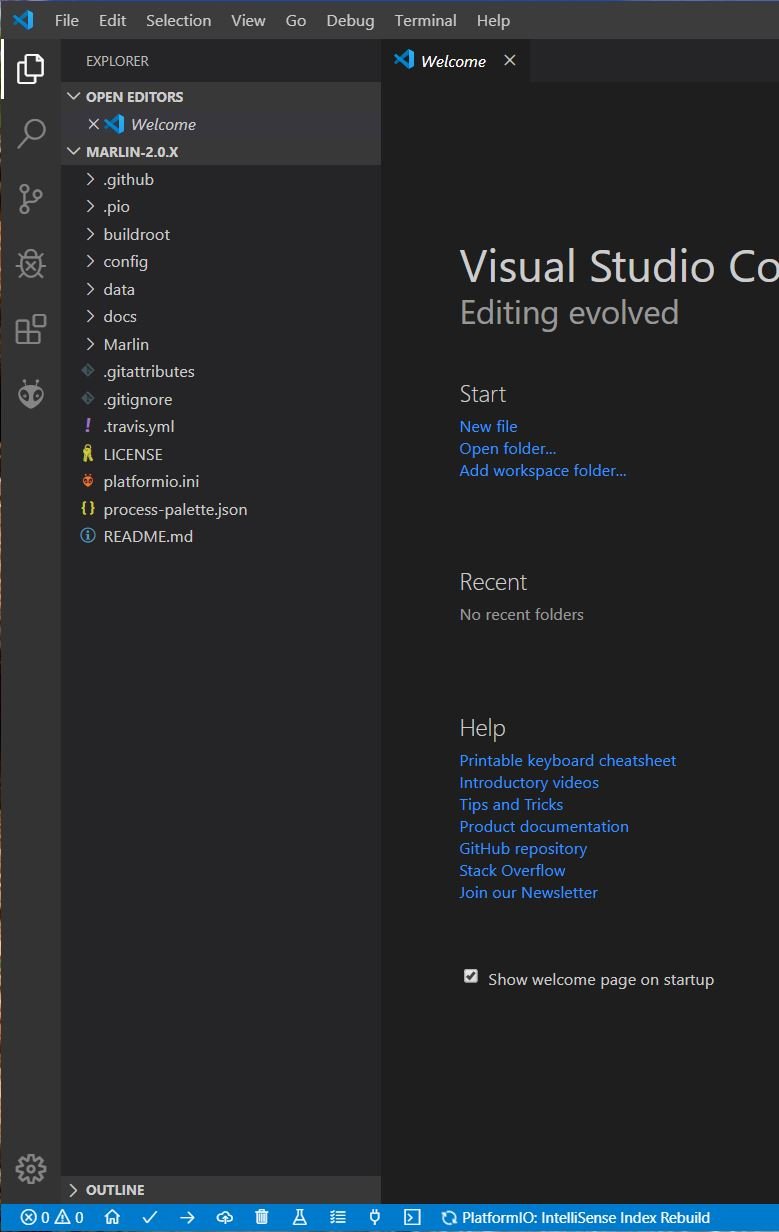
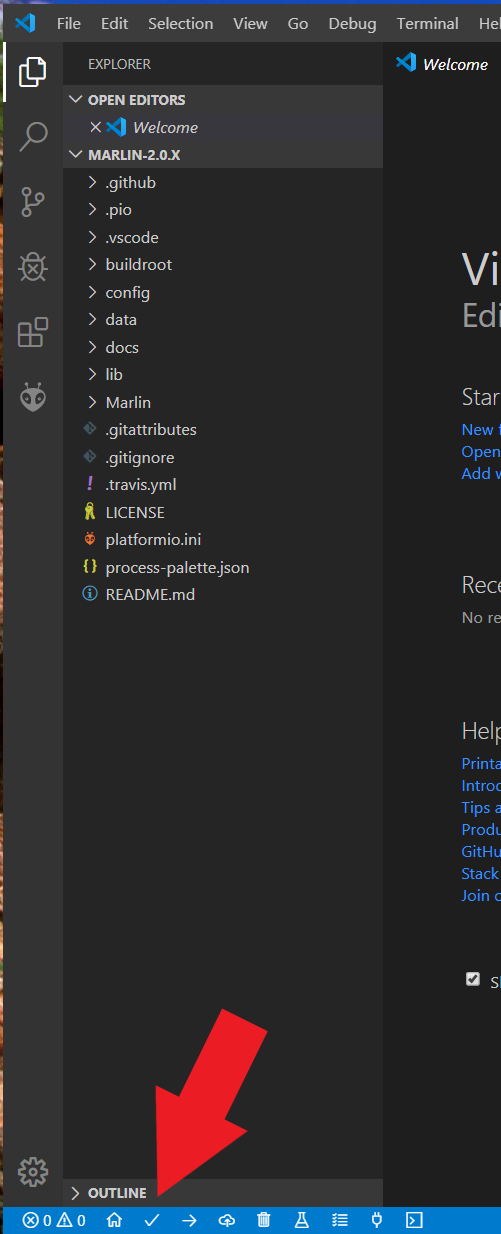
One you open that folder it will show in the window and look very similar to the picture below. Notice at the very bottom, the blue banner shows a “Index Rebuild” icon let that finish before moving to the next step.
Build
Hit the check mark to build (or compile) the firmware. Most items will say “ignored” as it only builds for the one specified board.
At this point you should get a message that says “1 succeeded”. If you do not, the firmware has build issues and they need to be resolved before proceeding further.
The next step is to get it onto you board, or if you are sharing your firmware, you can skip to the Compile step.
Flashing (most common, used with ramps, rambo, mini rambo)
You do not need to select a com port as in Arduino, just plug in your board and it should be recognized, even USB card based boards. Then hit the right arrow (1) button and wait for it to transfer.
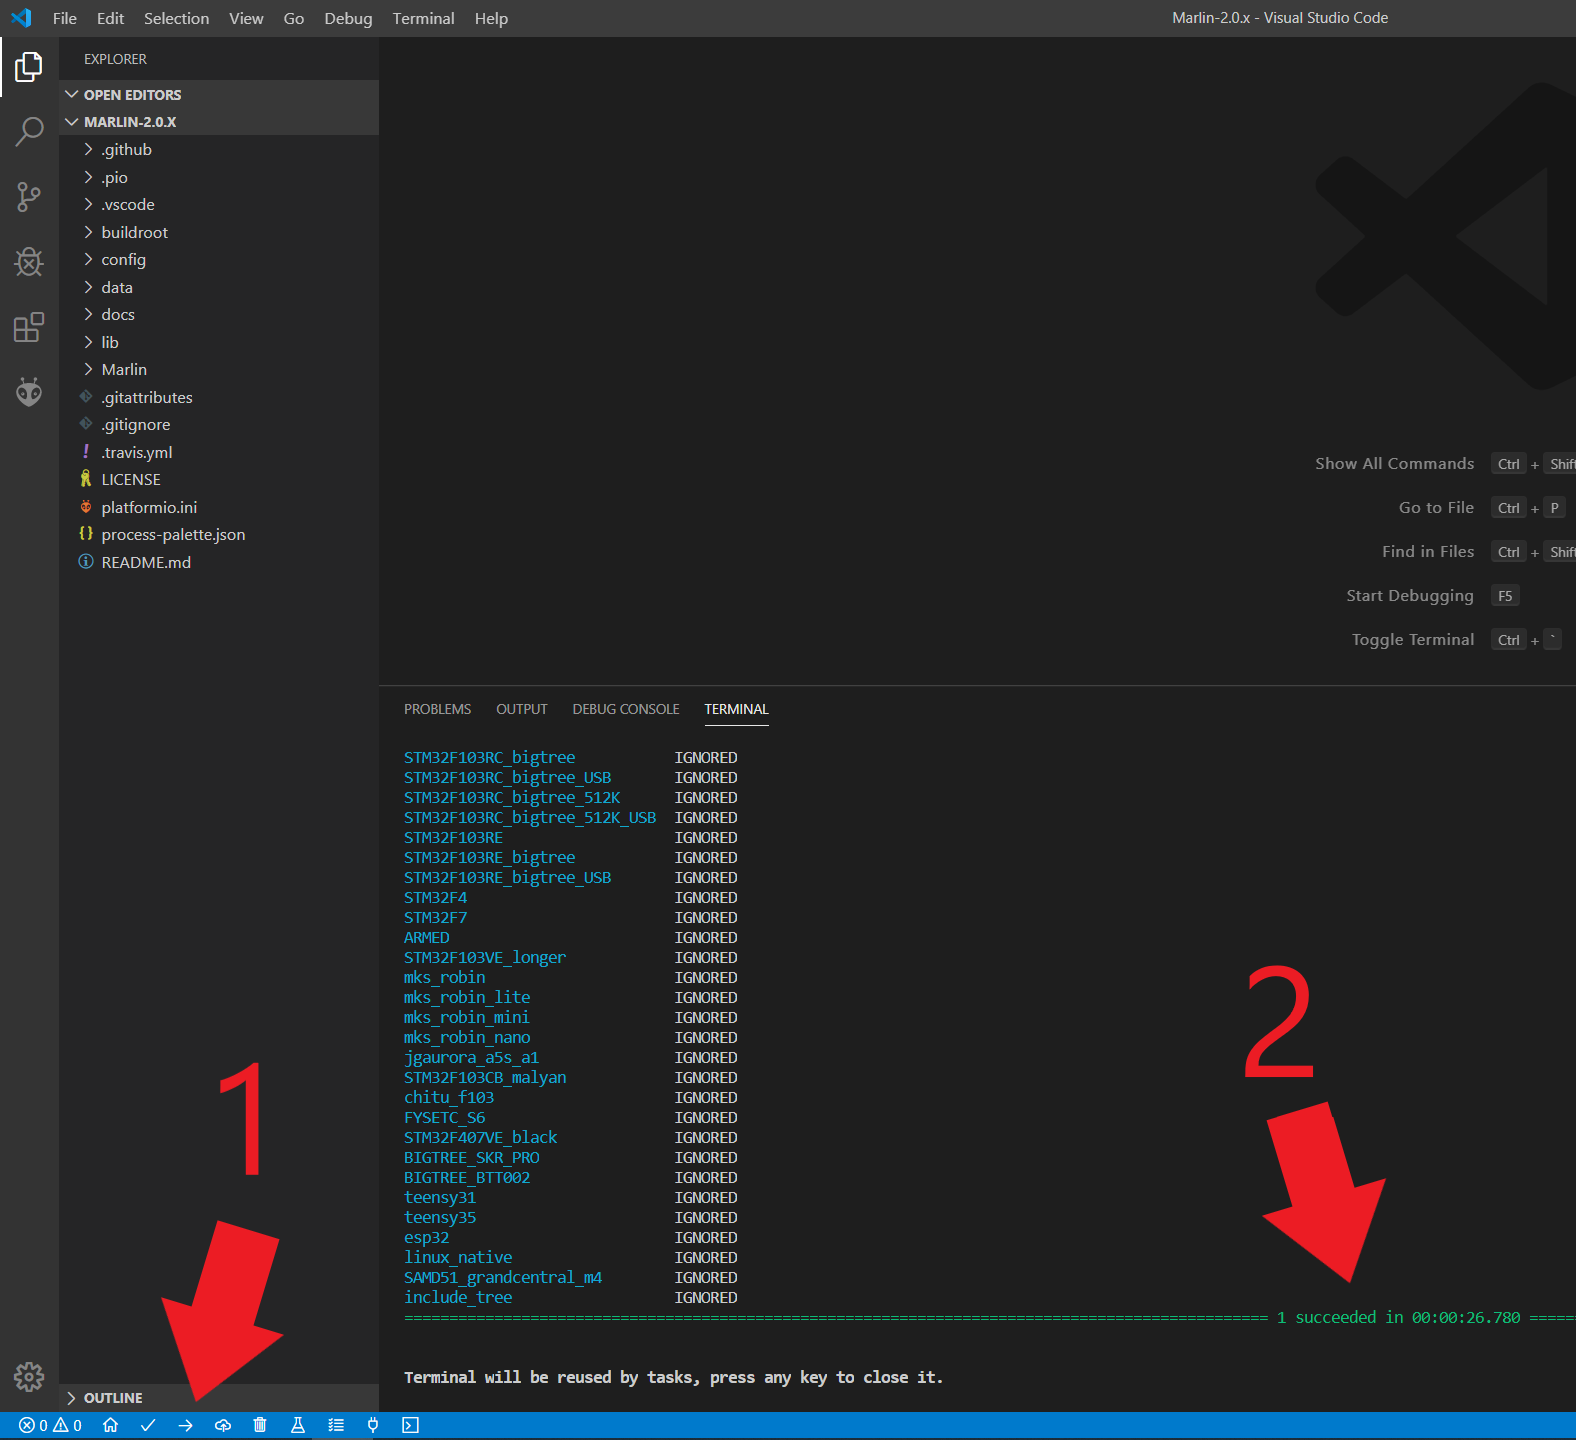
When you see (2) “1 succeeded”, you are DONE and the board is ready to use!! If you do not see that, there are board connection issues.
Compile to file (SKR boards)
If you are trying to share your precompiled firmware, or load it to an SD card enabled board this step is actually already done. You simply need to locate the file that was created during the build. This file should be inside a folder in the previously mentioned Marlin folder that was unzipped, then in a folder titled “.pio”, then build, then a folder named after your board type. Example “Marlin/.pio/build/rambo/firmware.hex”