MPCNC Belts
- Move the gantry all the way to the lower left corner.
- Paying attention to which way the cable tie heads are facing (for that slick clean look).
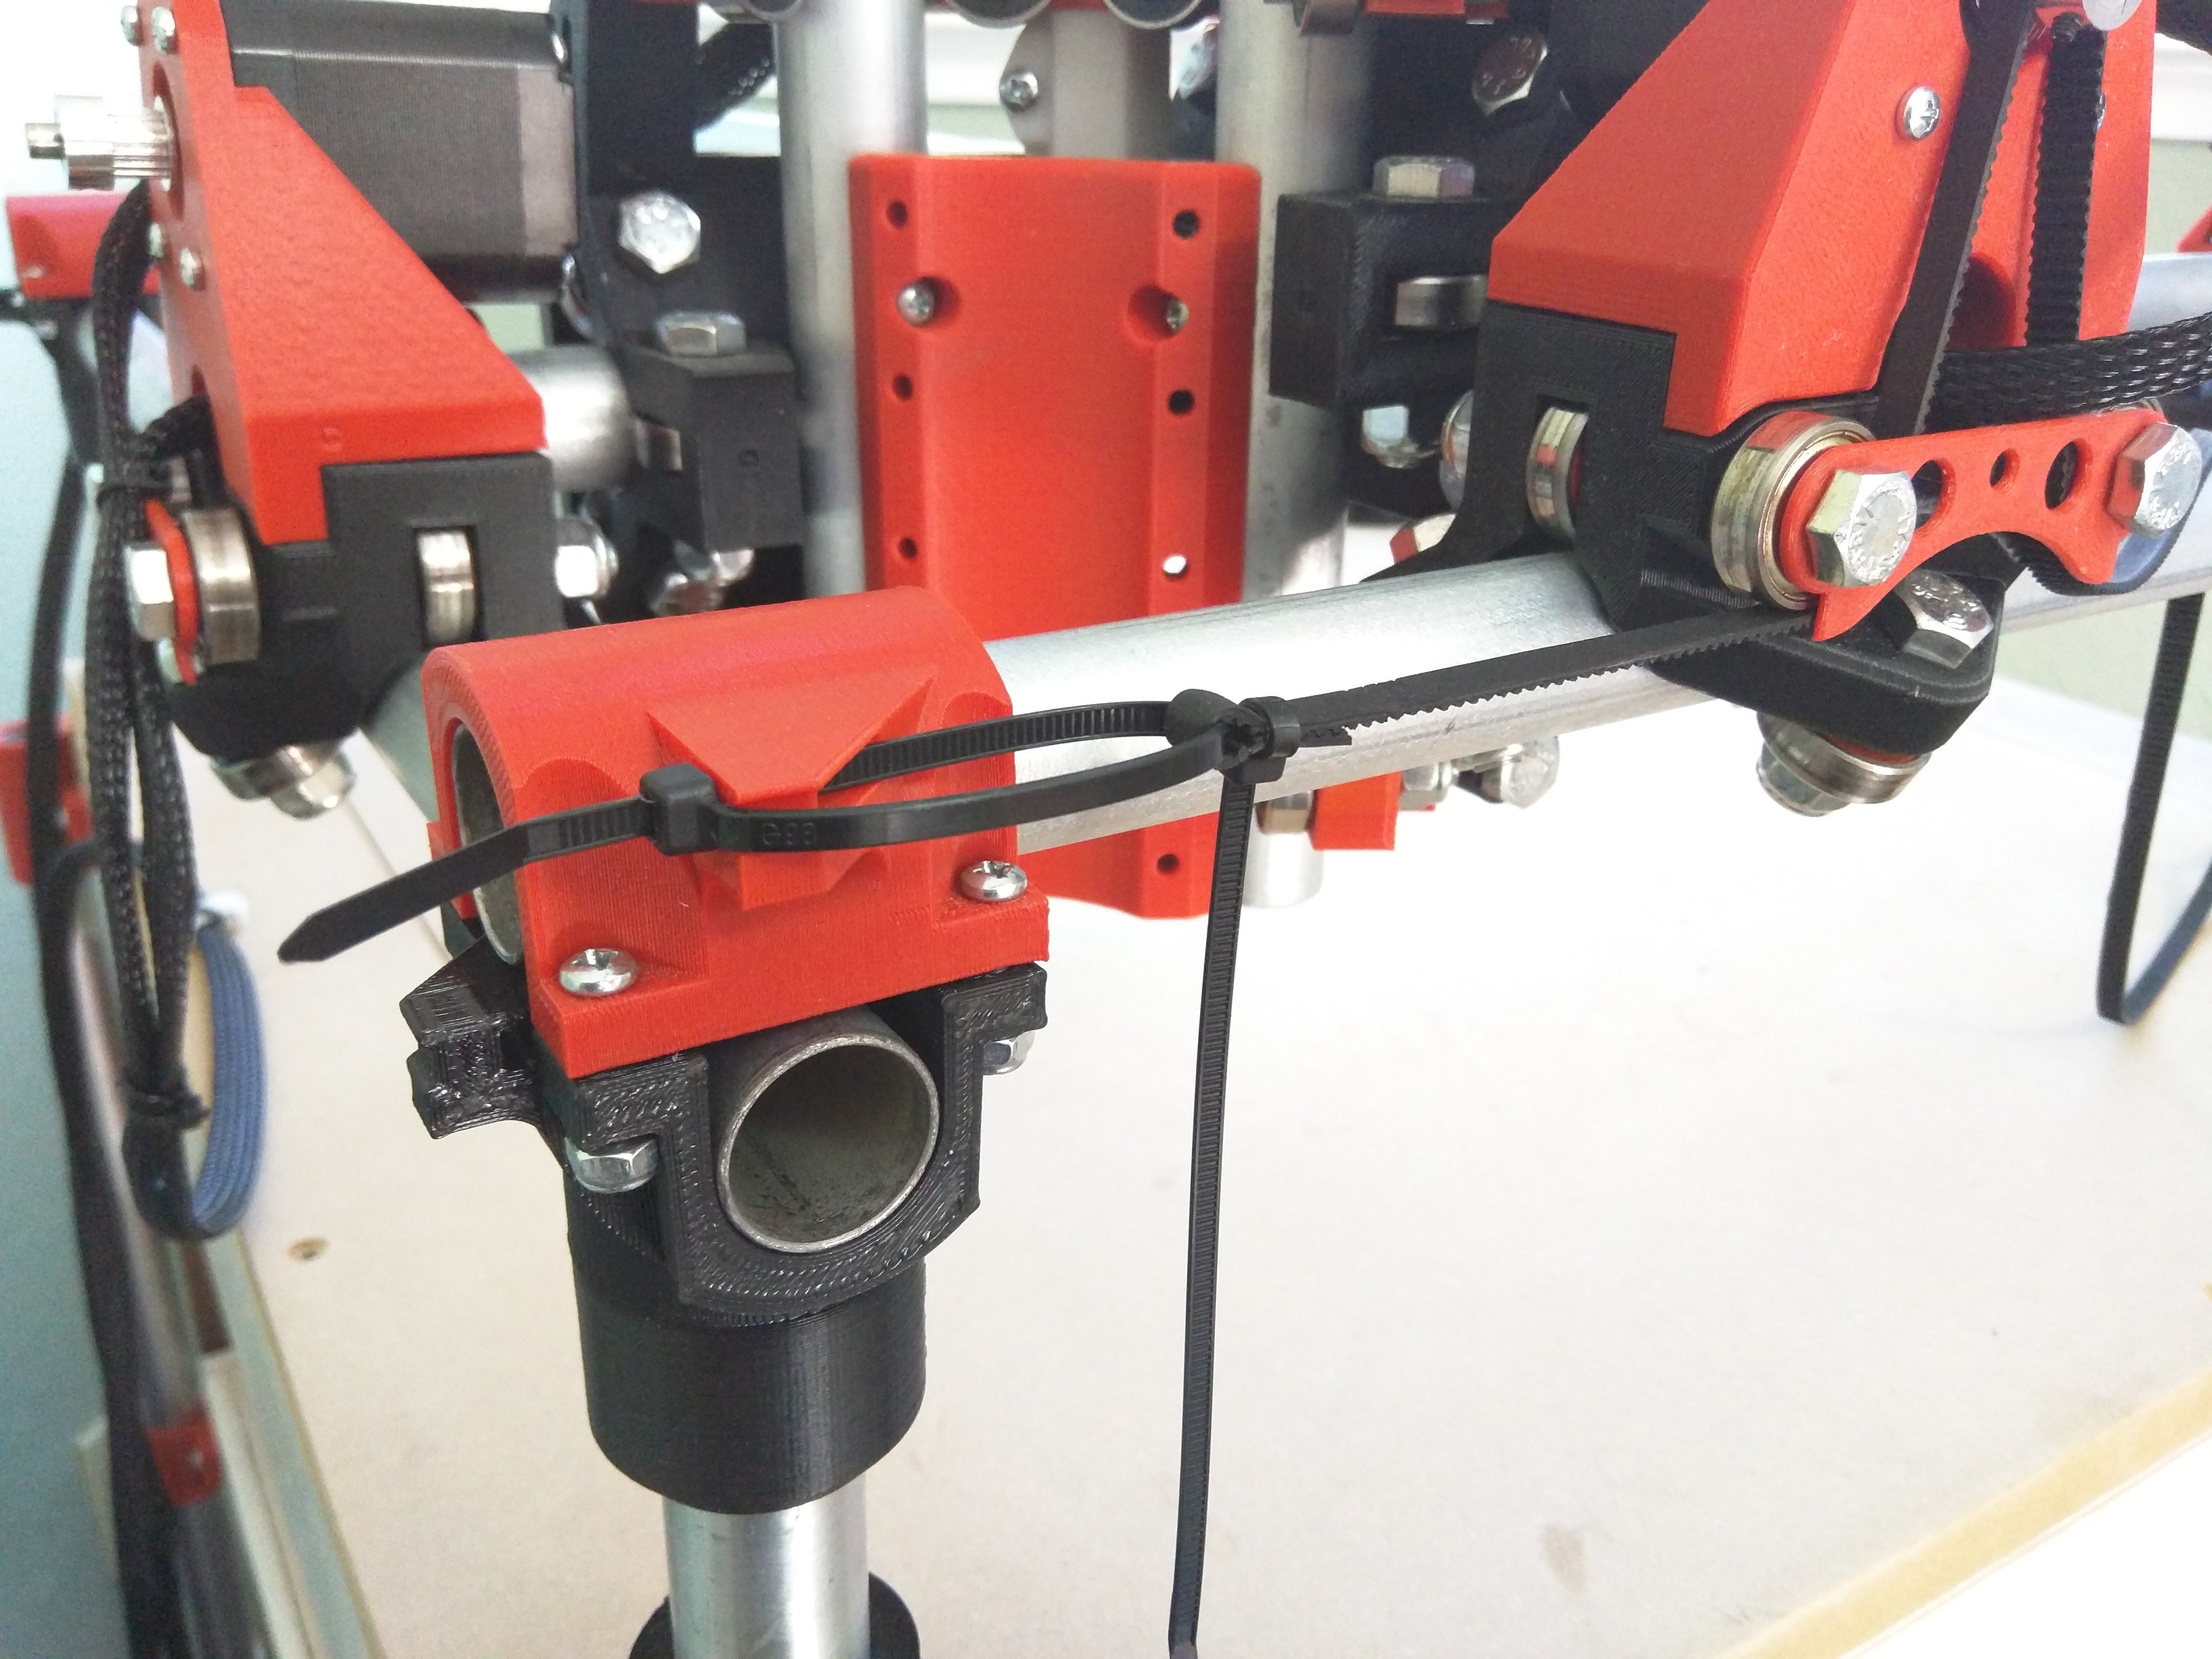
- Tie one end of the belt just enough to fit a cable tie through the loop, teeth facing each other and meshed, teeth for the rest of the belt facing down. Pull tight.
- Loop the next tie through the belt loop, and the corner piece. Leave this one as loose as possible (1″-1.5″ (25-35mm) gap).

- Move the gantry all the way to the opposite corner.
- Loop the belt (teeth facing down) under the first roller bearing, over the pulley, under the nest bearing.
- Set up the far corner the same as the other corner with the exception of getting this loop of the belt as close to the corner block as possible.
- Make sure the roller bearing does not hit the belt loop. trim the belt.
- Repeat this all the way around, leaving the adjustment cable tie on the corner with the most room. Opposites, usually the bottom left and top right. If you are setting up dual endstops it is best to leave the adjustment on the side opposite the stop blocks.
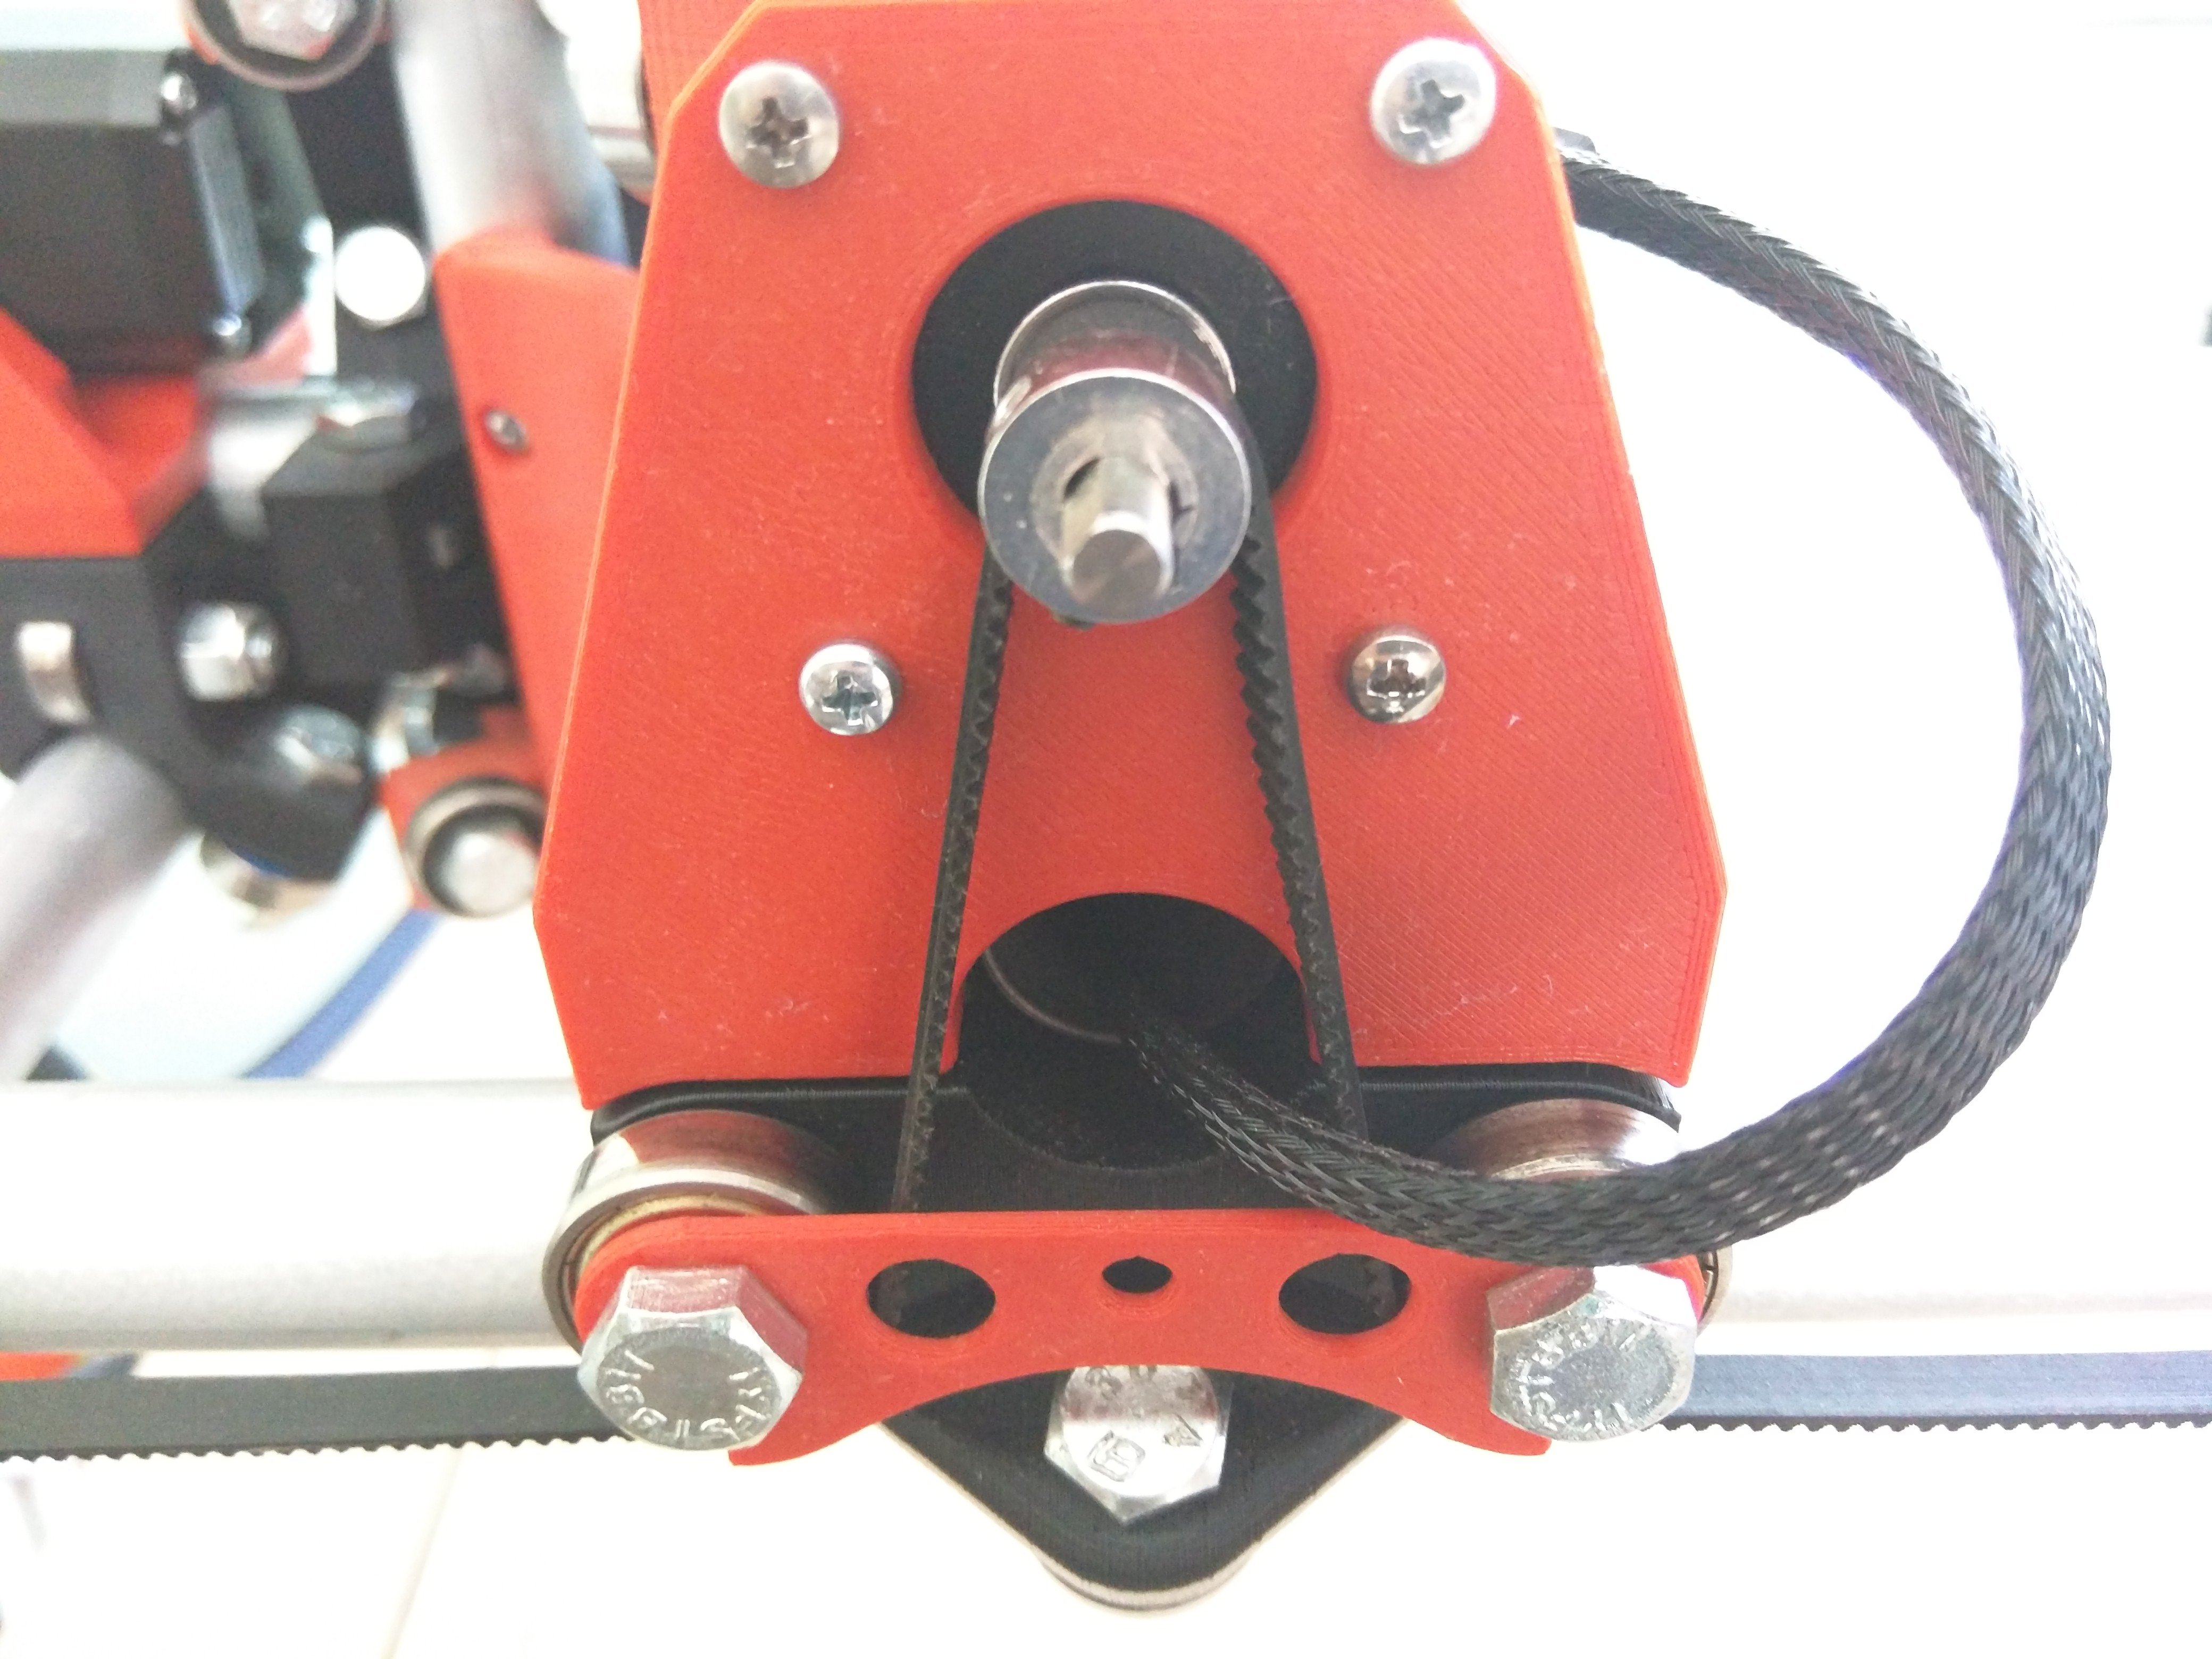
- Now for the hard part. I have no way to quantify belt tension without a special tool (3-5 lbs).
- Make sure they are as equally tensioned as you can get them.
- Too loose, and you will have bad tolerance (everything undersized), worse case skip a tooth. Too tight and the stepper will not move.
- It should not sound like a bass guitar if plucked and should not flop around when in motion. I’m sorry there is no better way to describe this as of yet.
- The cable ties will form to the tensioned shape over a day’s time. So once you set them, the next day you might need to give them all one more click.
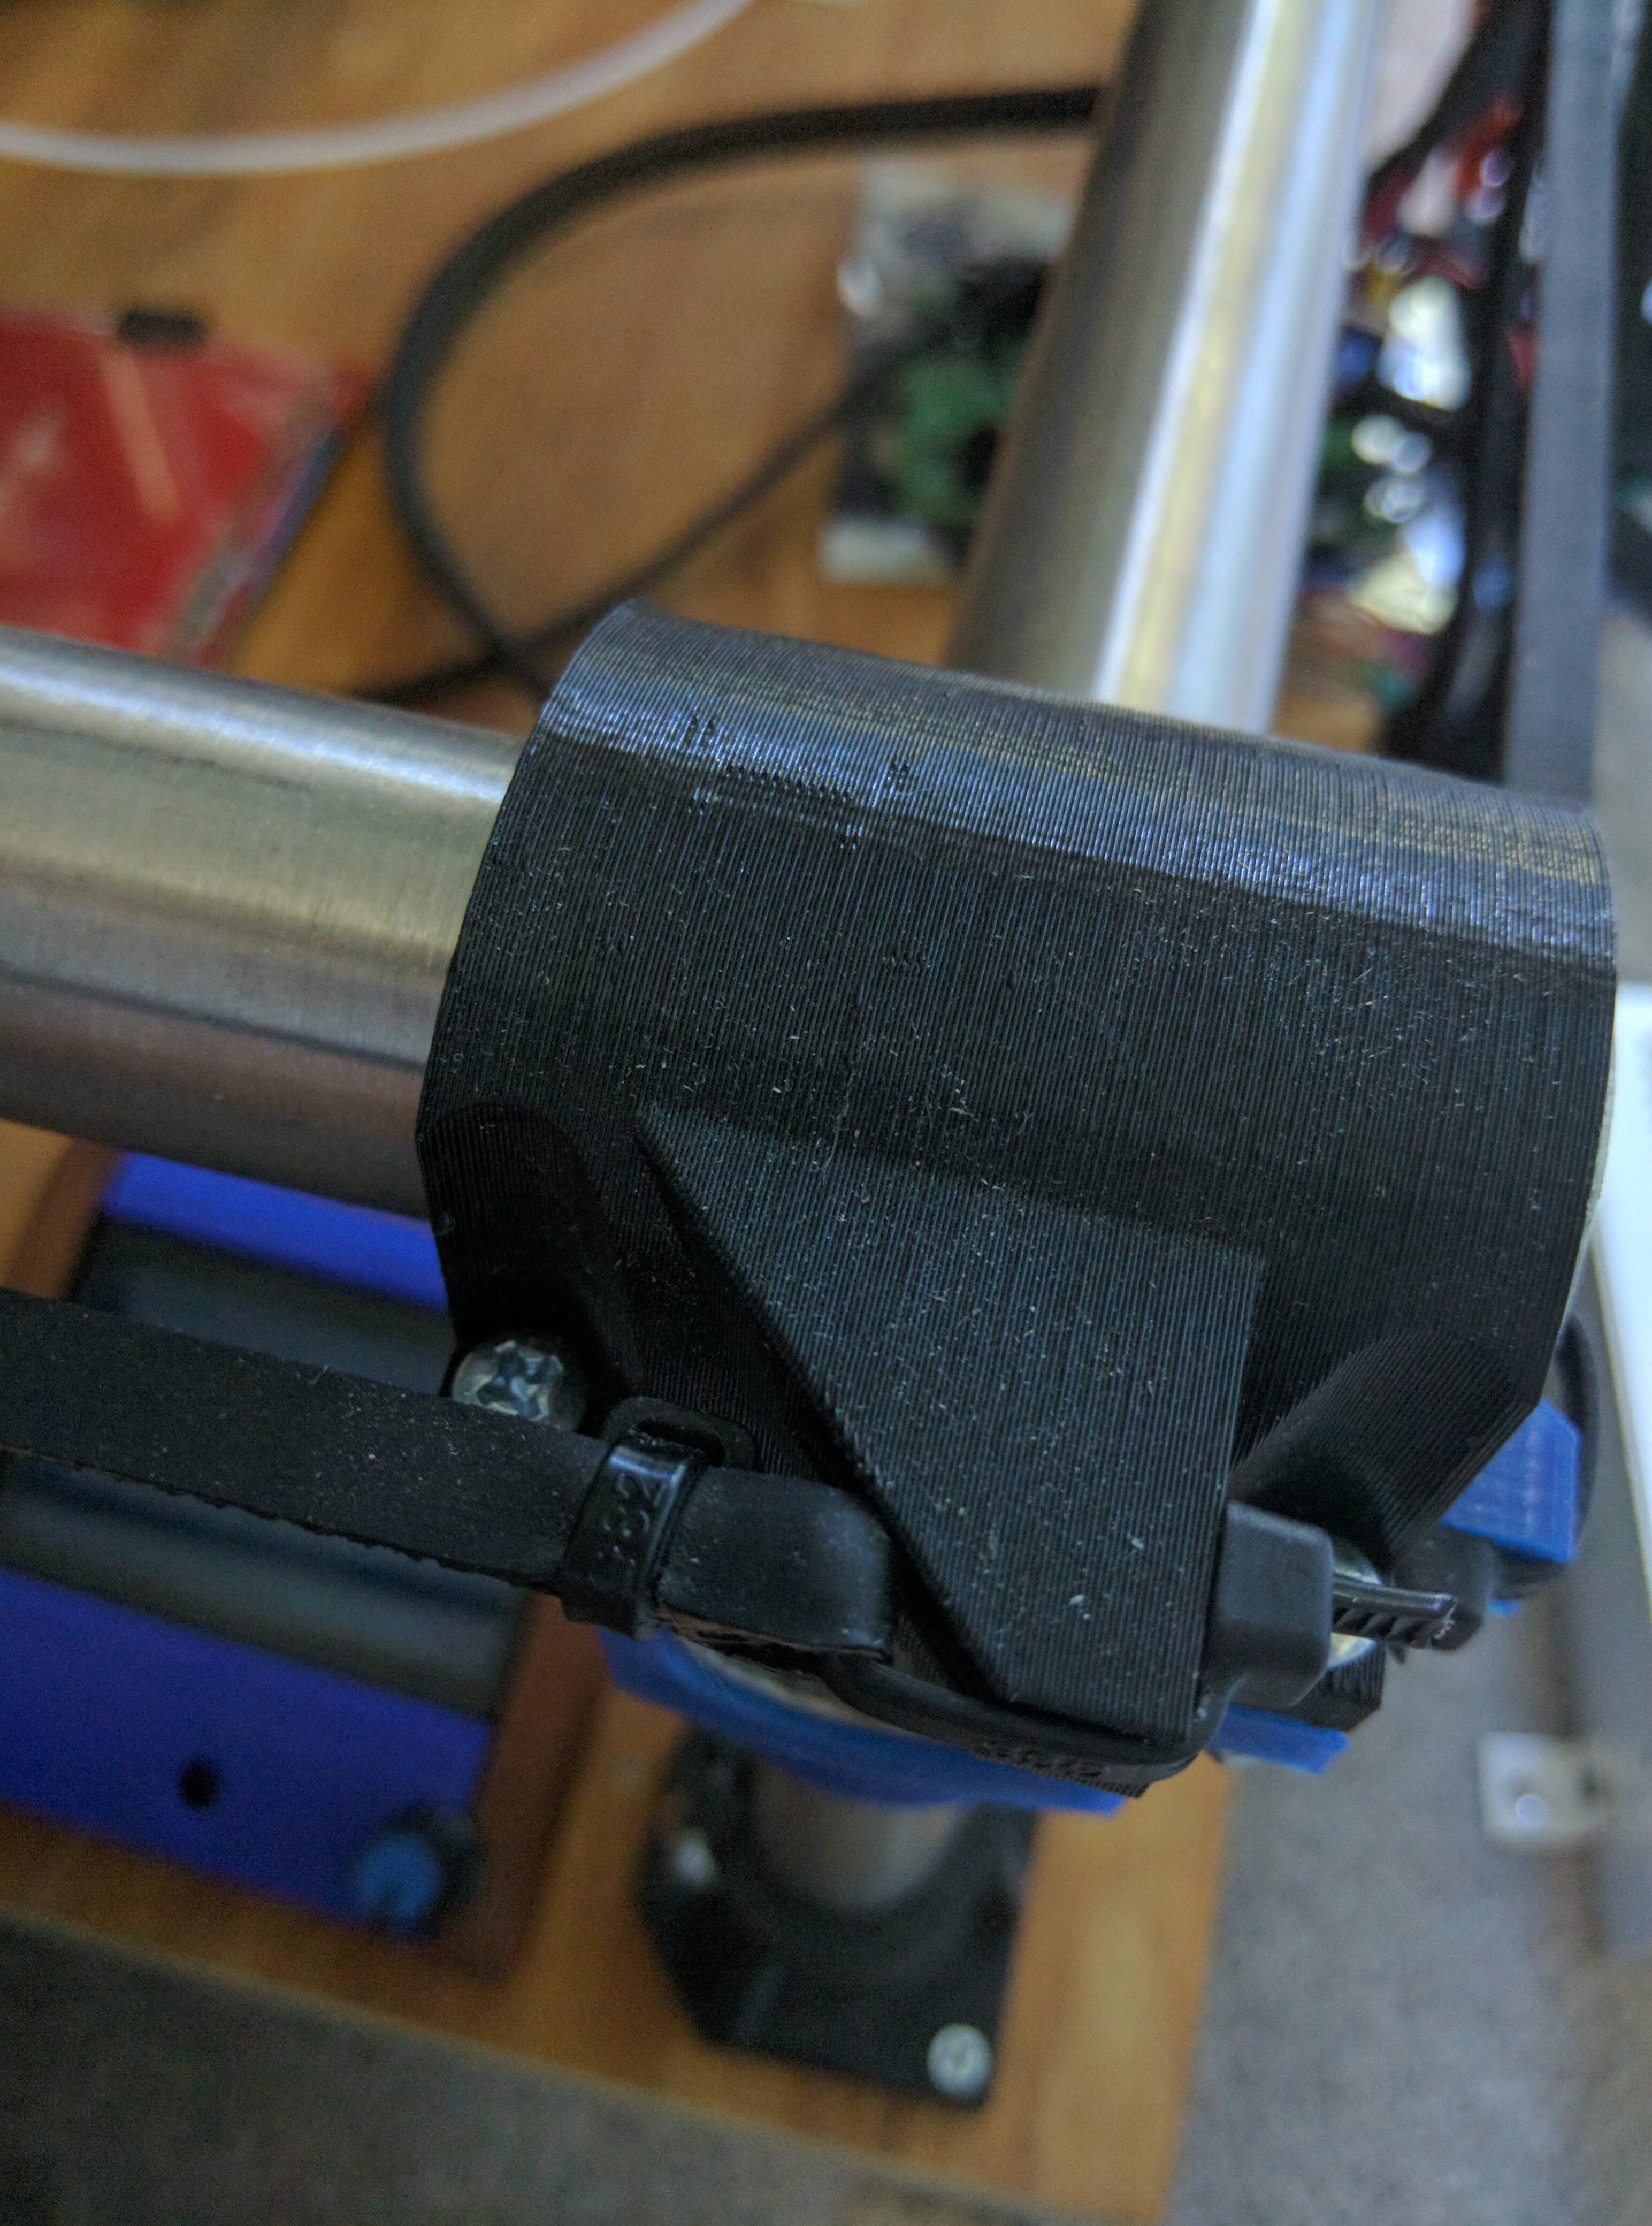
- It is best practice to add a tie to the longer one, this prevents the cable tie loop from springing, but still lets it get adjusted. (second picture)
- Last step
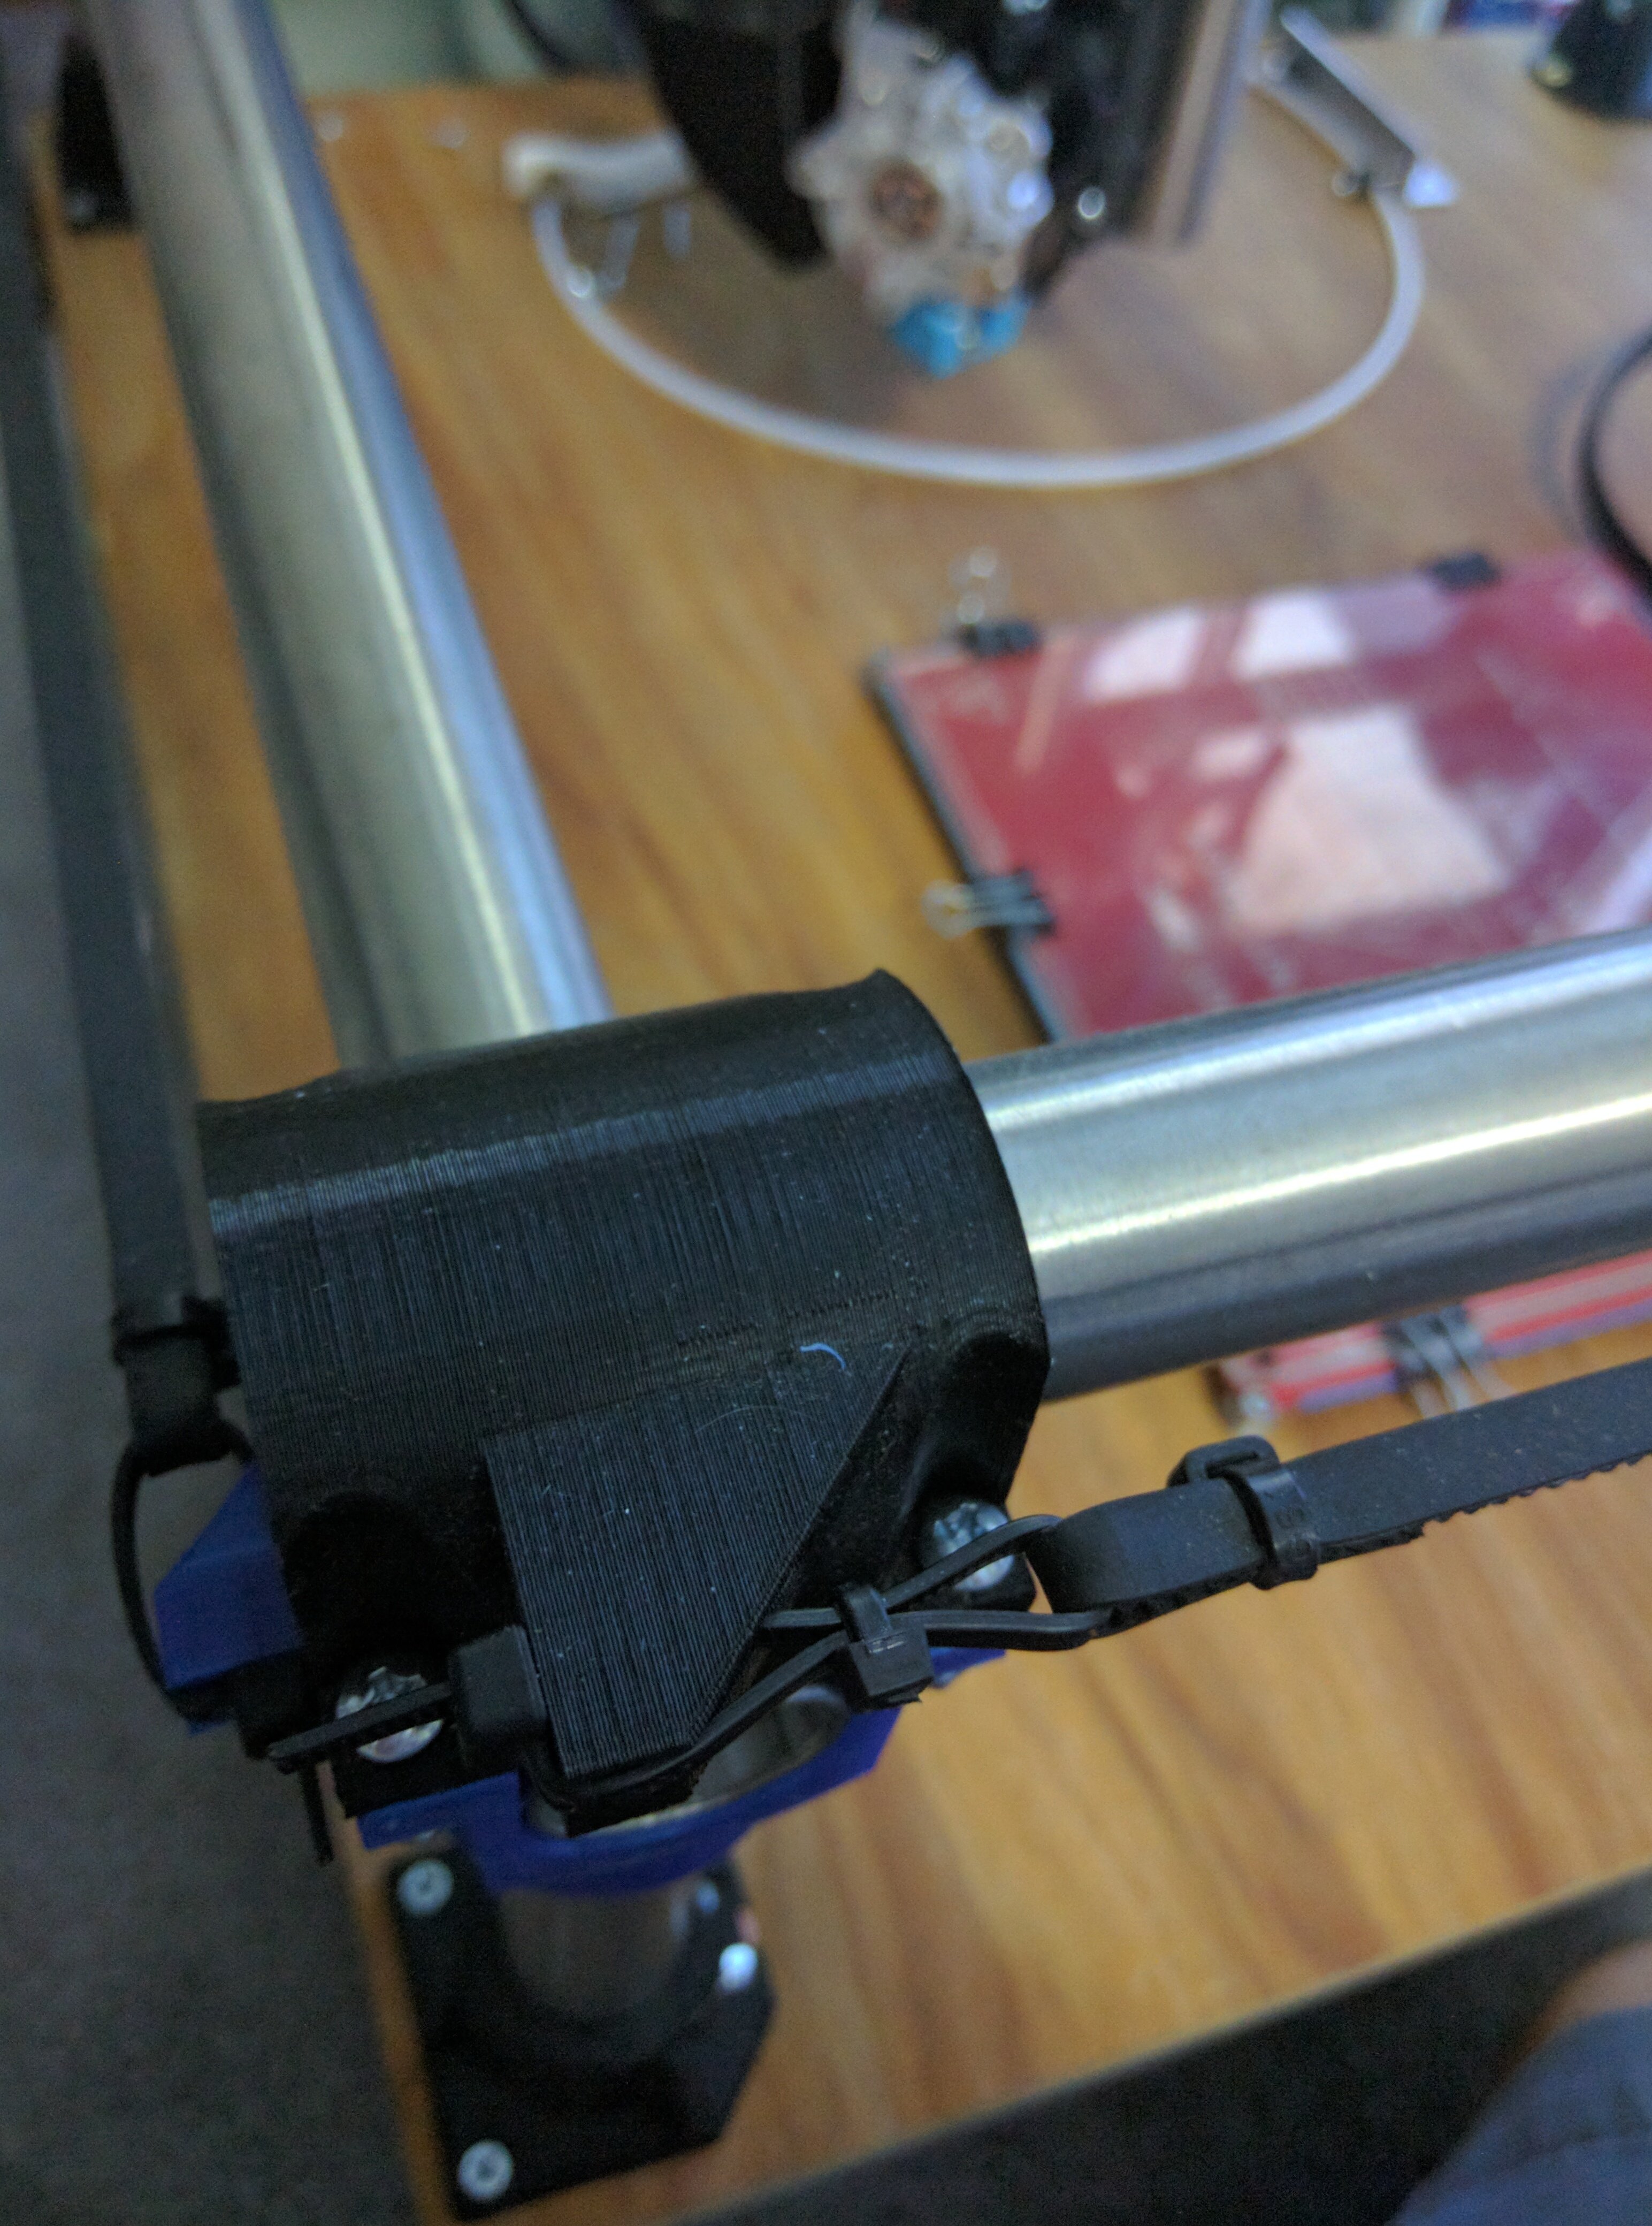
- Please trim the cable ties. Such an easy step that so many people don’t do. You can trim the tension ties the outer edge of the corner so you can add a bit more tension but trim the rest nice and short. It makes things look so much more finished….Pet peeve I guess.
Quick note on the belts and cable ties.
The GT2 belts we use are 6mm wide, and should be installed at between 3-10 lbs of tension (they can handle much more) and the cable ties are rated to 40lbs (it takes about 2.4lbs of force to cut aluminum…). This system is over kill, but the least expensive. There really is no need to go bigger on either part of this system, and consider there is one on each side of the axis, so the actual force seen on each belt is half. You cannot put enough strain on them to stretch them while in service.