Wiring the steppers
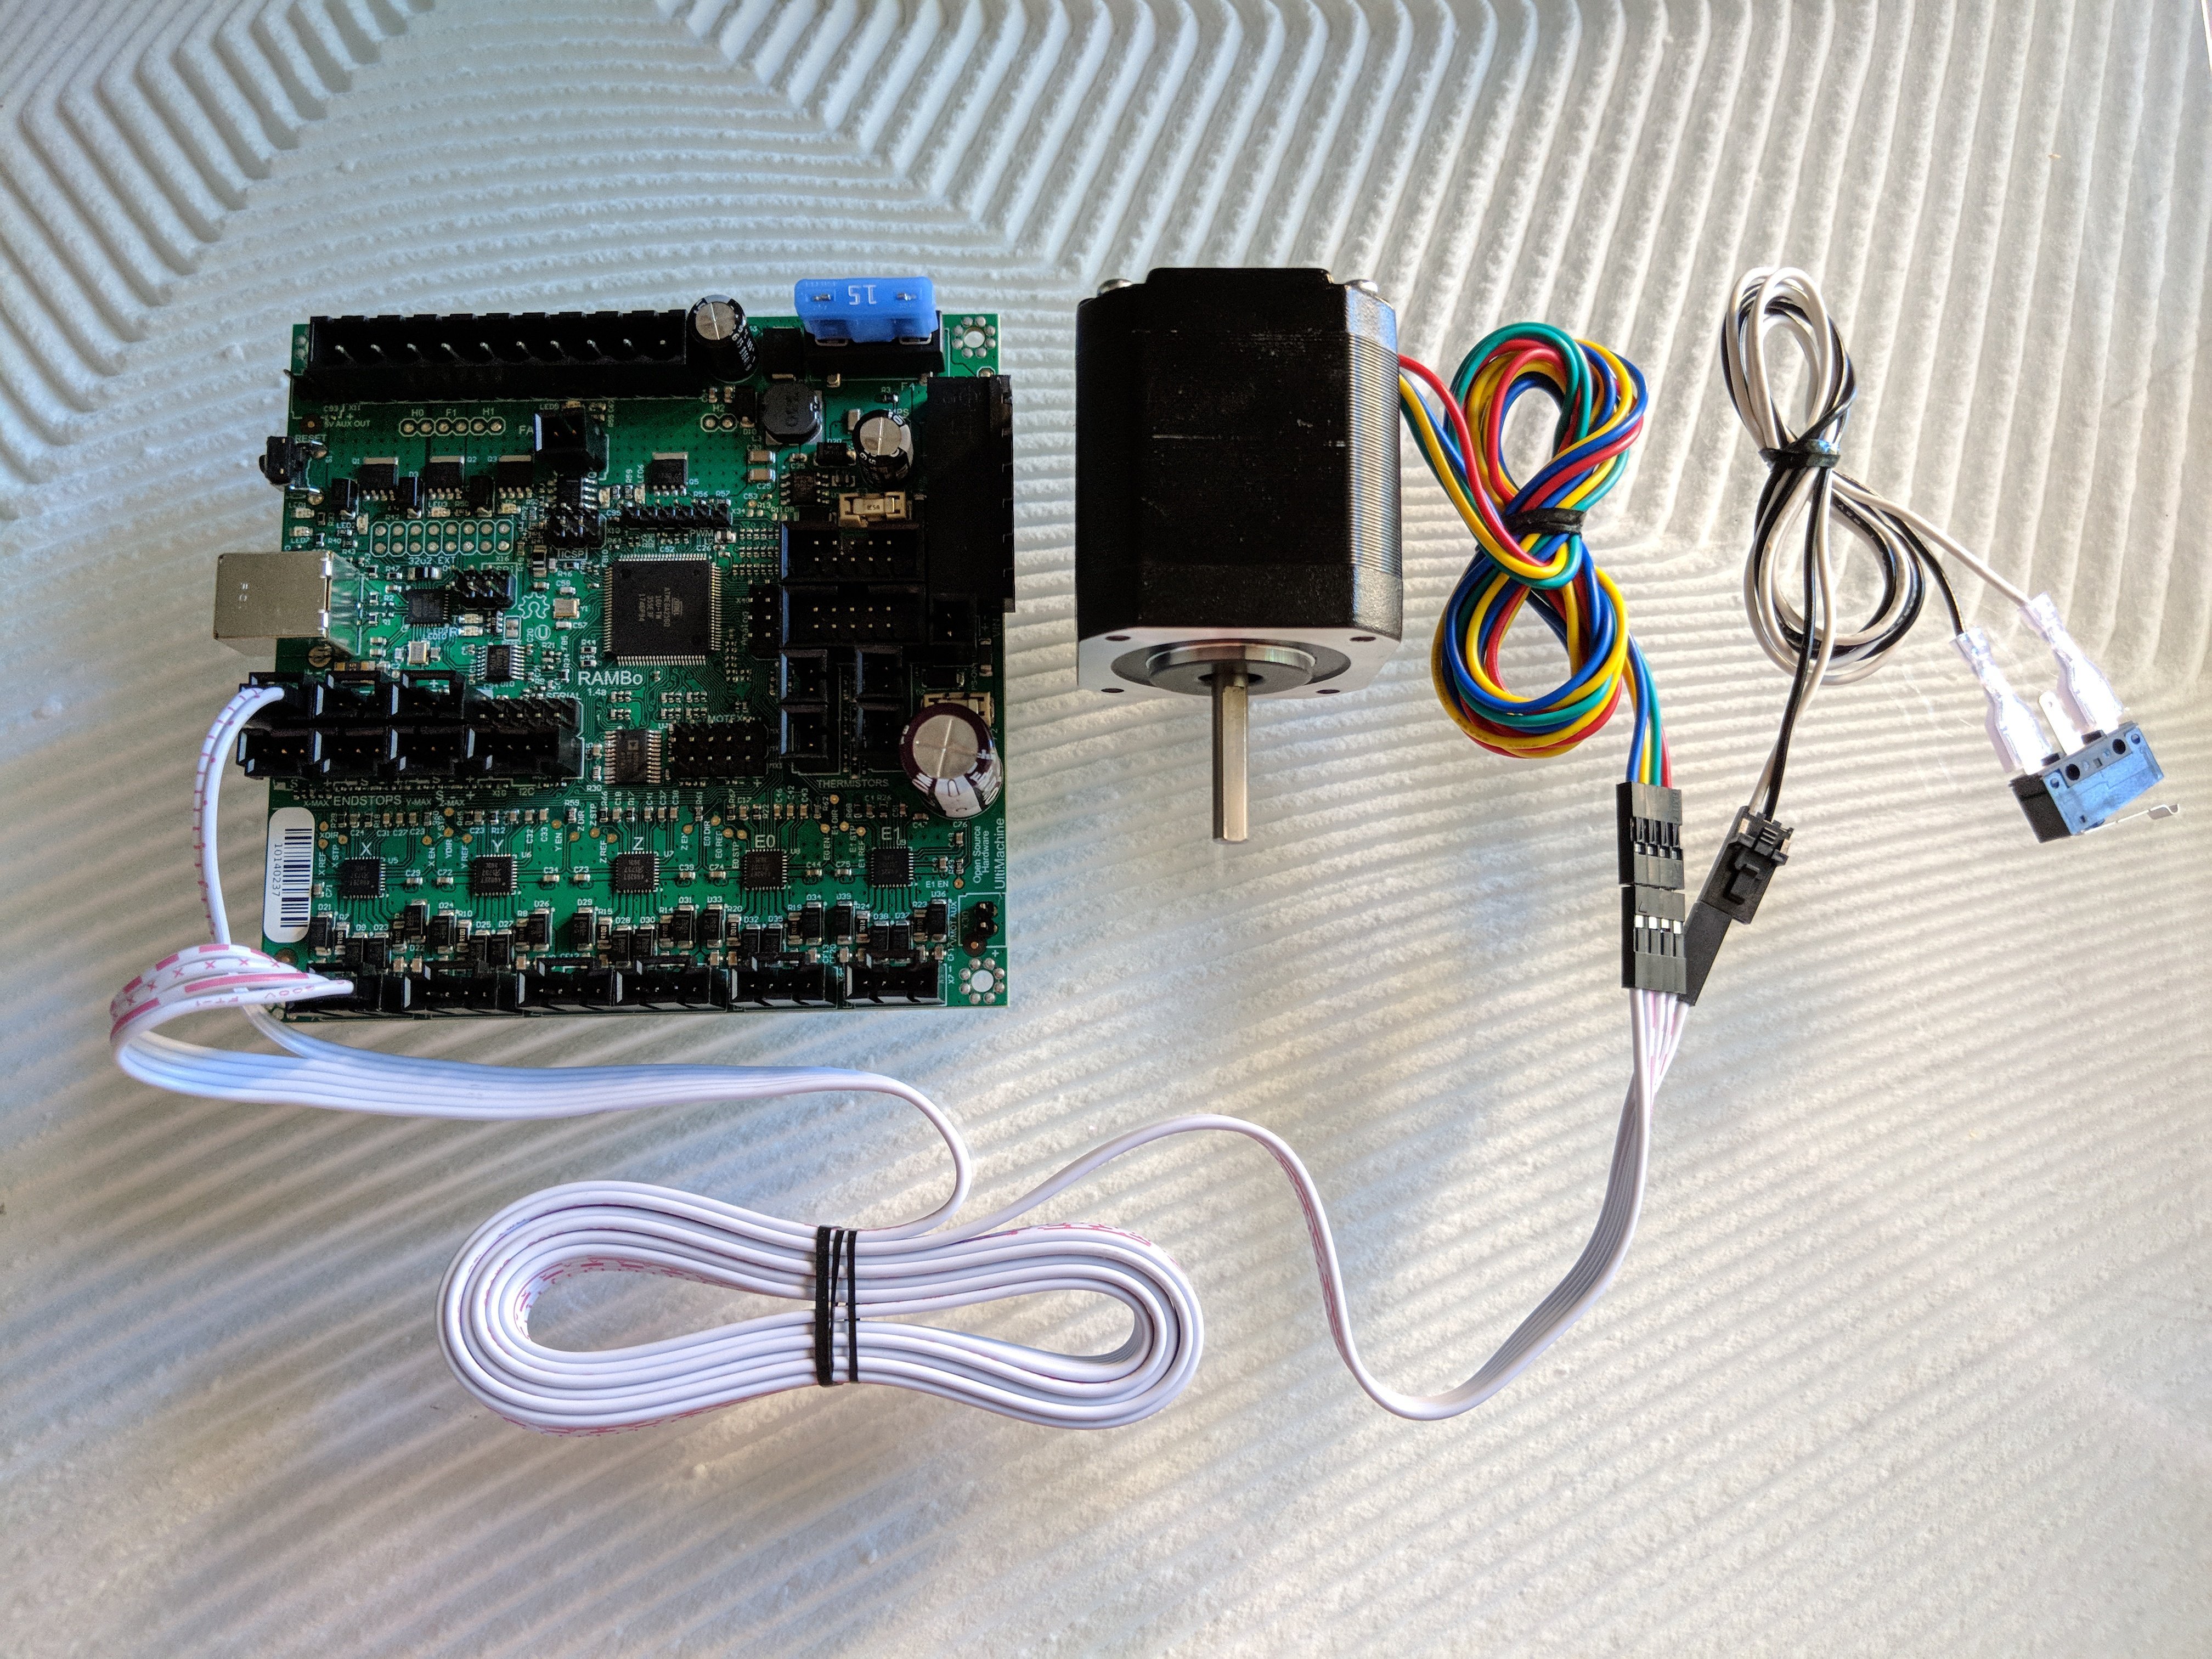
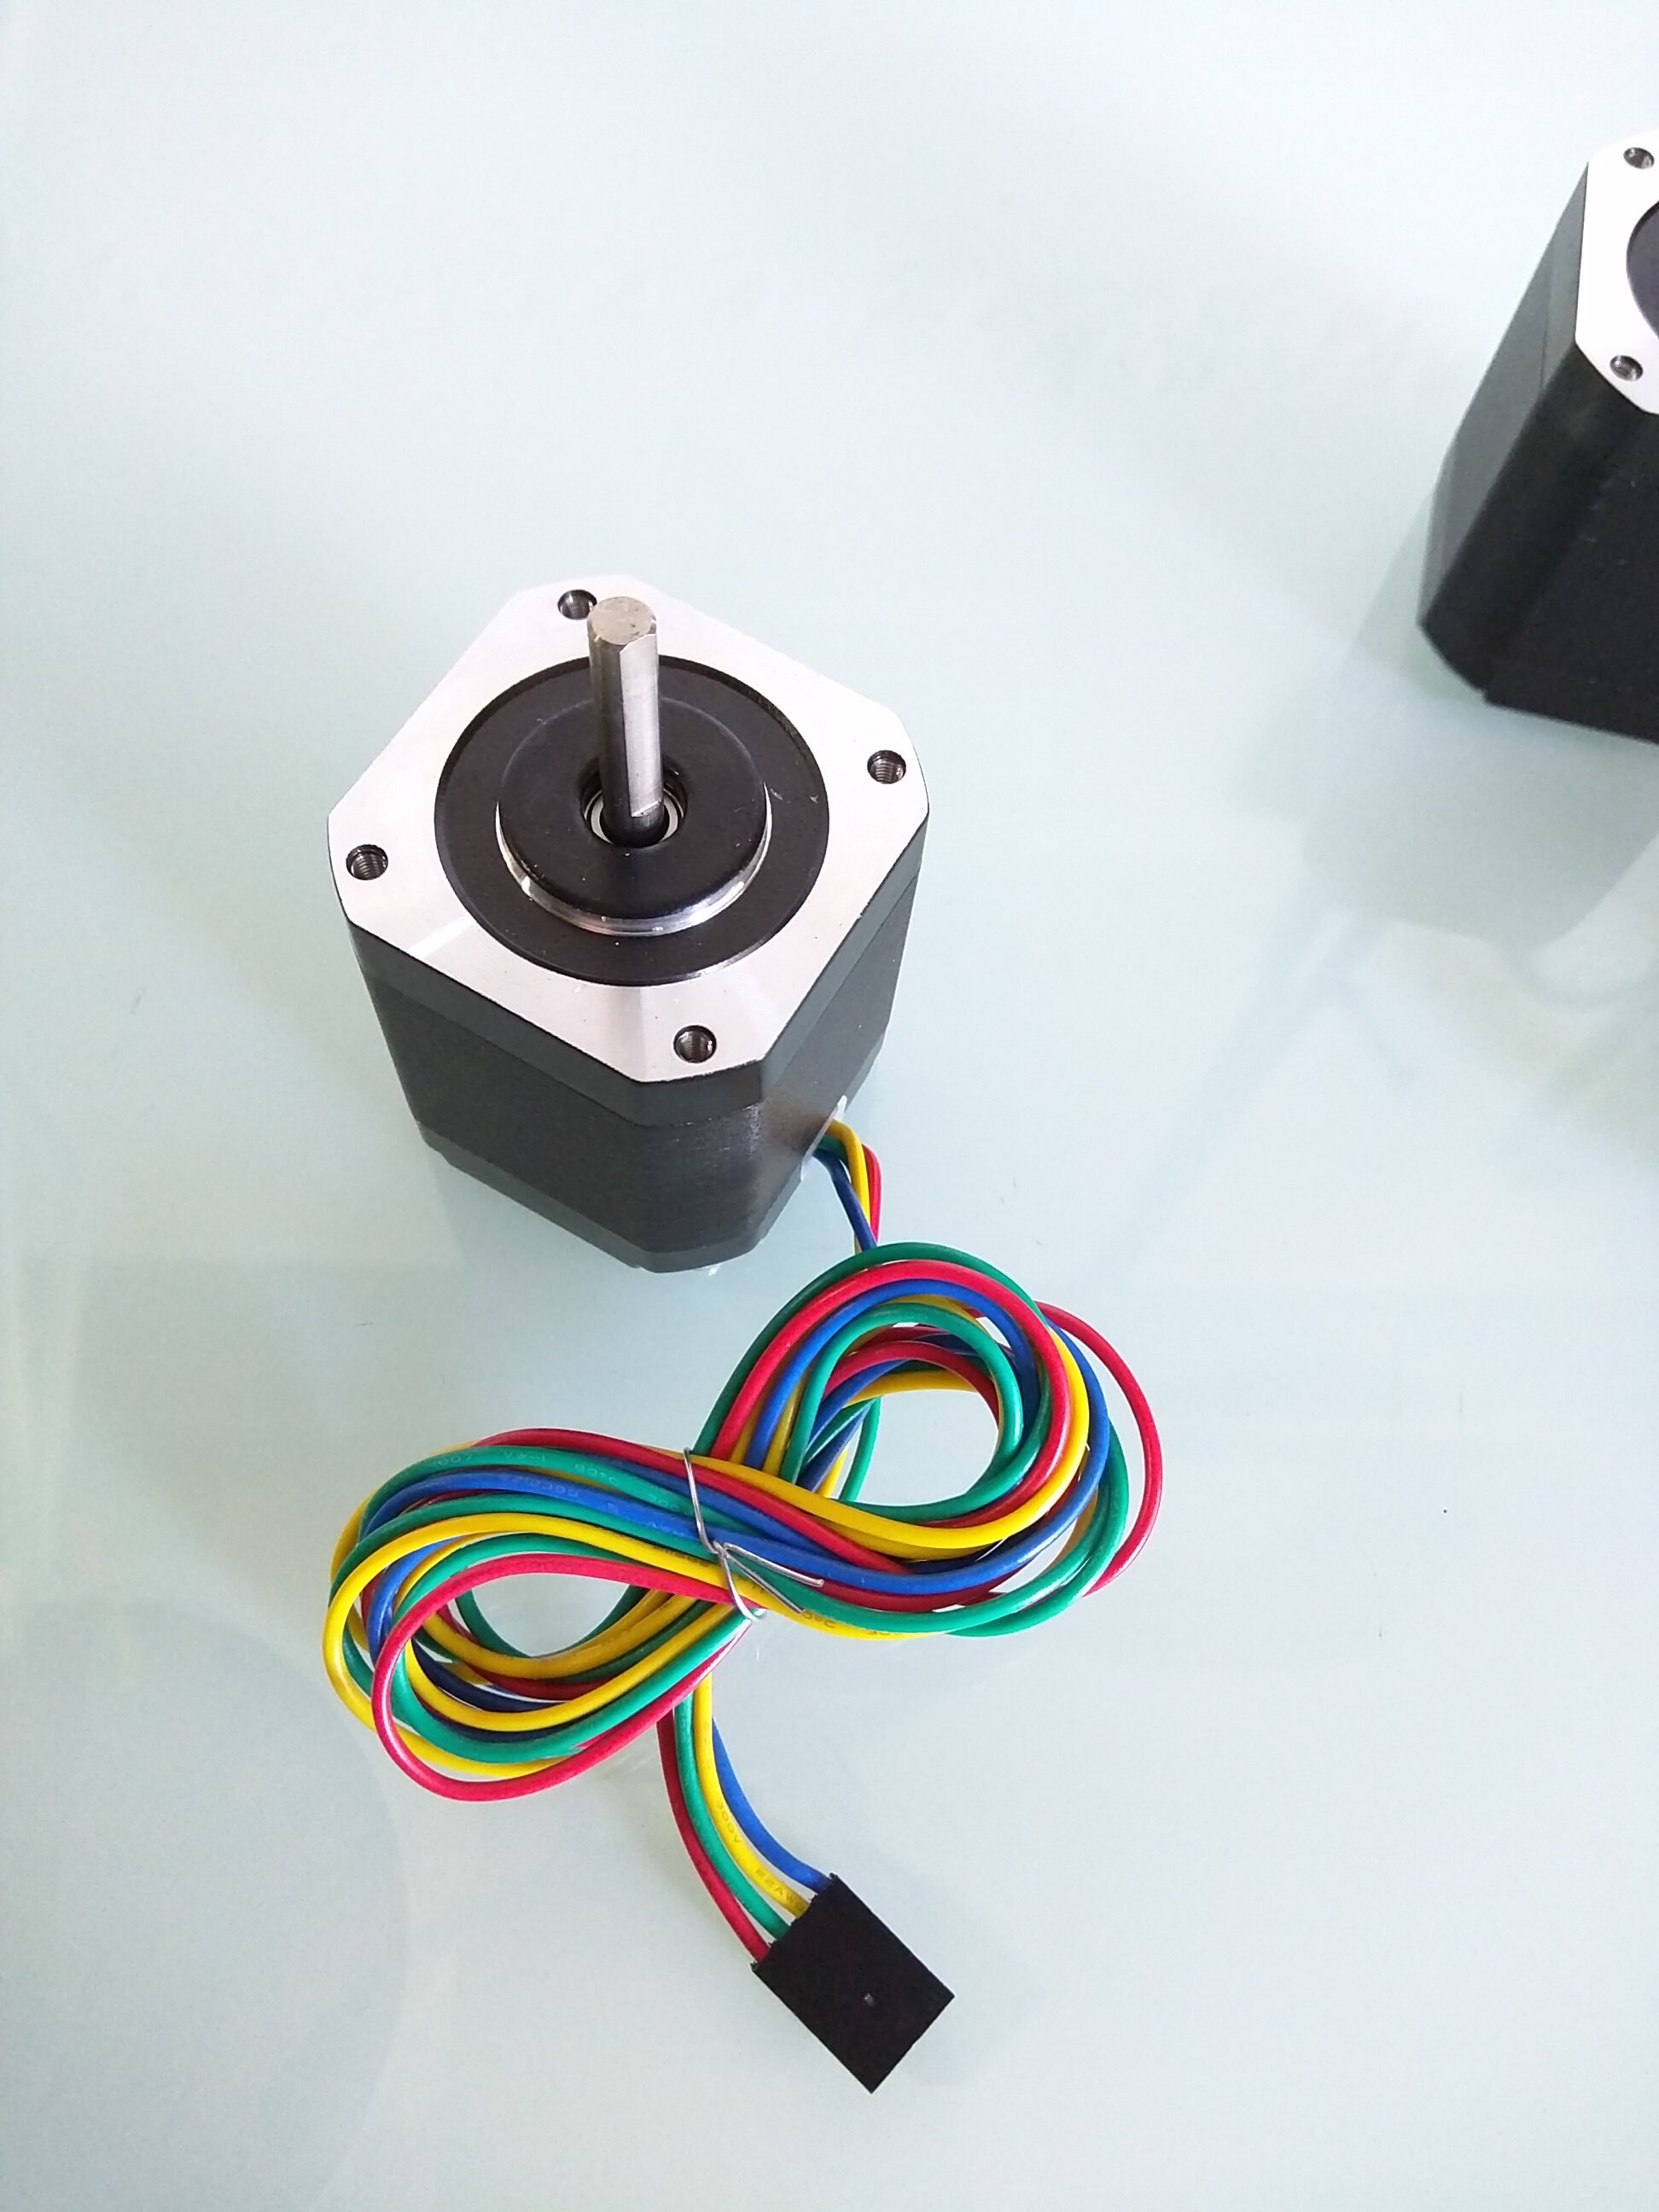
Using this wiring kit, you really just need to plug in the motors and endstops, tape or otherwise secure the connection, and go.
Make sure to always secure the connections with tape.
More info on which ports to plug in your wires is found in the next instructions section “Some Control Board Options” here are the current Skr Pro, Rambo links.
Reversing the Axis Direction
If one of the steppers is going the wrong way when testing, no worries, flip it’s plug over to reverse it.
If your stepper is moving the wrong way just unplug the power and USB then flip over the stepper plug (turn around).

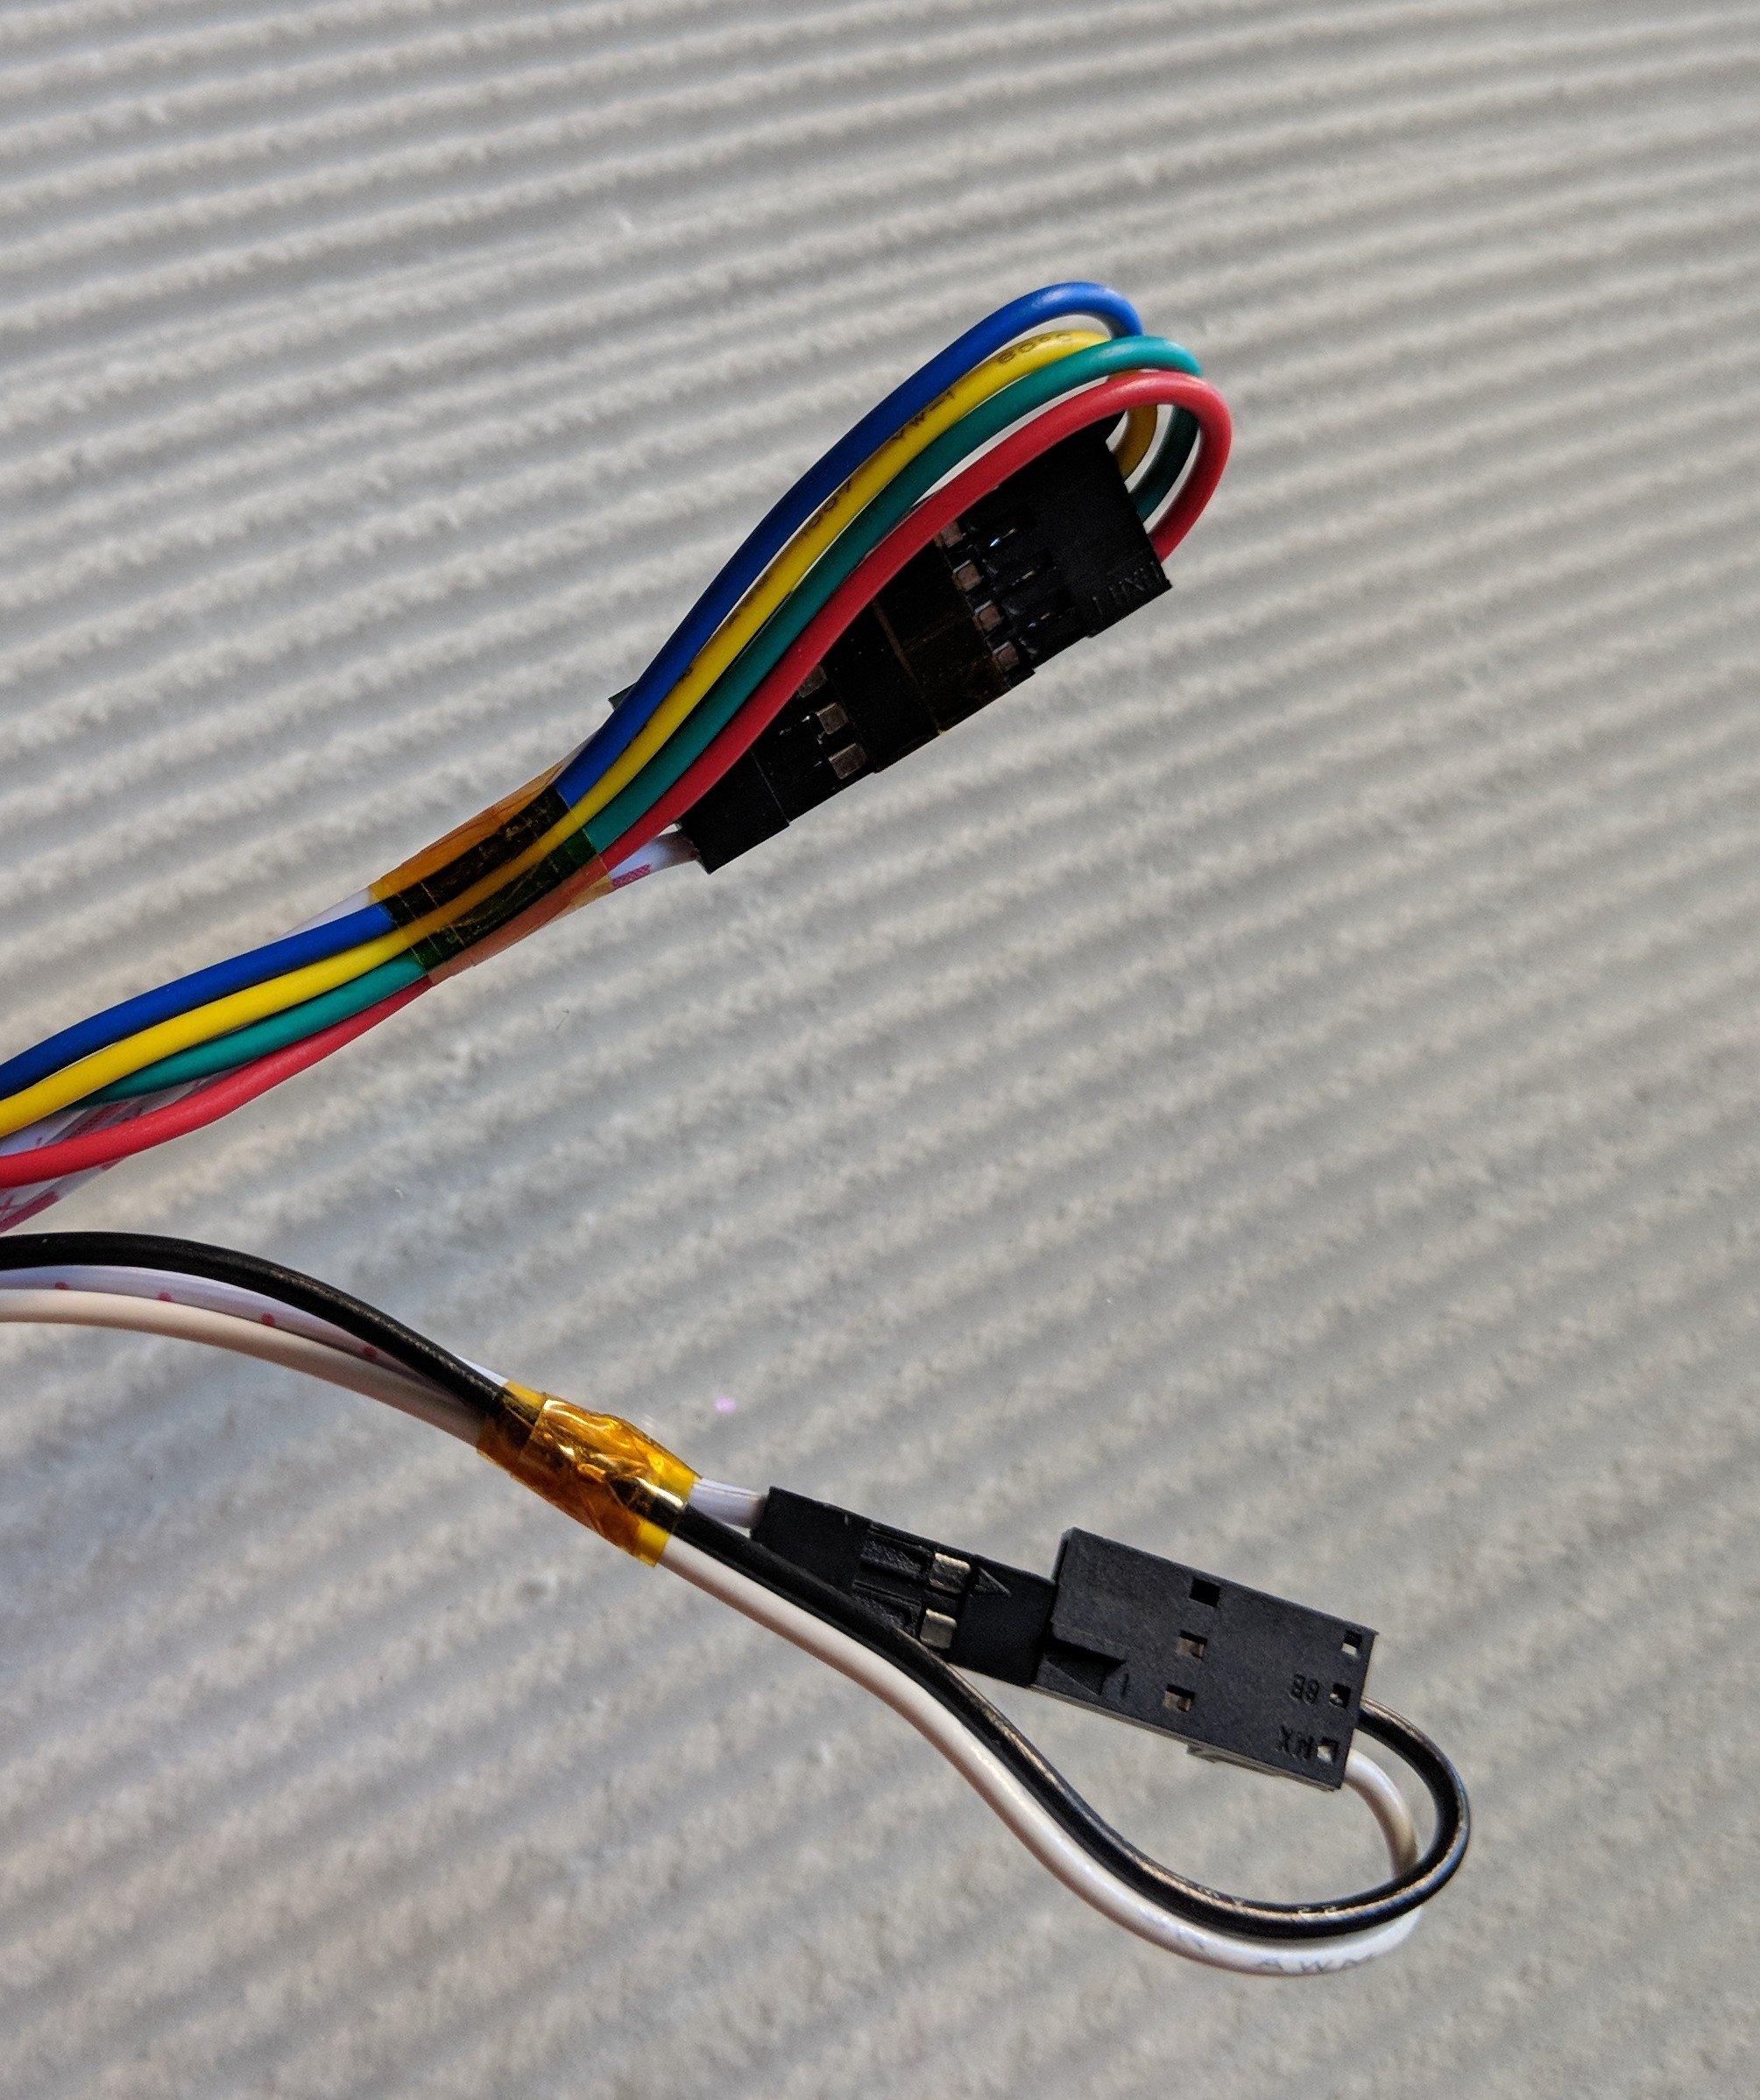
The DIY way
If you do not want to buy the fancy custom cable, you would just cut the plugs and splice in some 6/24 shielded cable.
Archived series and Parallel wiring info
Archive
Old info, LR2 and MPCNC Burly.
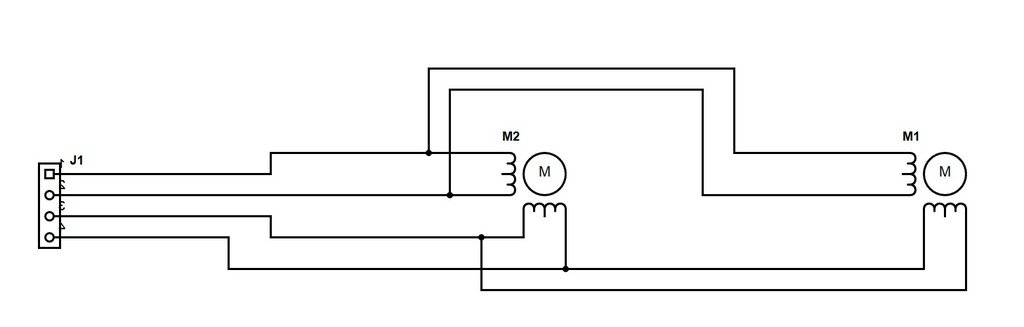
Series (For 4 driver boards)-
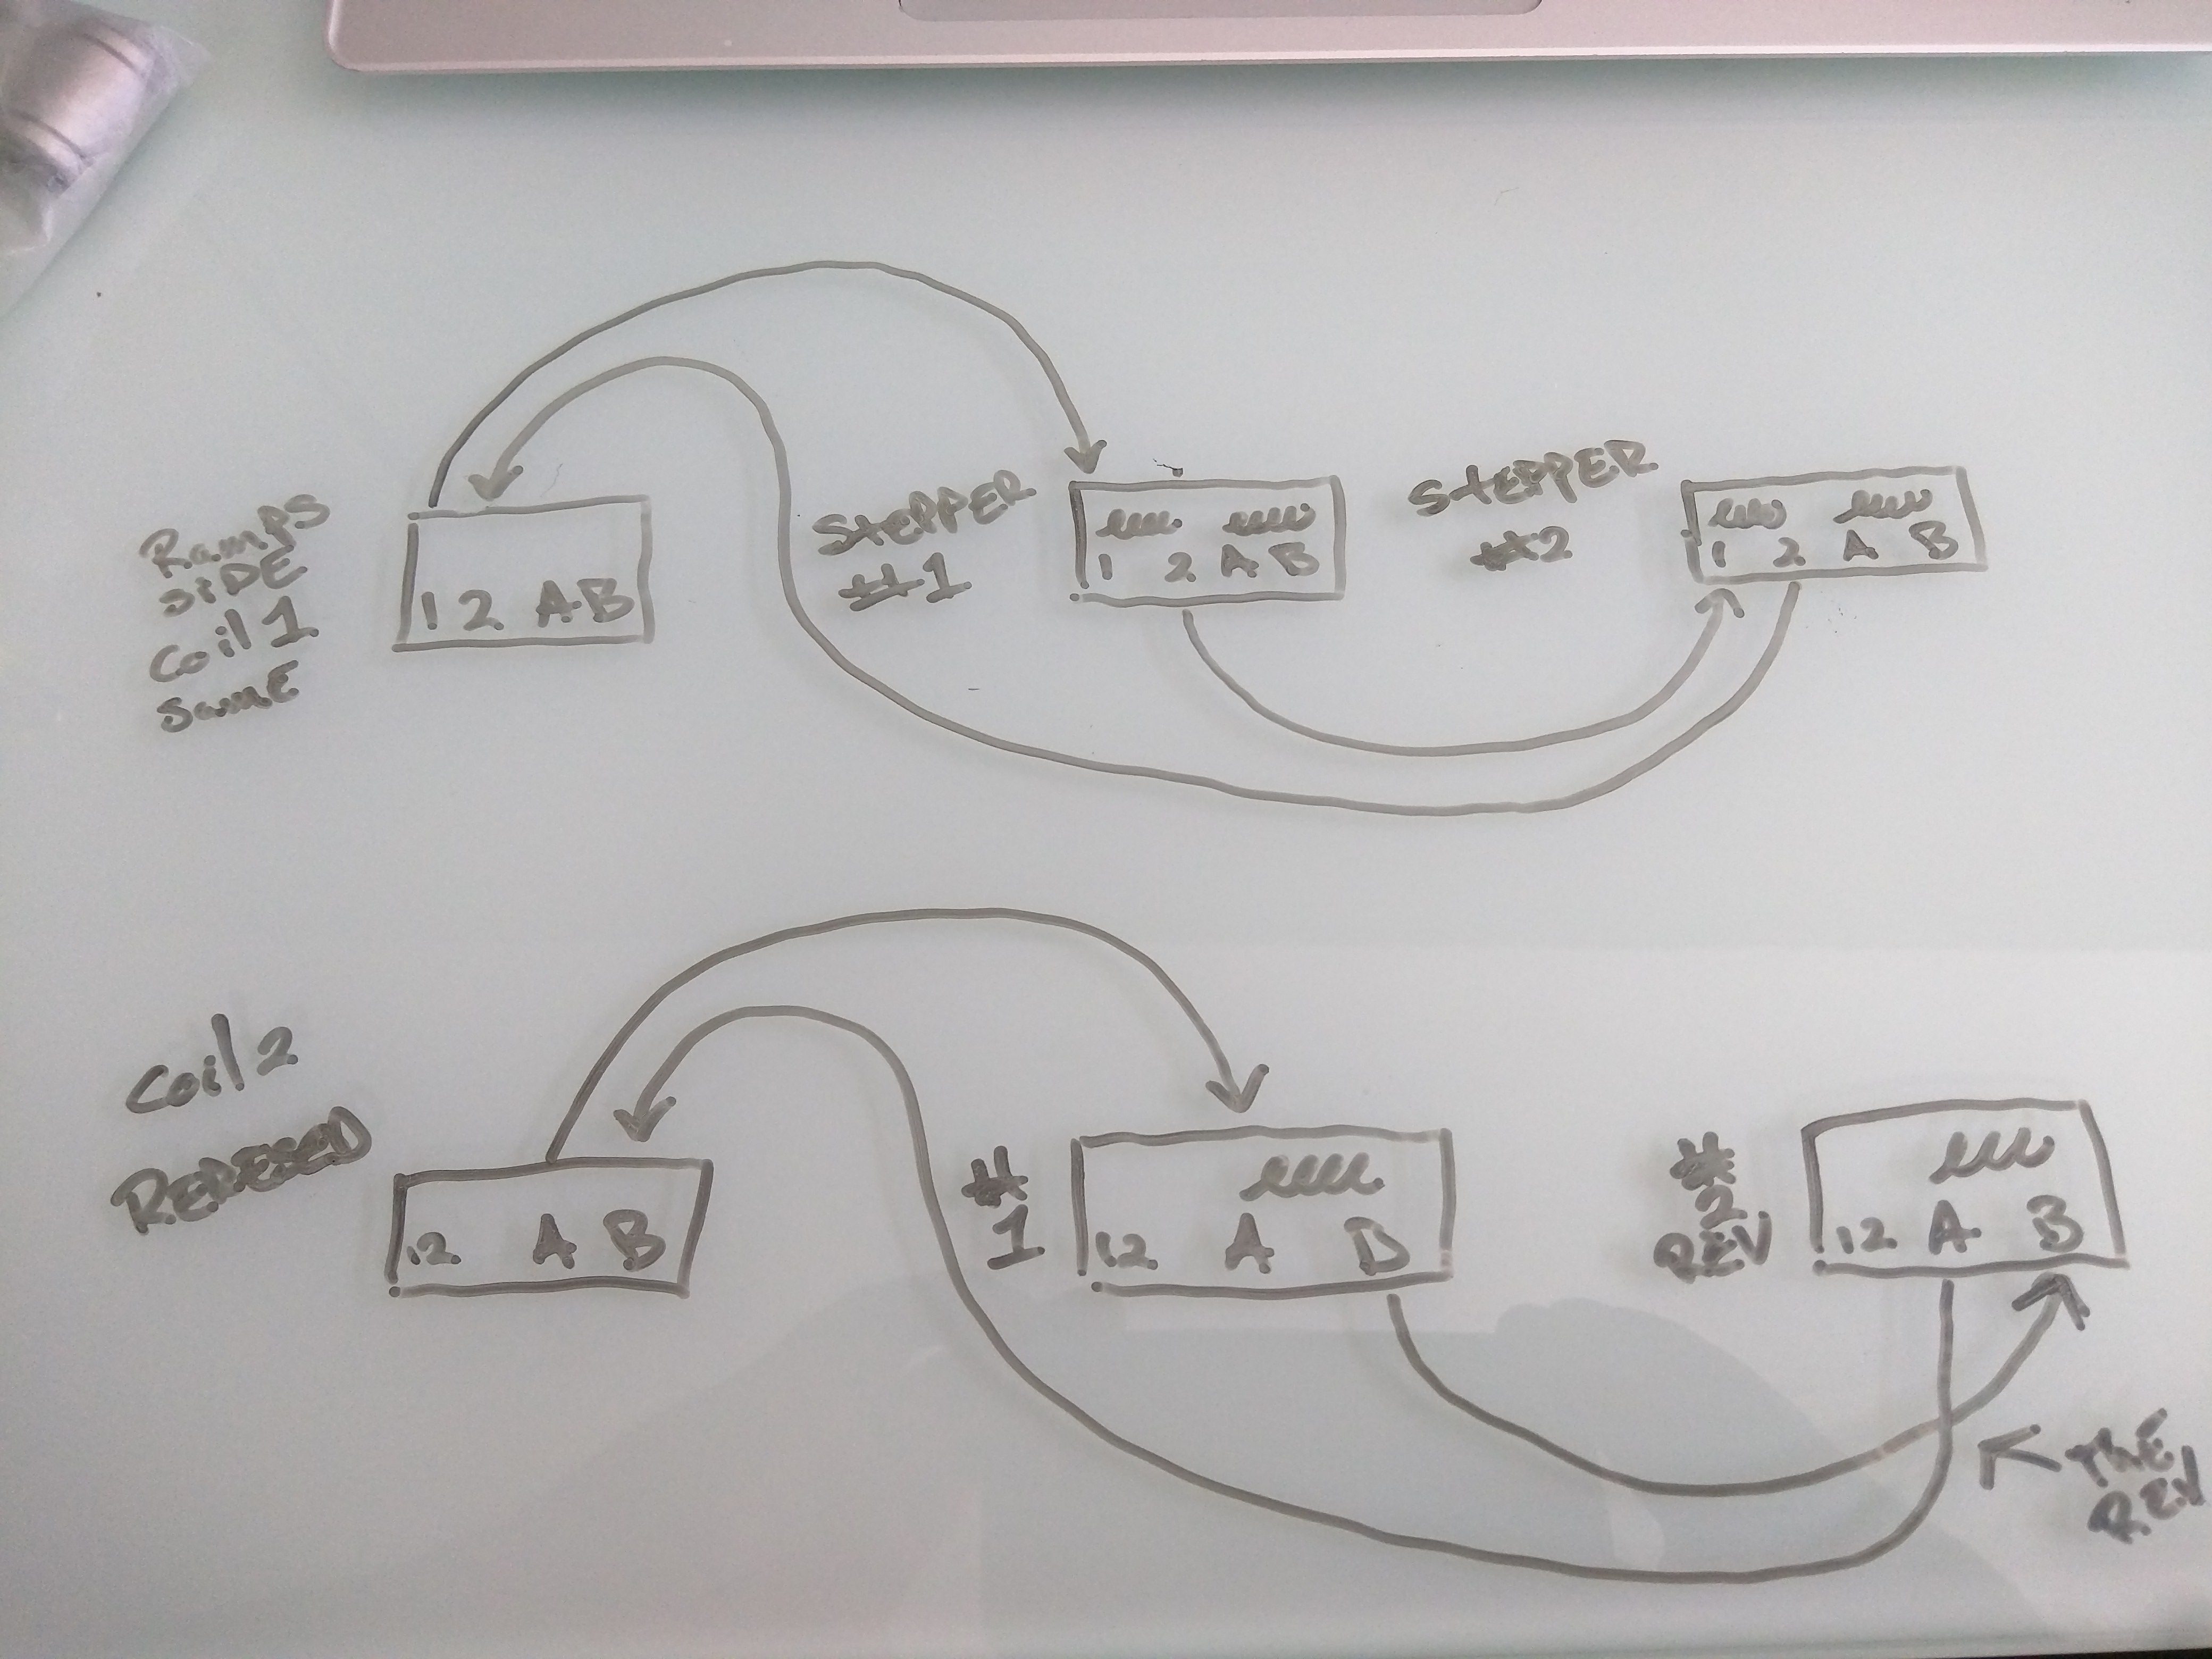
Same amp draw as a single stepper (heat), twice the power, slightly less top speed. We do not need to worry about top speed, delta’s maybe cnc’s, no. There are plenty of online resources to see how this is done, here is a quick sketch just in case you can’t find a clear one.
RigidWiki
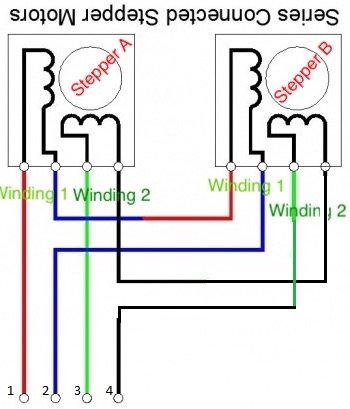
Hand drawn diagram
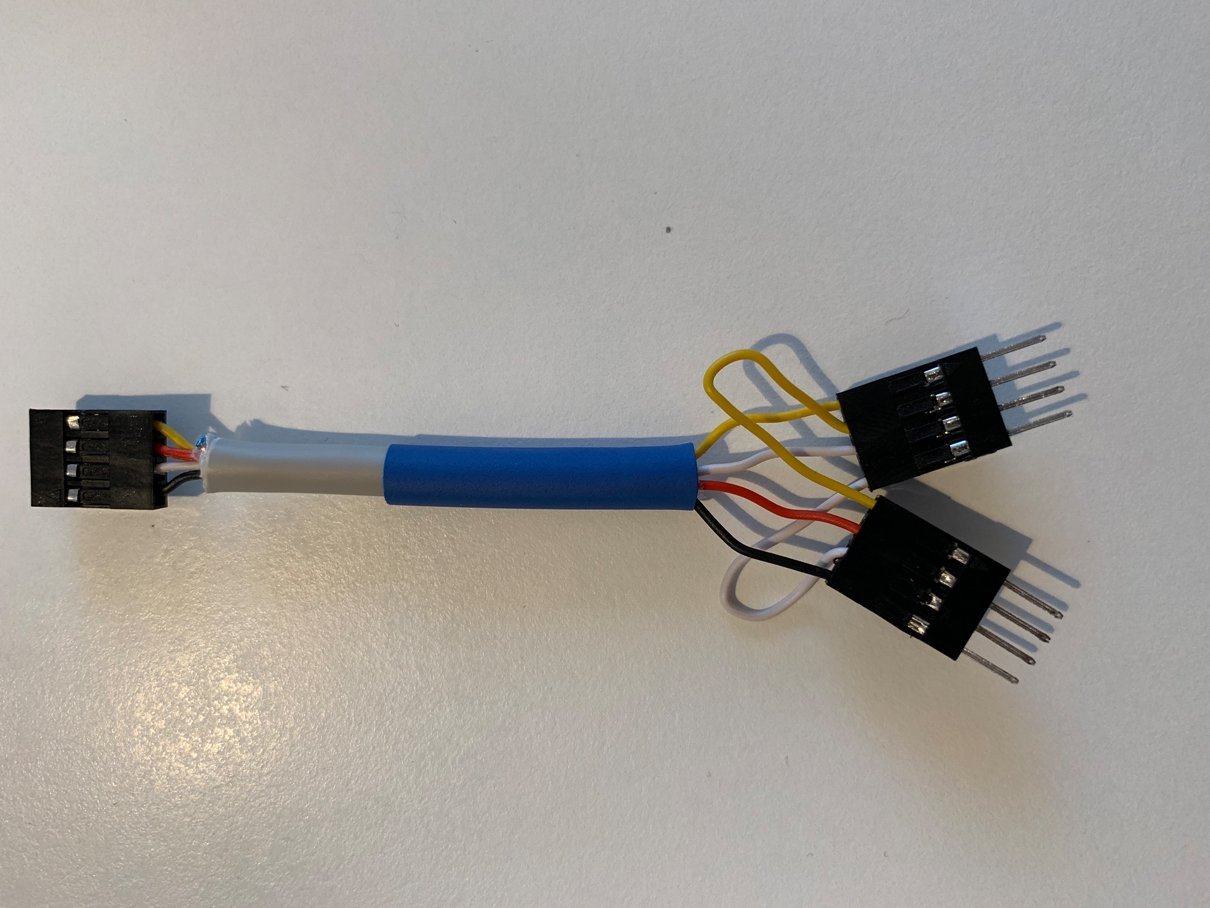
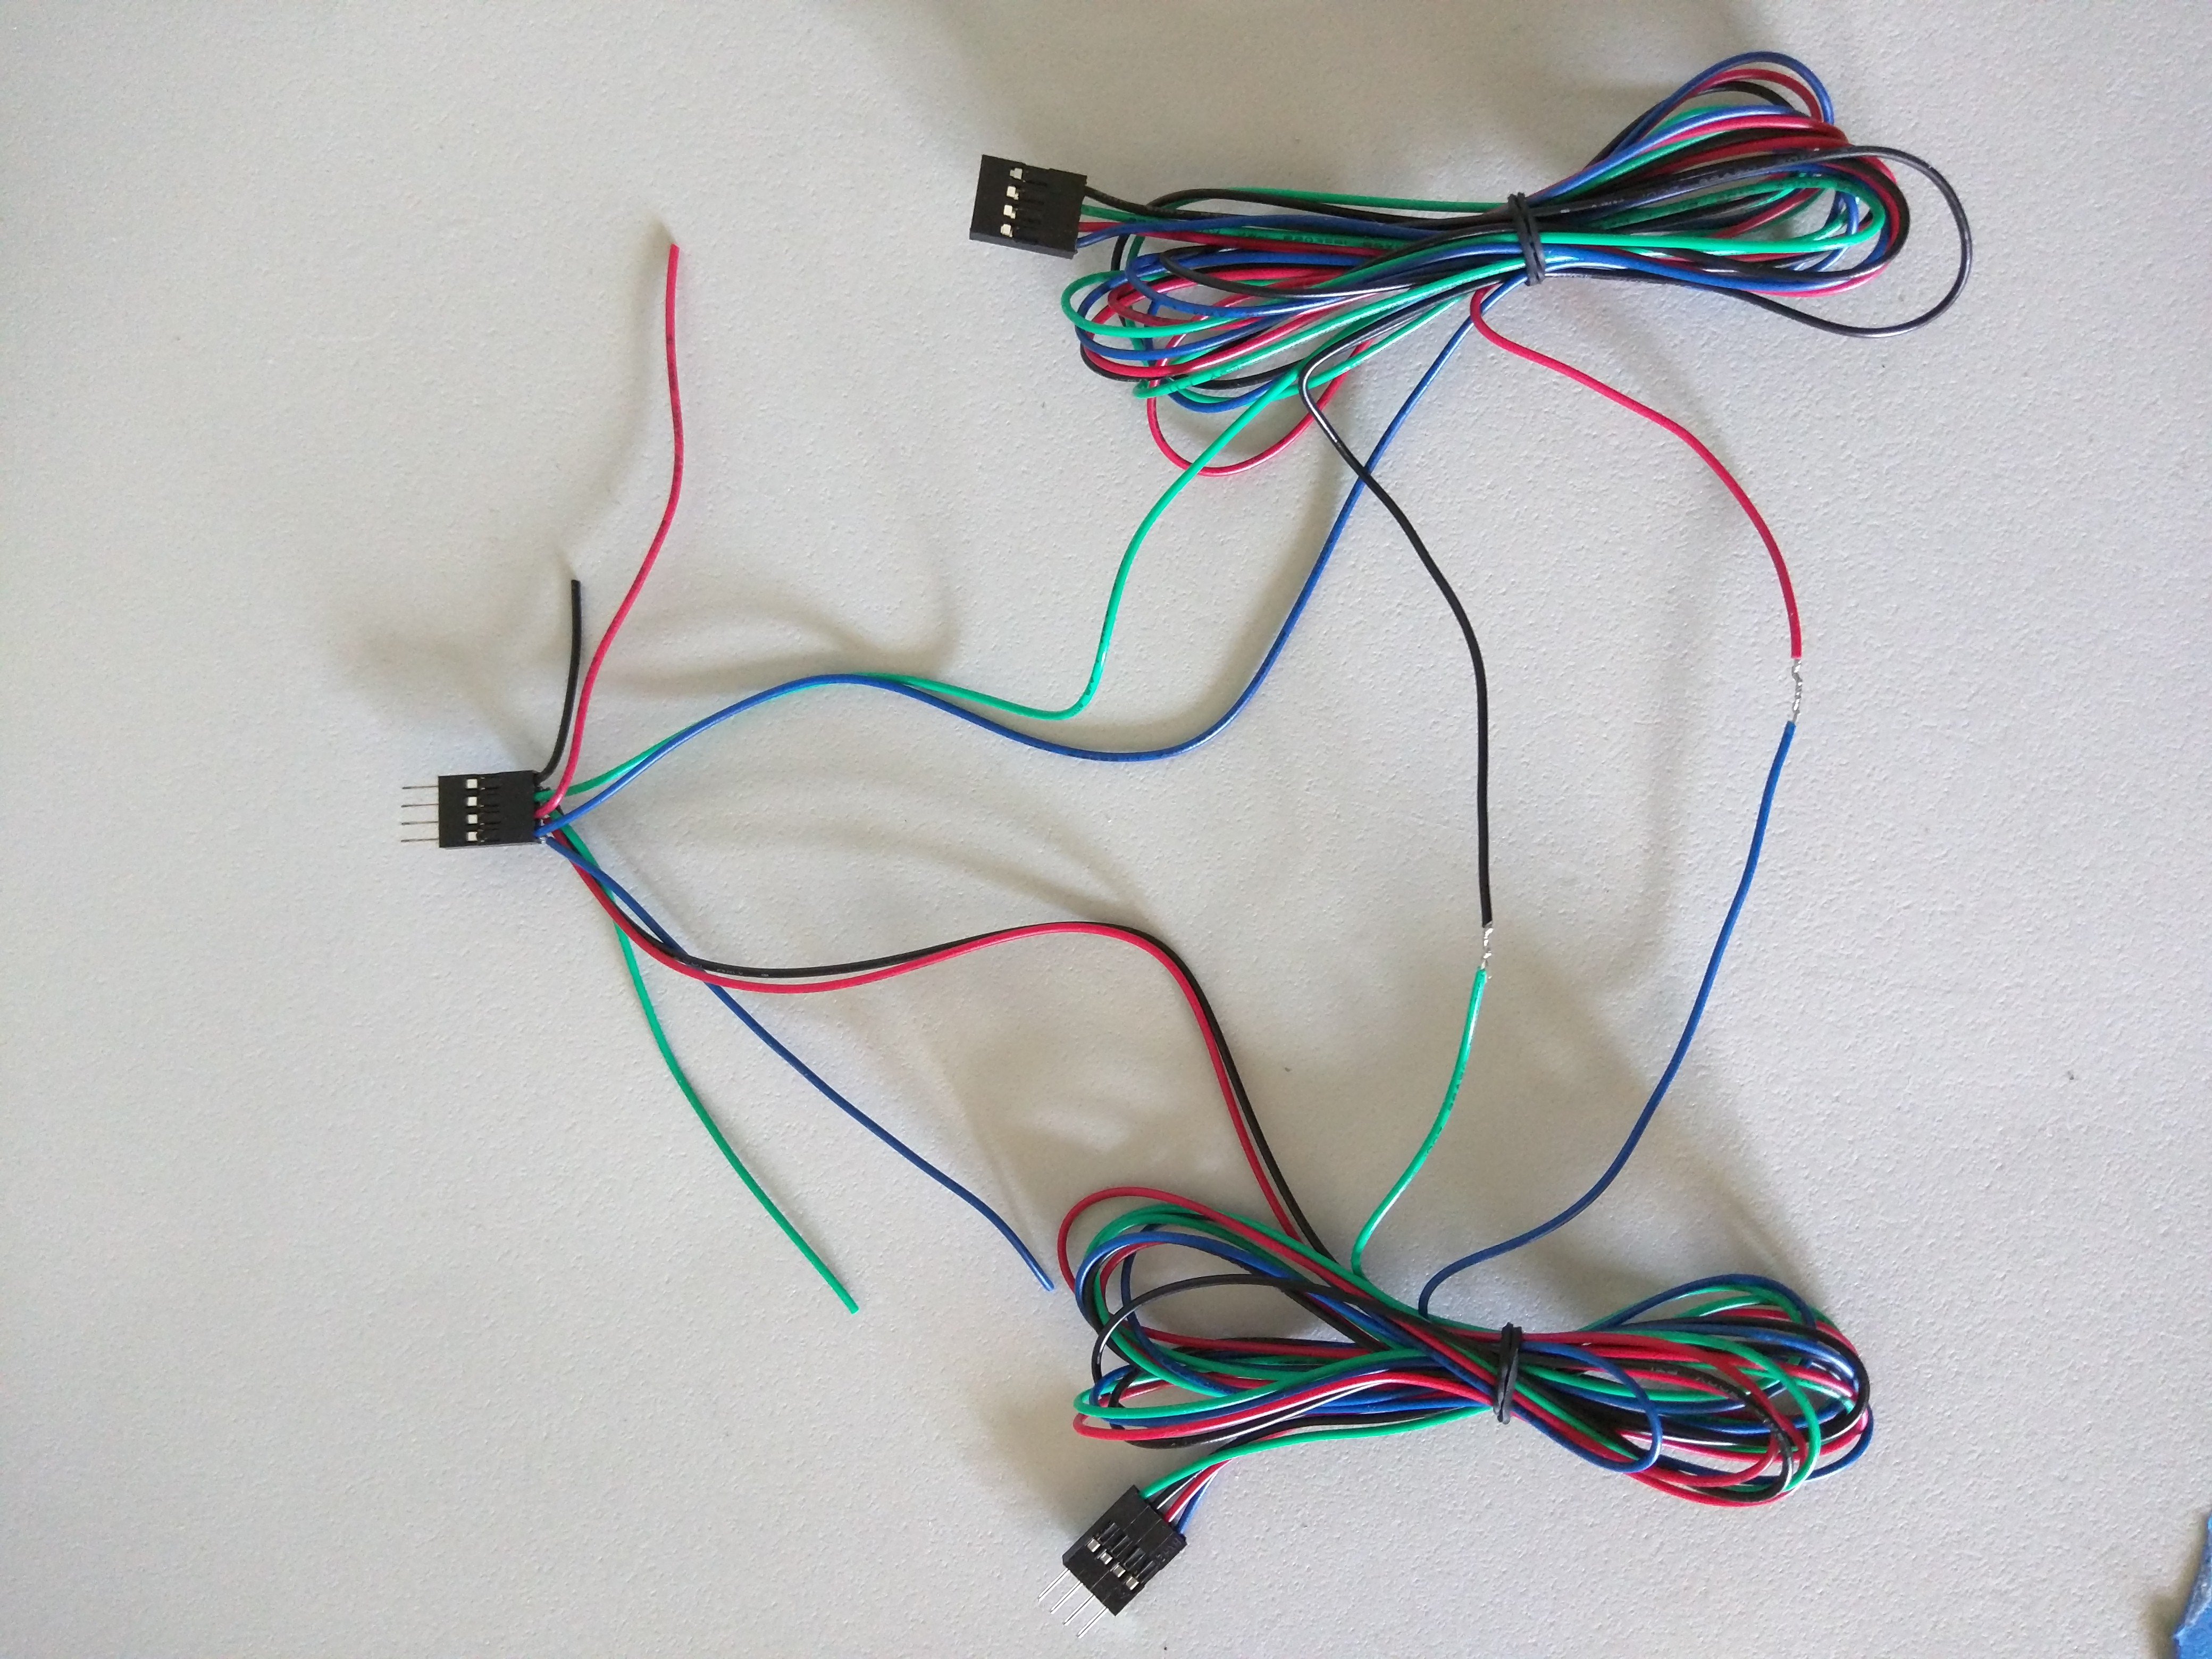
Modified parallel harness
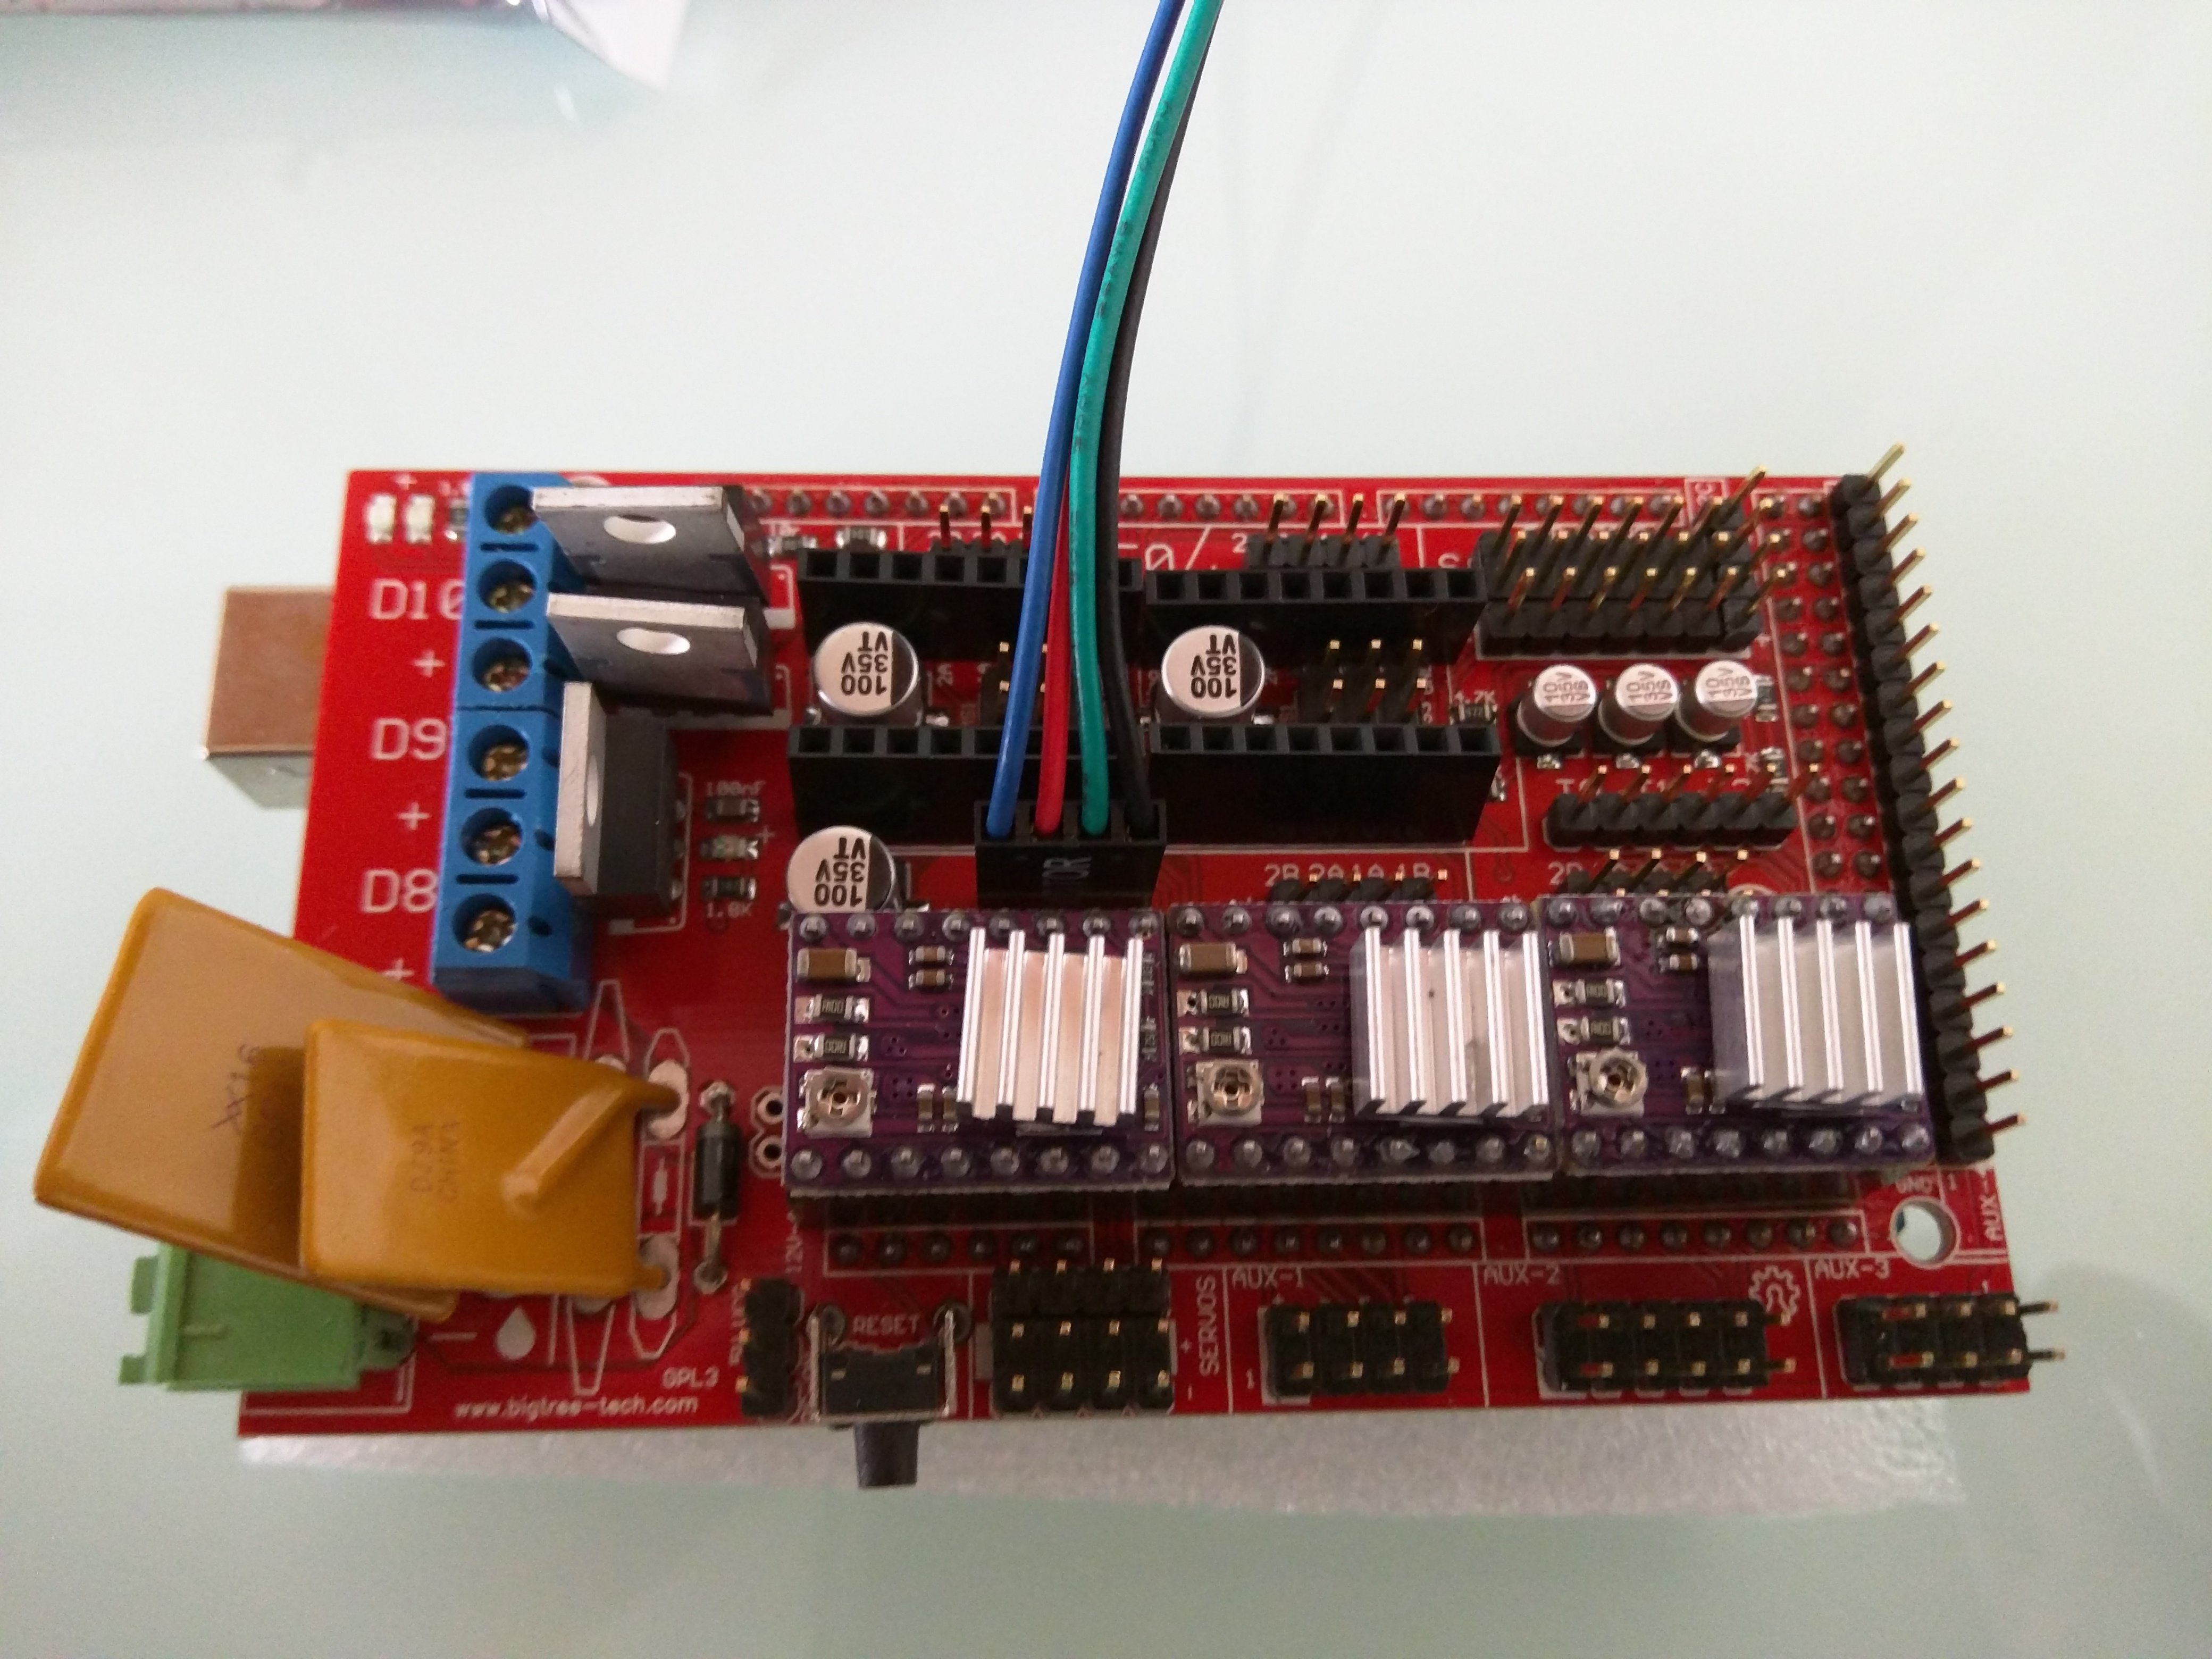
Parallel (don’t do it this way) –
Twice the amp draw as series (heat) less power, slightly higher top speed.
The steppers for the X and Y axis are wired in parallel, with the far motor getting one coil wired in reverse.
In this picture the yellow and blue are a pair/coil, and the green and red are a pair/coil. So to reverse this stepper you would wire this blue to the other yellow, and this yellow to the other blue. Do not get caught up in my colors, the position on the plug tells you what 2 wires are pairs.
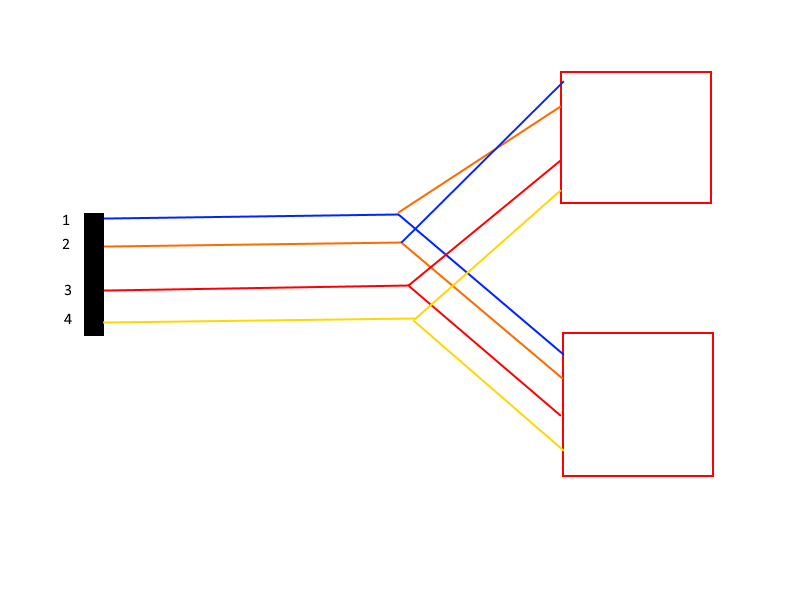
To wire in parallel you connect all the like colors and plug it into the ramps board, then on the far stepper change on pair/coil.