ZenXY v2 Assembly
Assembling The Machine
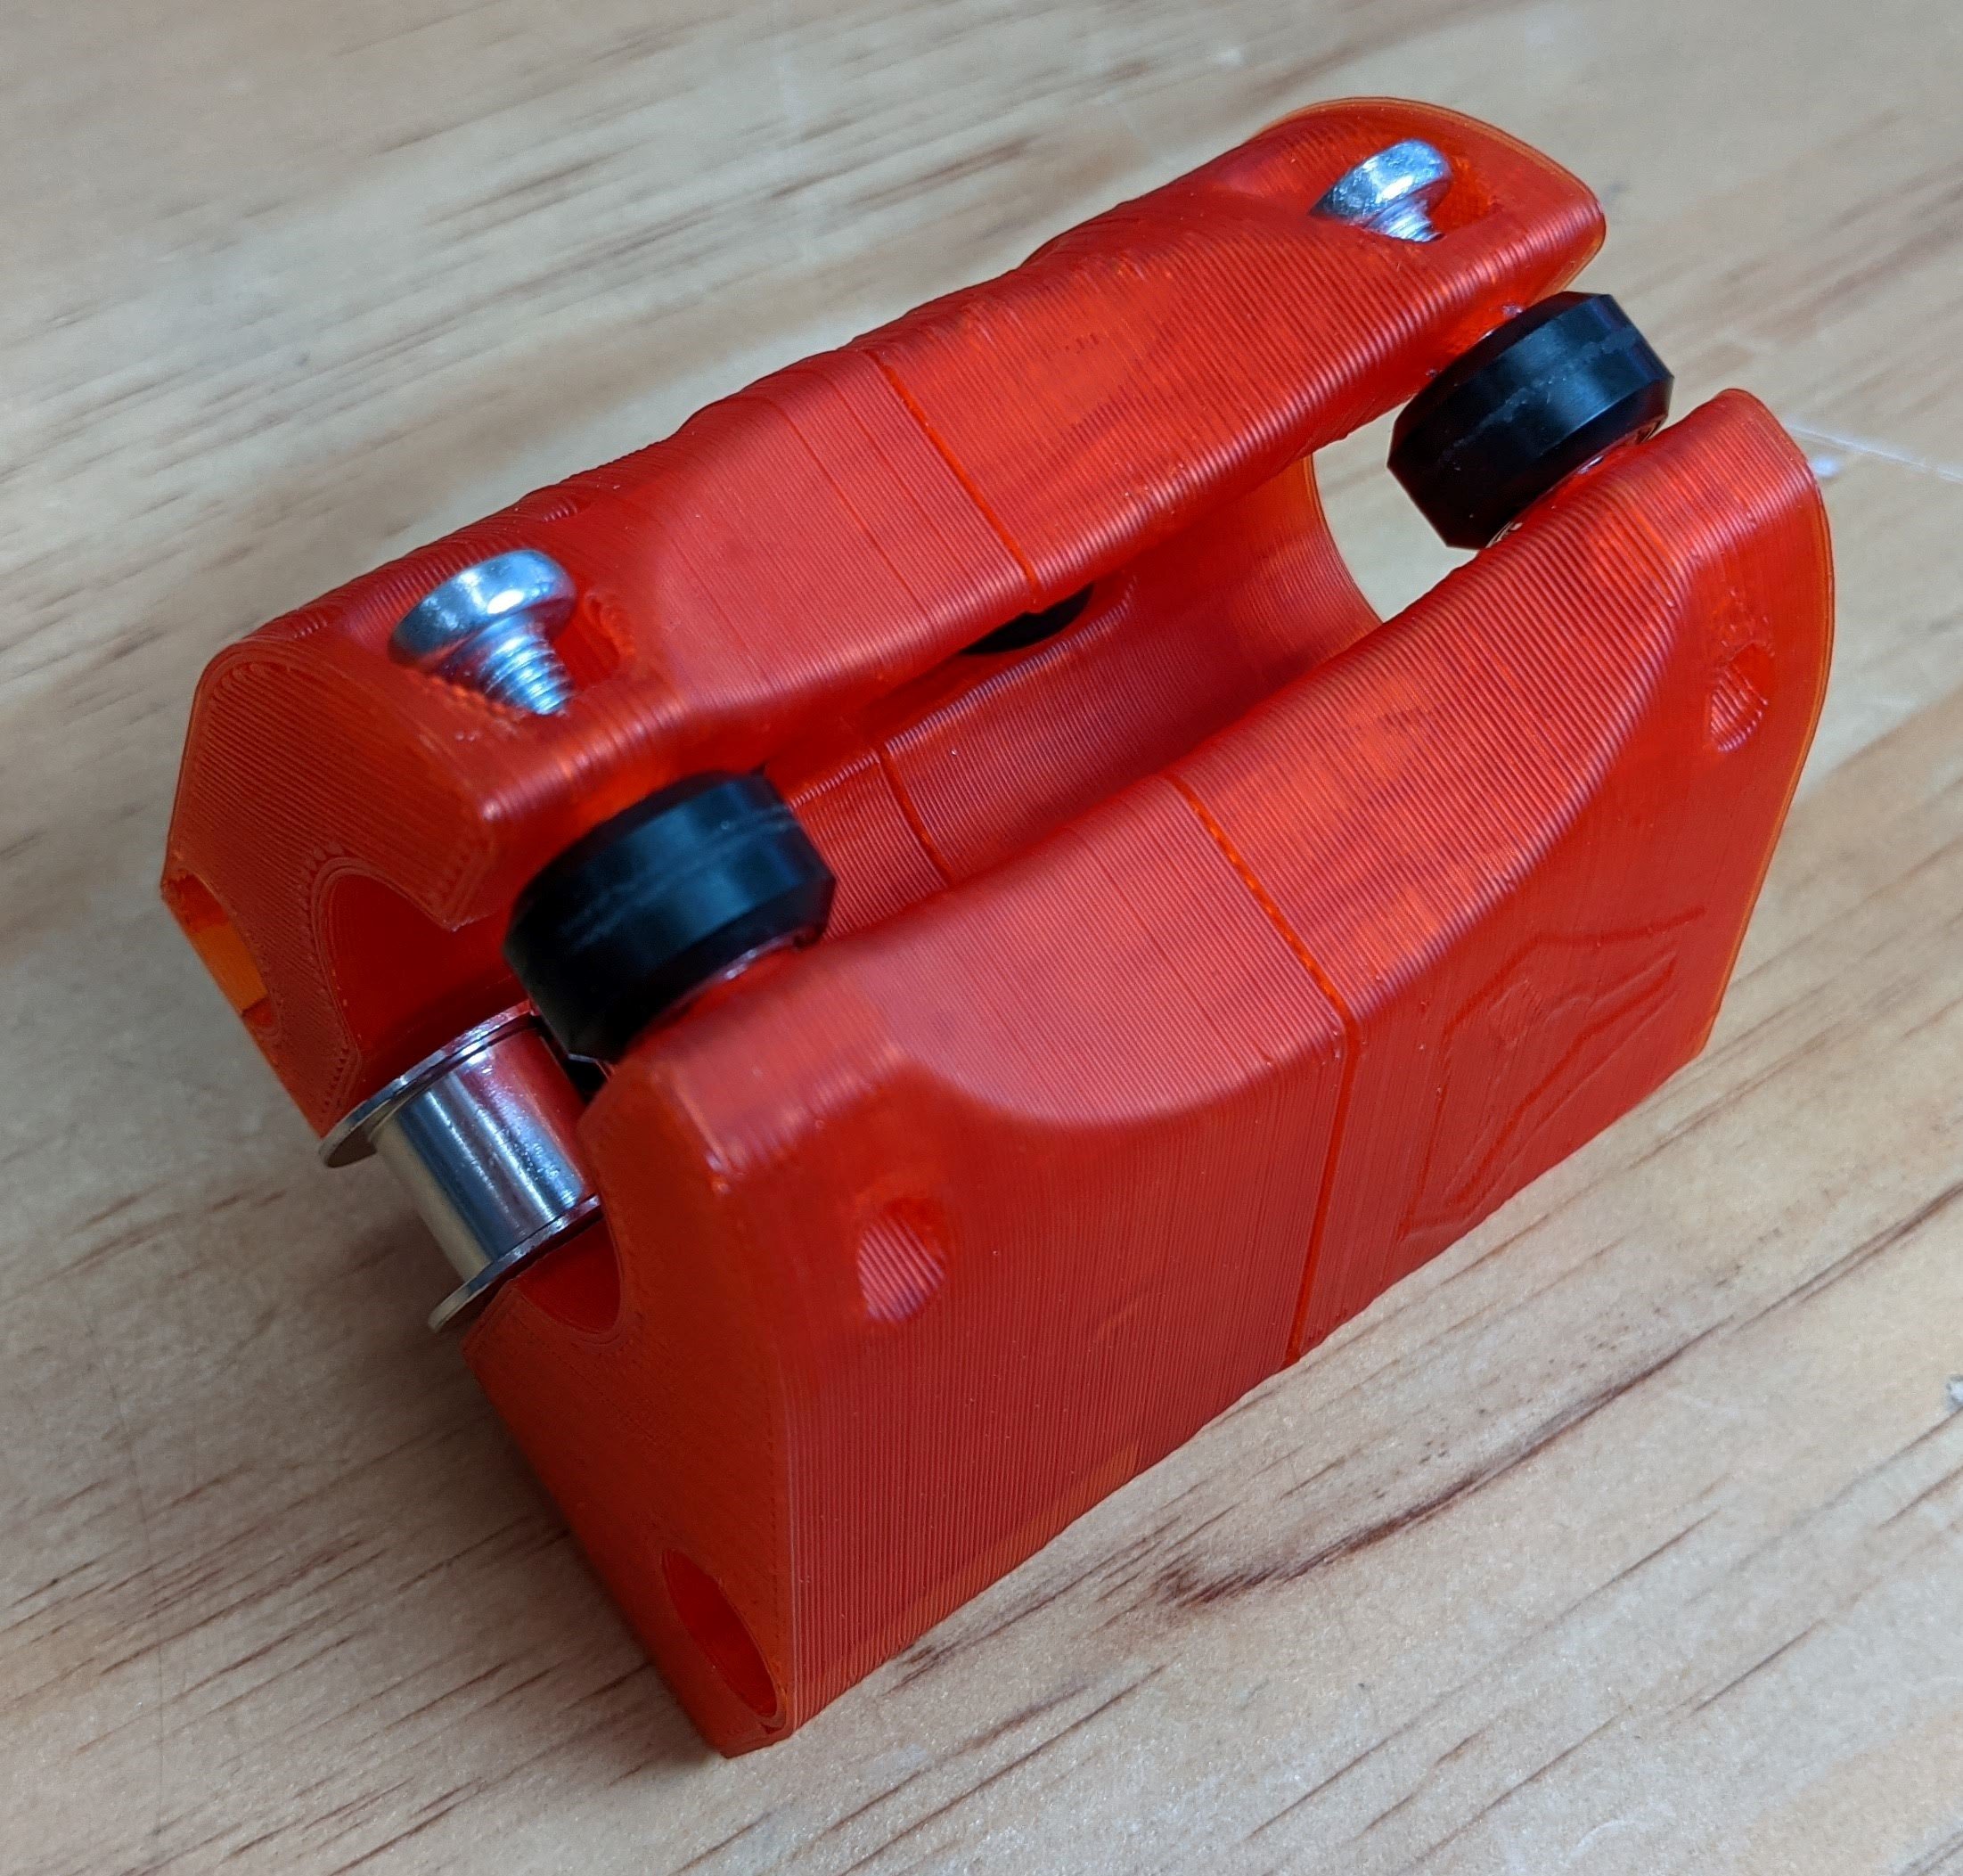
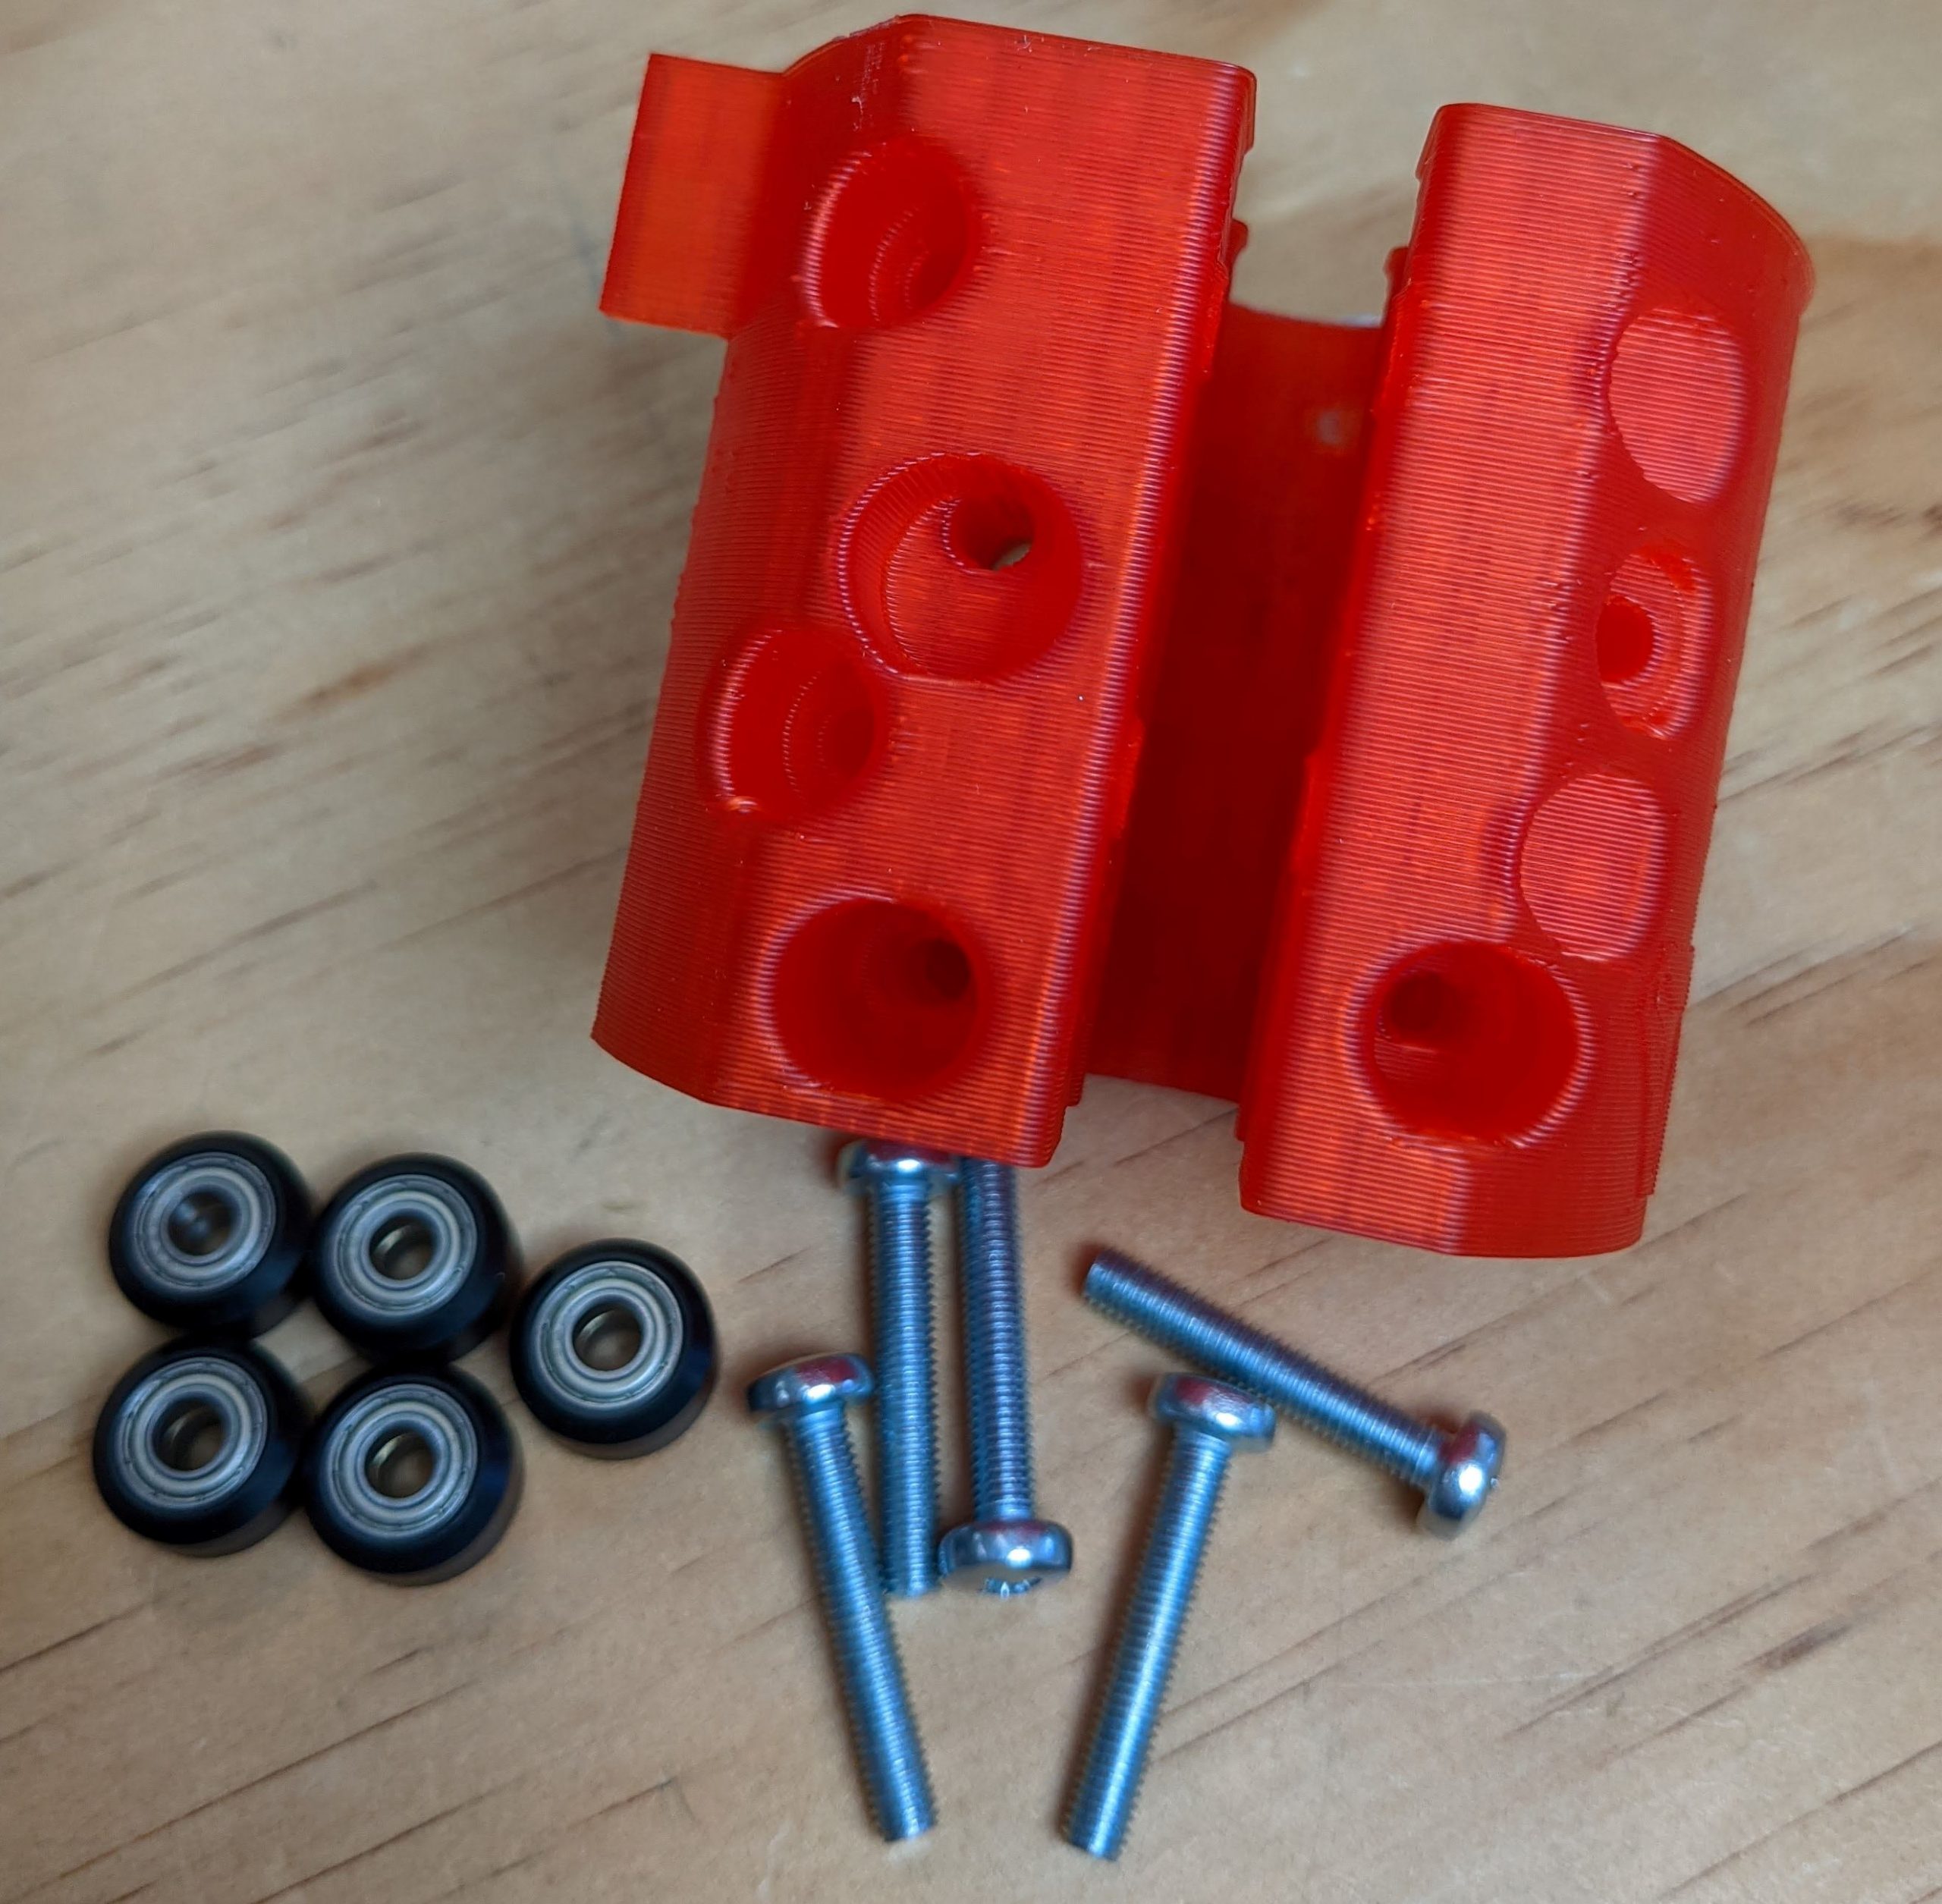
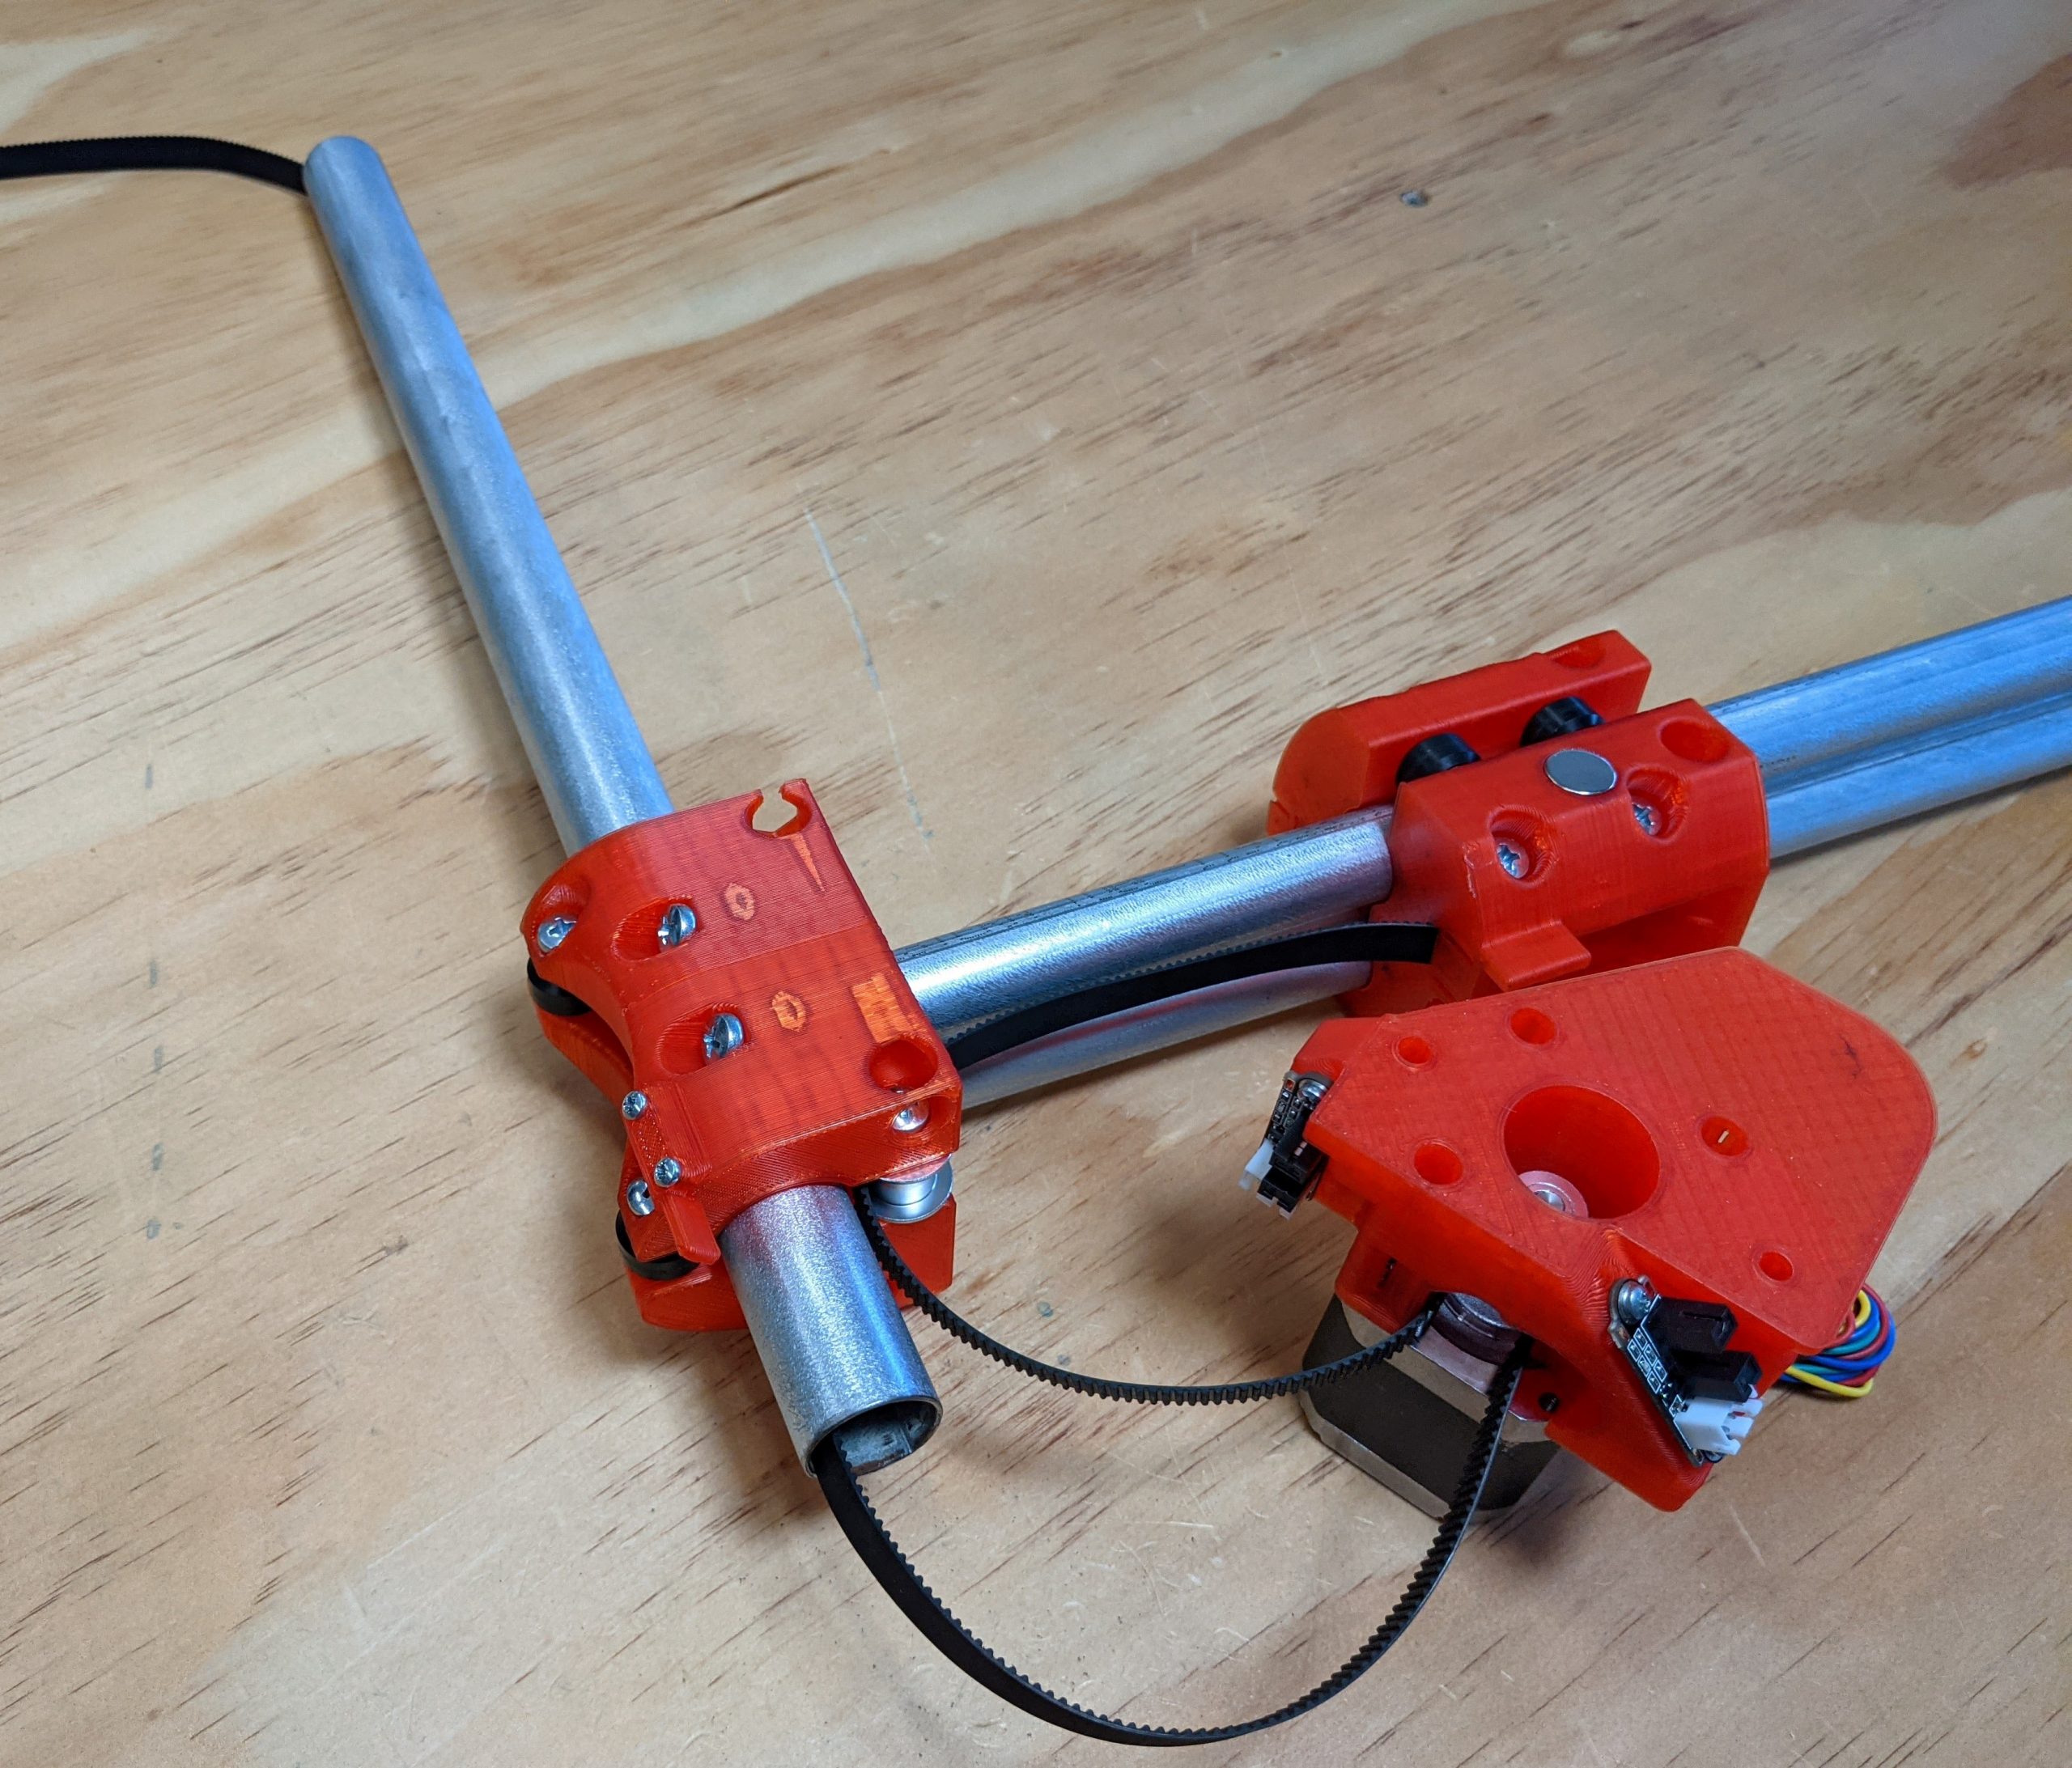
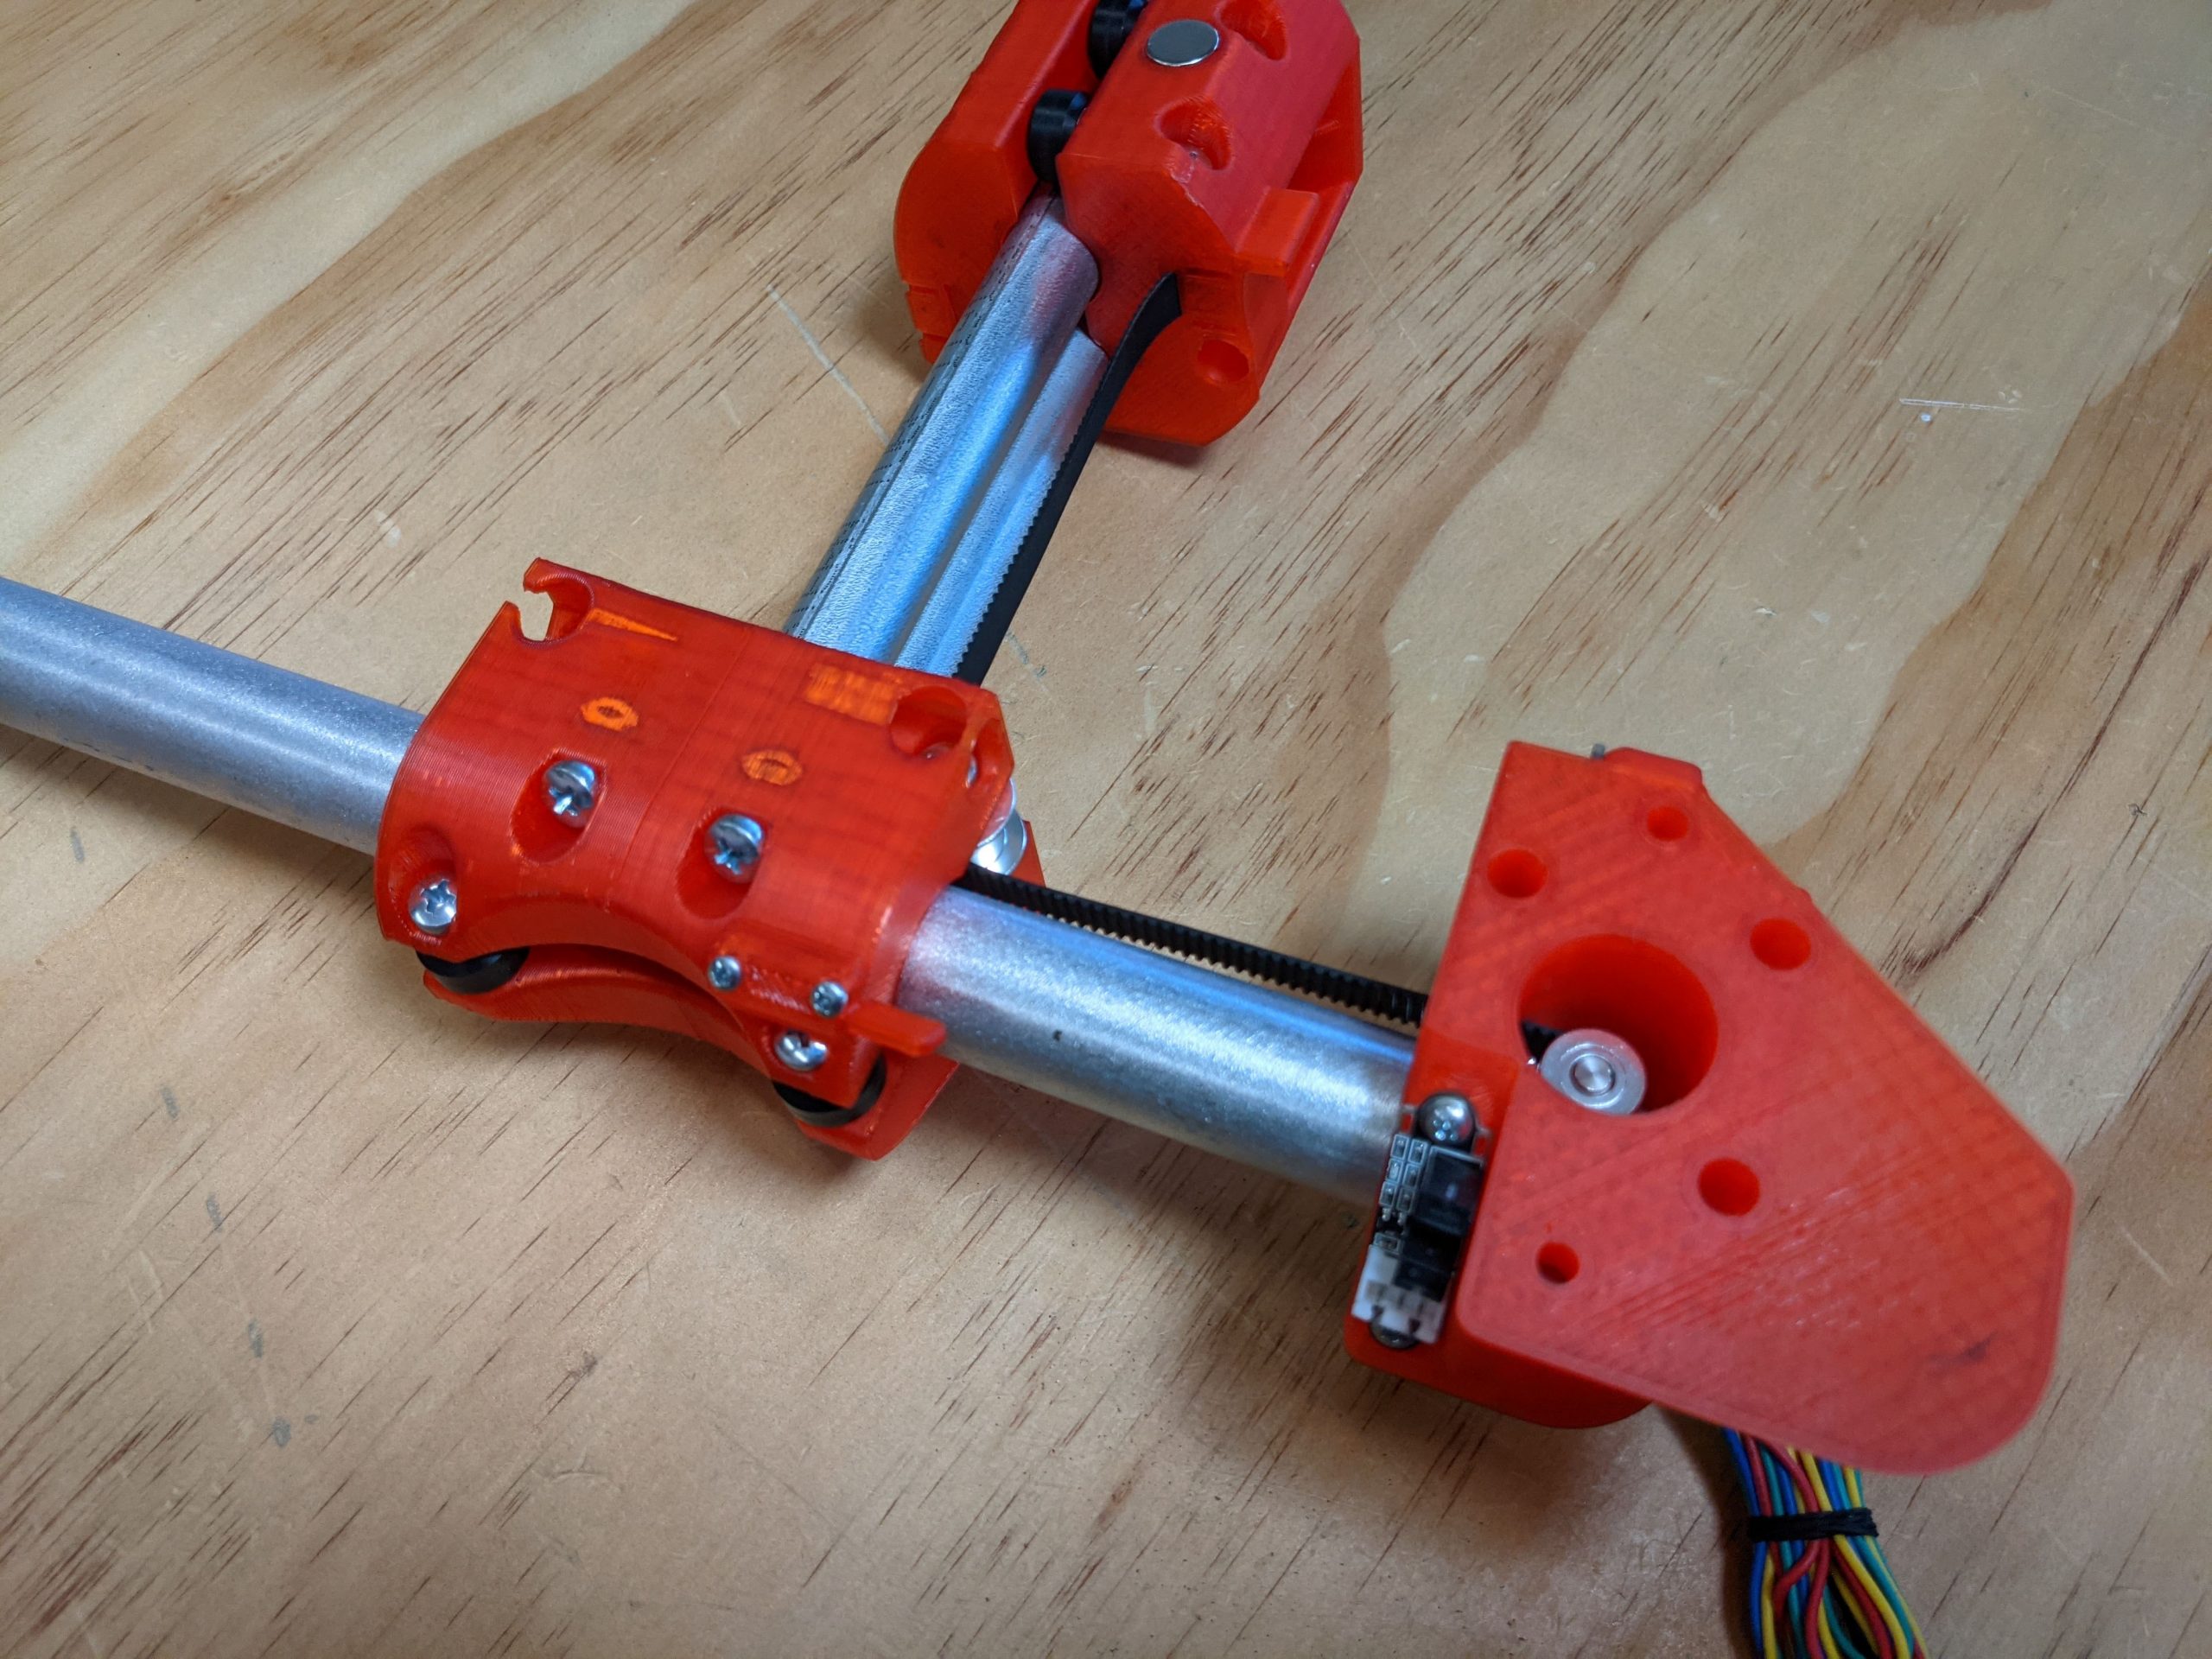
Trucks
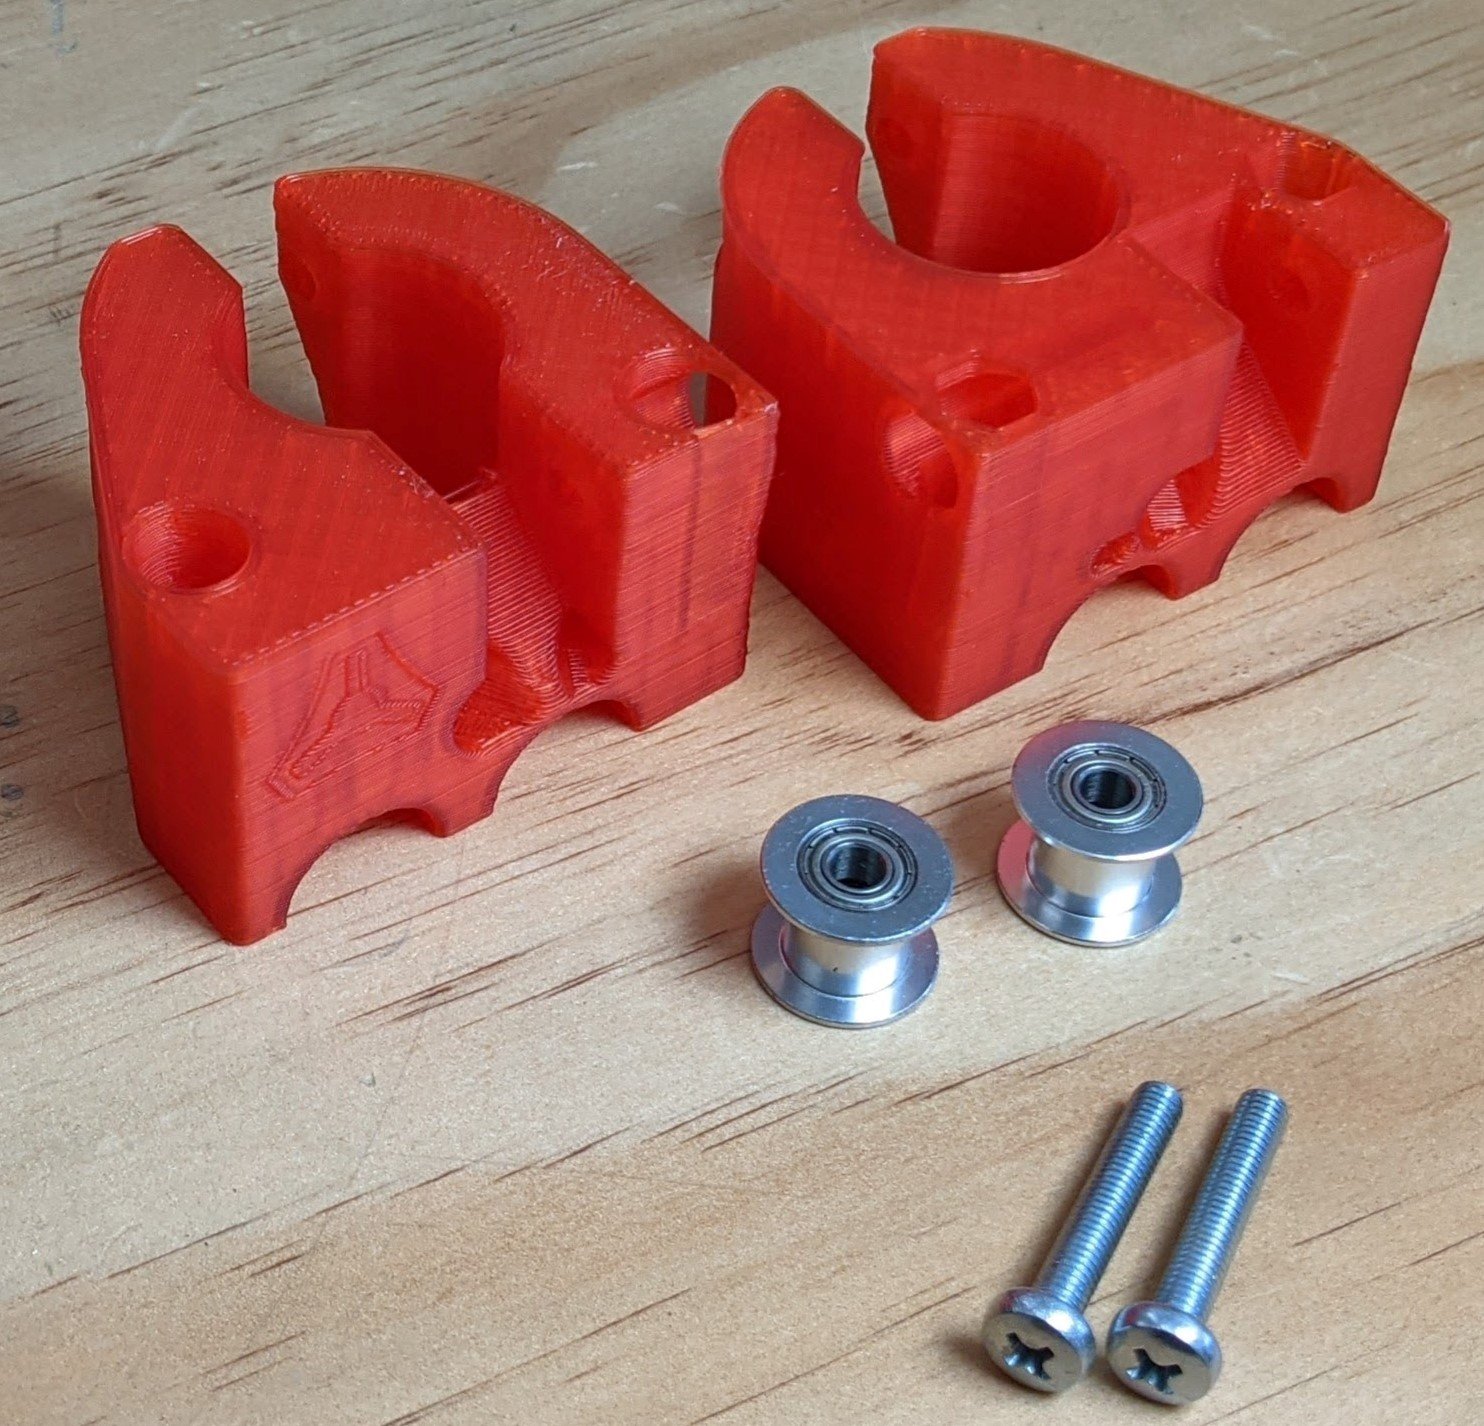
- Use truck halves 1A-B, idlers and M5 screws.
- Assemble, lightly seating the screws.
- V-Wheels and M5 screws.
- Assemble, lightly seating the screws.
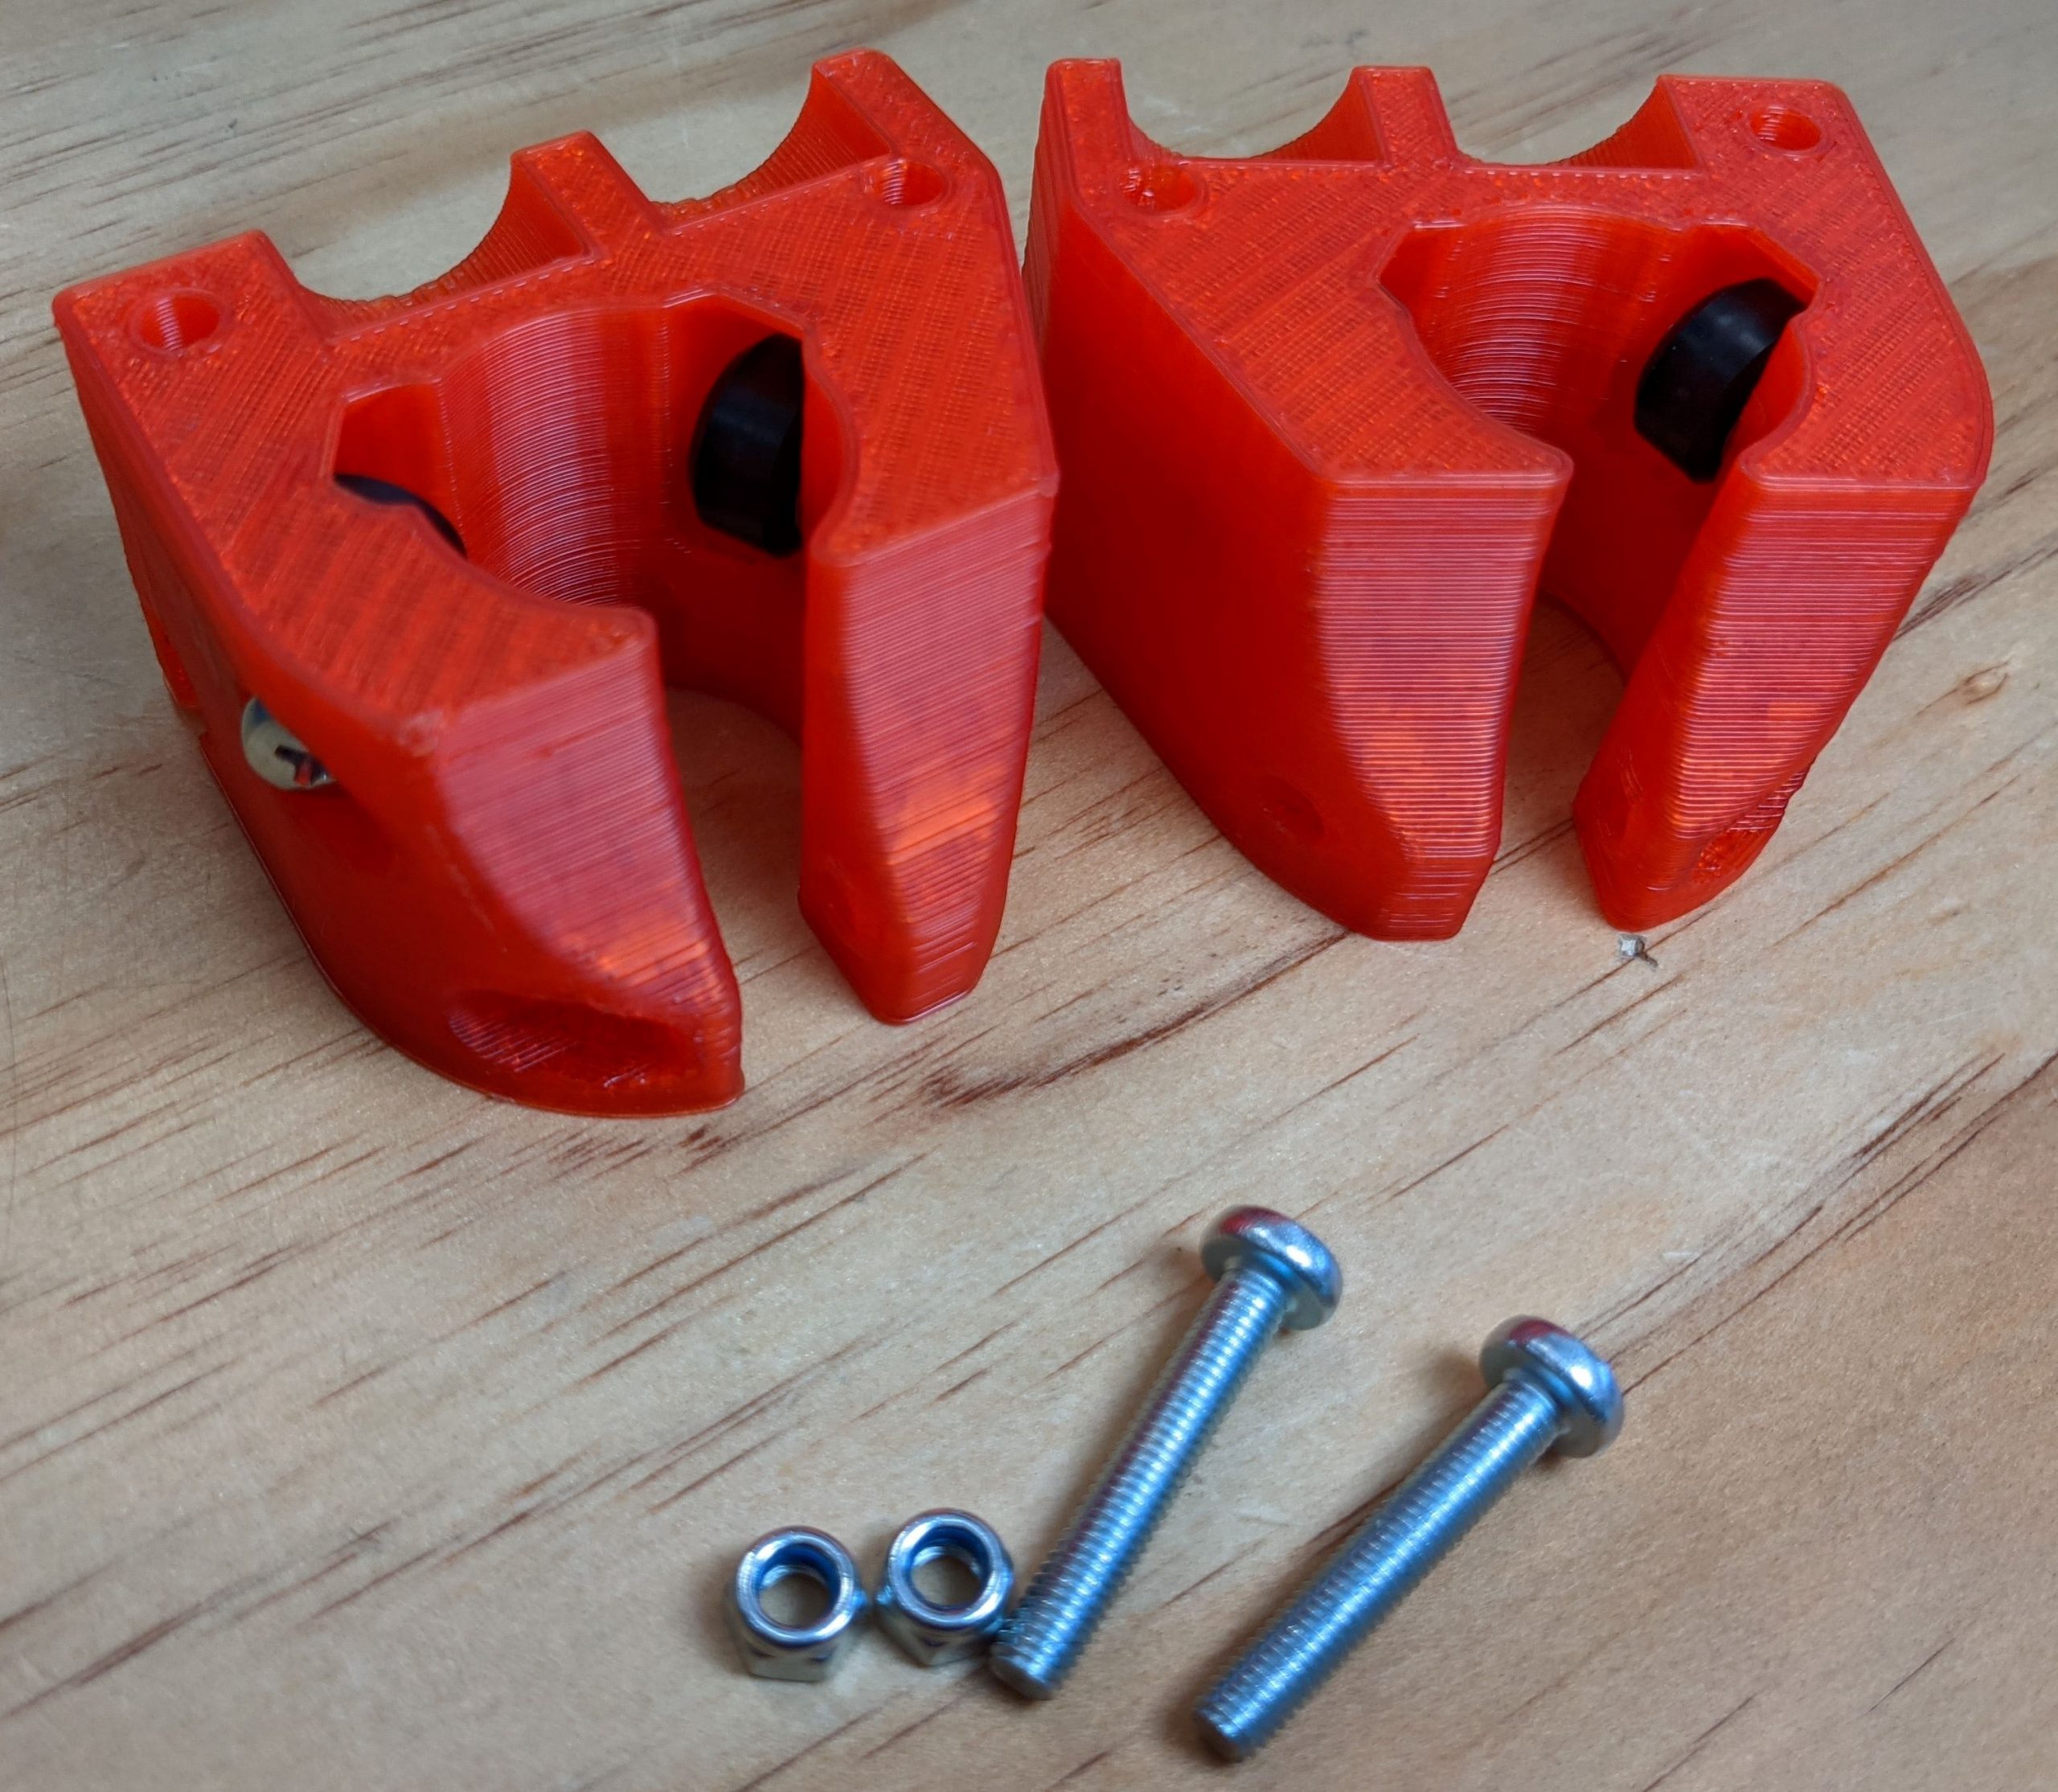
- M5 Screws and Lock nuts.
- Insert Locknuts fully into truck half.
Tip
Pre-threading the locknut onto the screw will loosen it up. Feeding the locknut onto the screw backwards will let you fully seat it. Another way is drop it down using a small screwdriver shaft as a guide.
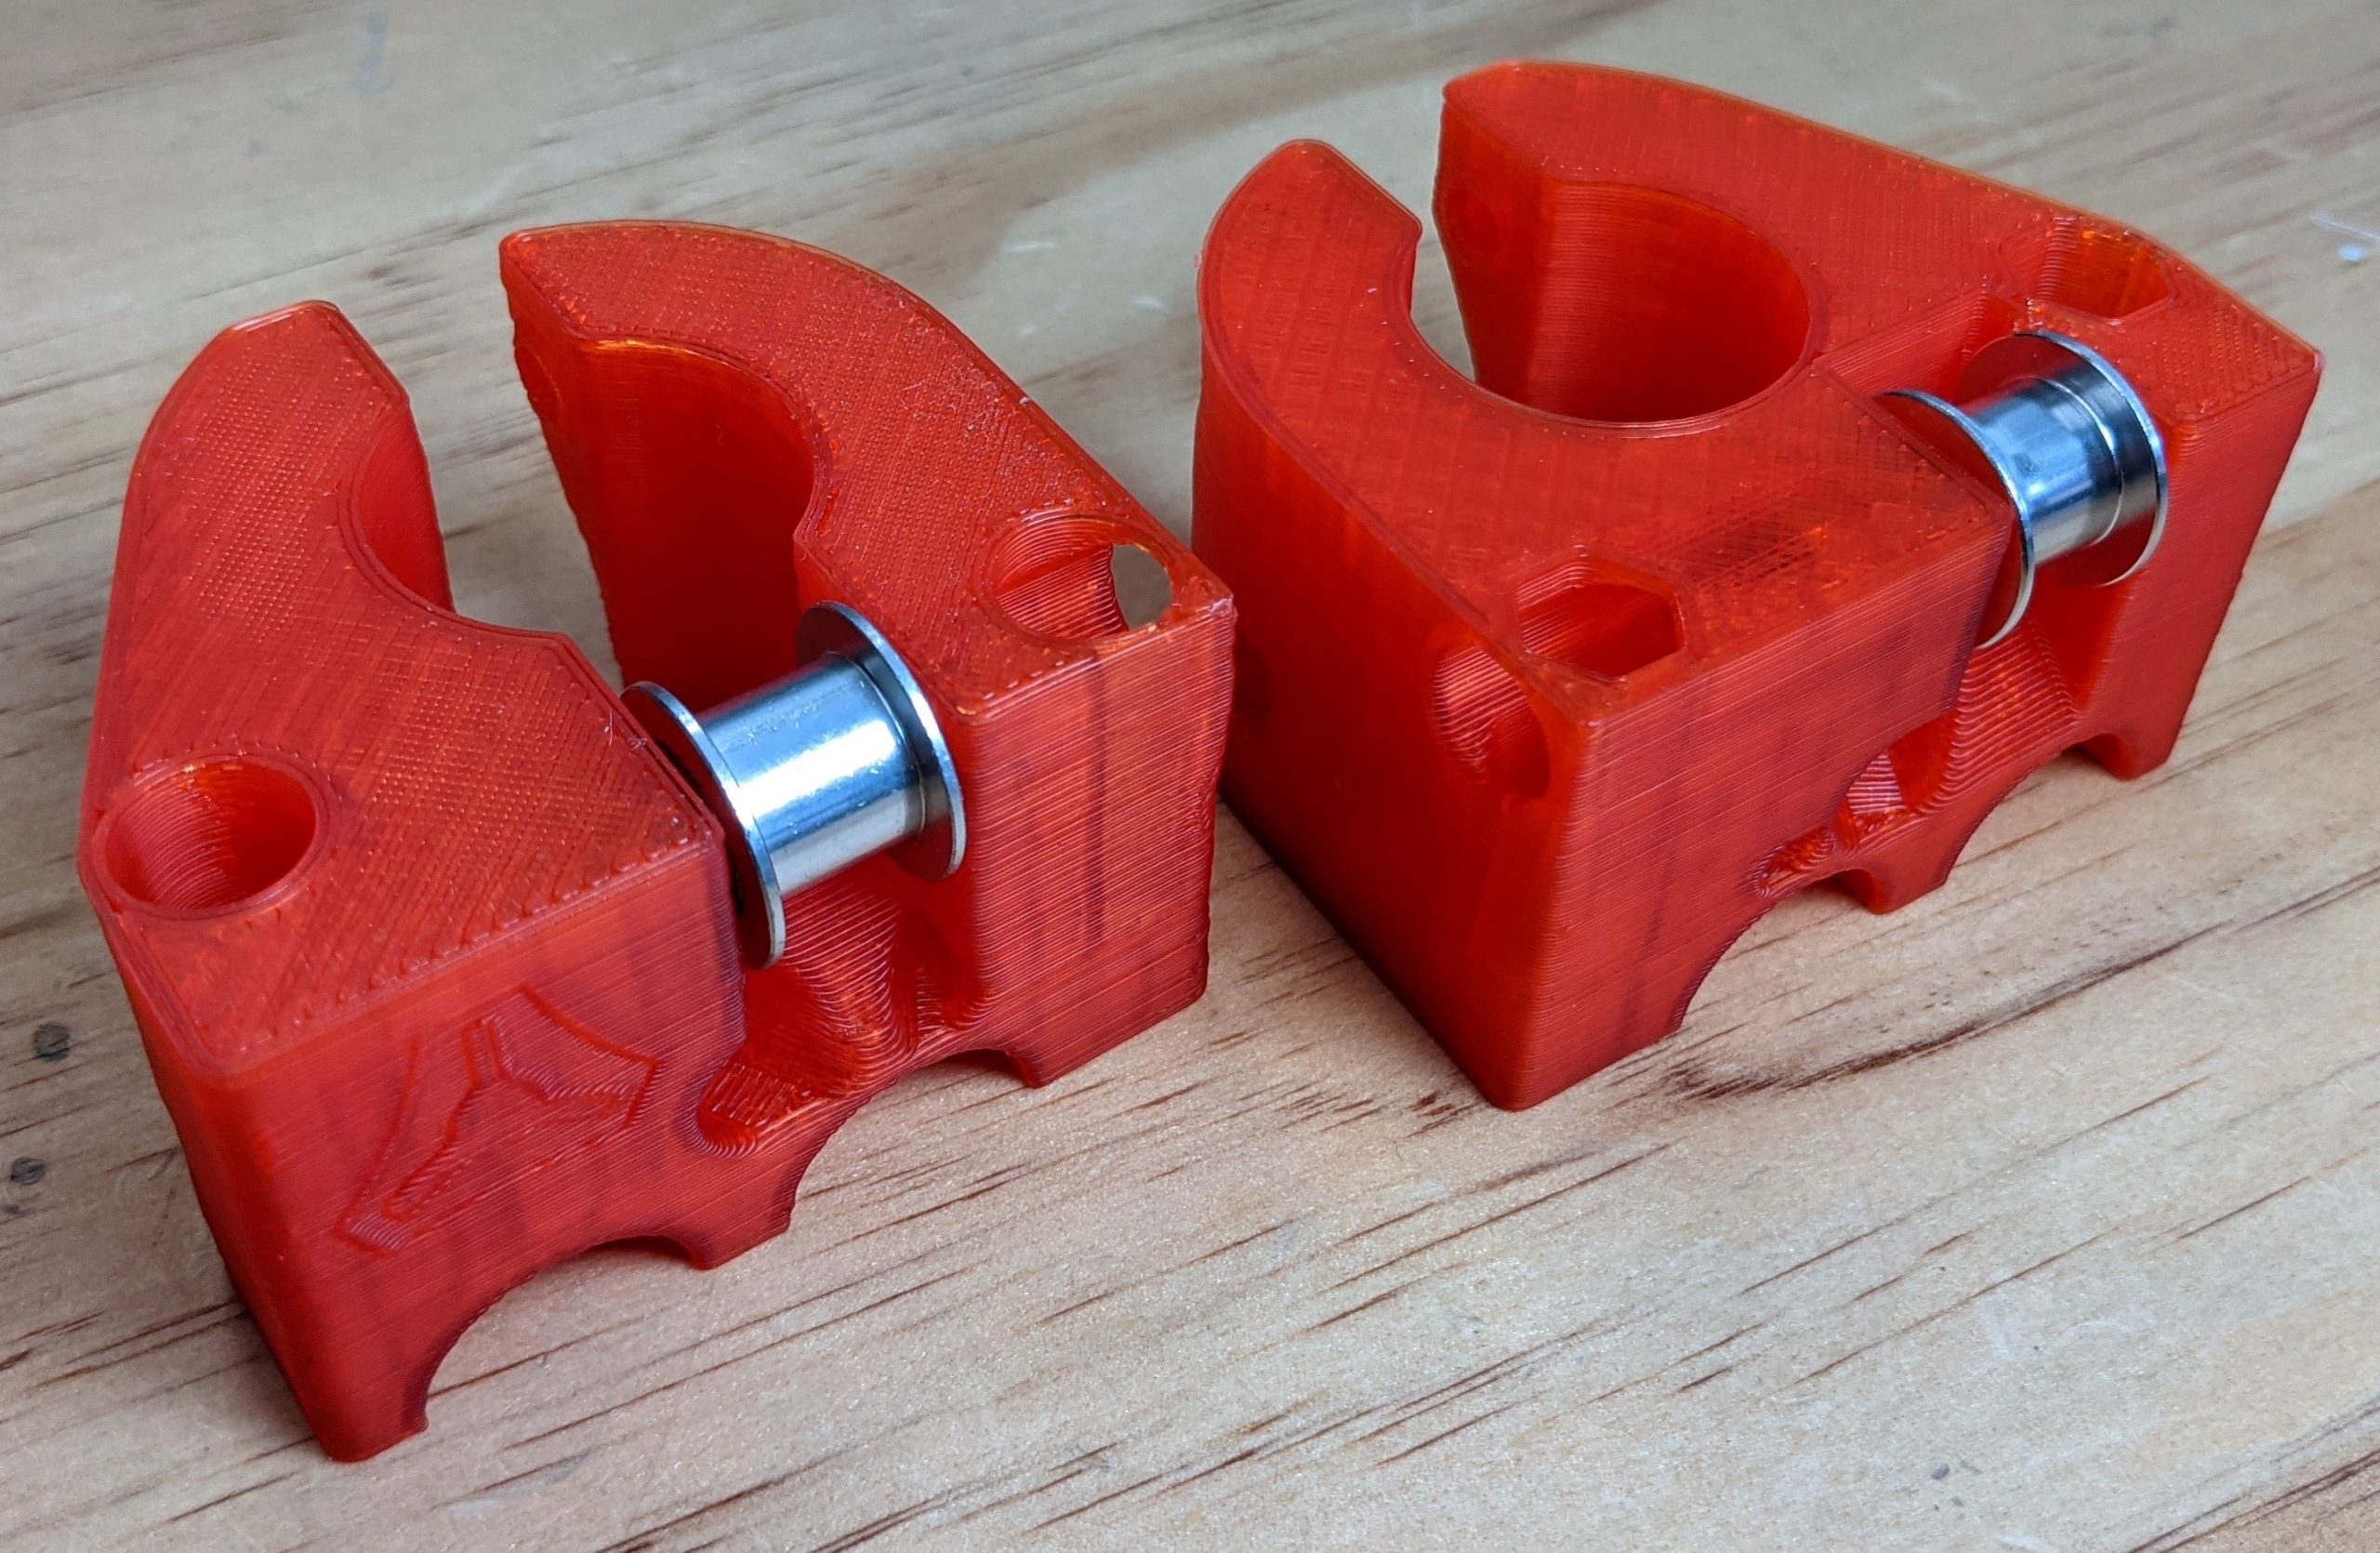
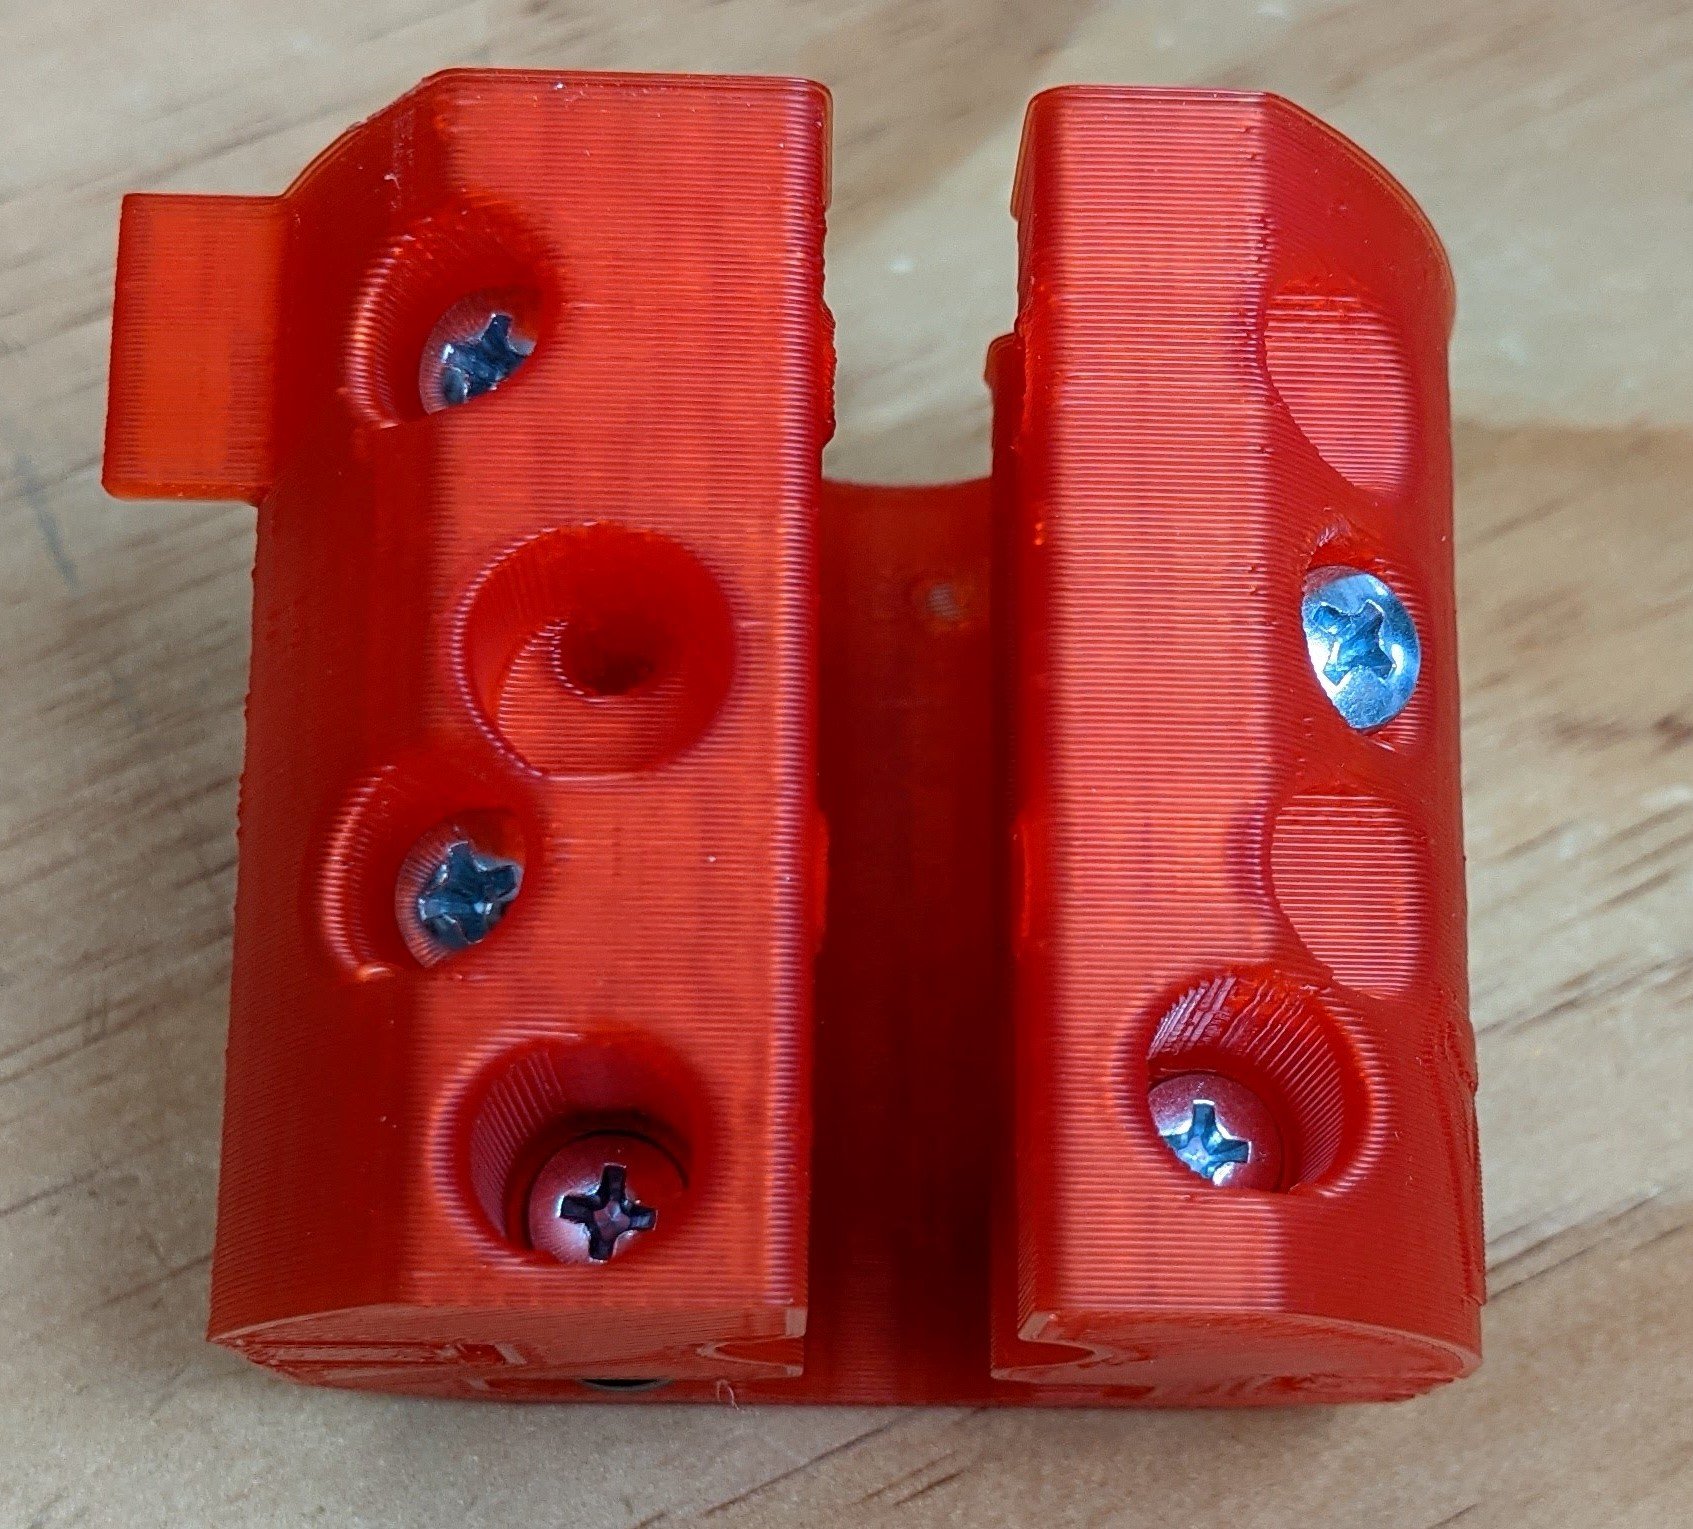
- Leave the screws slightly loose as they will be used to clamp the smaller rails in later.
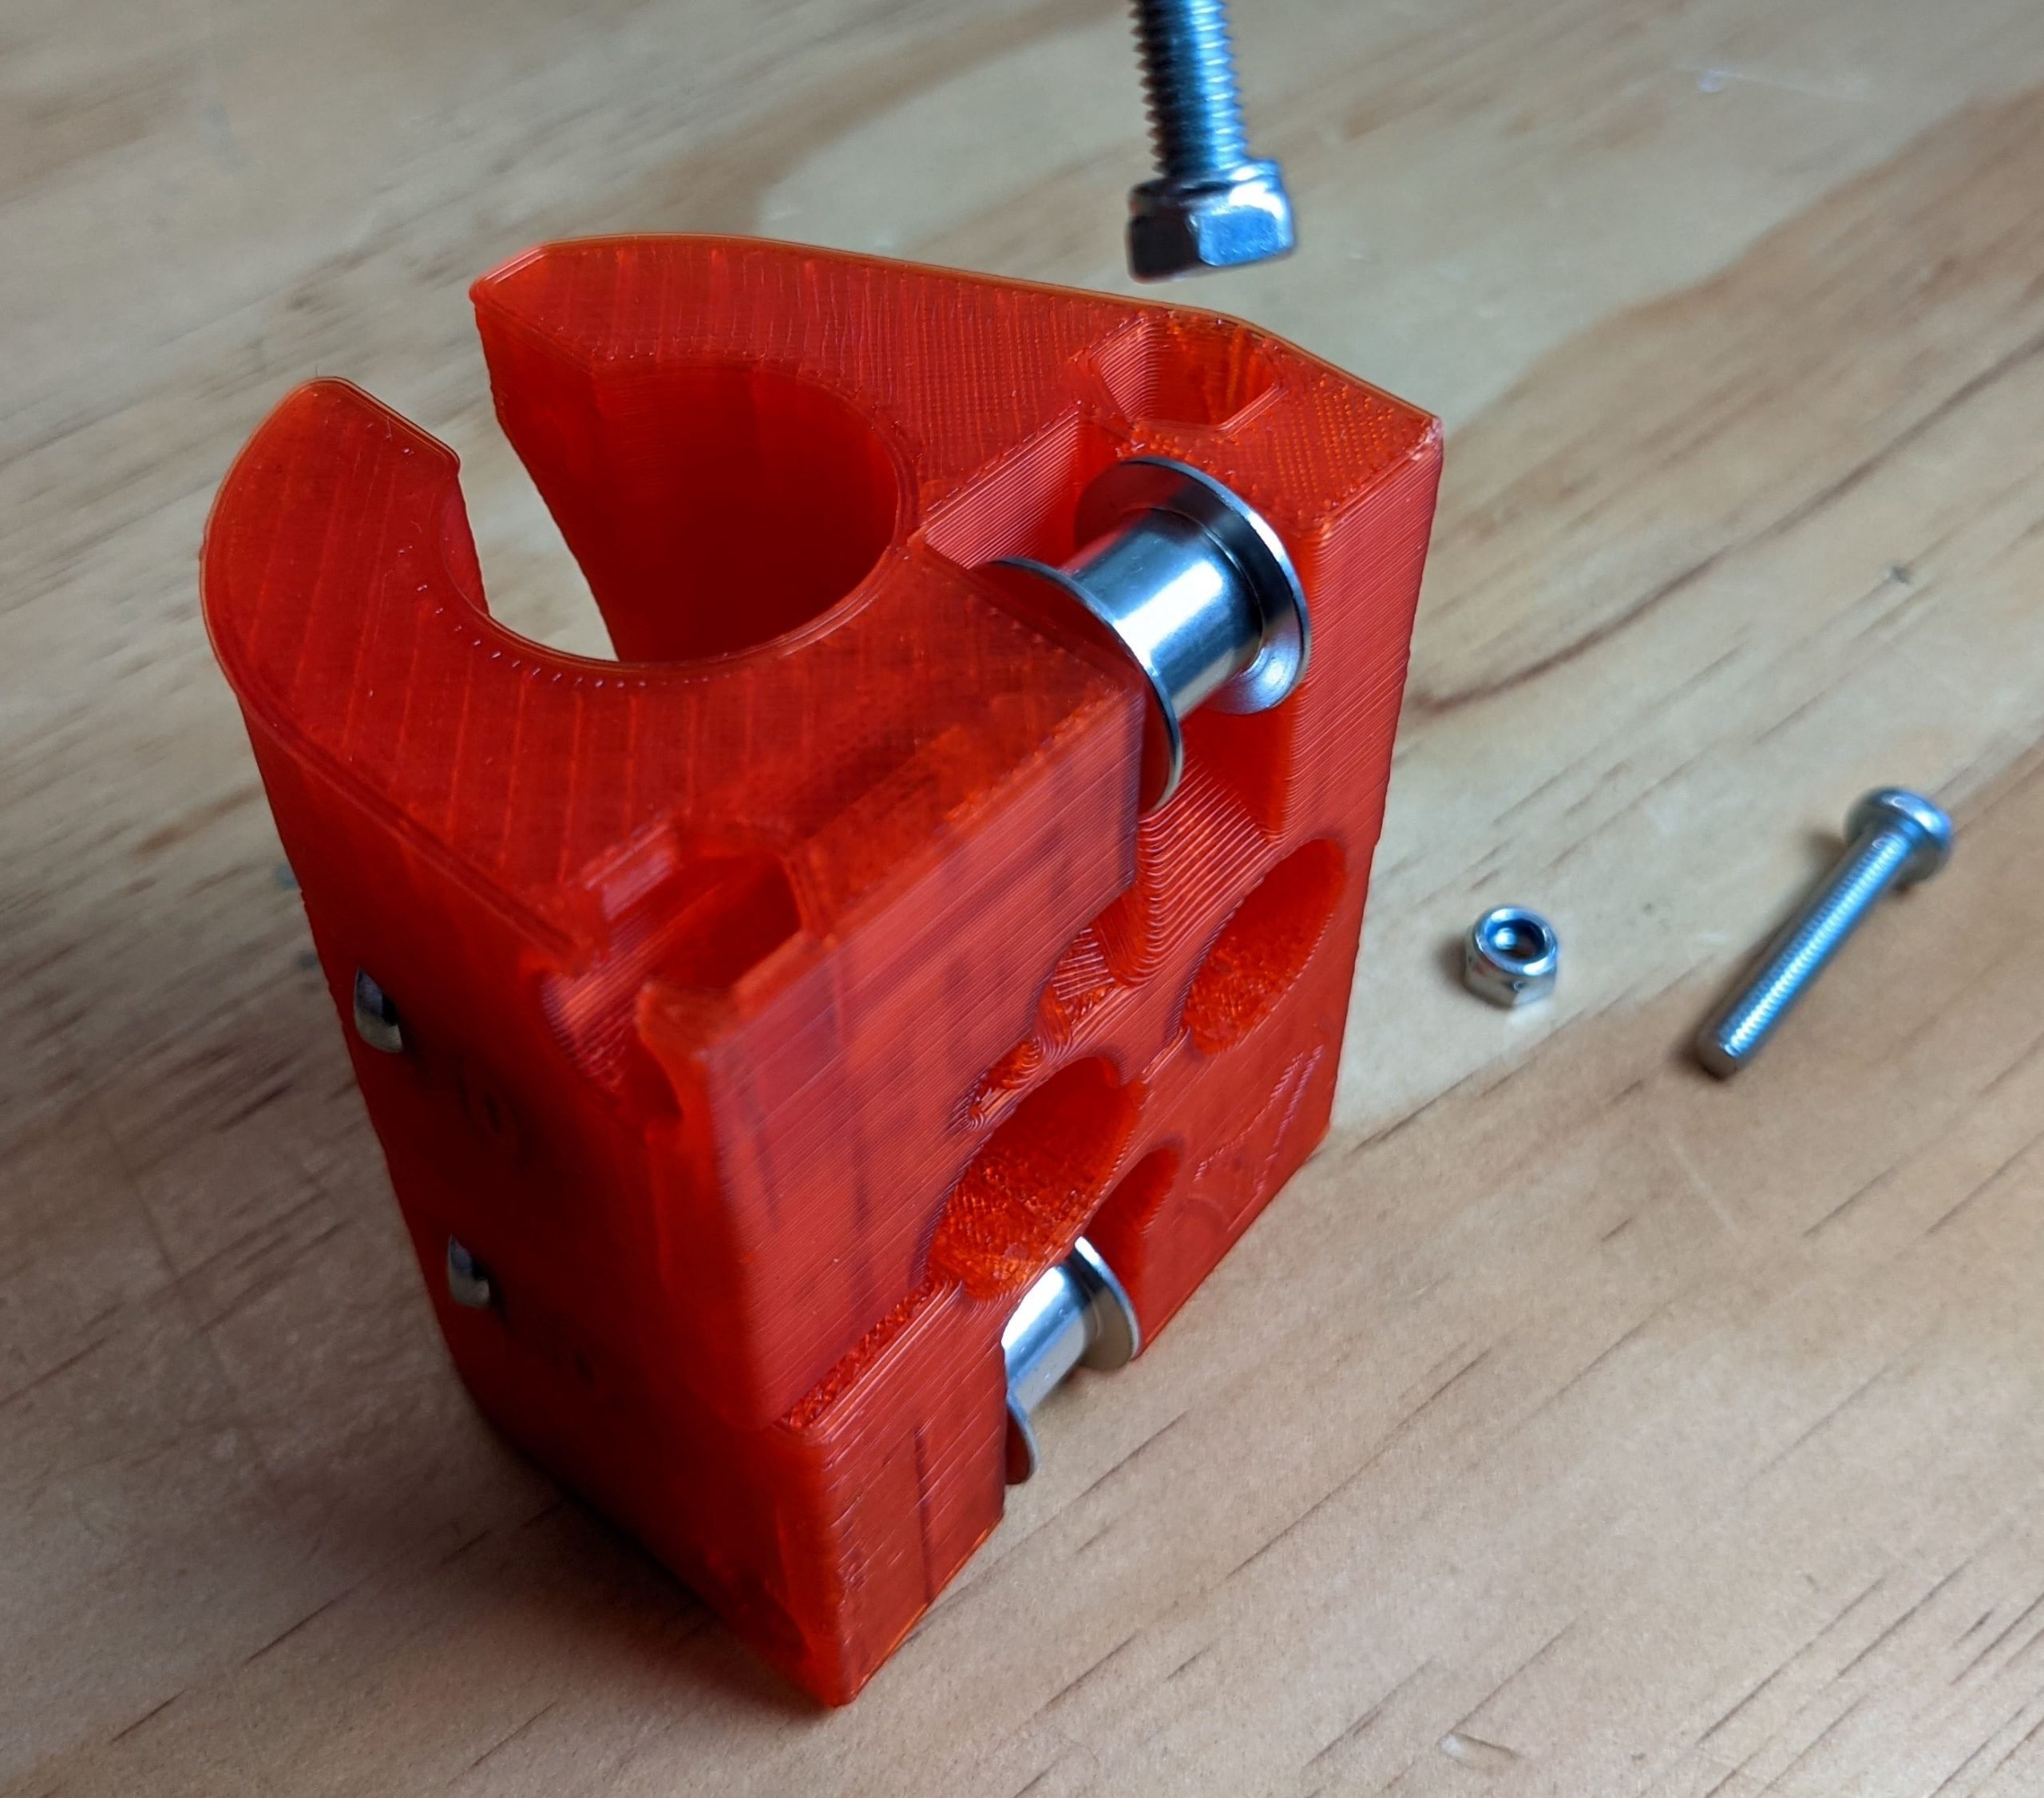
- These V-Wheels and screws will control the Larger rail tension.
- Leave these screws loose.
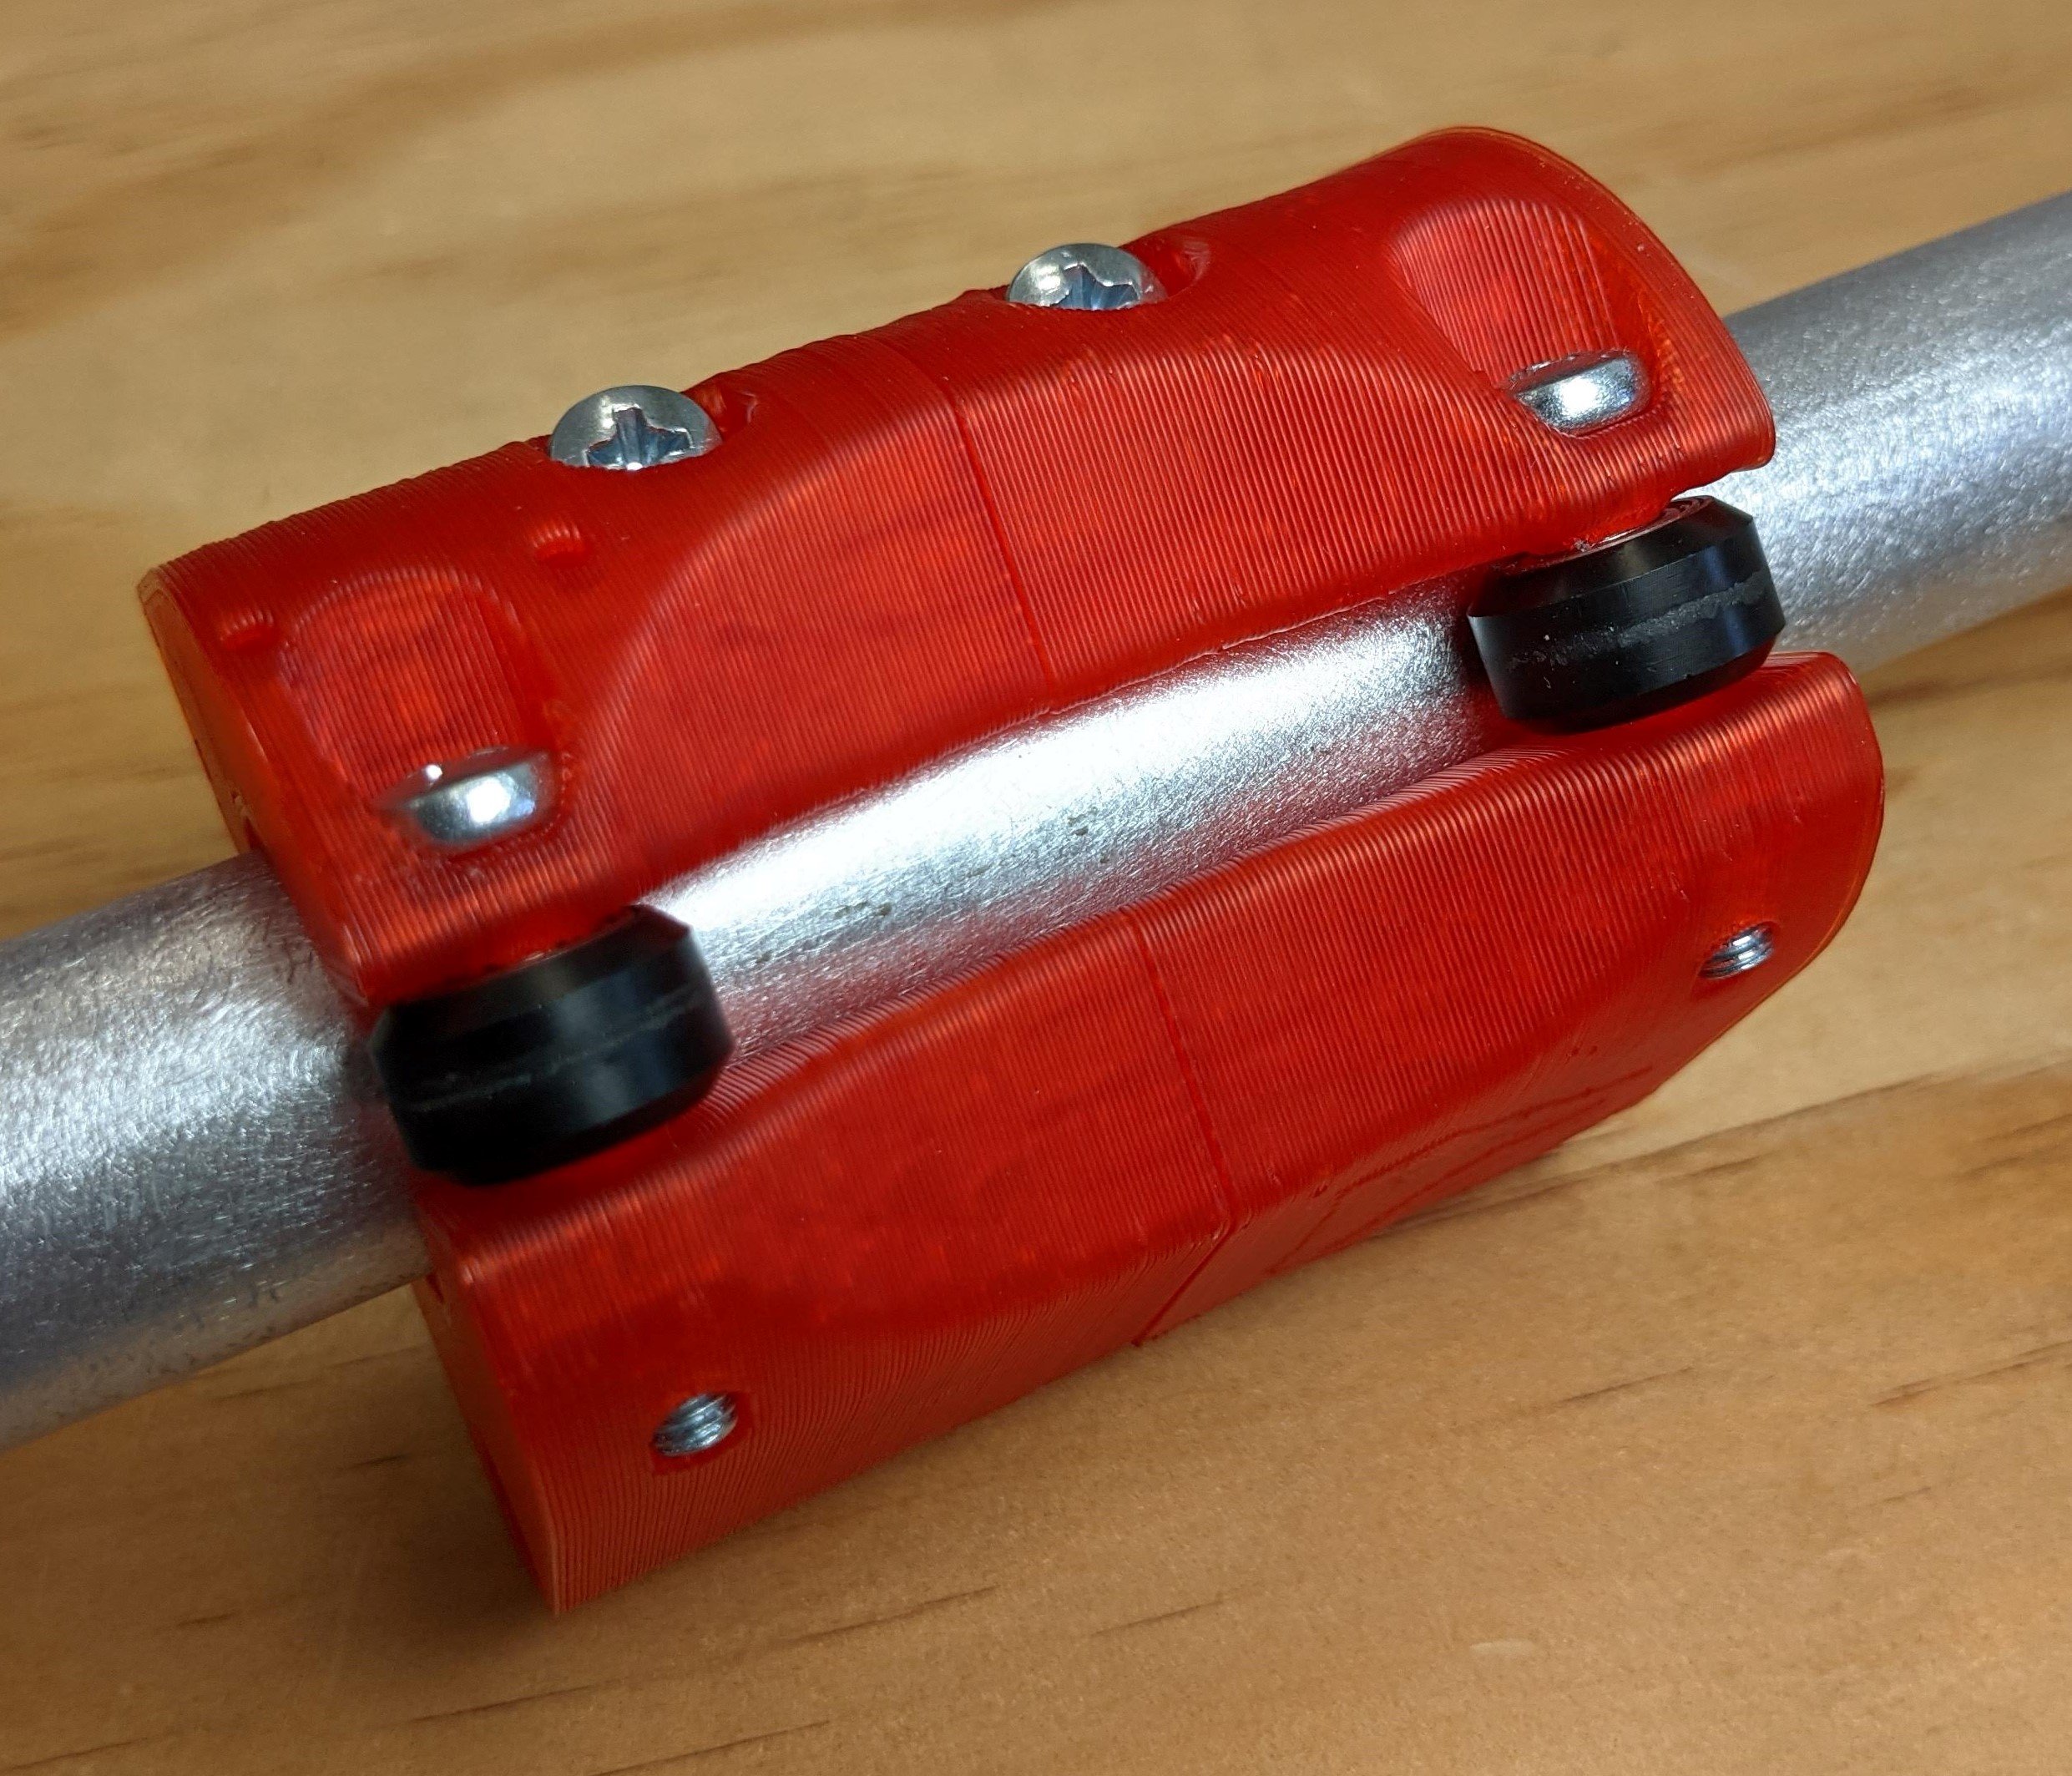
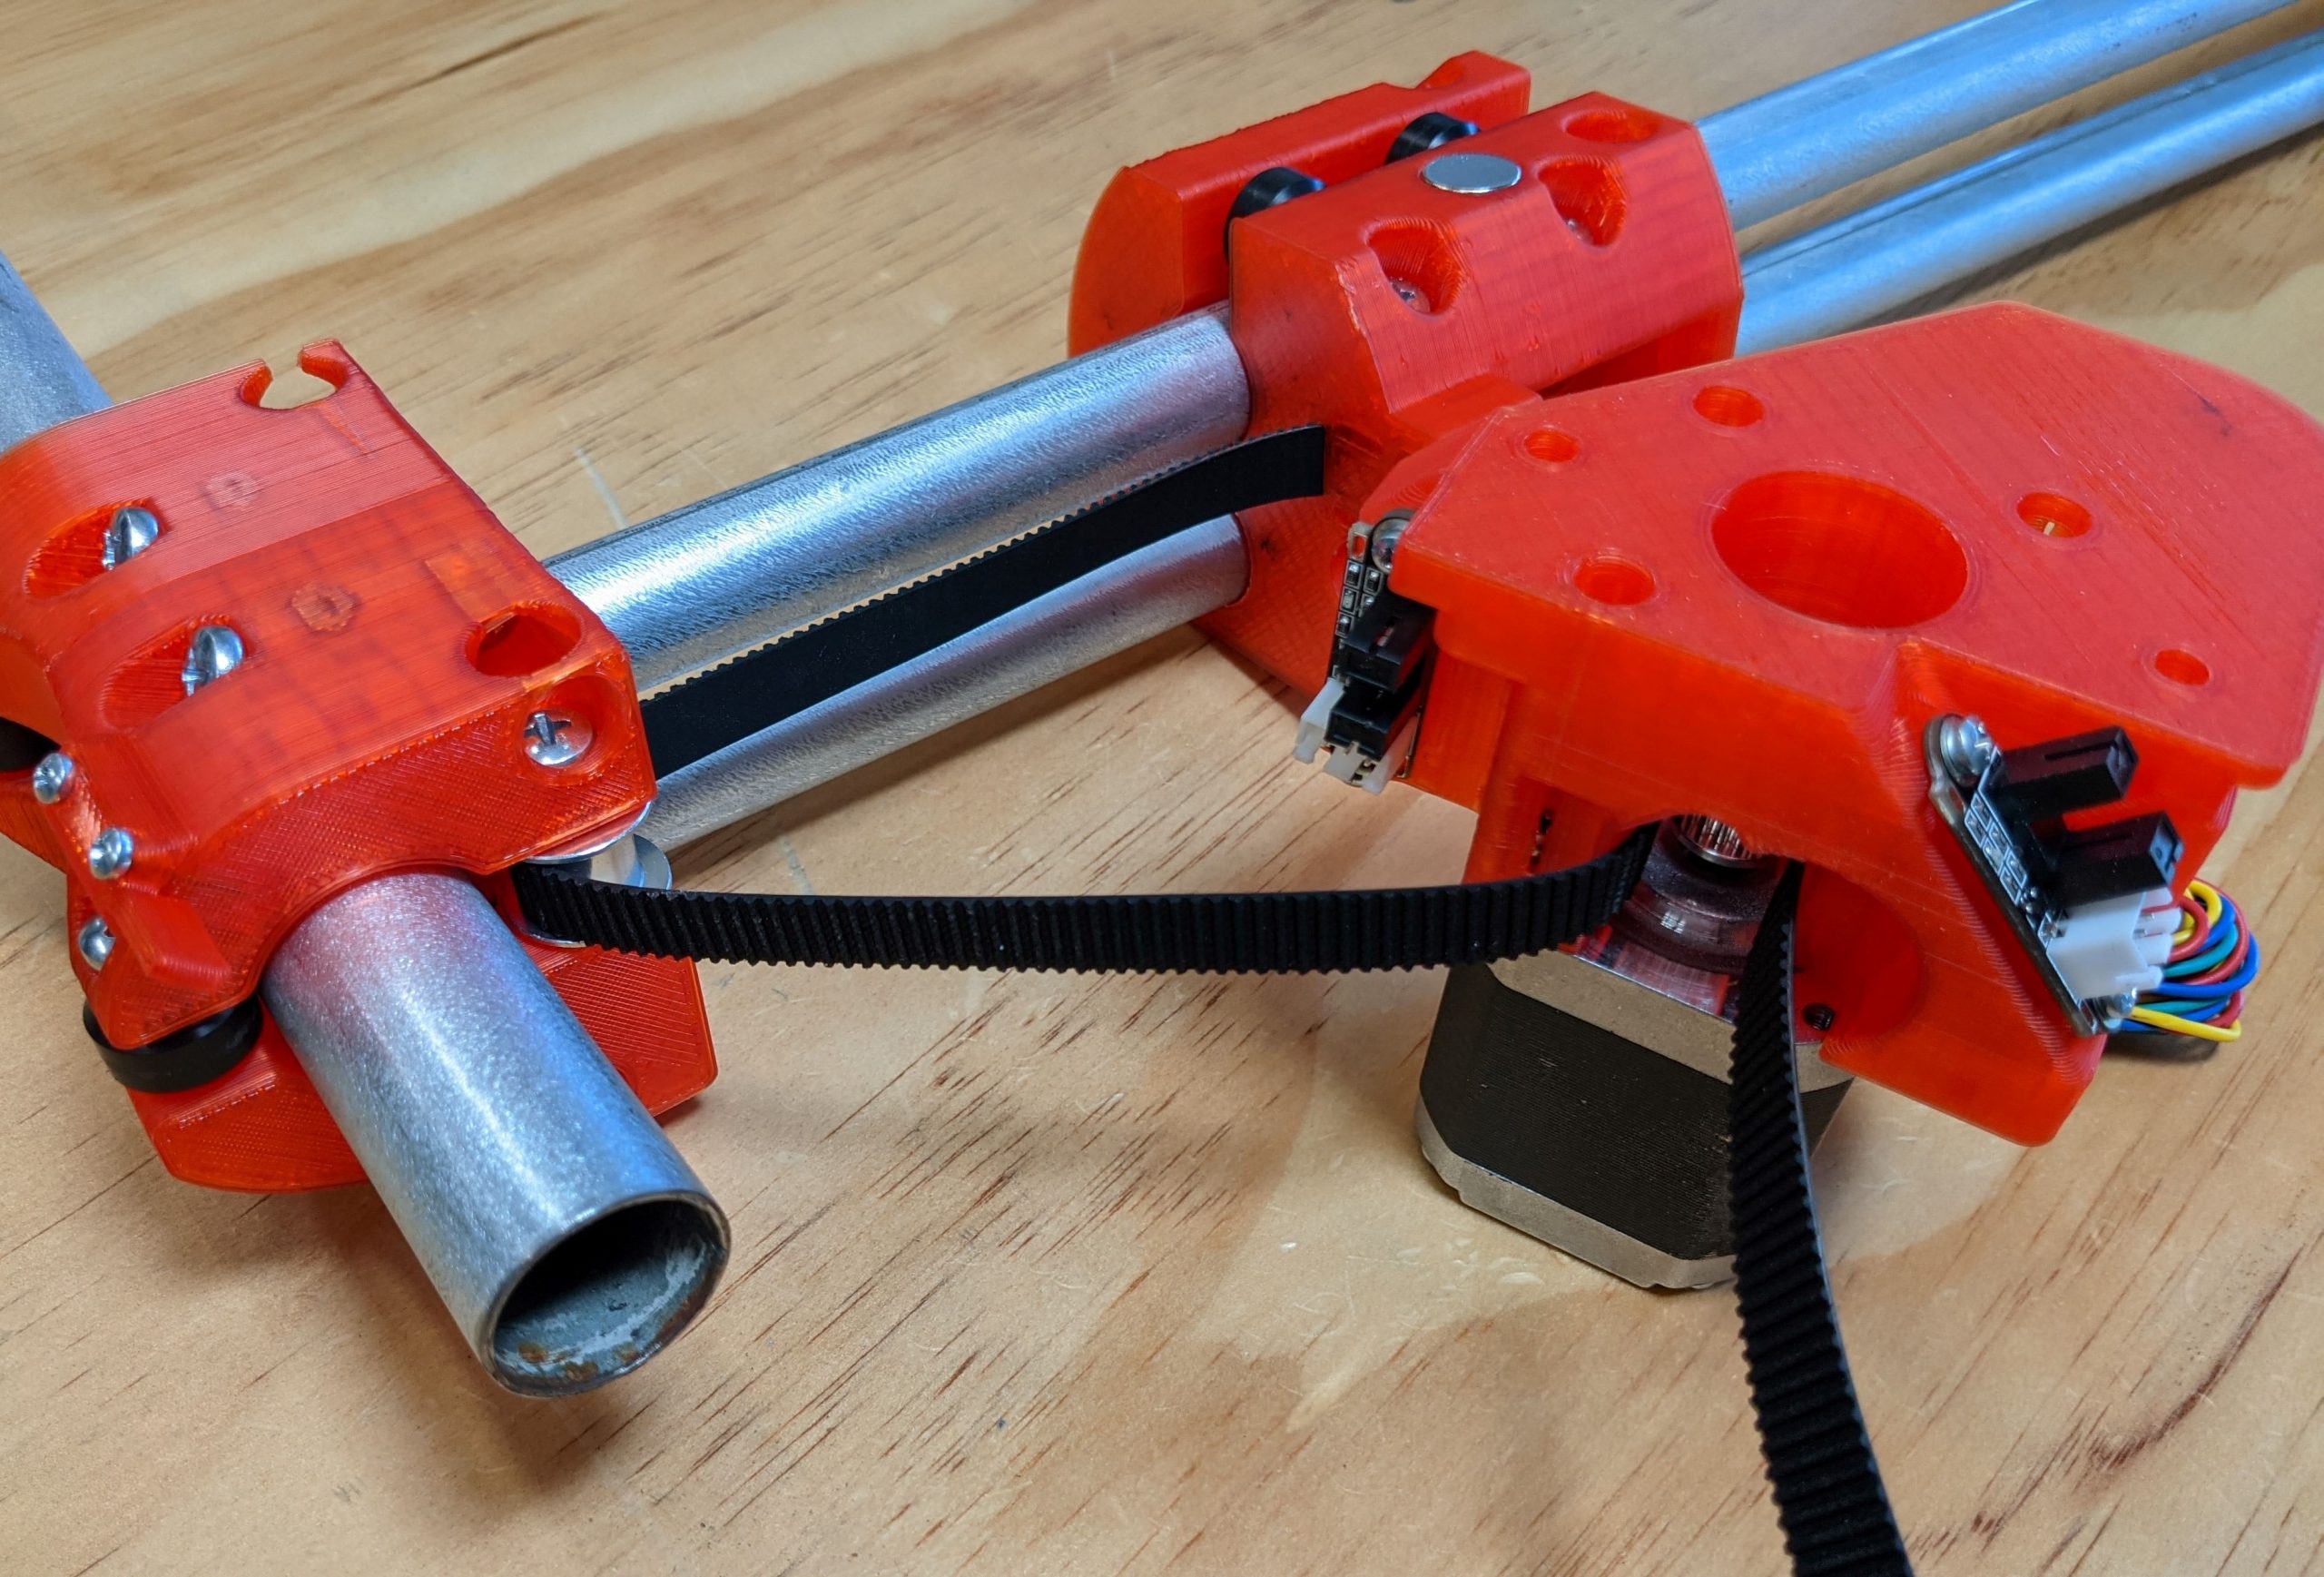
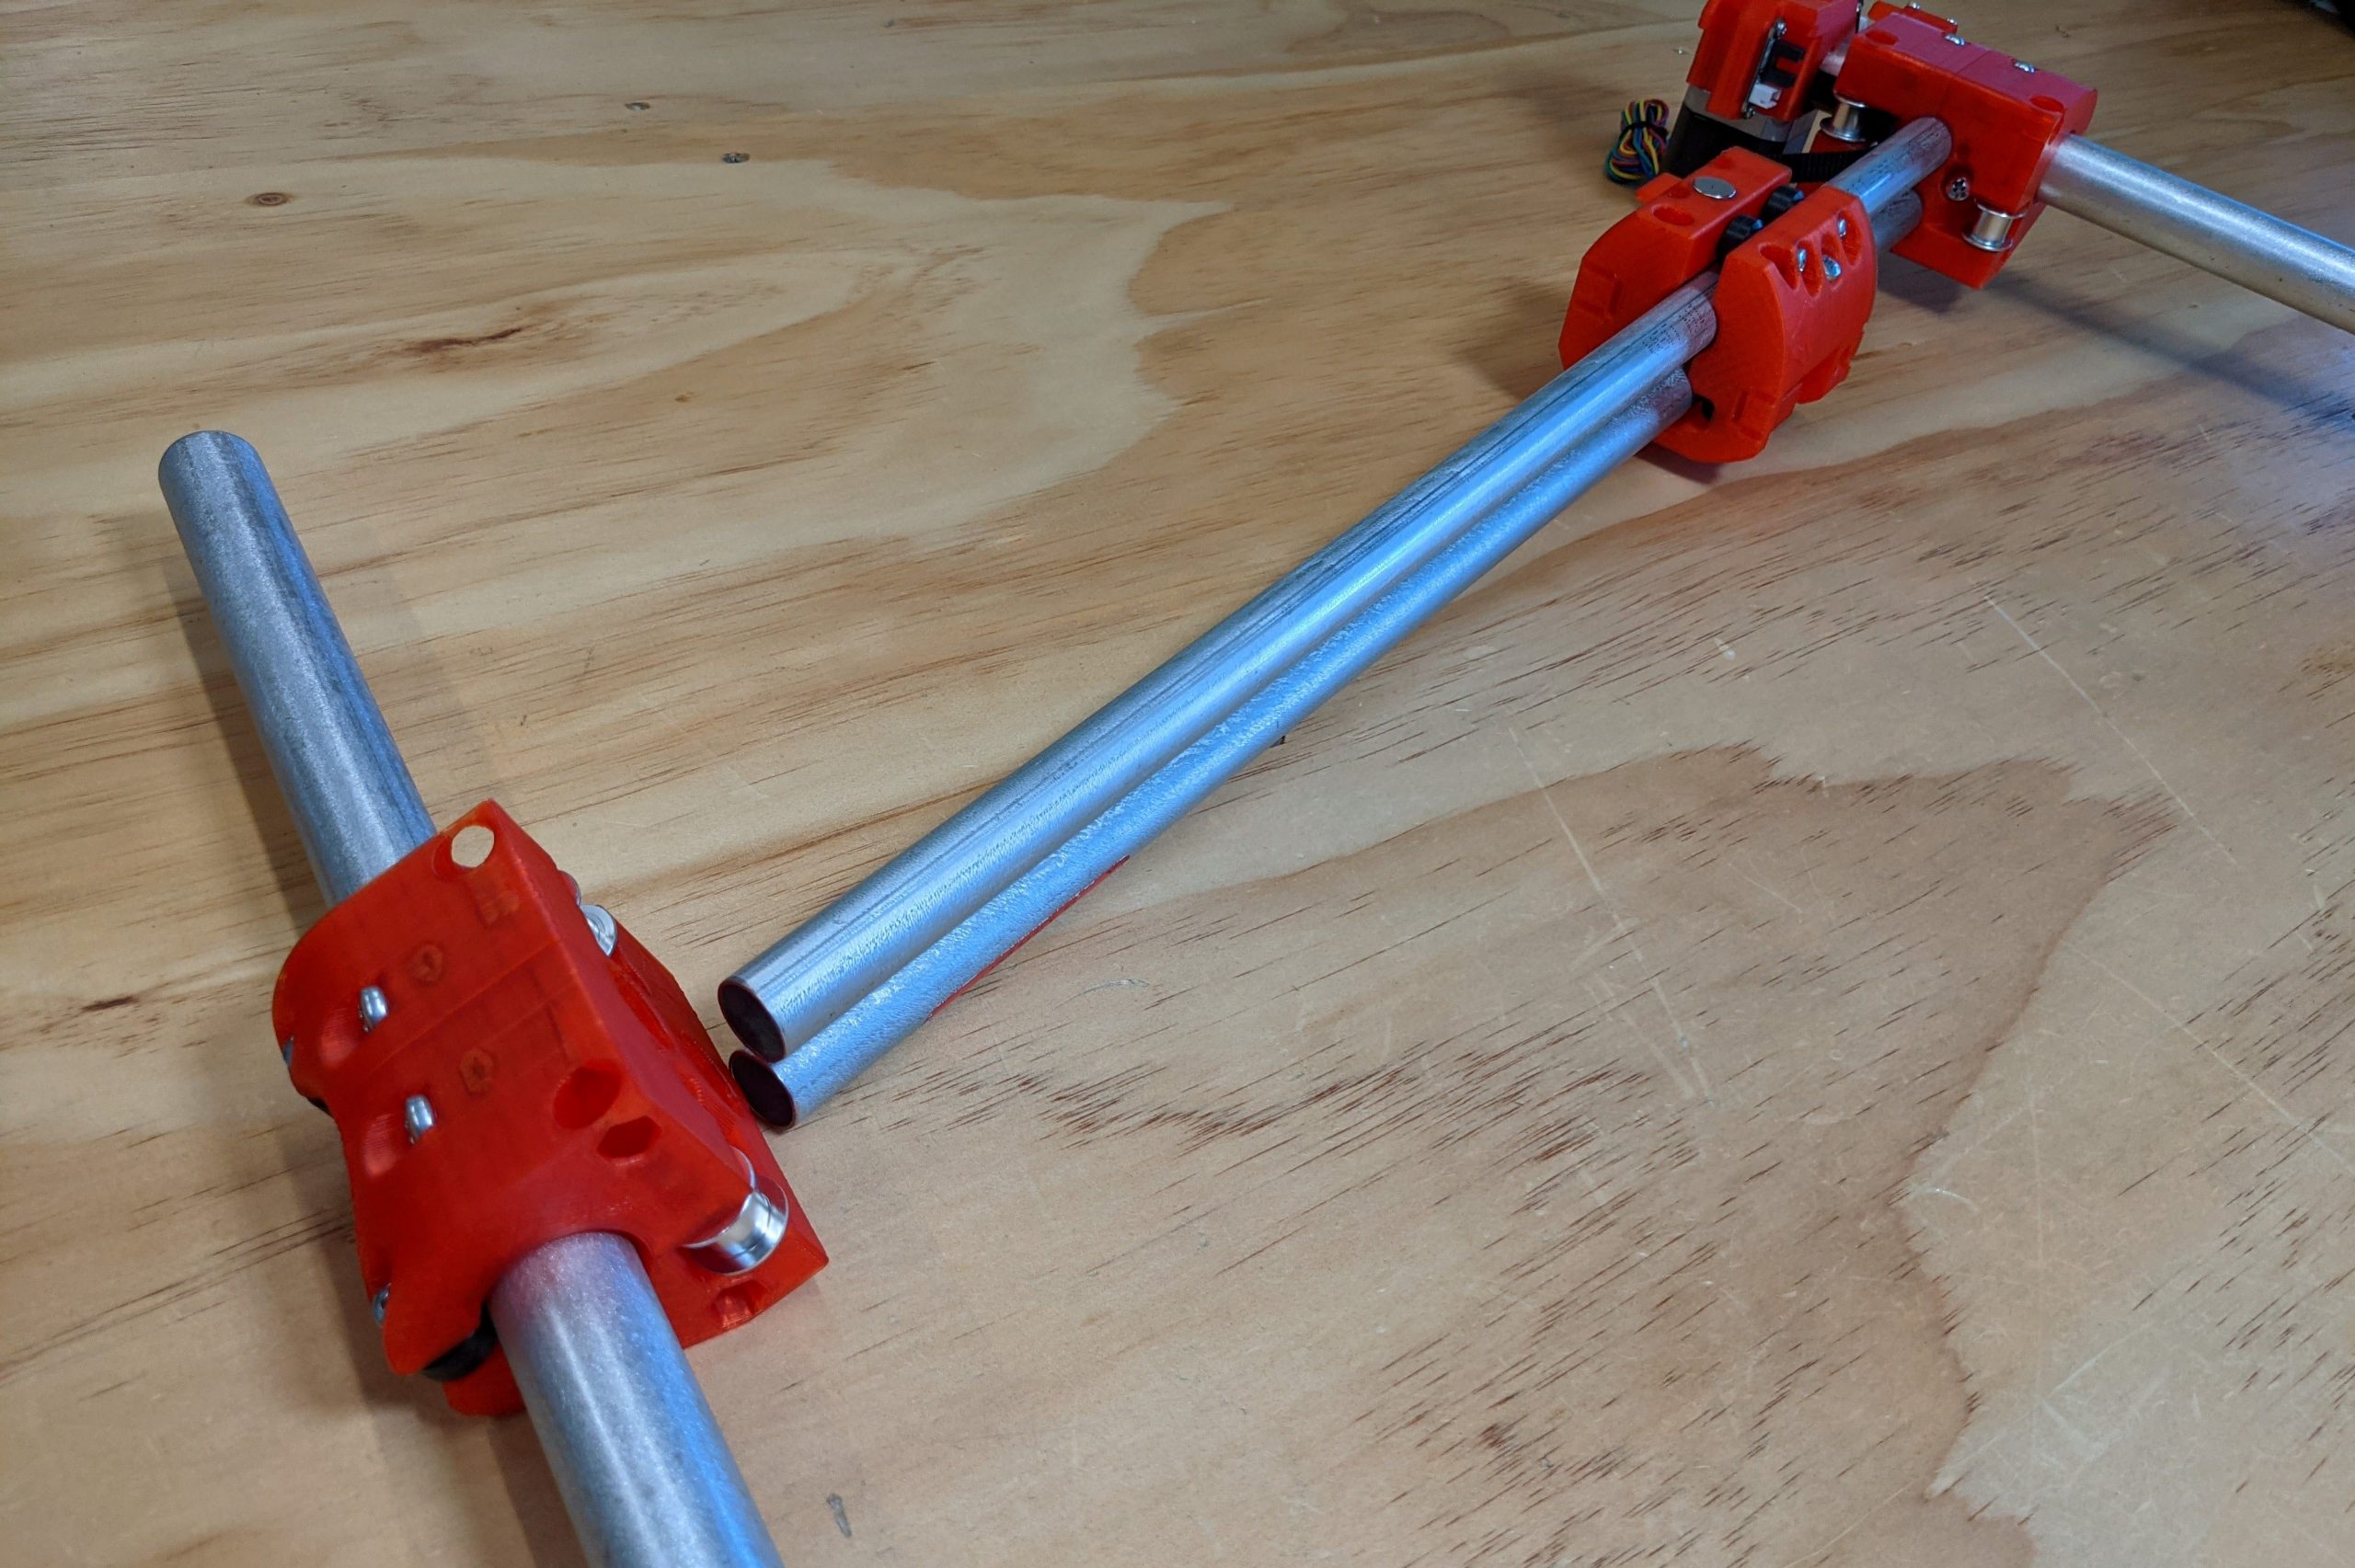
- Temporarily insert the larger rail.
- Set the tension of the Truck assembly.
- You are looking for as loose as possible with all wheels making light contact.
-
This is best set now adding belts makes this hard to judge later.
-
Repeat all these steps for Truck 2.
Tip
There is no need for the tension to be high. All wheels making contact is the most silent operation. Too loose or too tight only adds more sound but does not impact image quality.
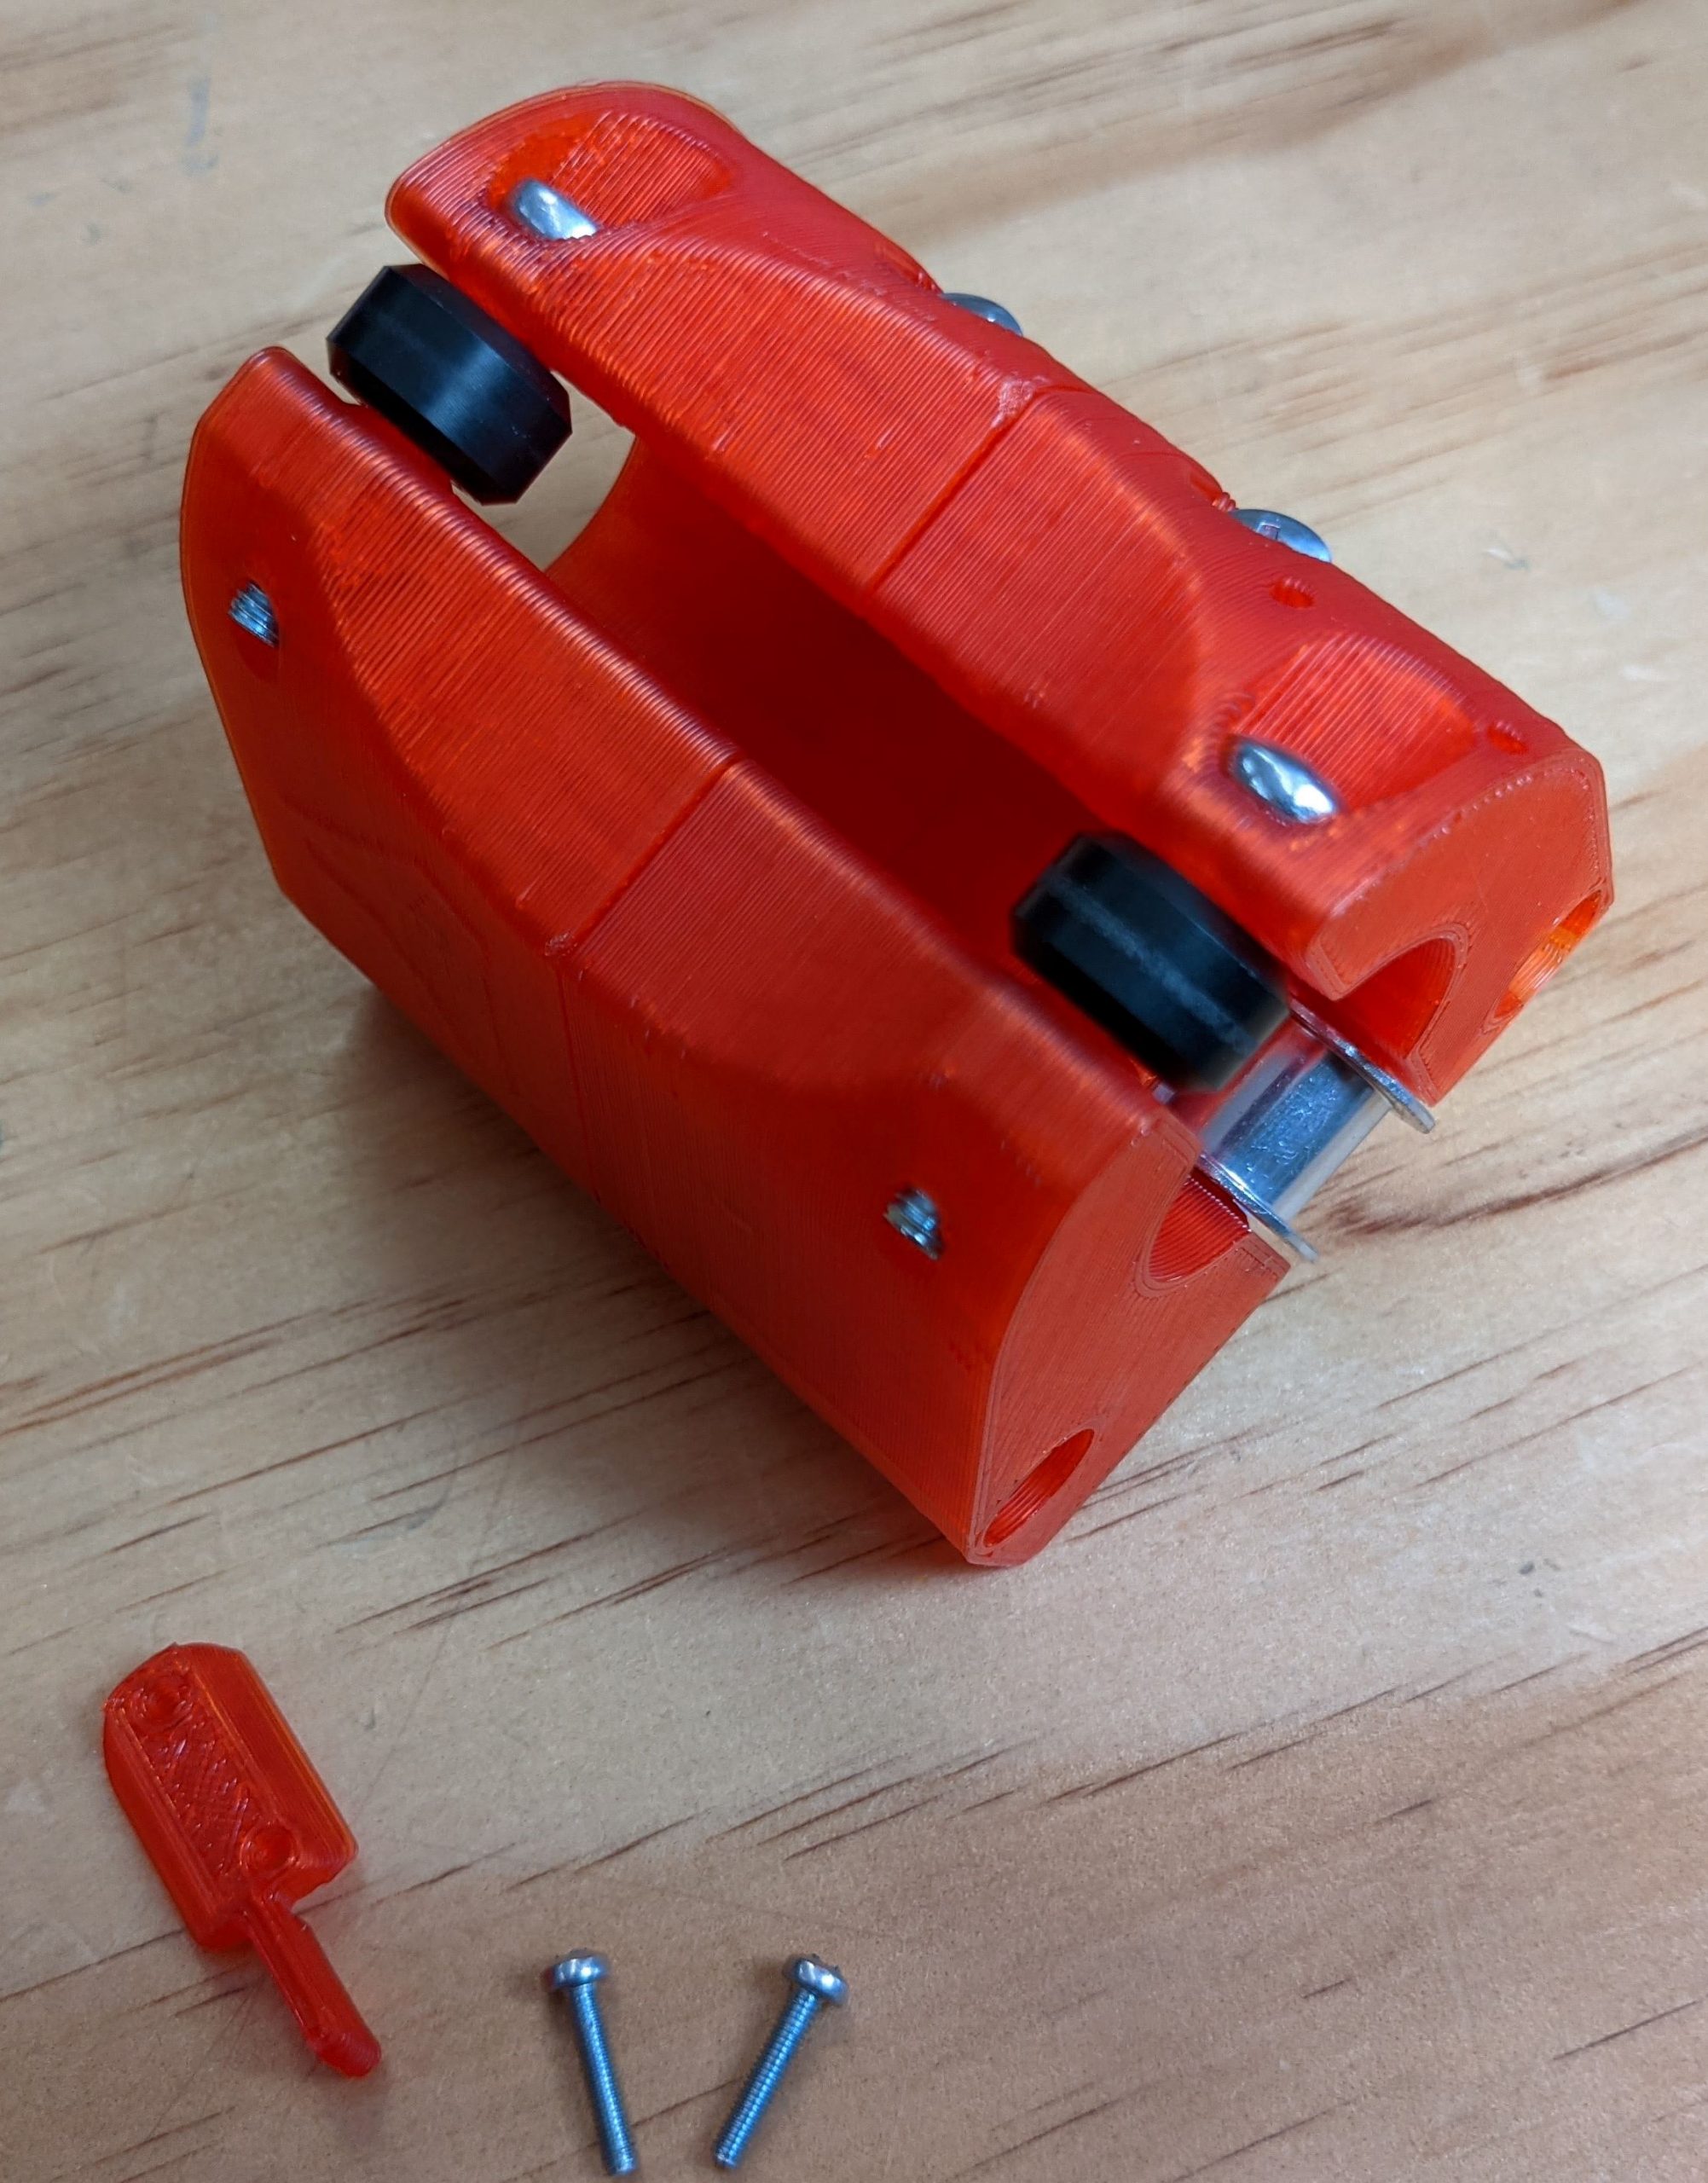
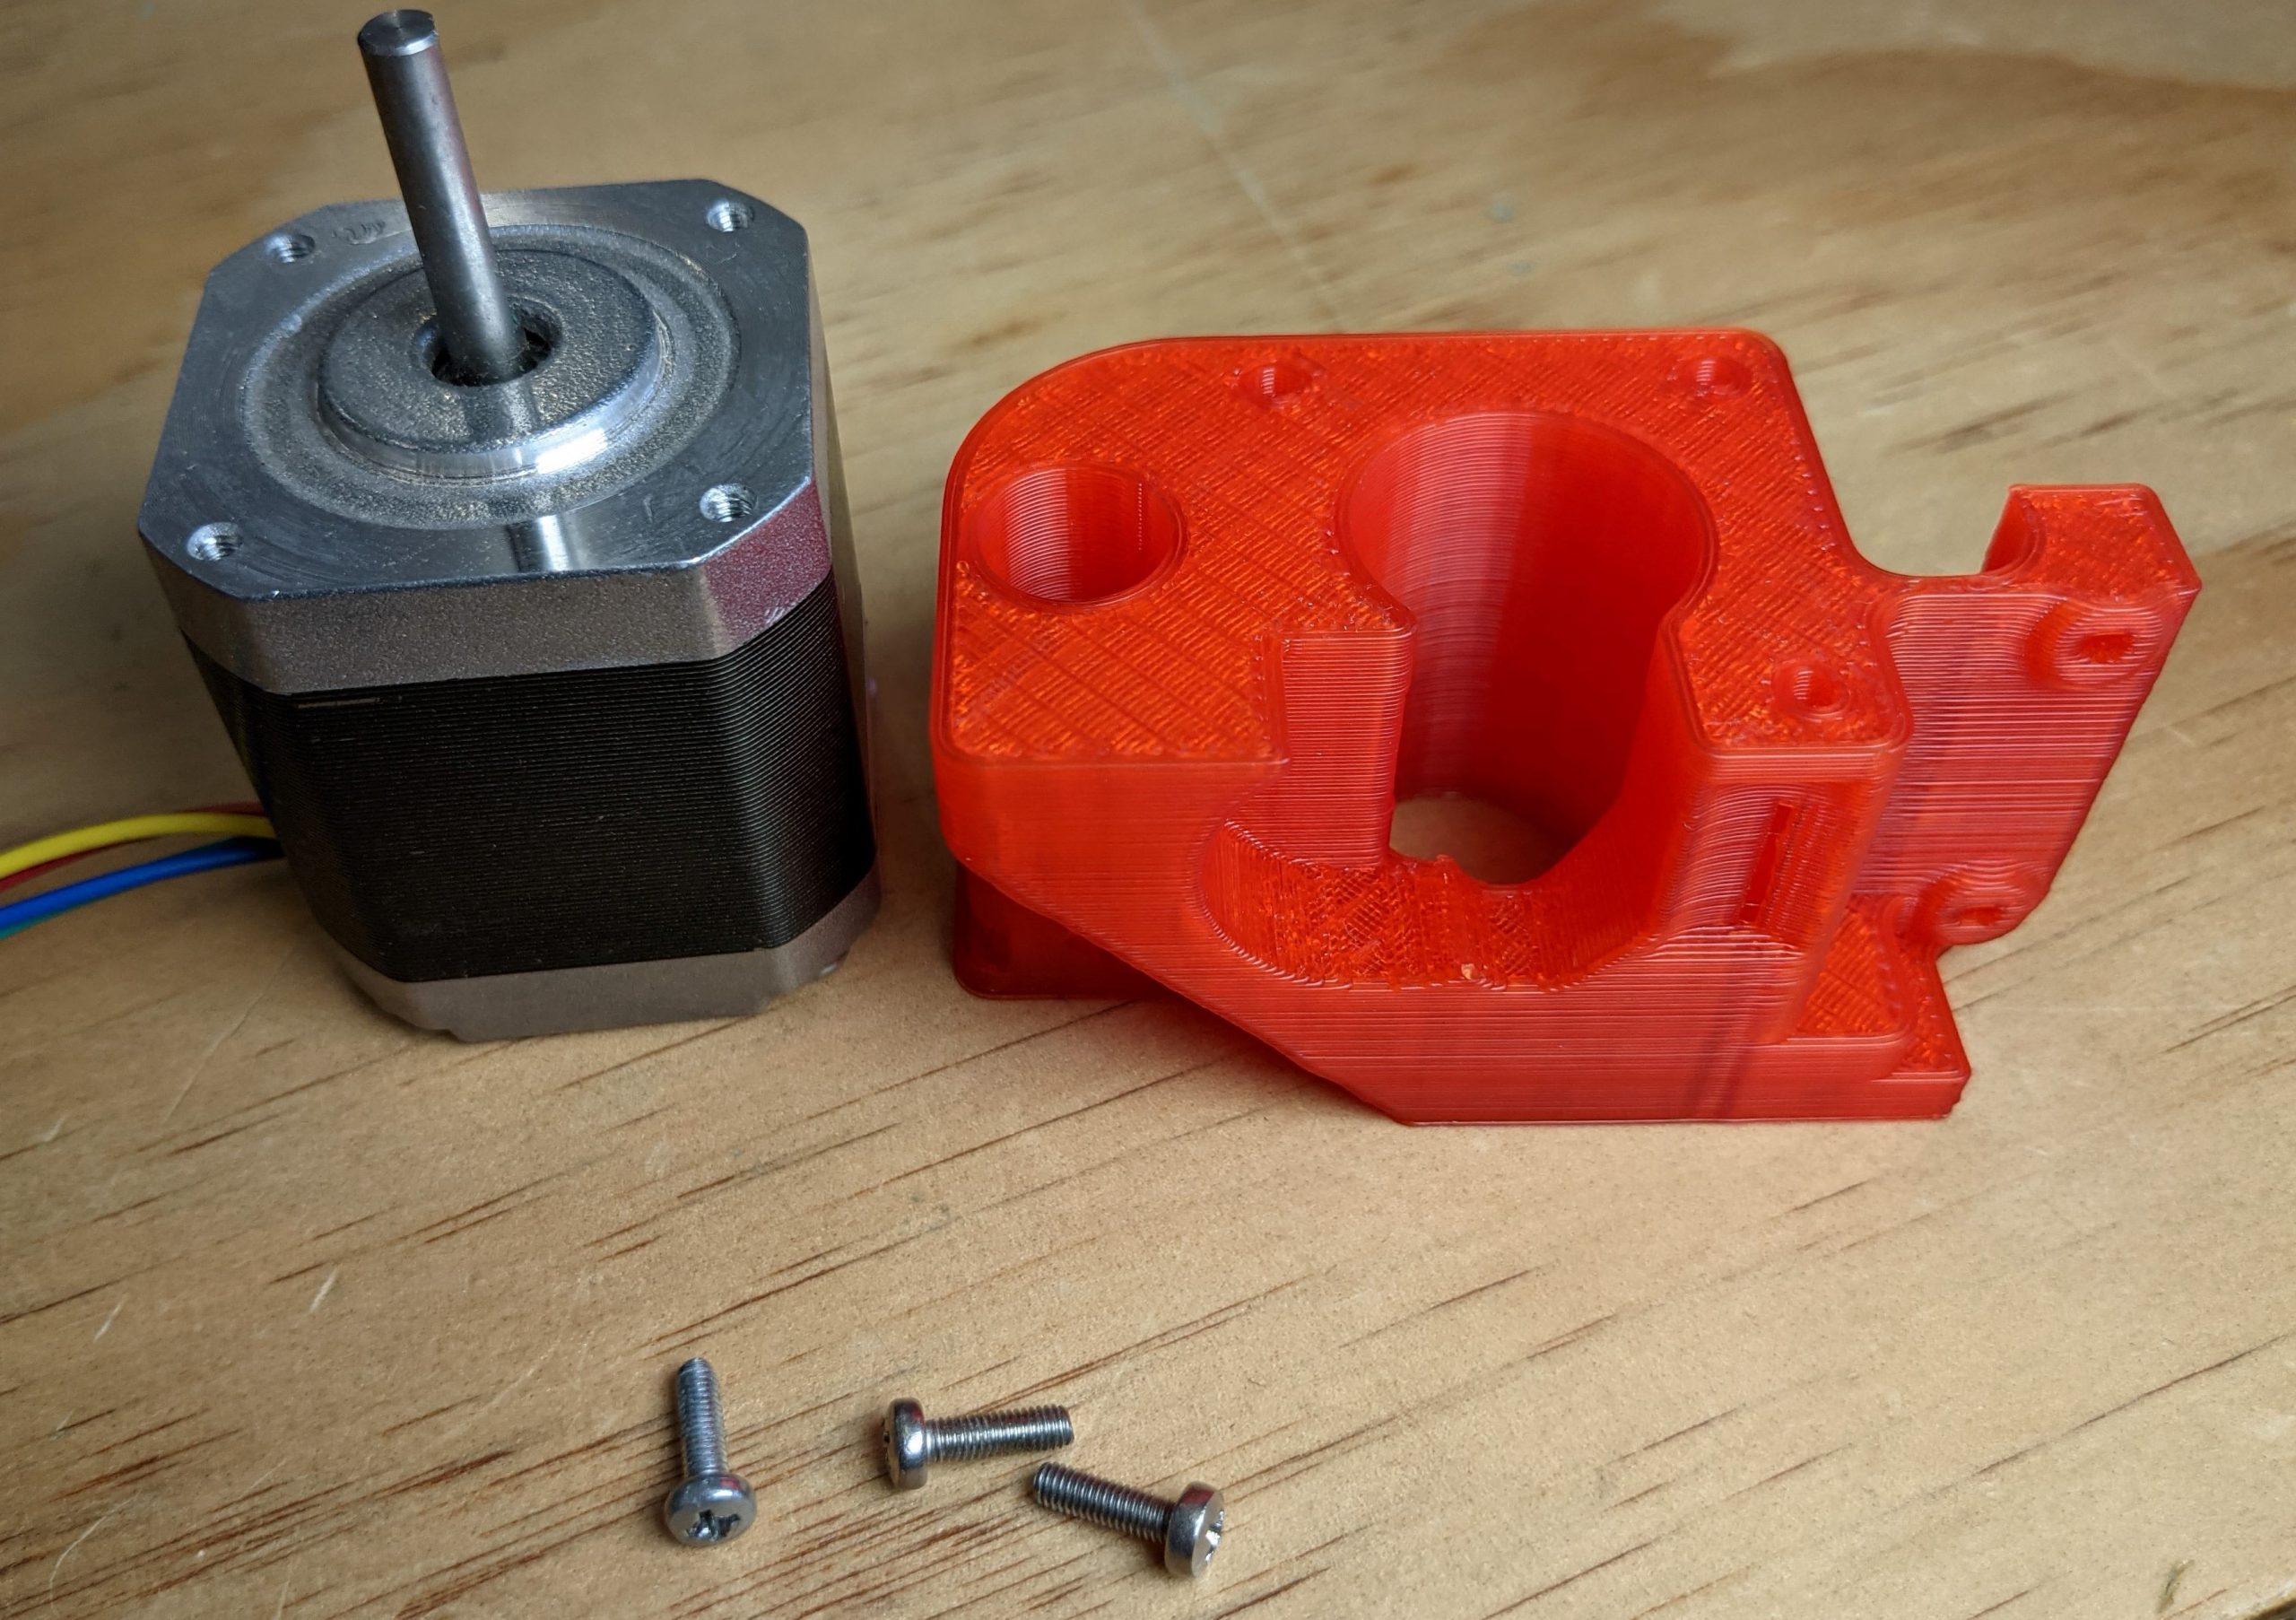
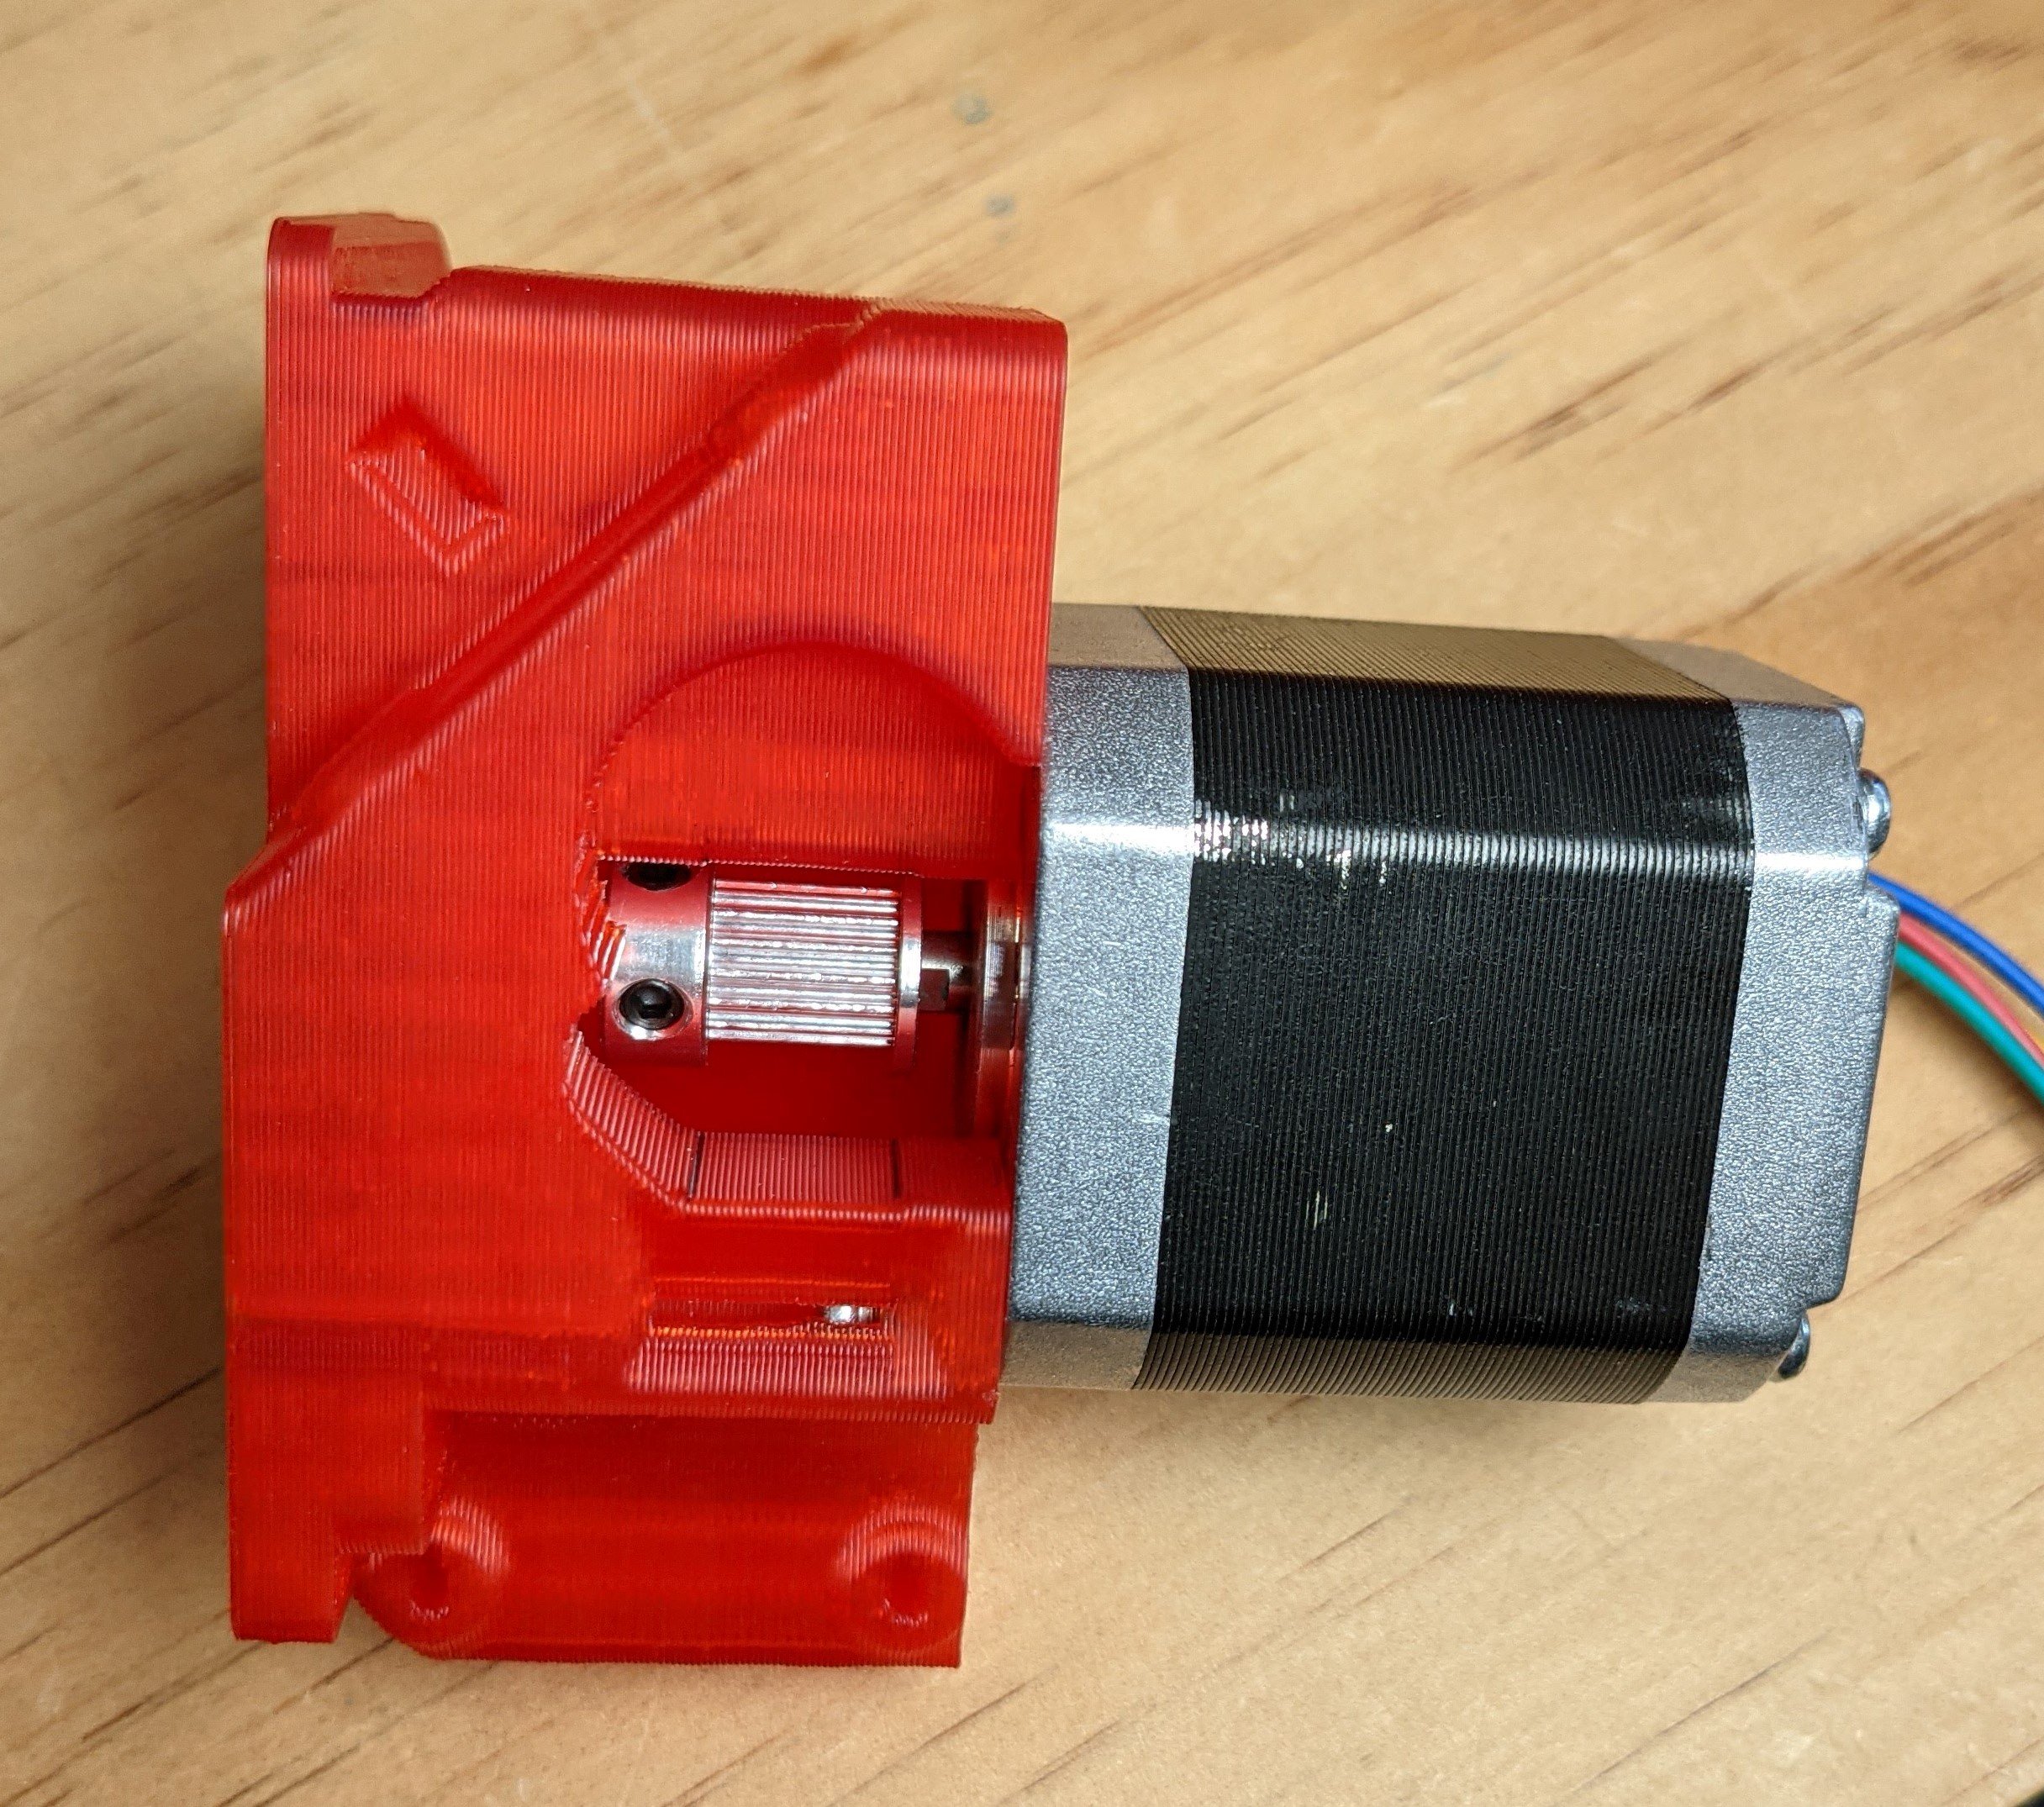
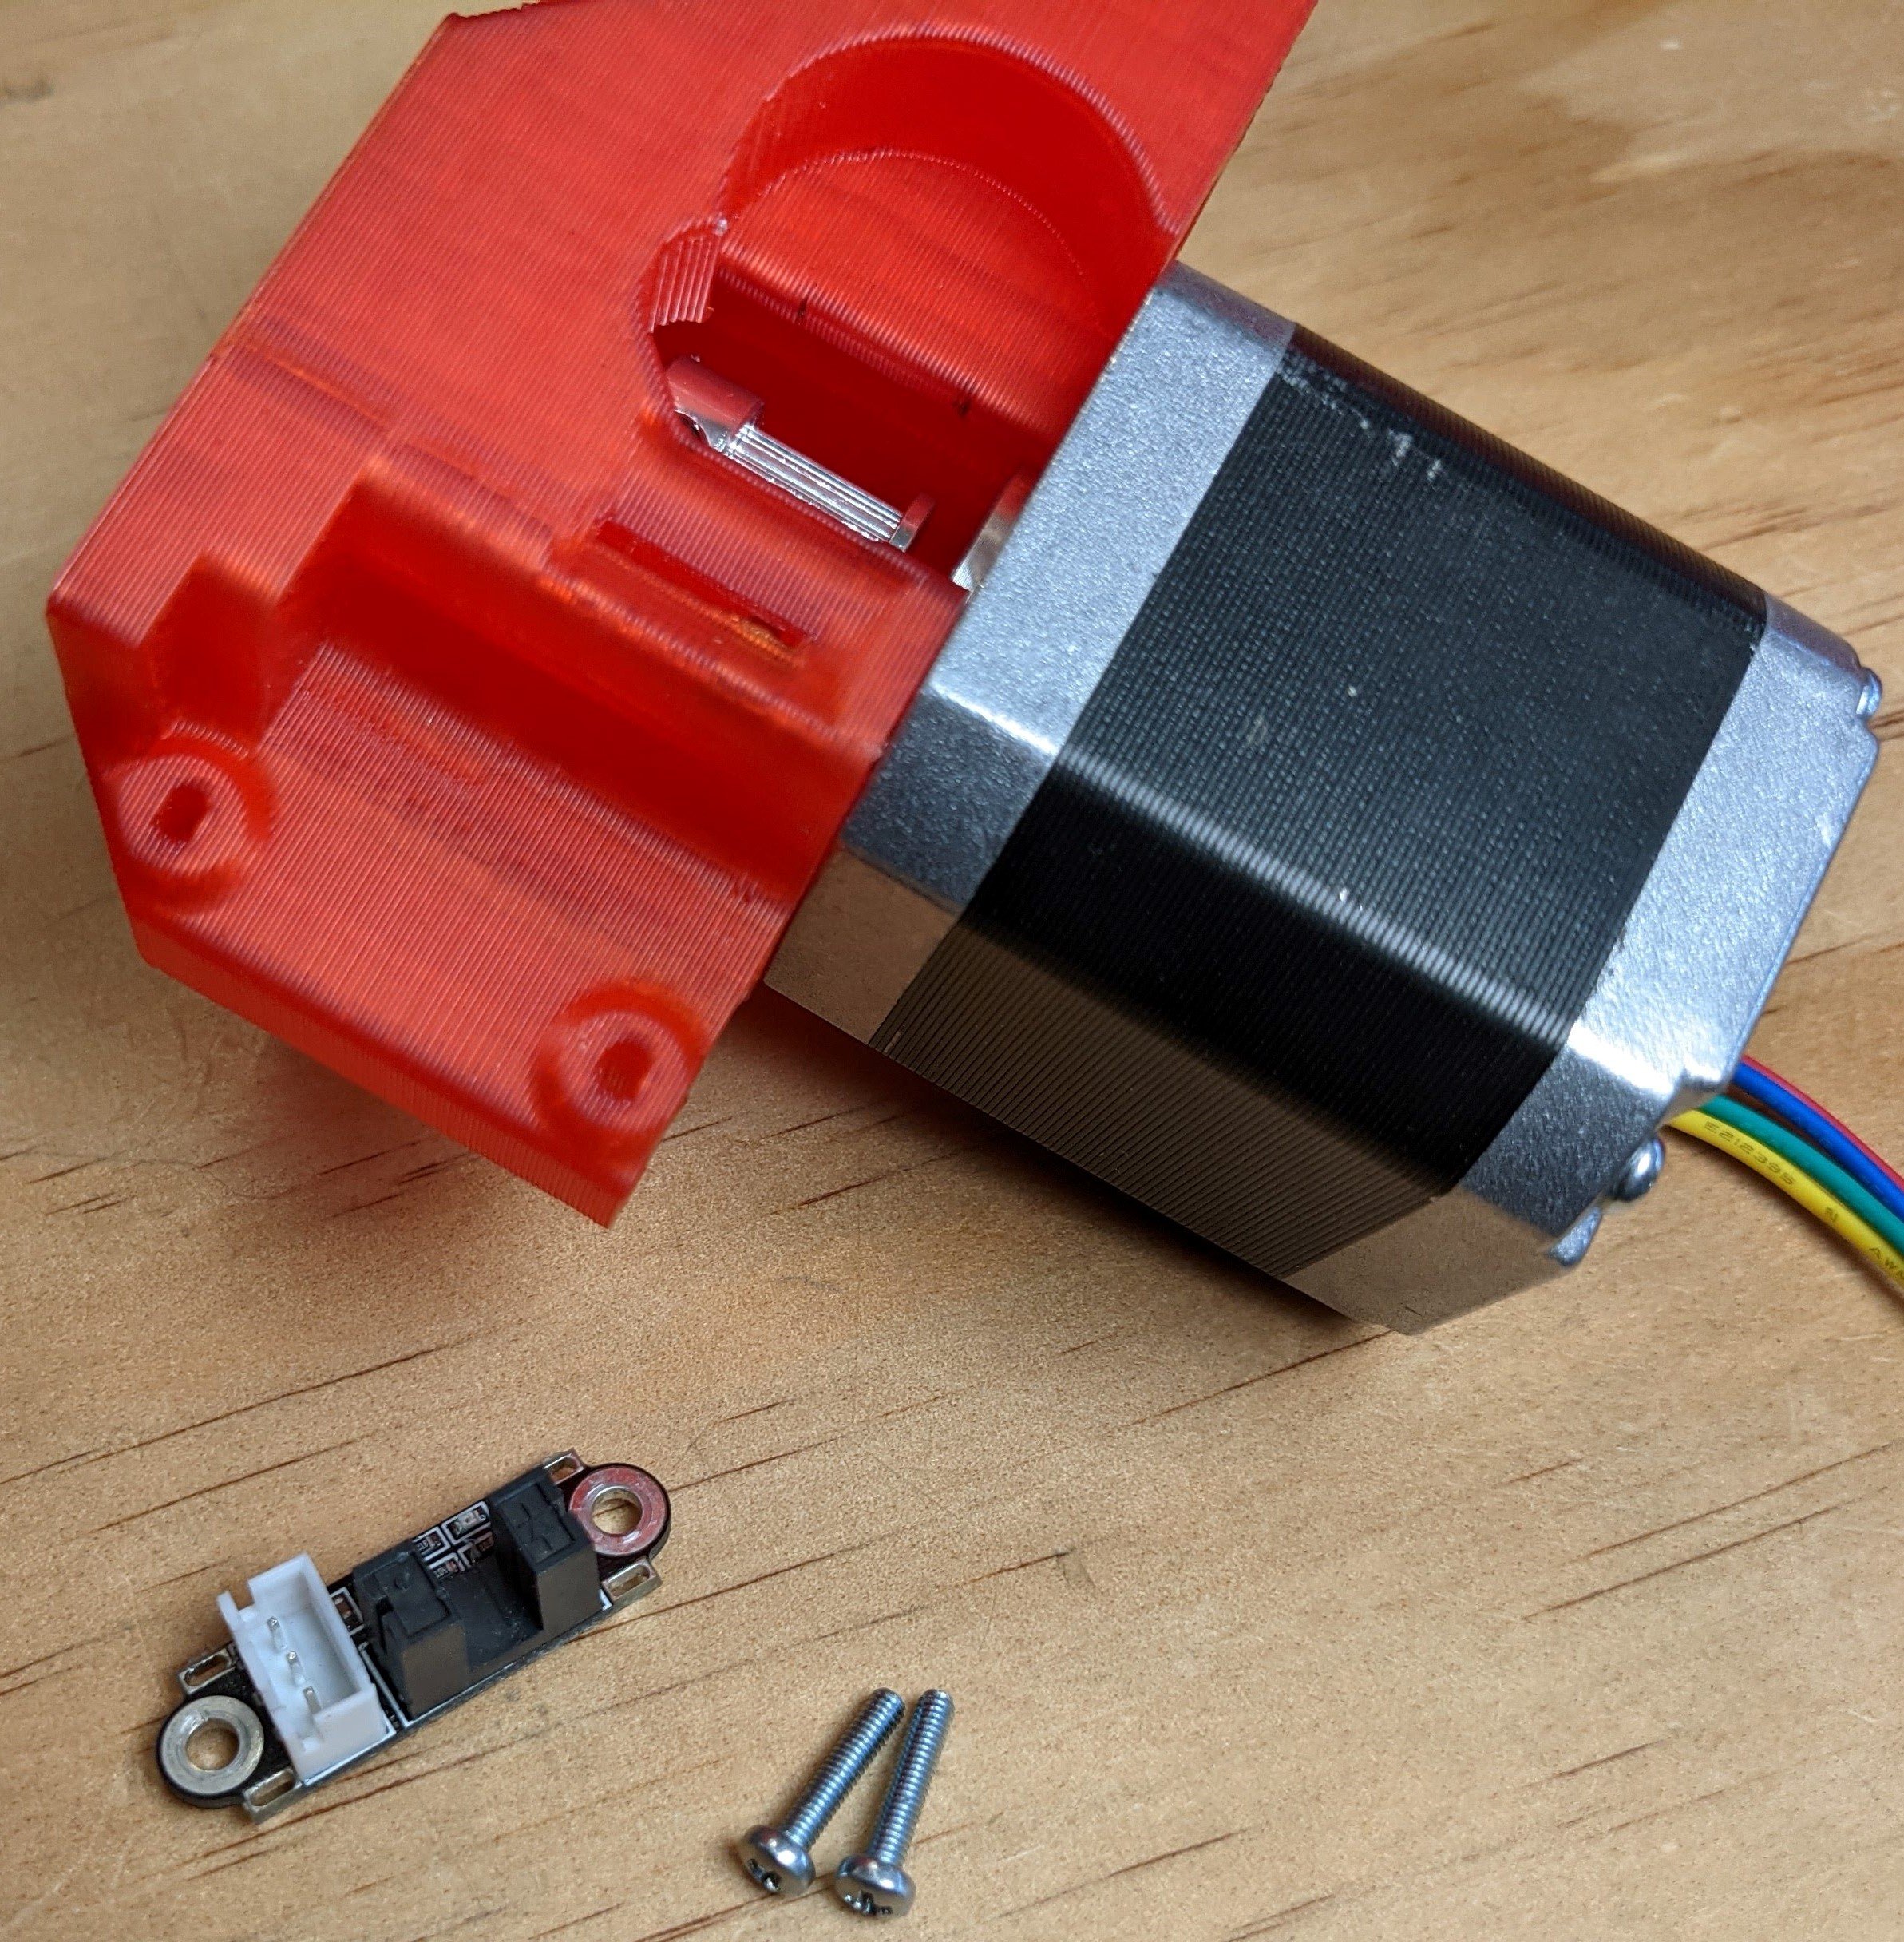
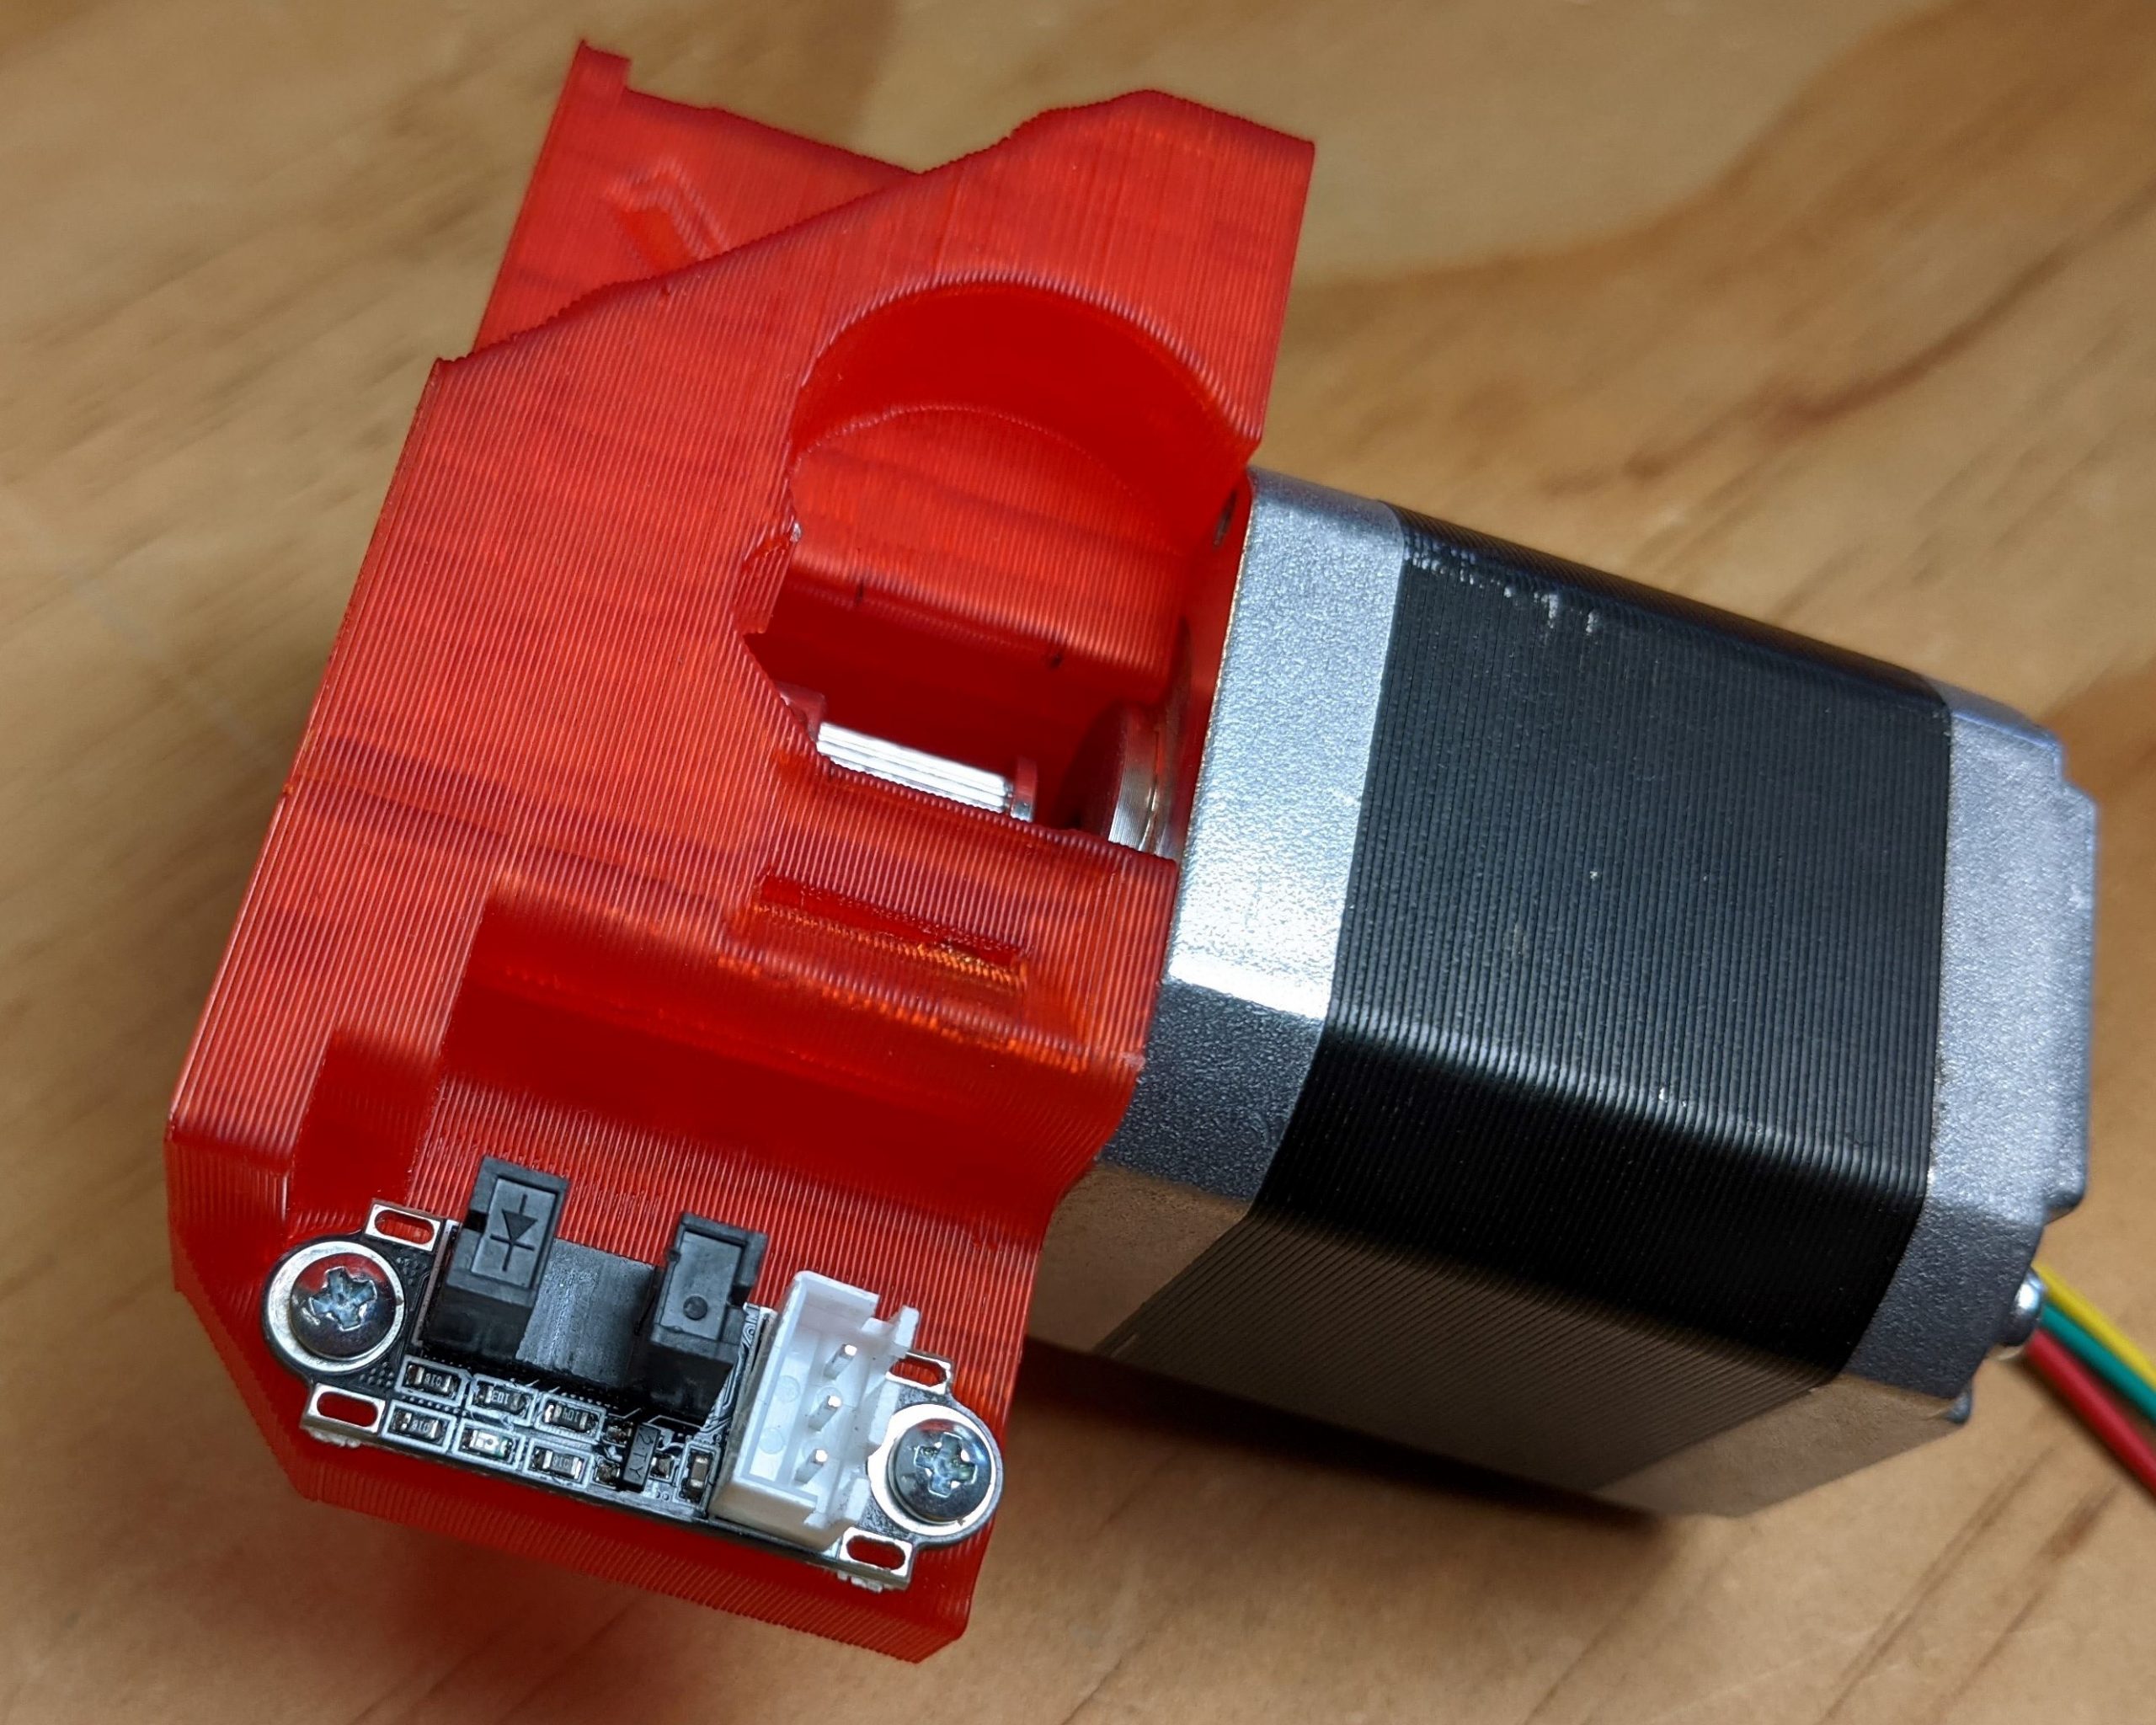
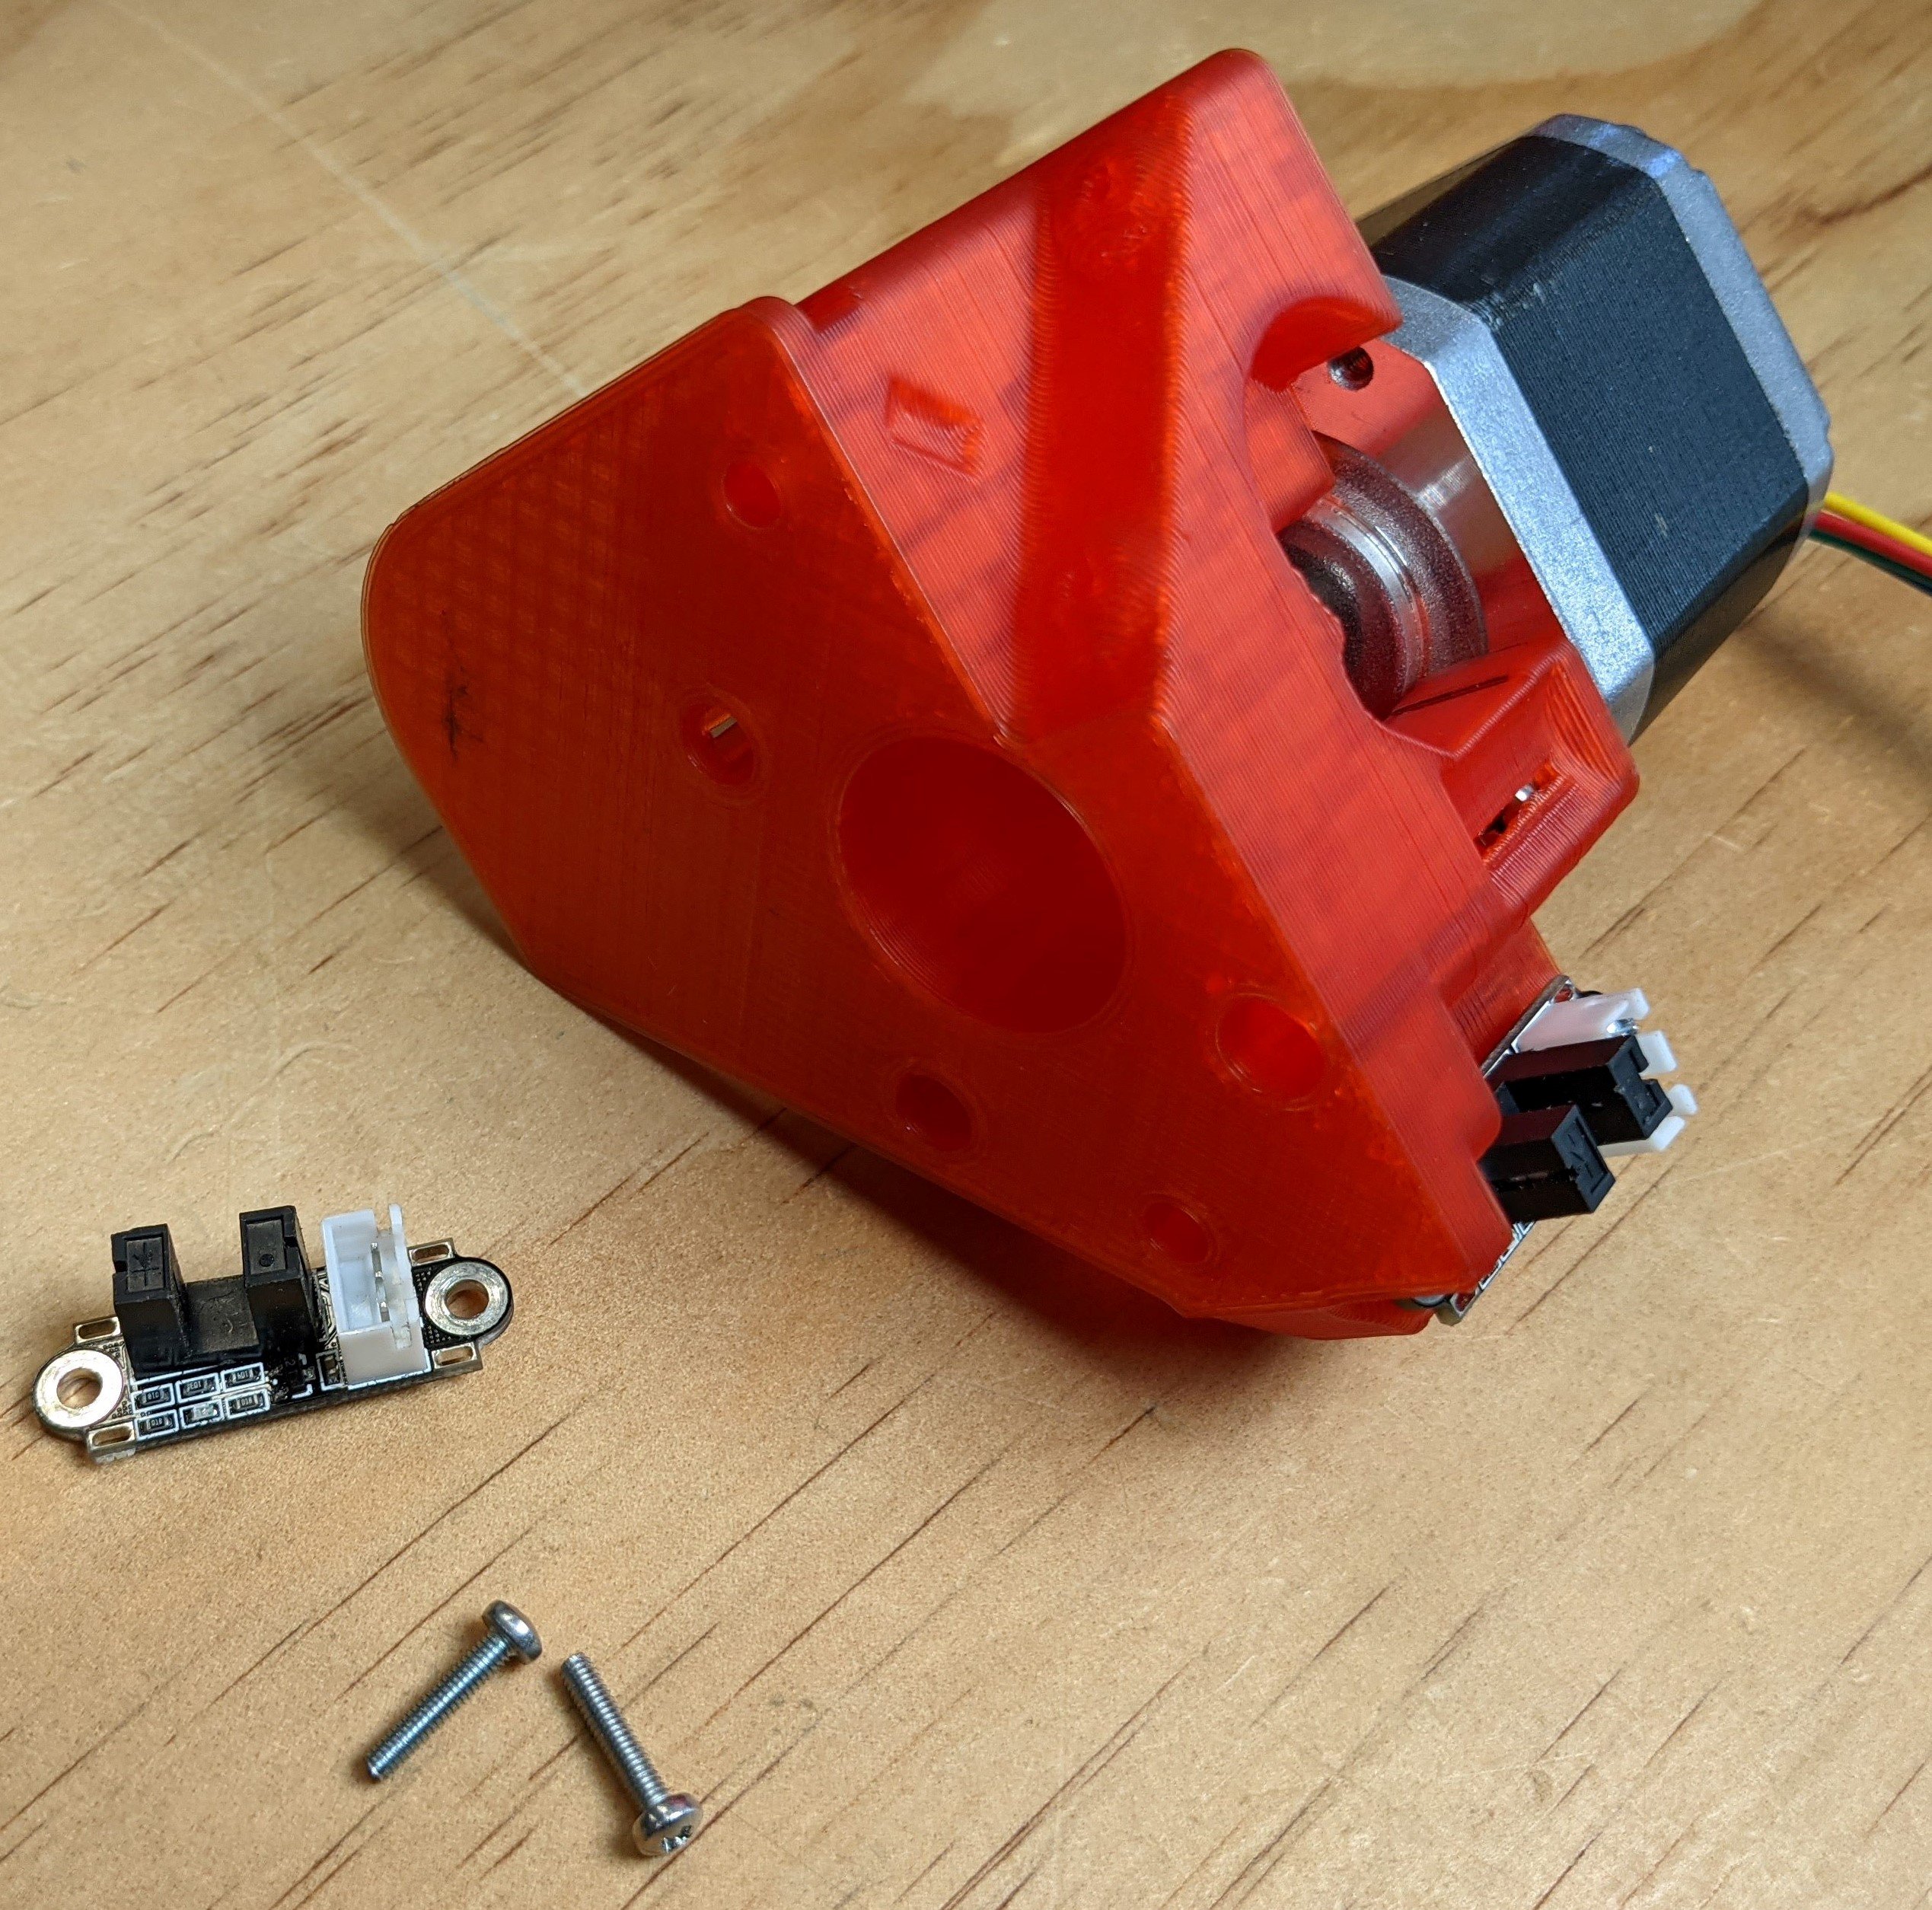
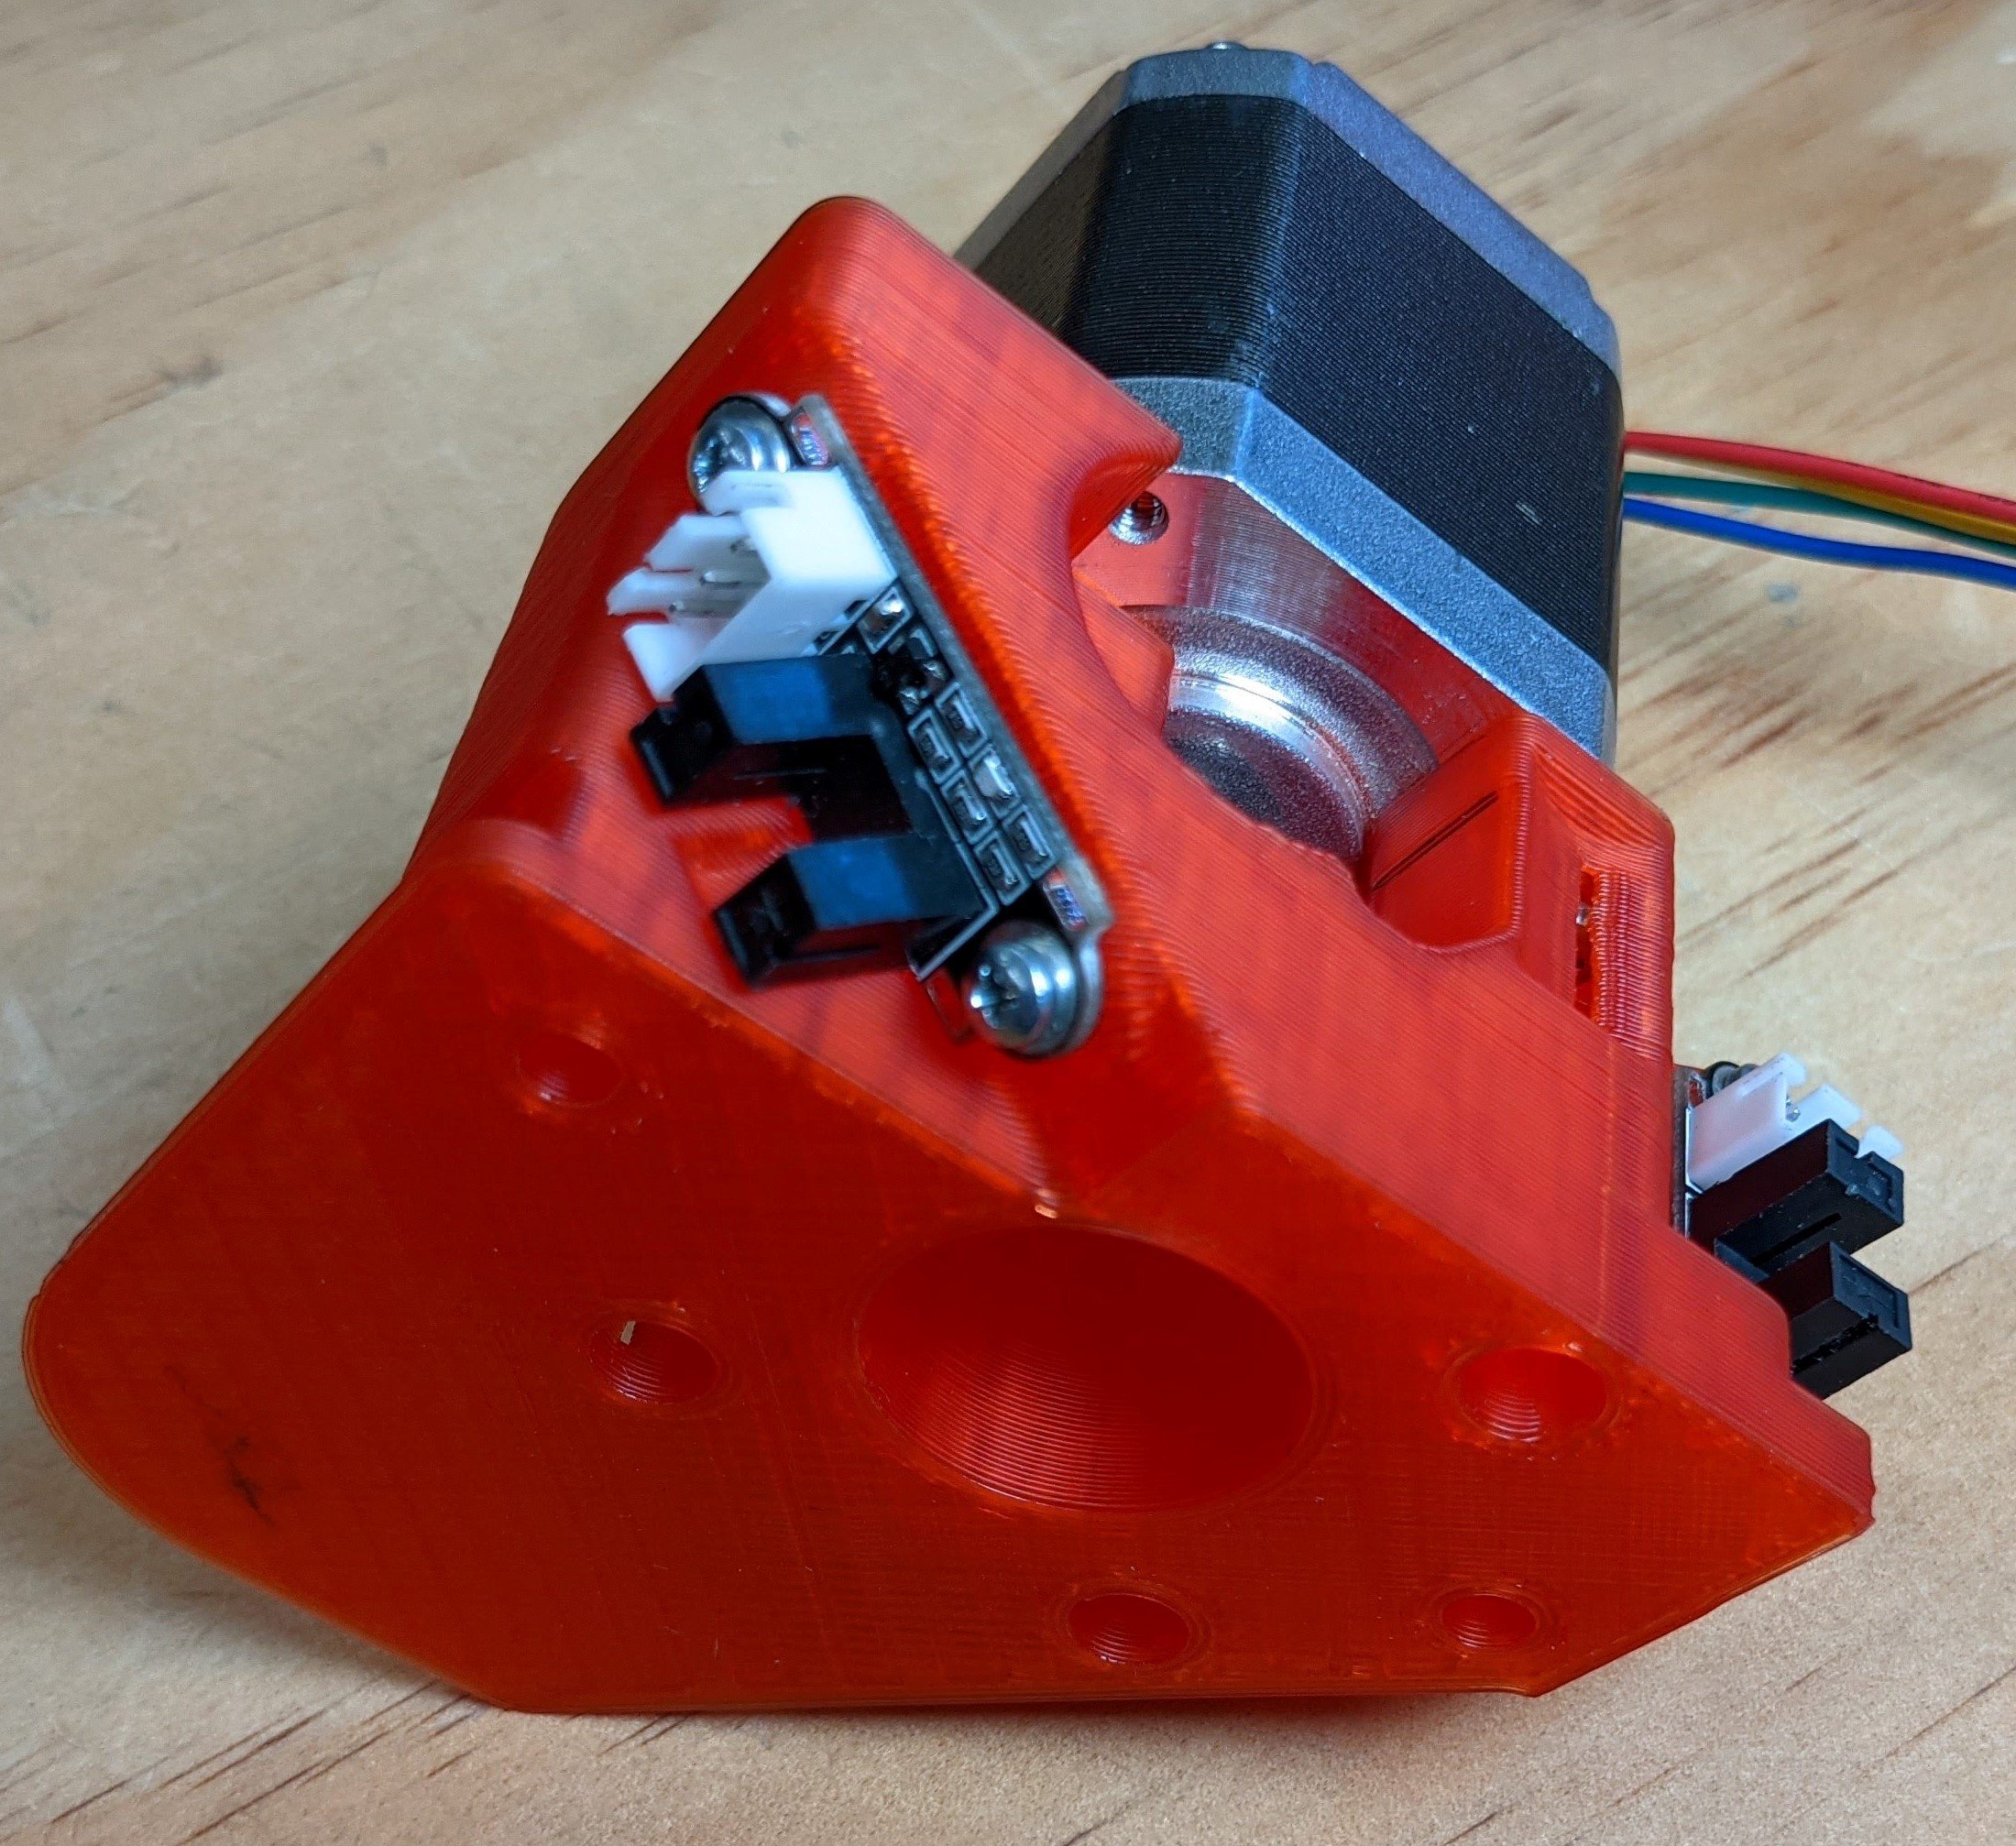
- Truck 1 is the only one that needs a trigger.
- Use the Trigger and 2 M2.5 Screws.
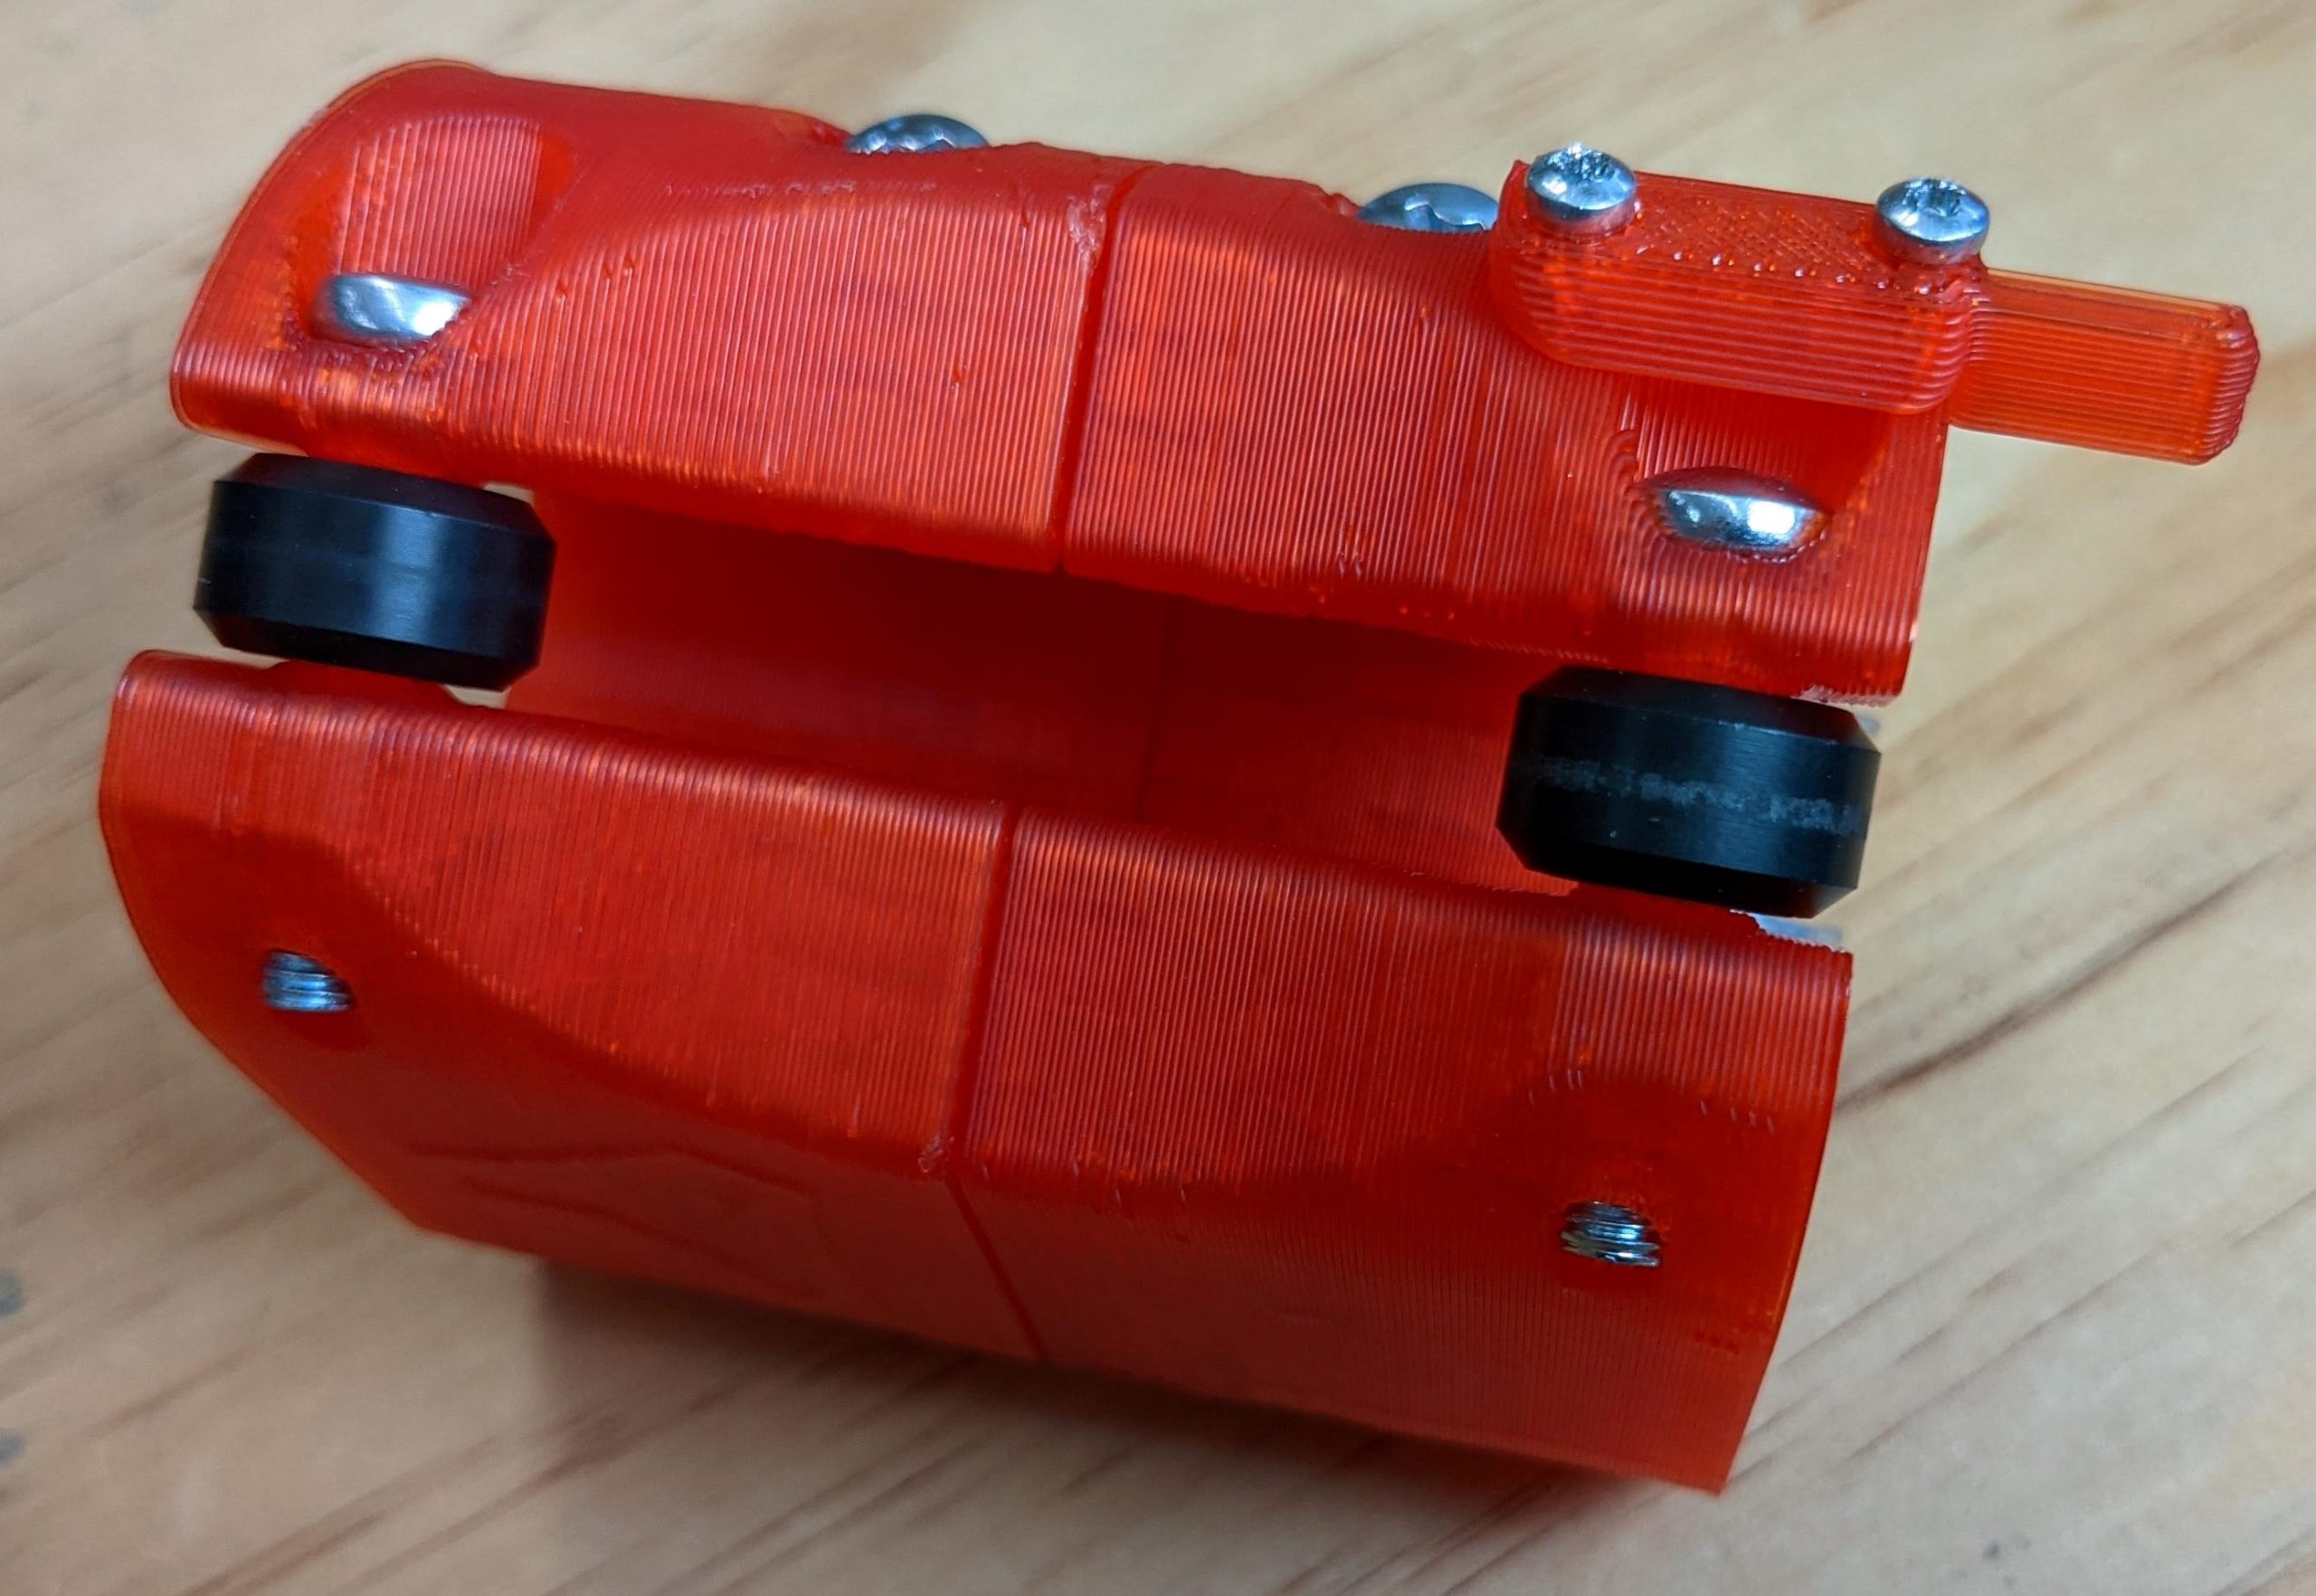
- Lightly seat the screws.
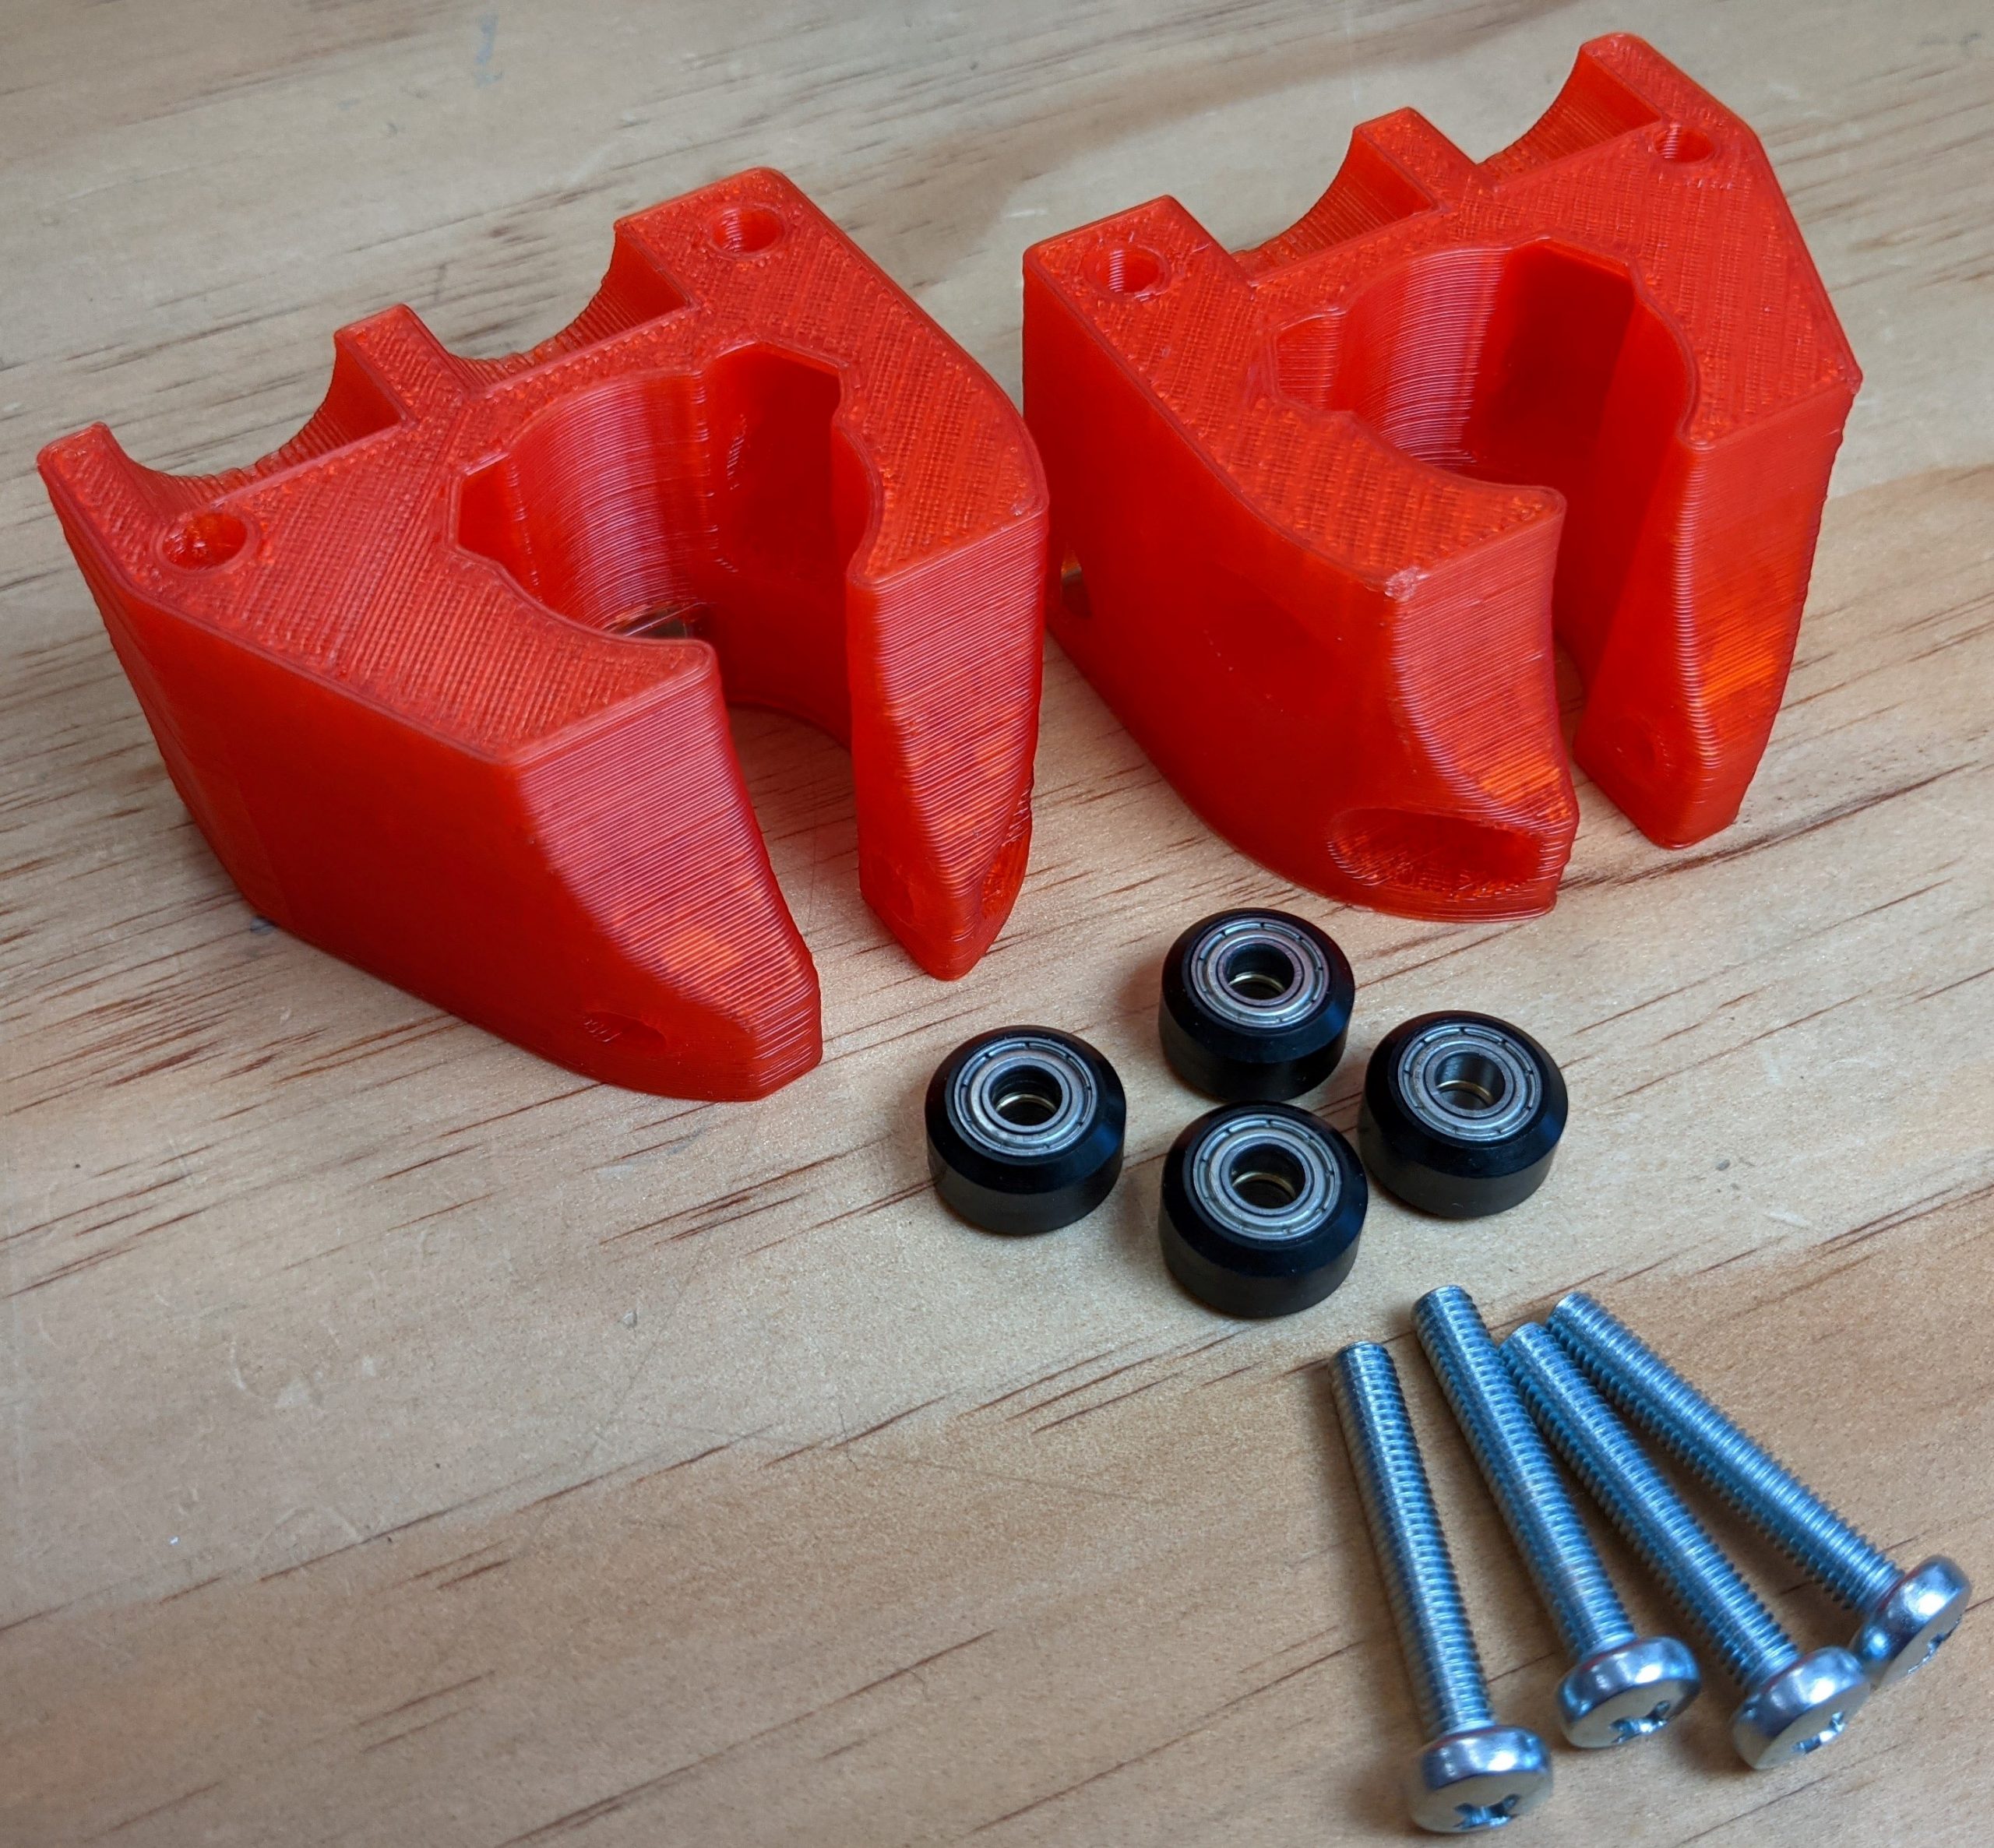
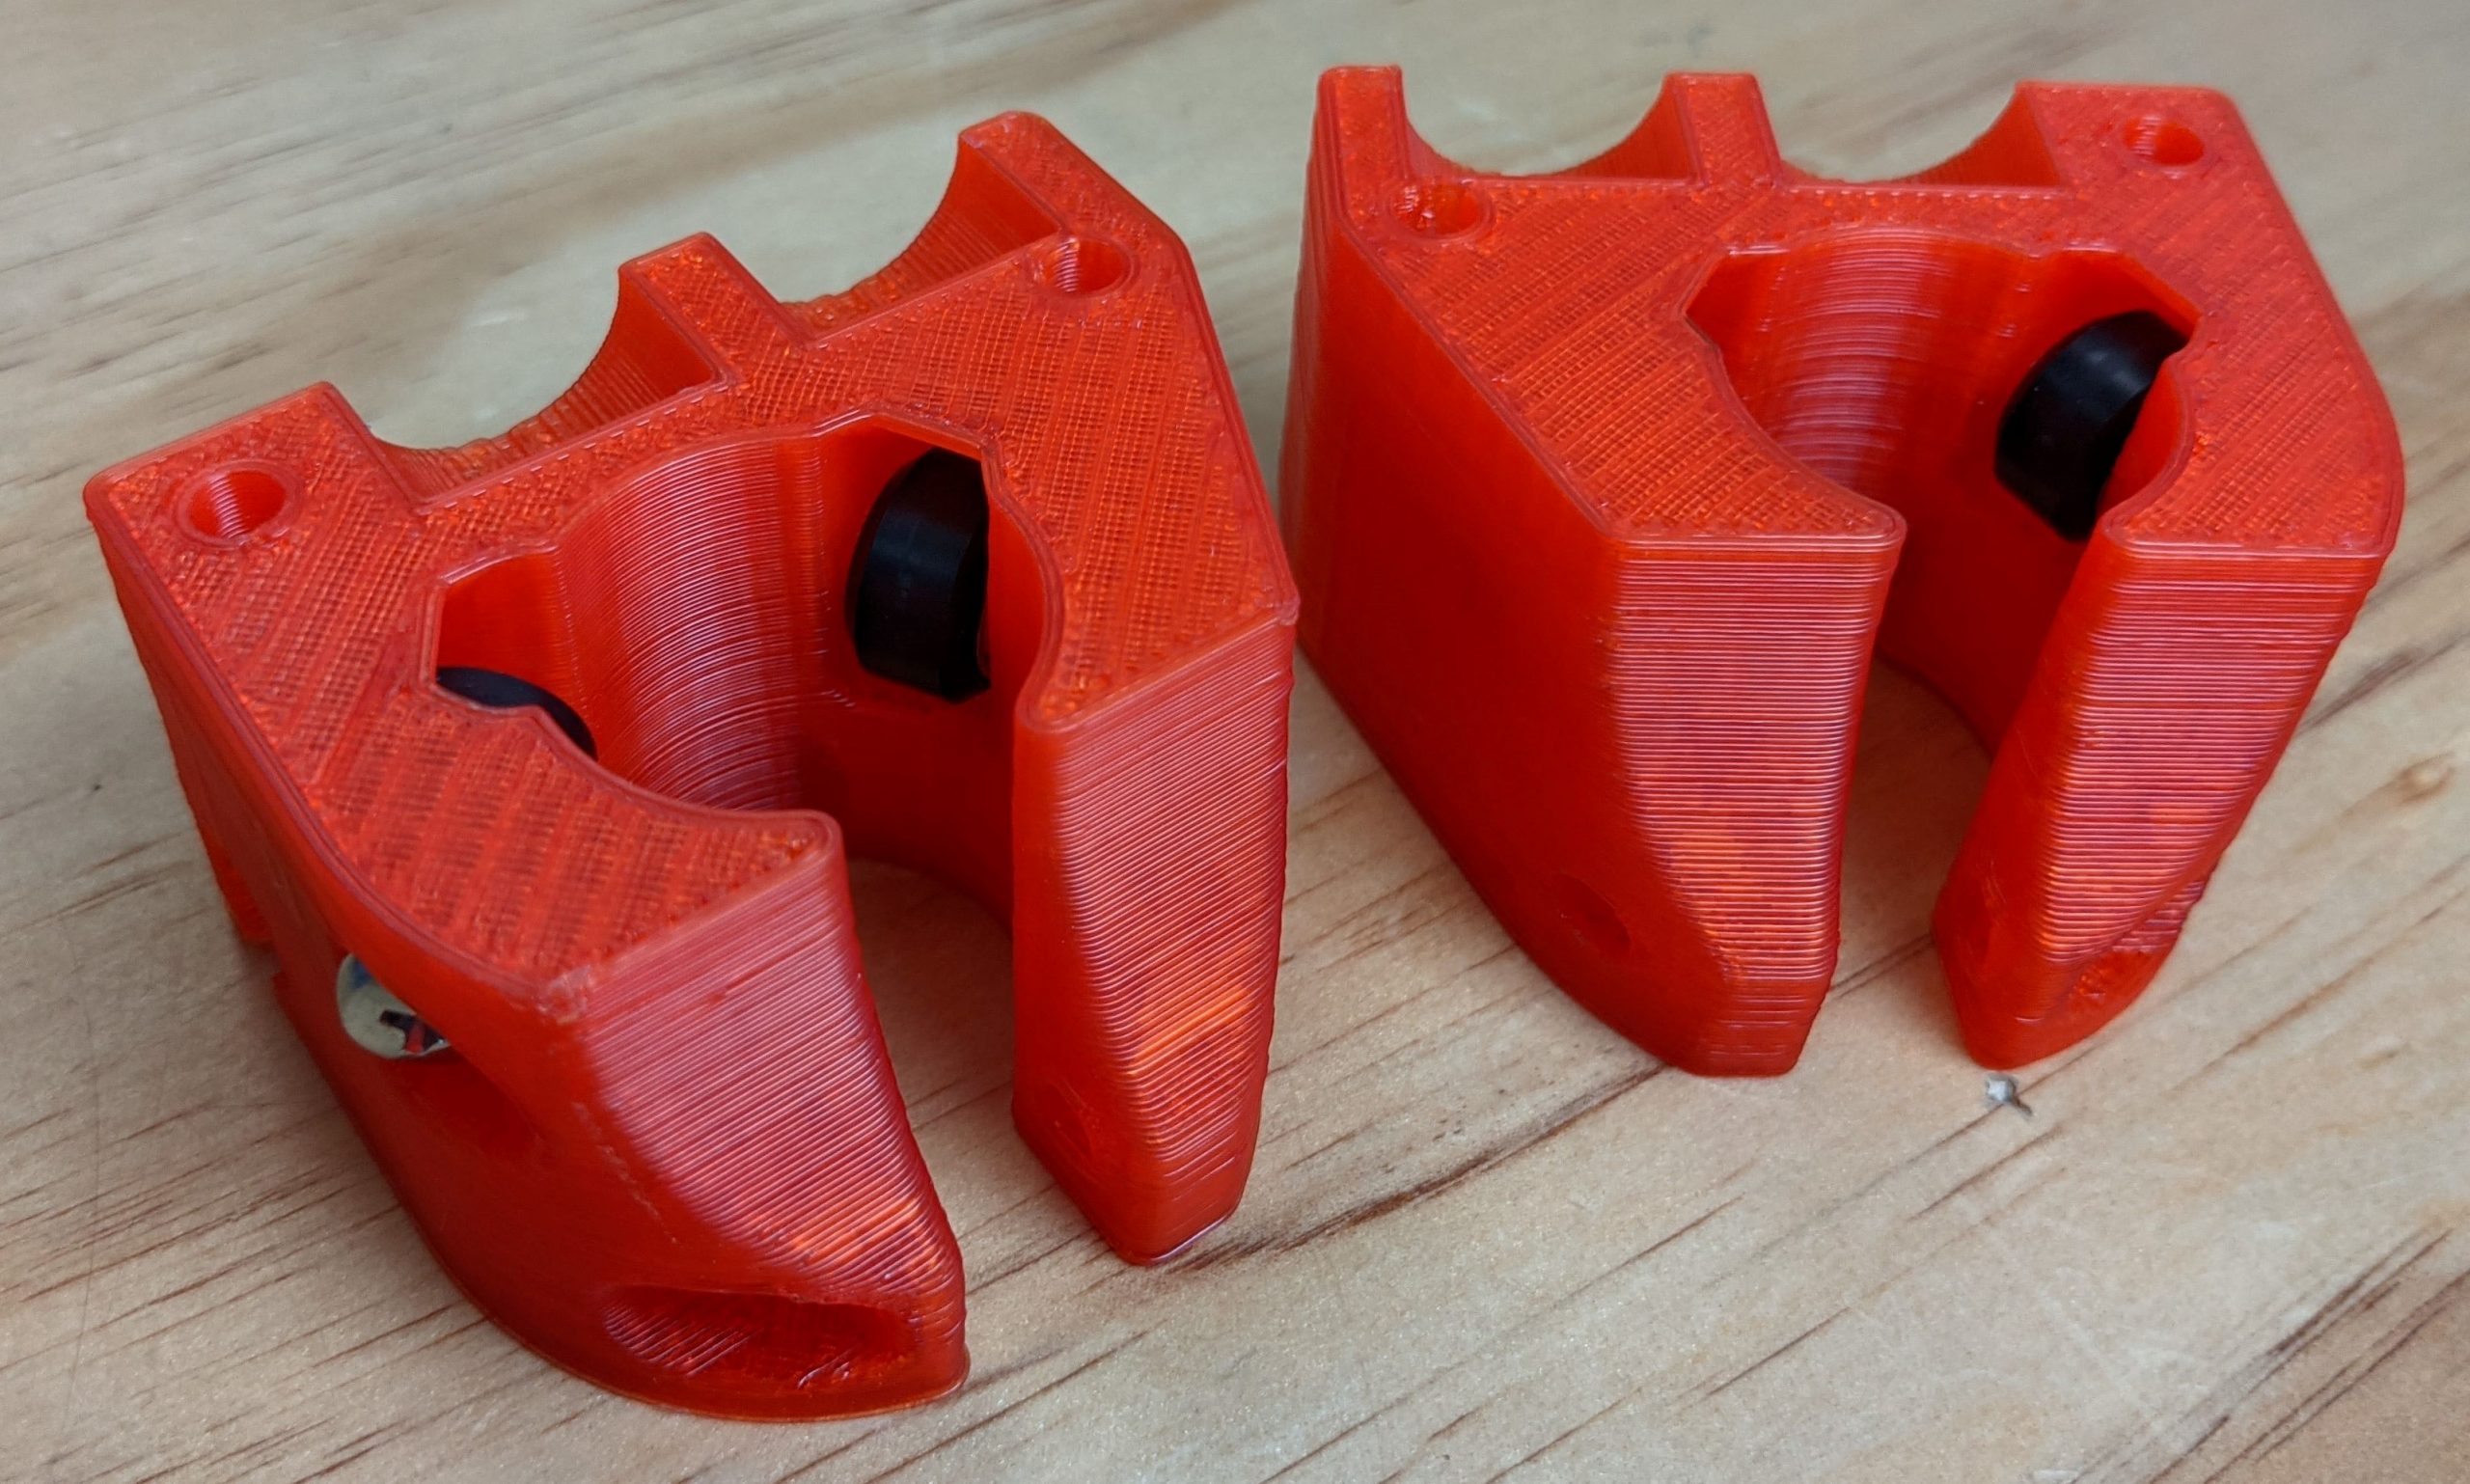
Center
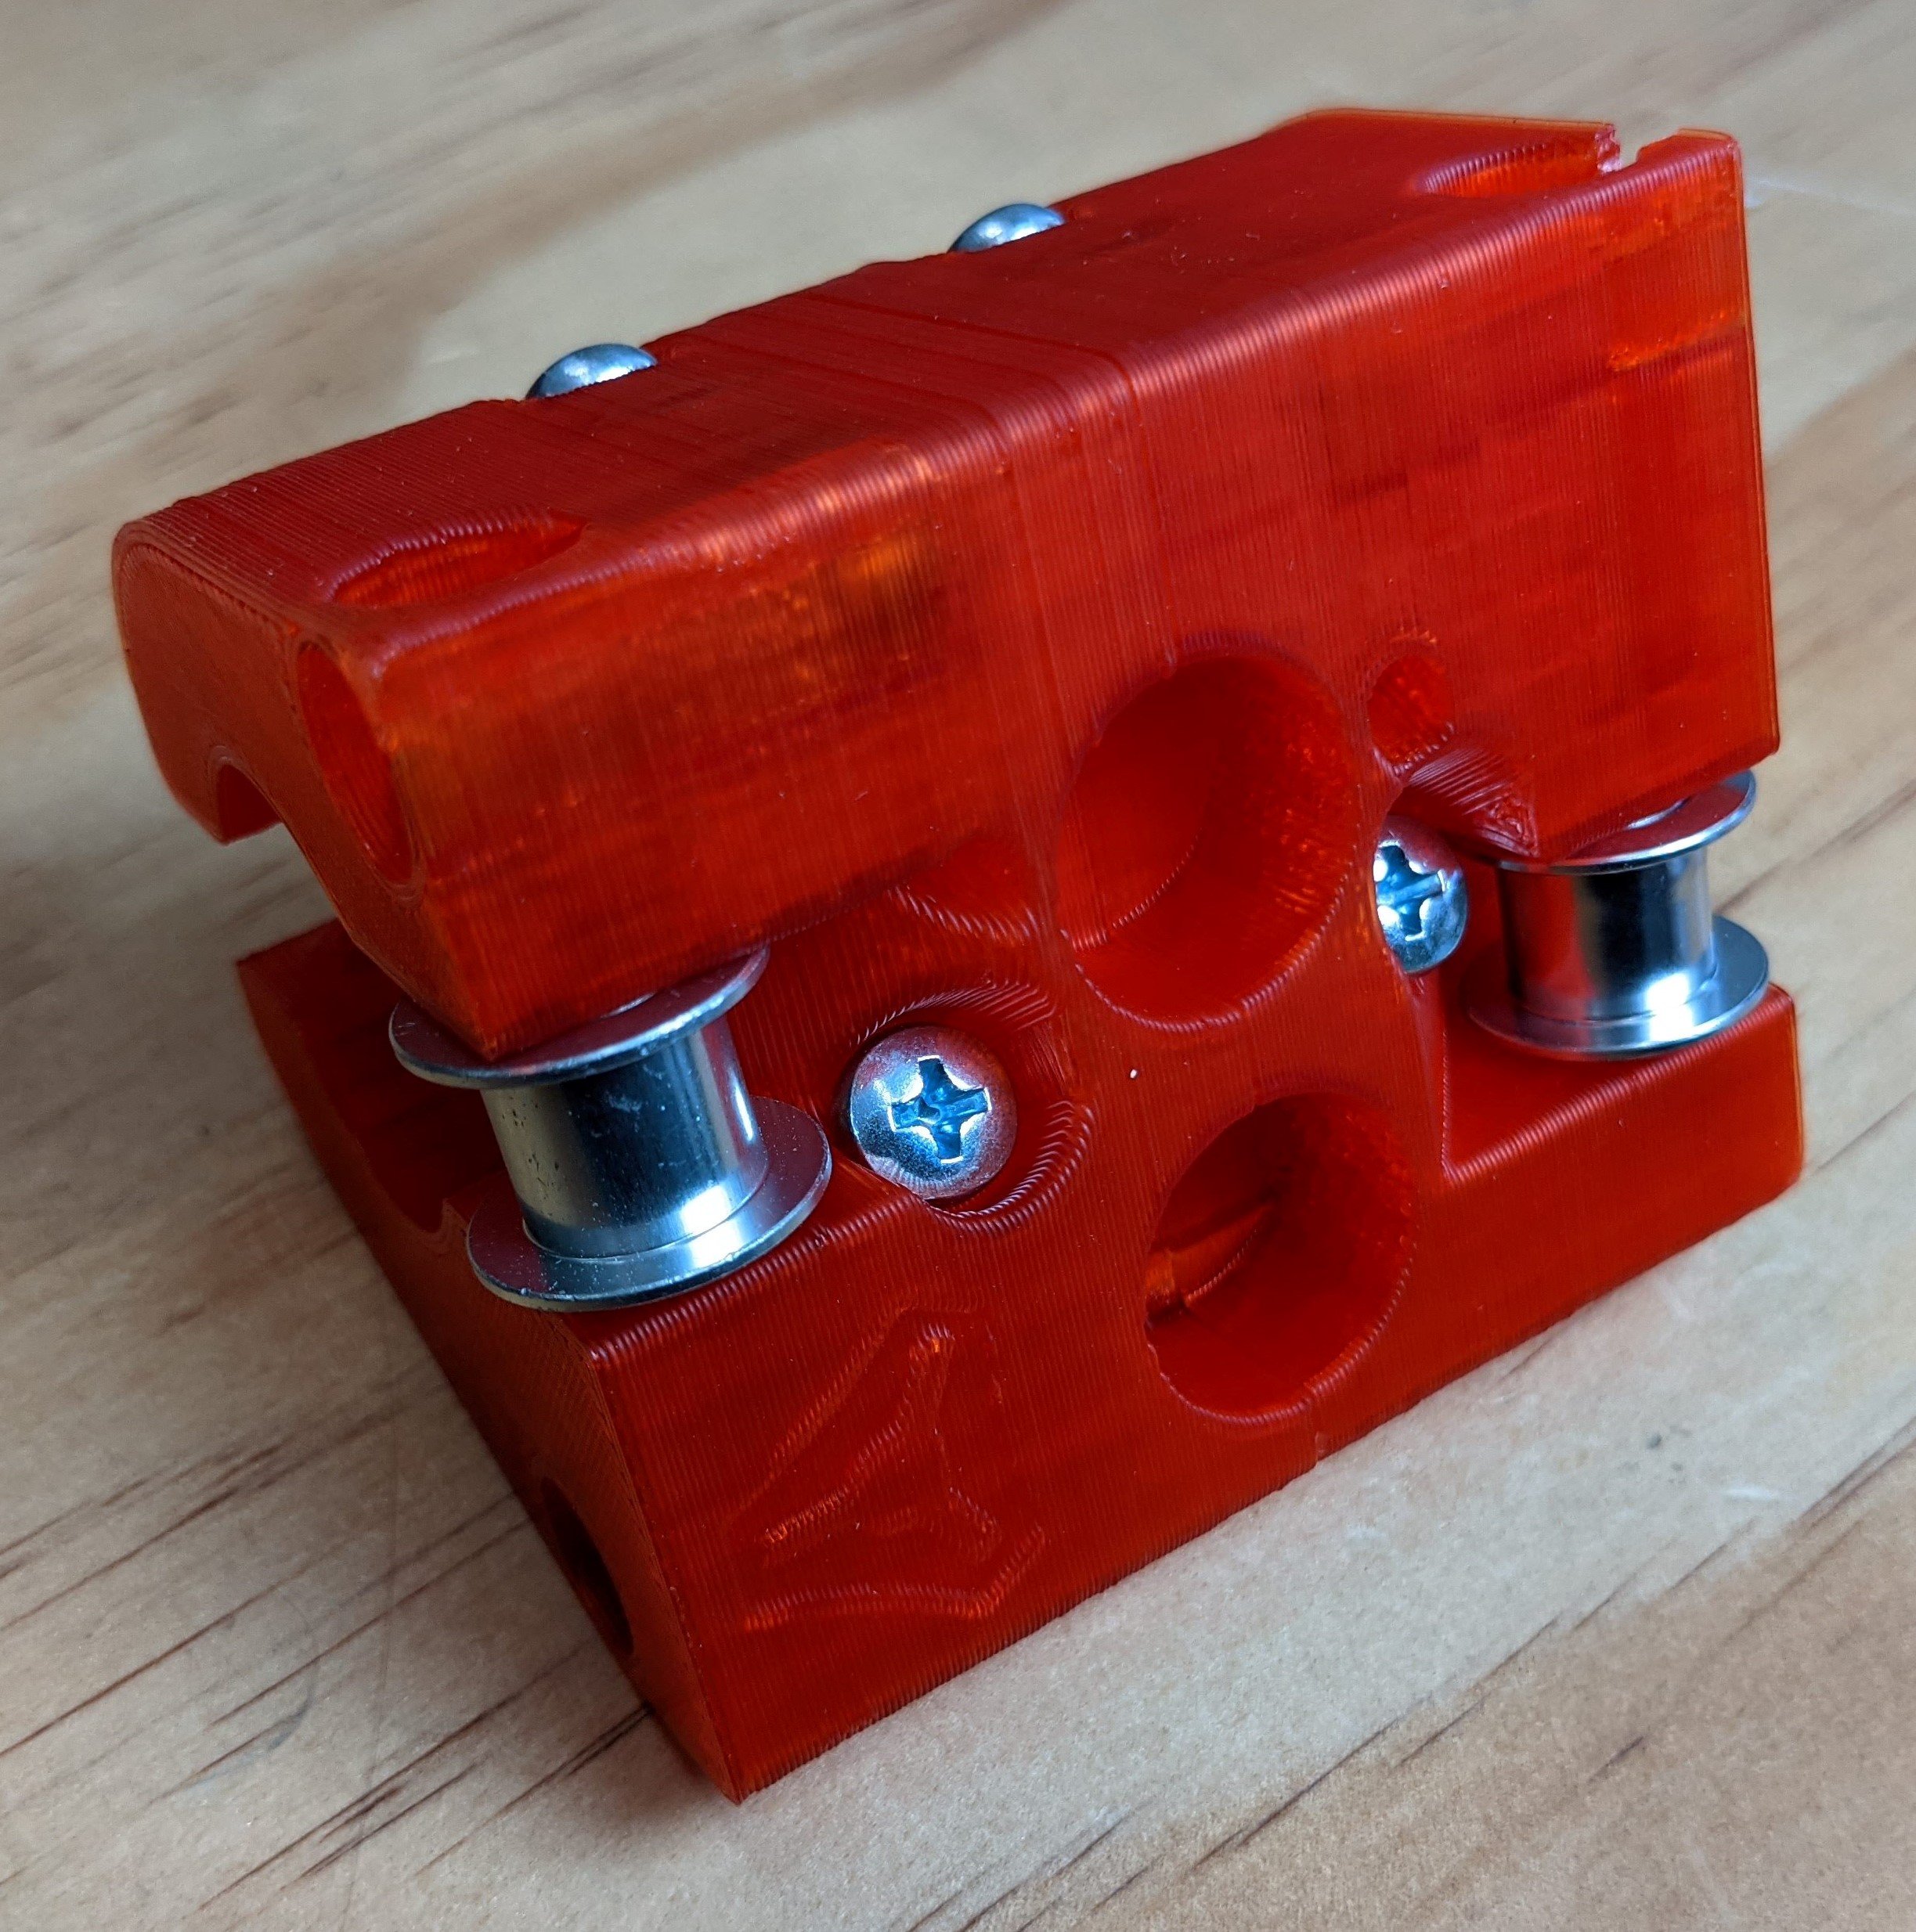
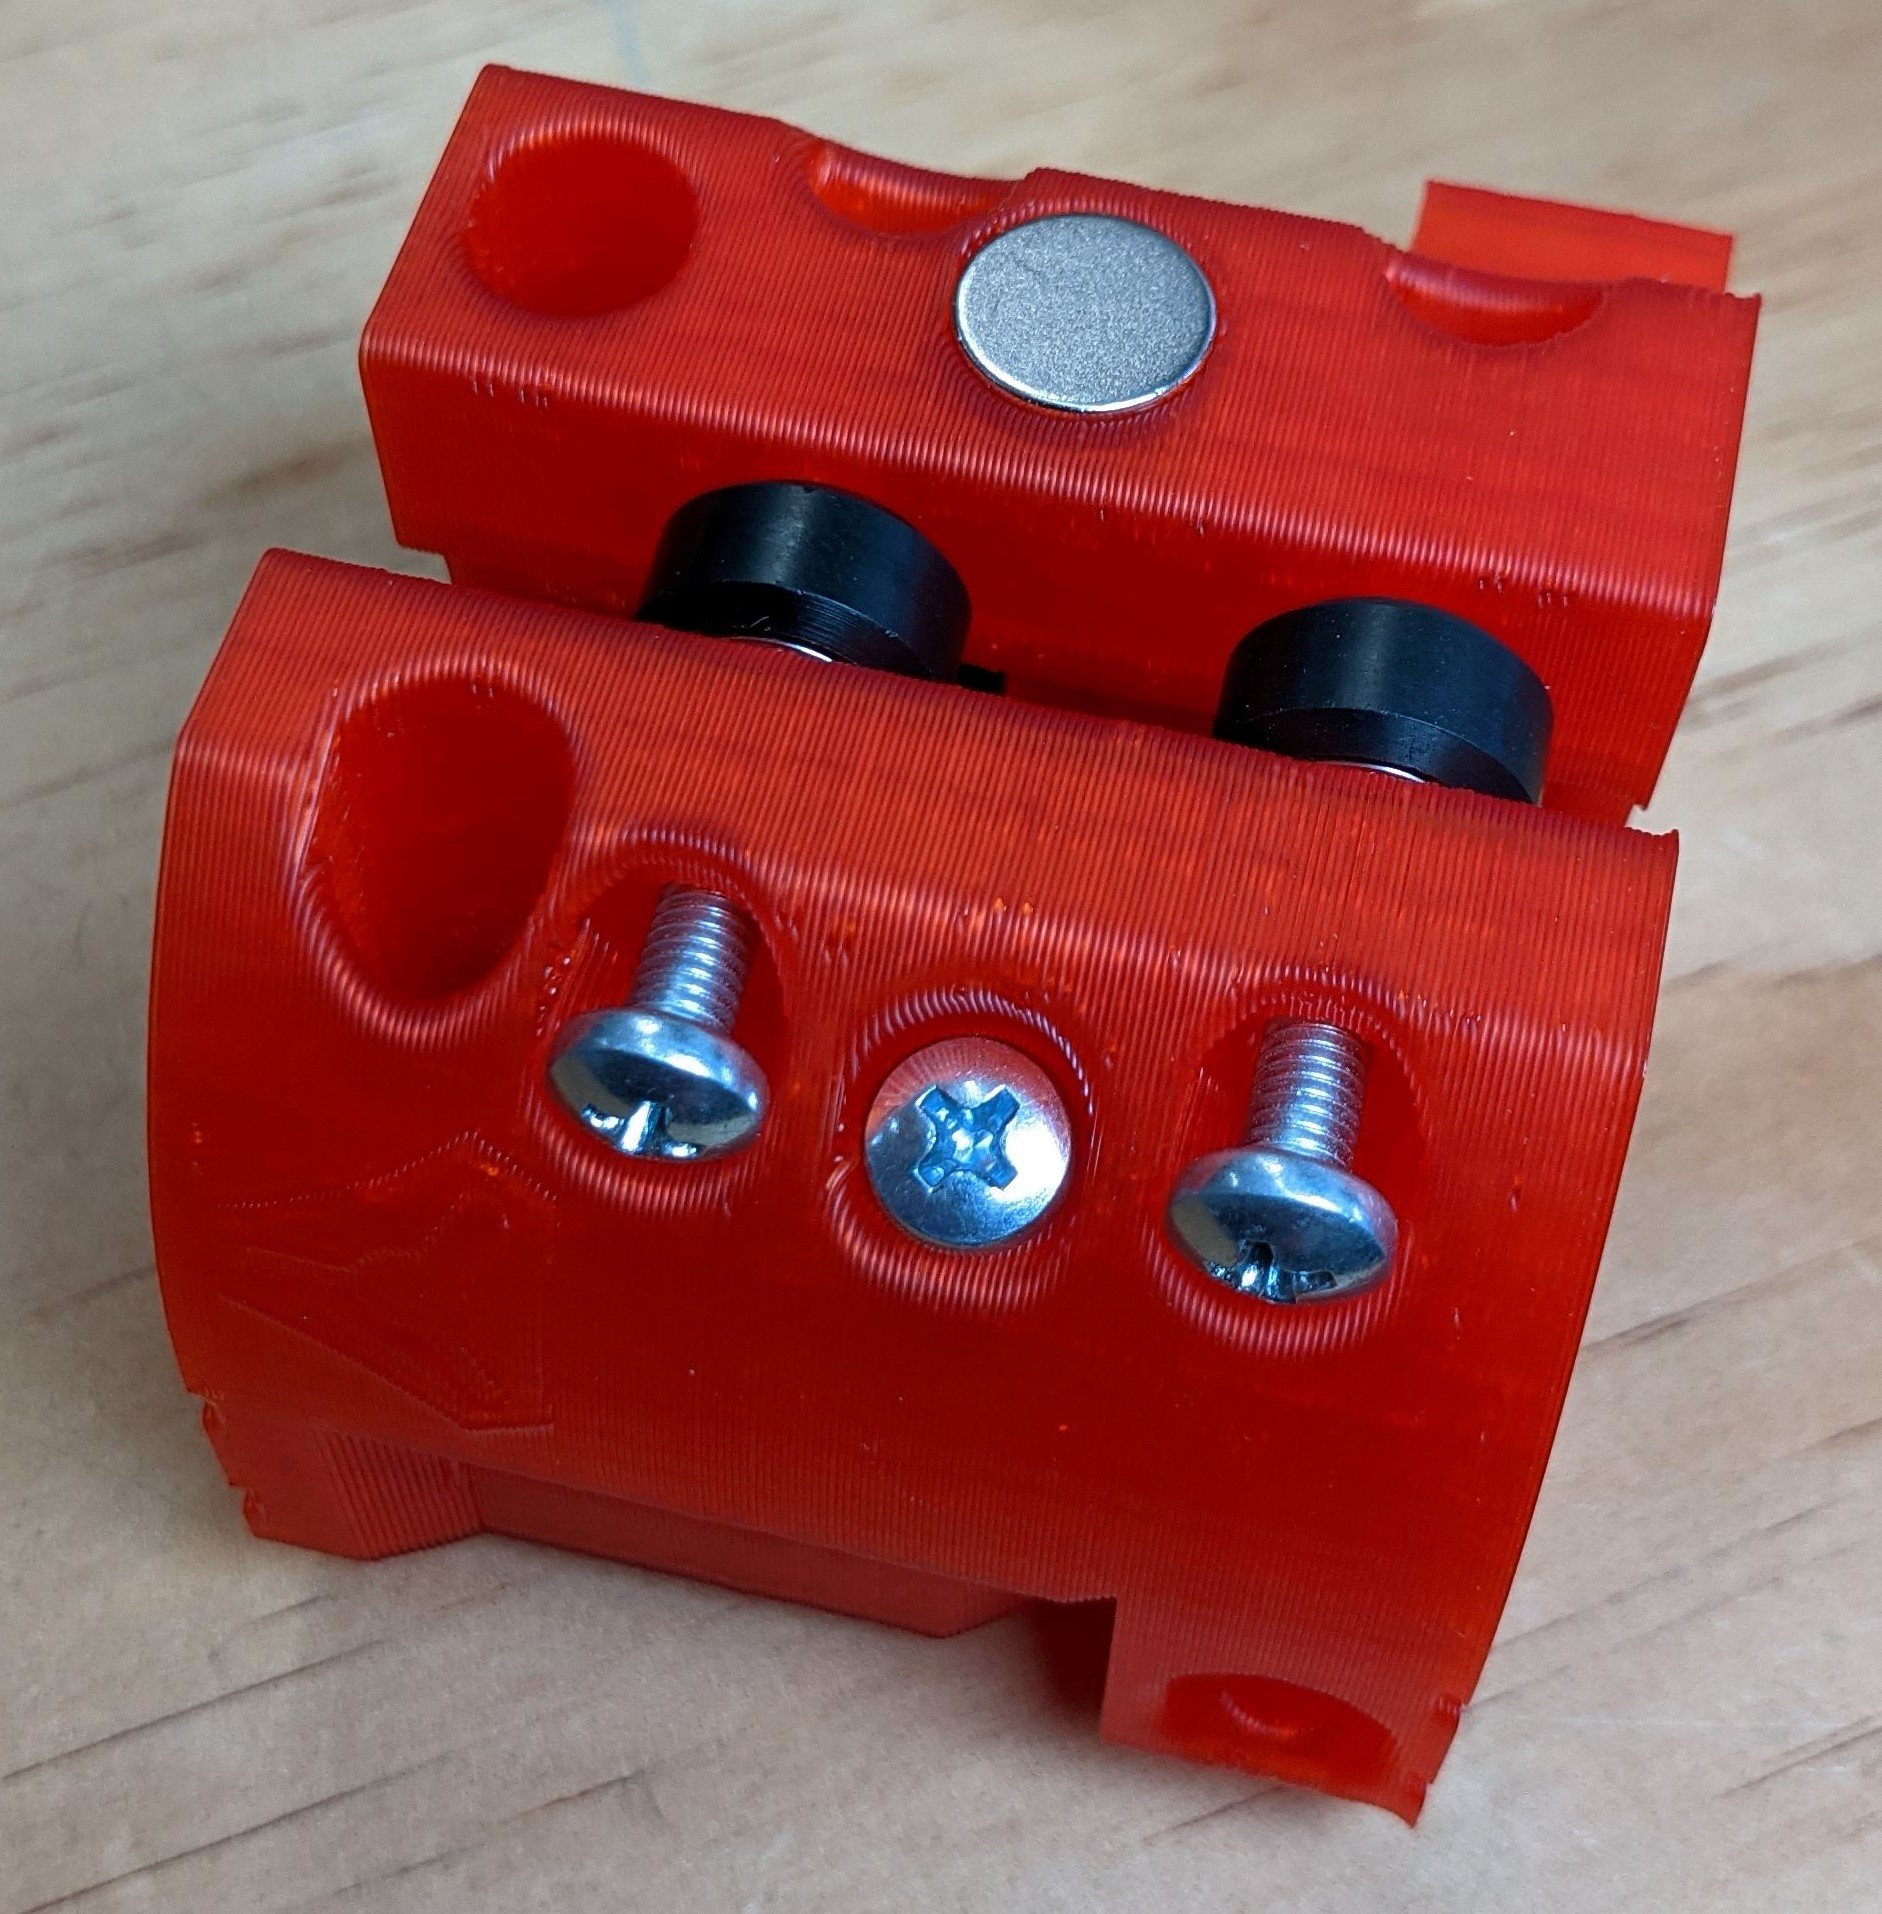
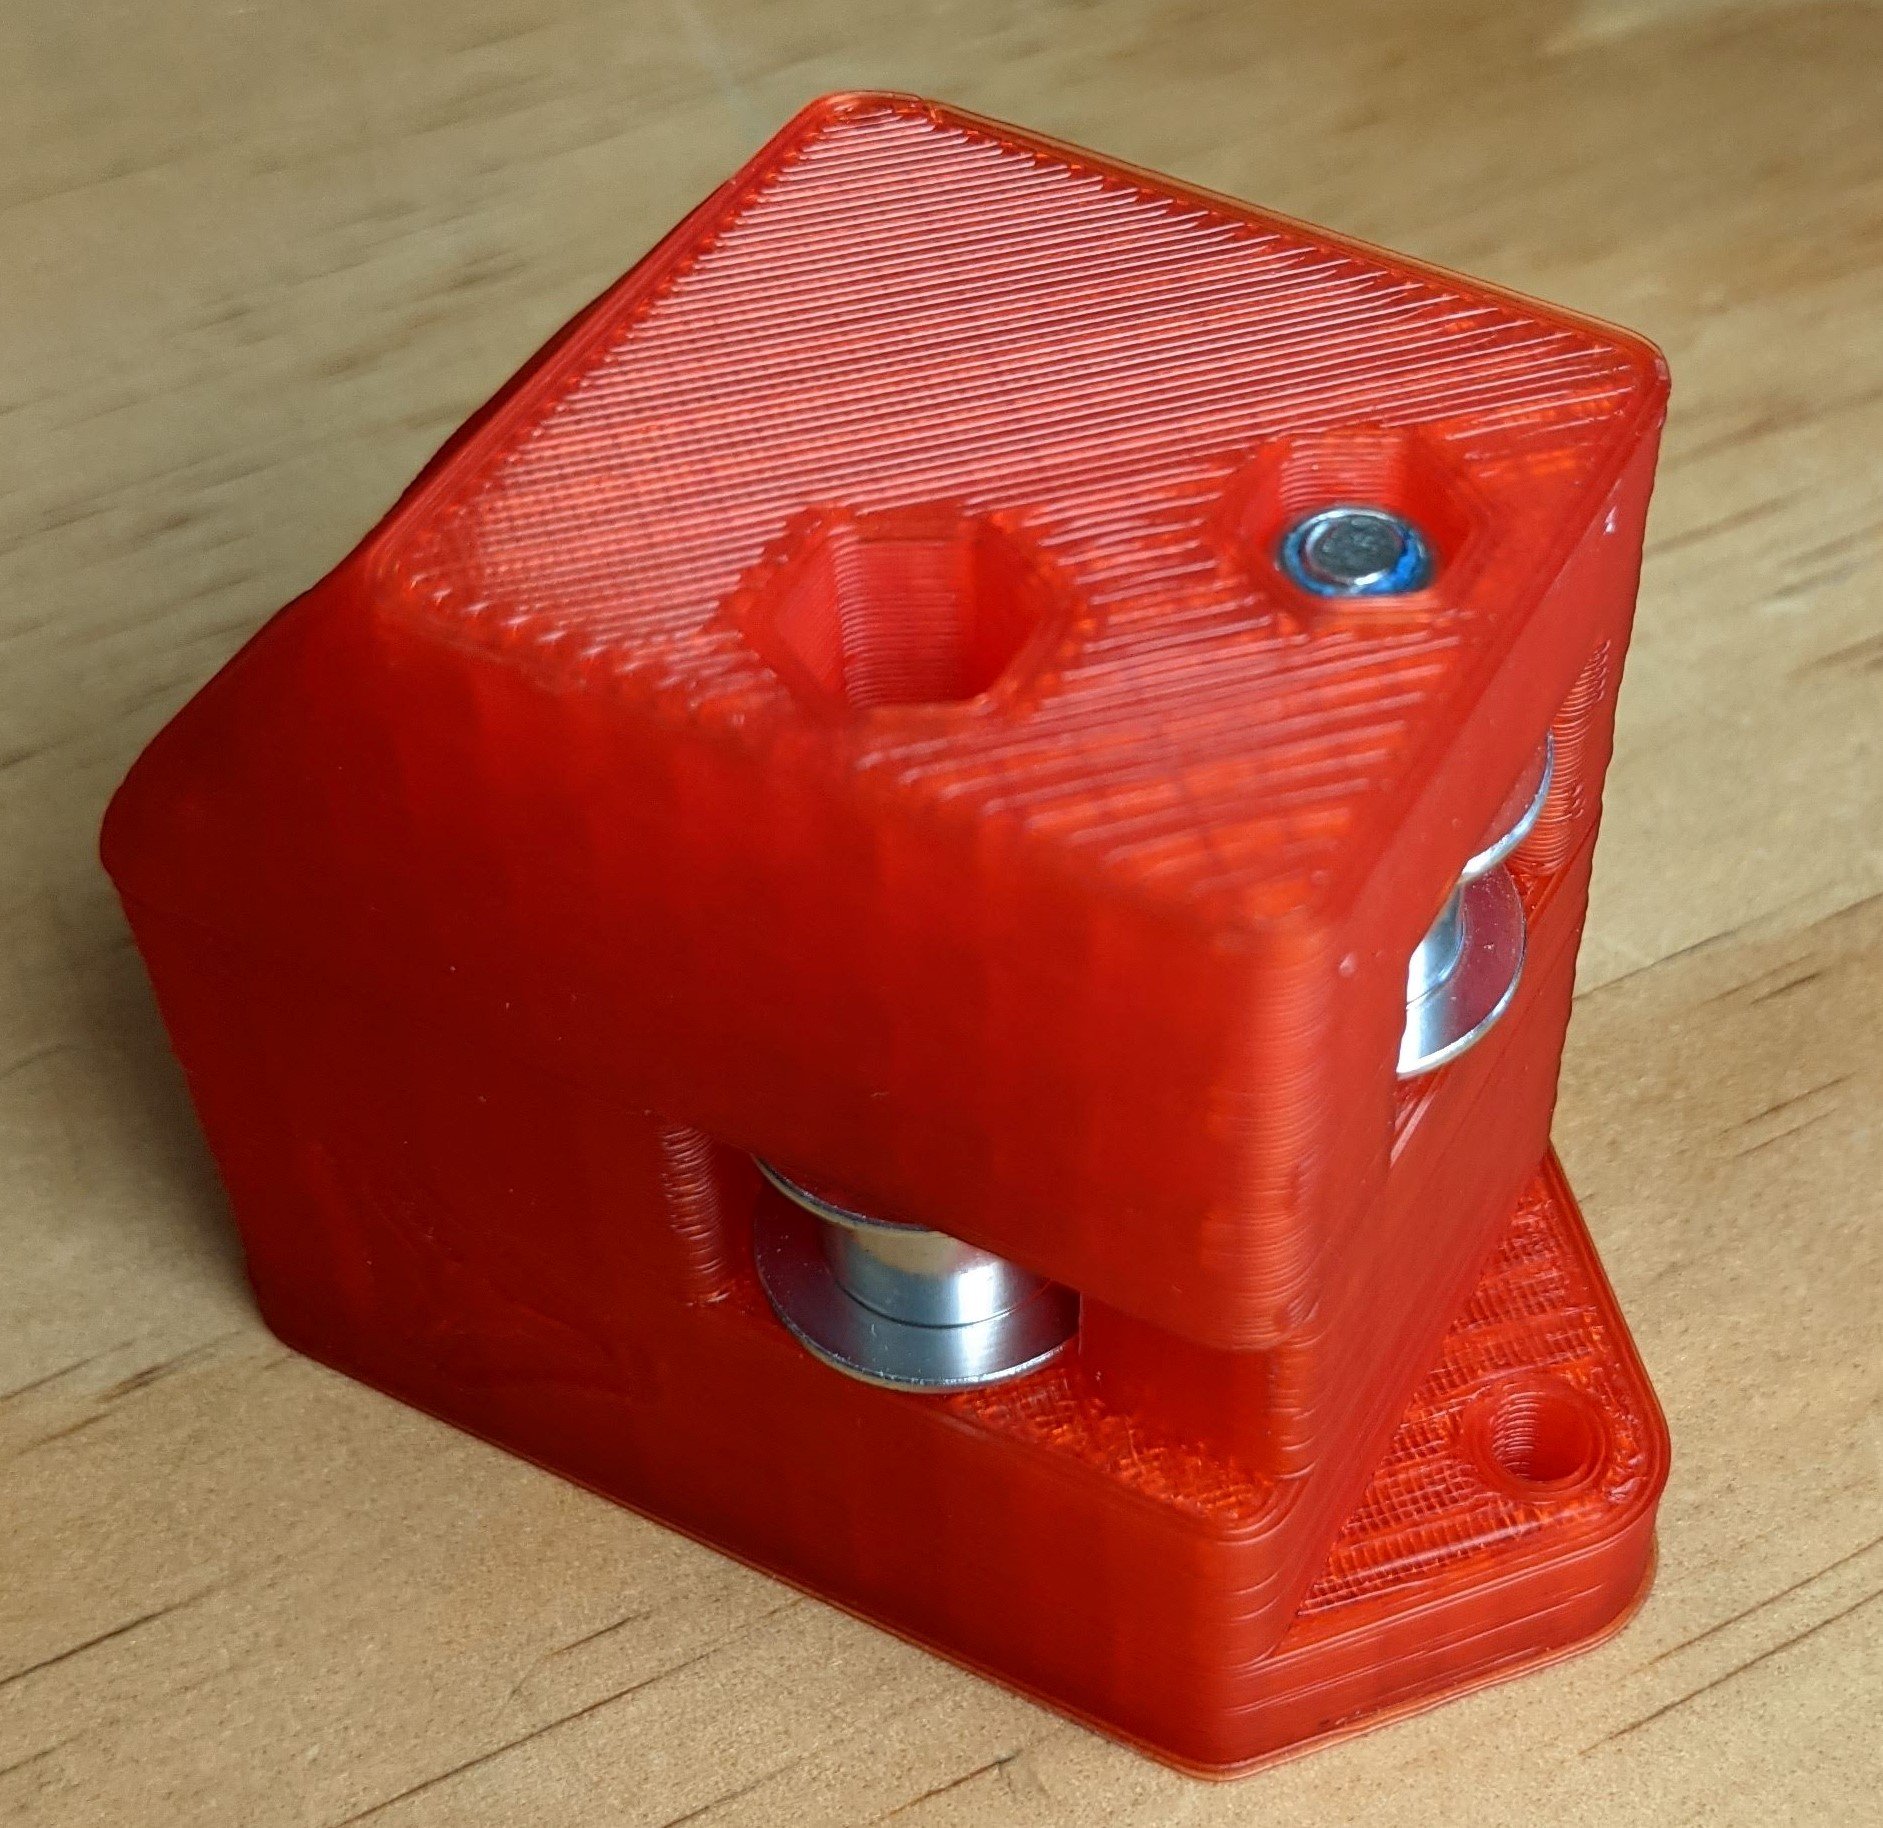
- Center, V-Wheels, and M5 Screws.
- Lightly seat the screws with wheels in place.

- Add the M5 screw for the magnet hole from the bottom.
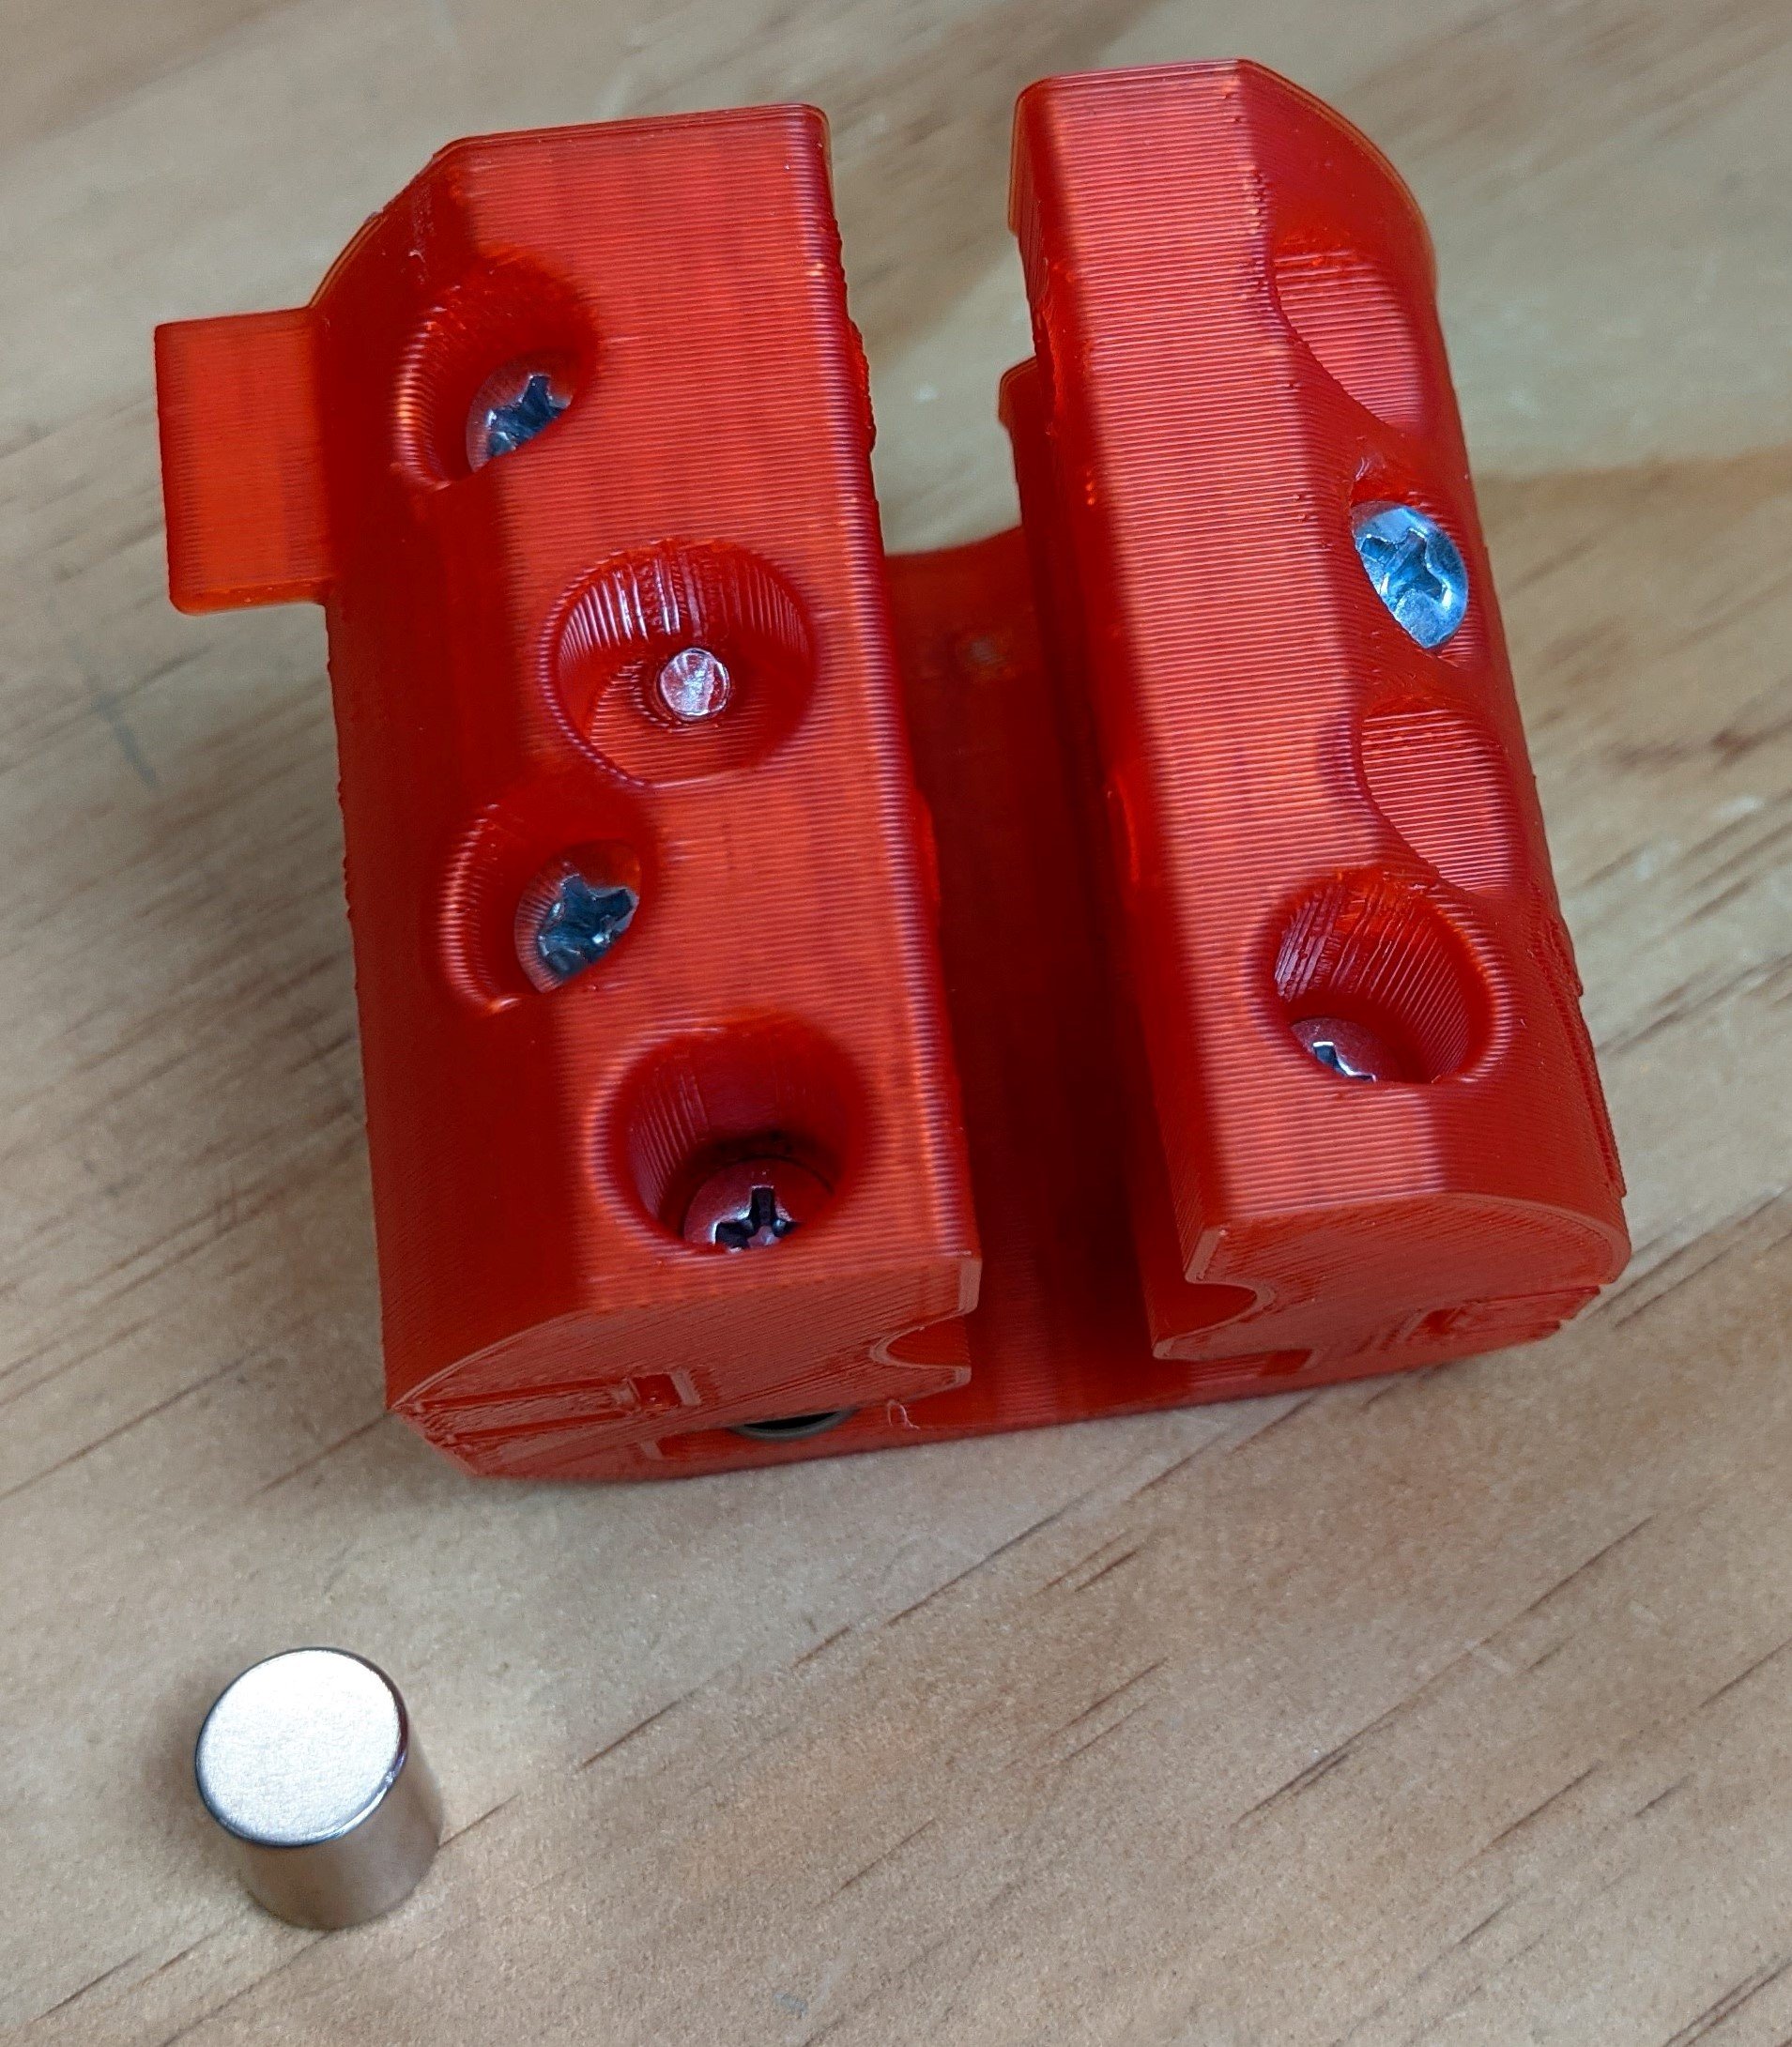
- The end of the M5 Screw should be flush with the bottom of the magnet hole and will be adjusted later.
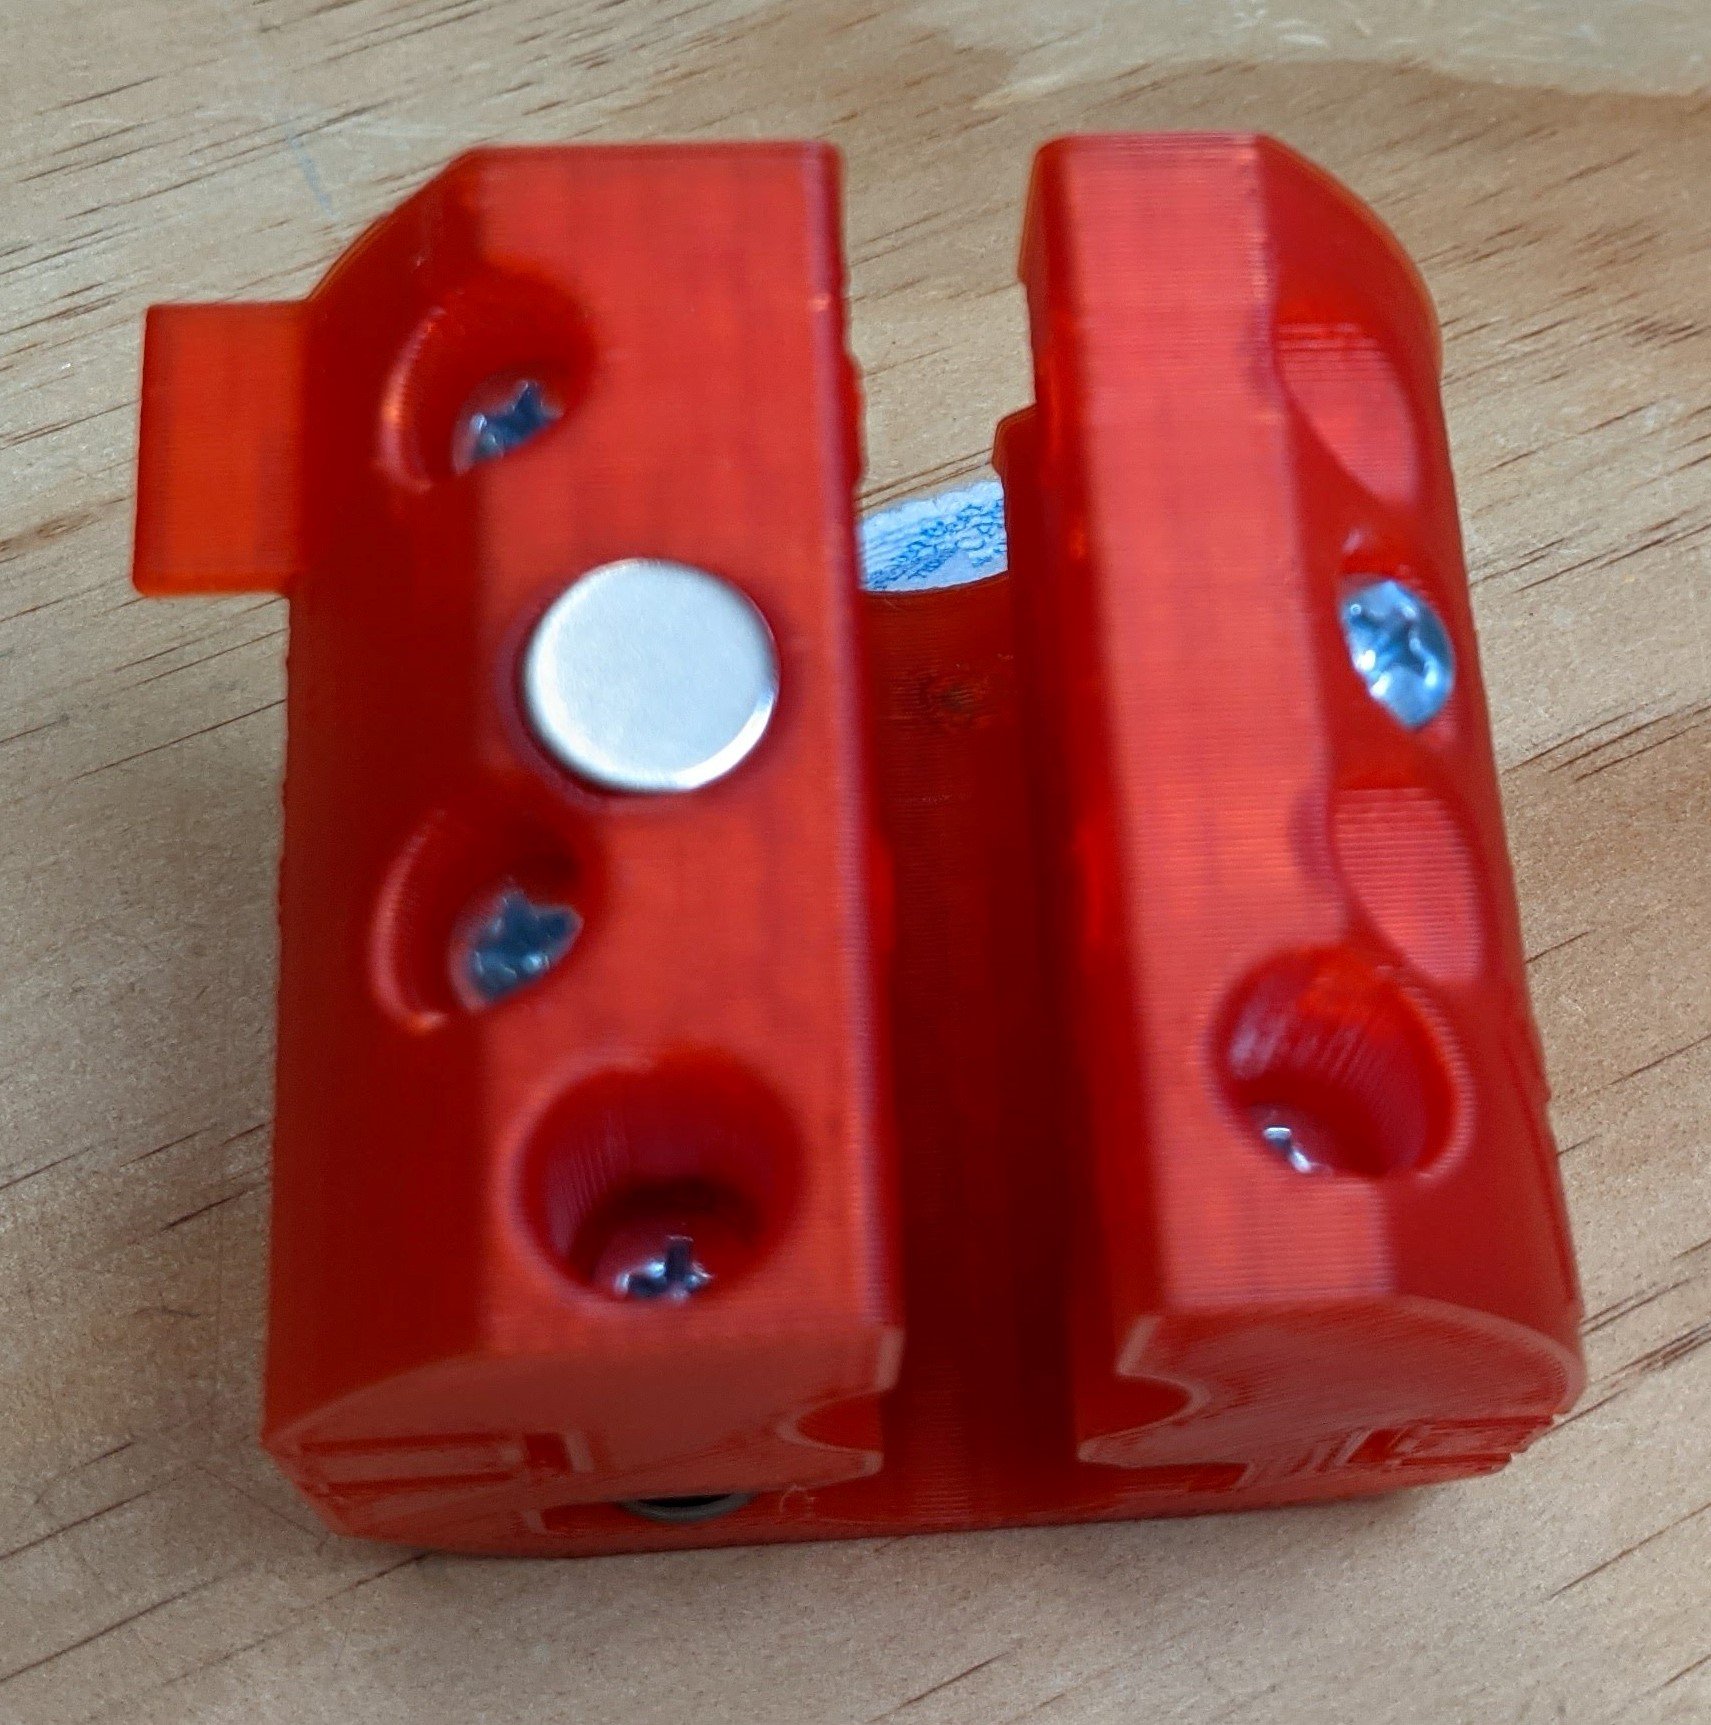
- If you are using spacers insert your magnet spacer first.
- Insert the magnet into the slot fully.

- These are the Center tension screws and wheels.
- Loosely assemble the wheels.
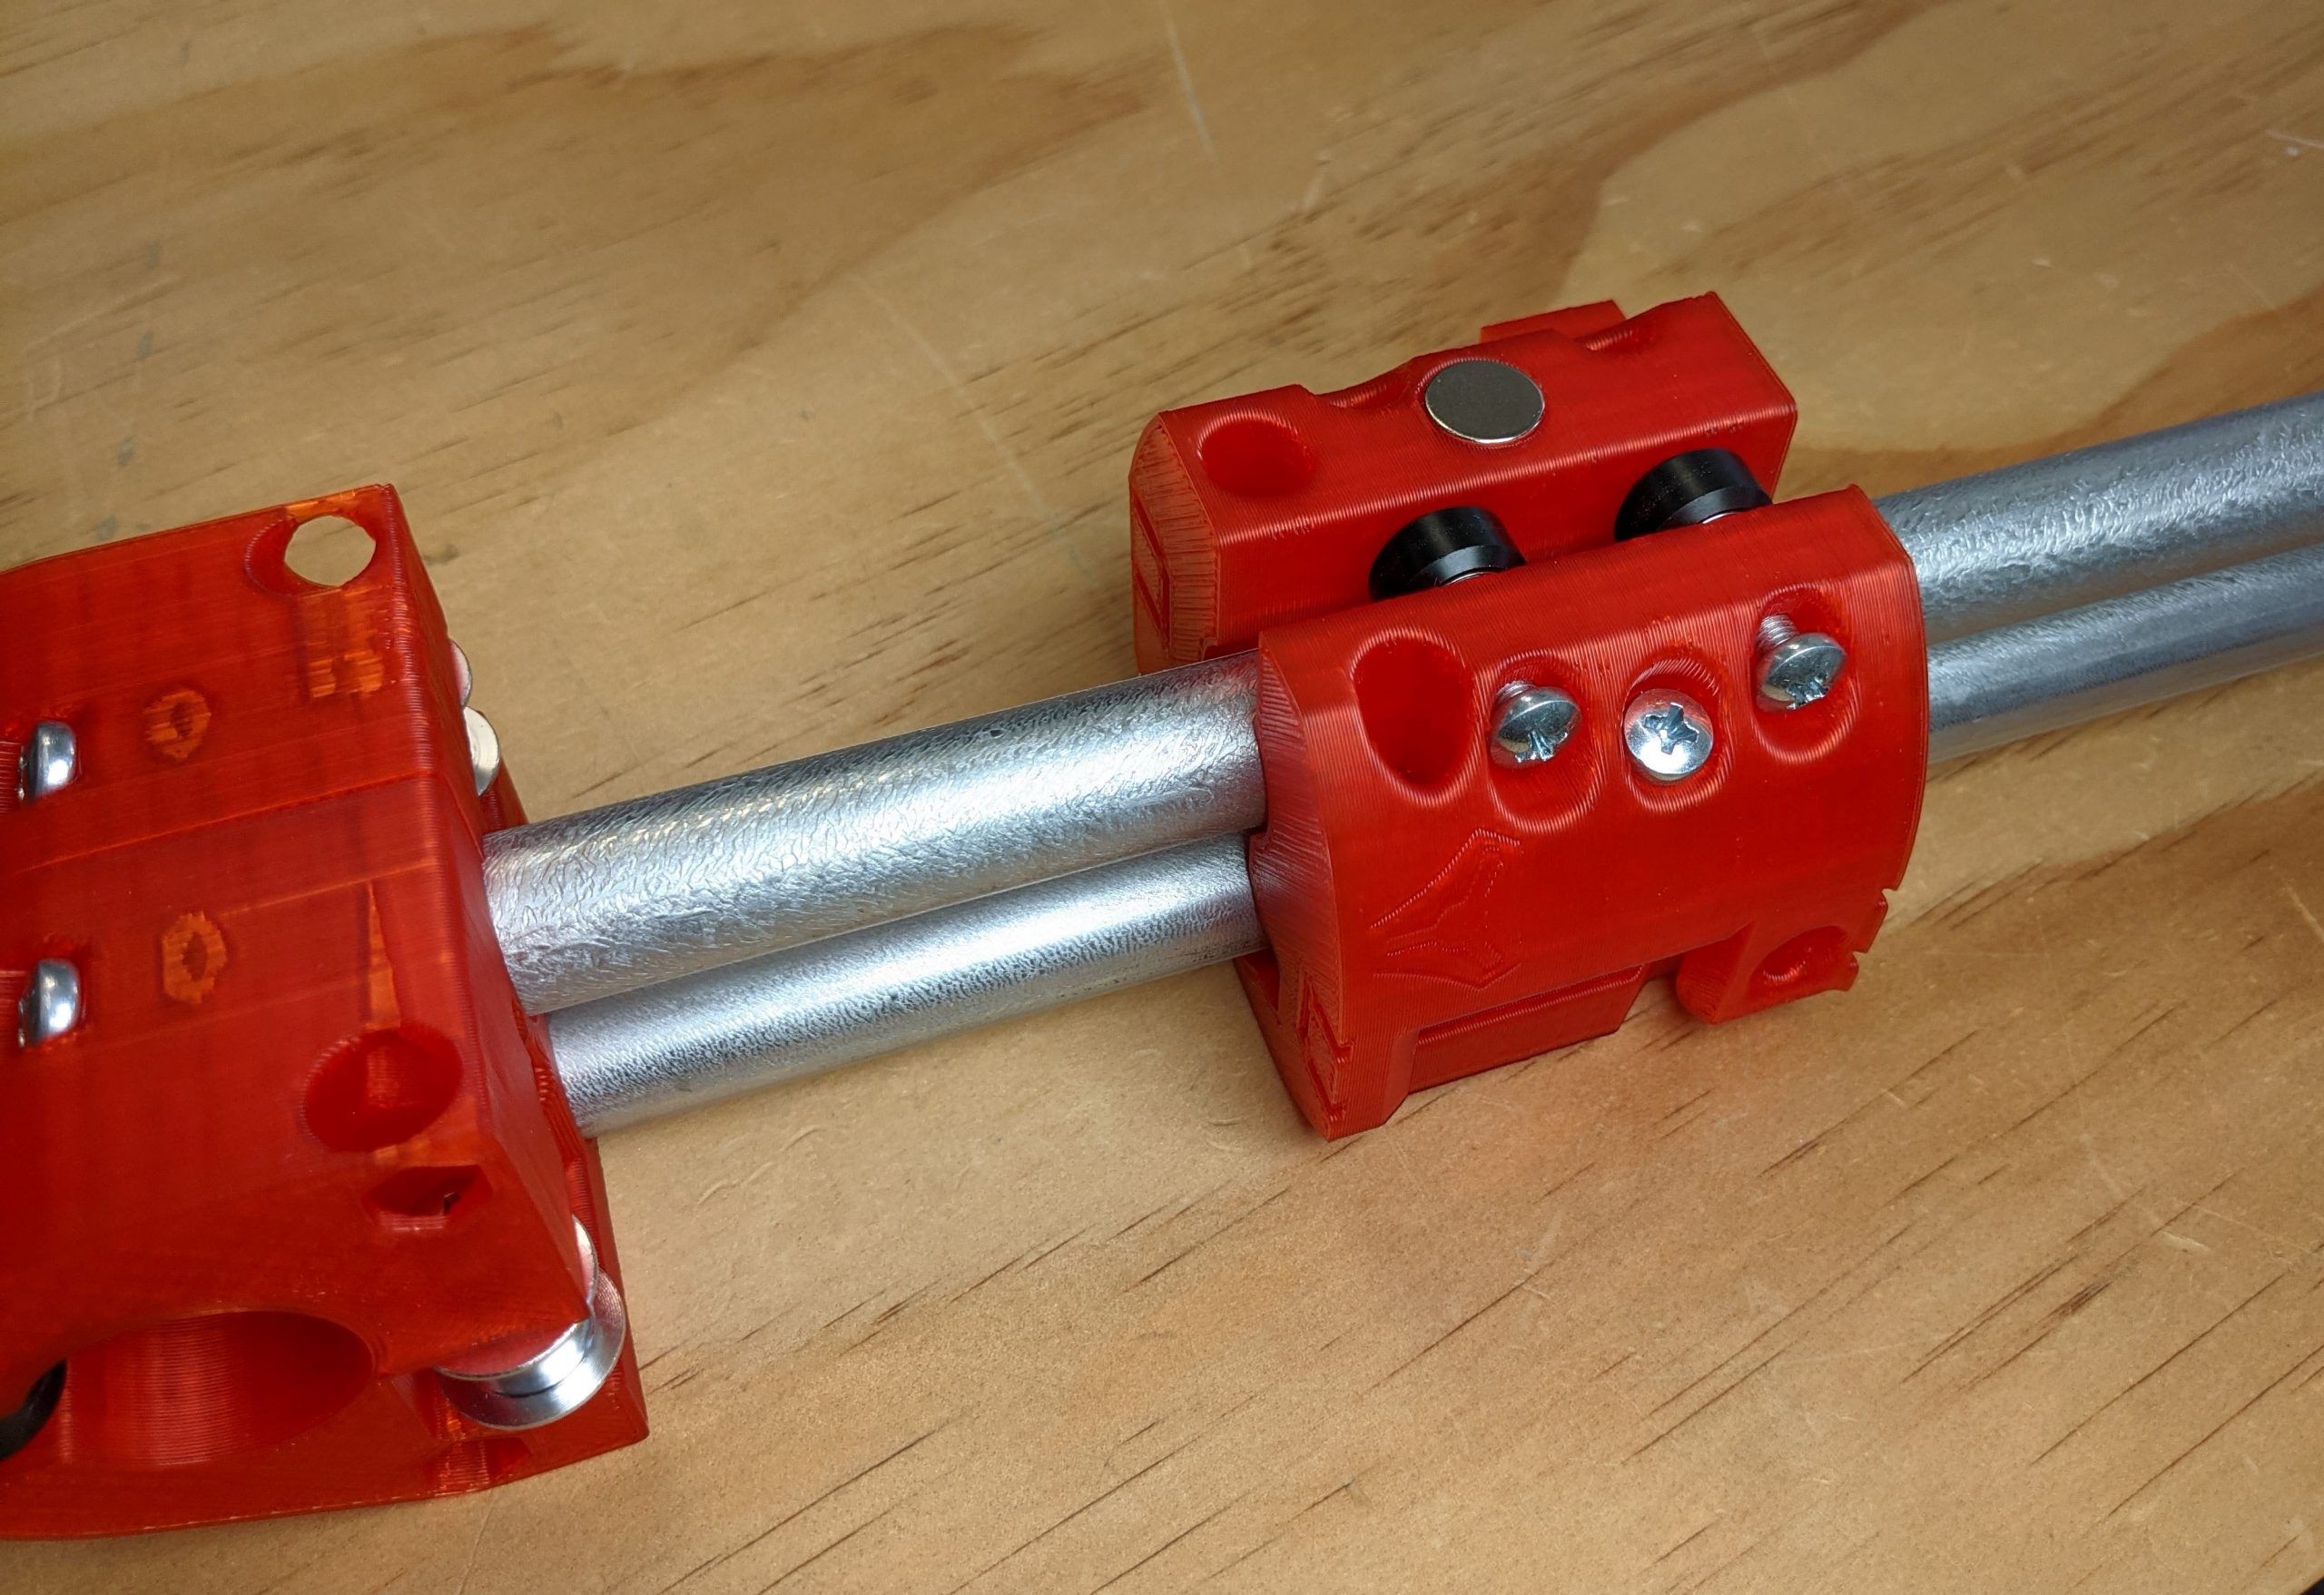
- Temporarily insert the small rails through the center into both trucks to keep the spacing correct.
- Set the tension of the center.
Tip
There is no need for the tension to be high. All wheels making contact is the most silent operation. Too loose or too tight only adds more sound but does not impact image quality.
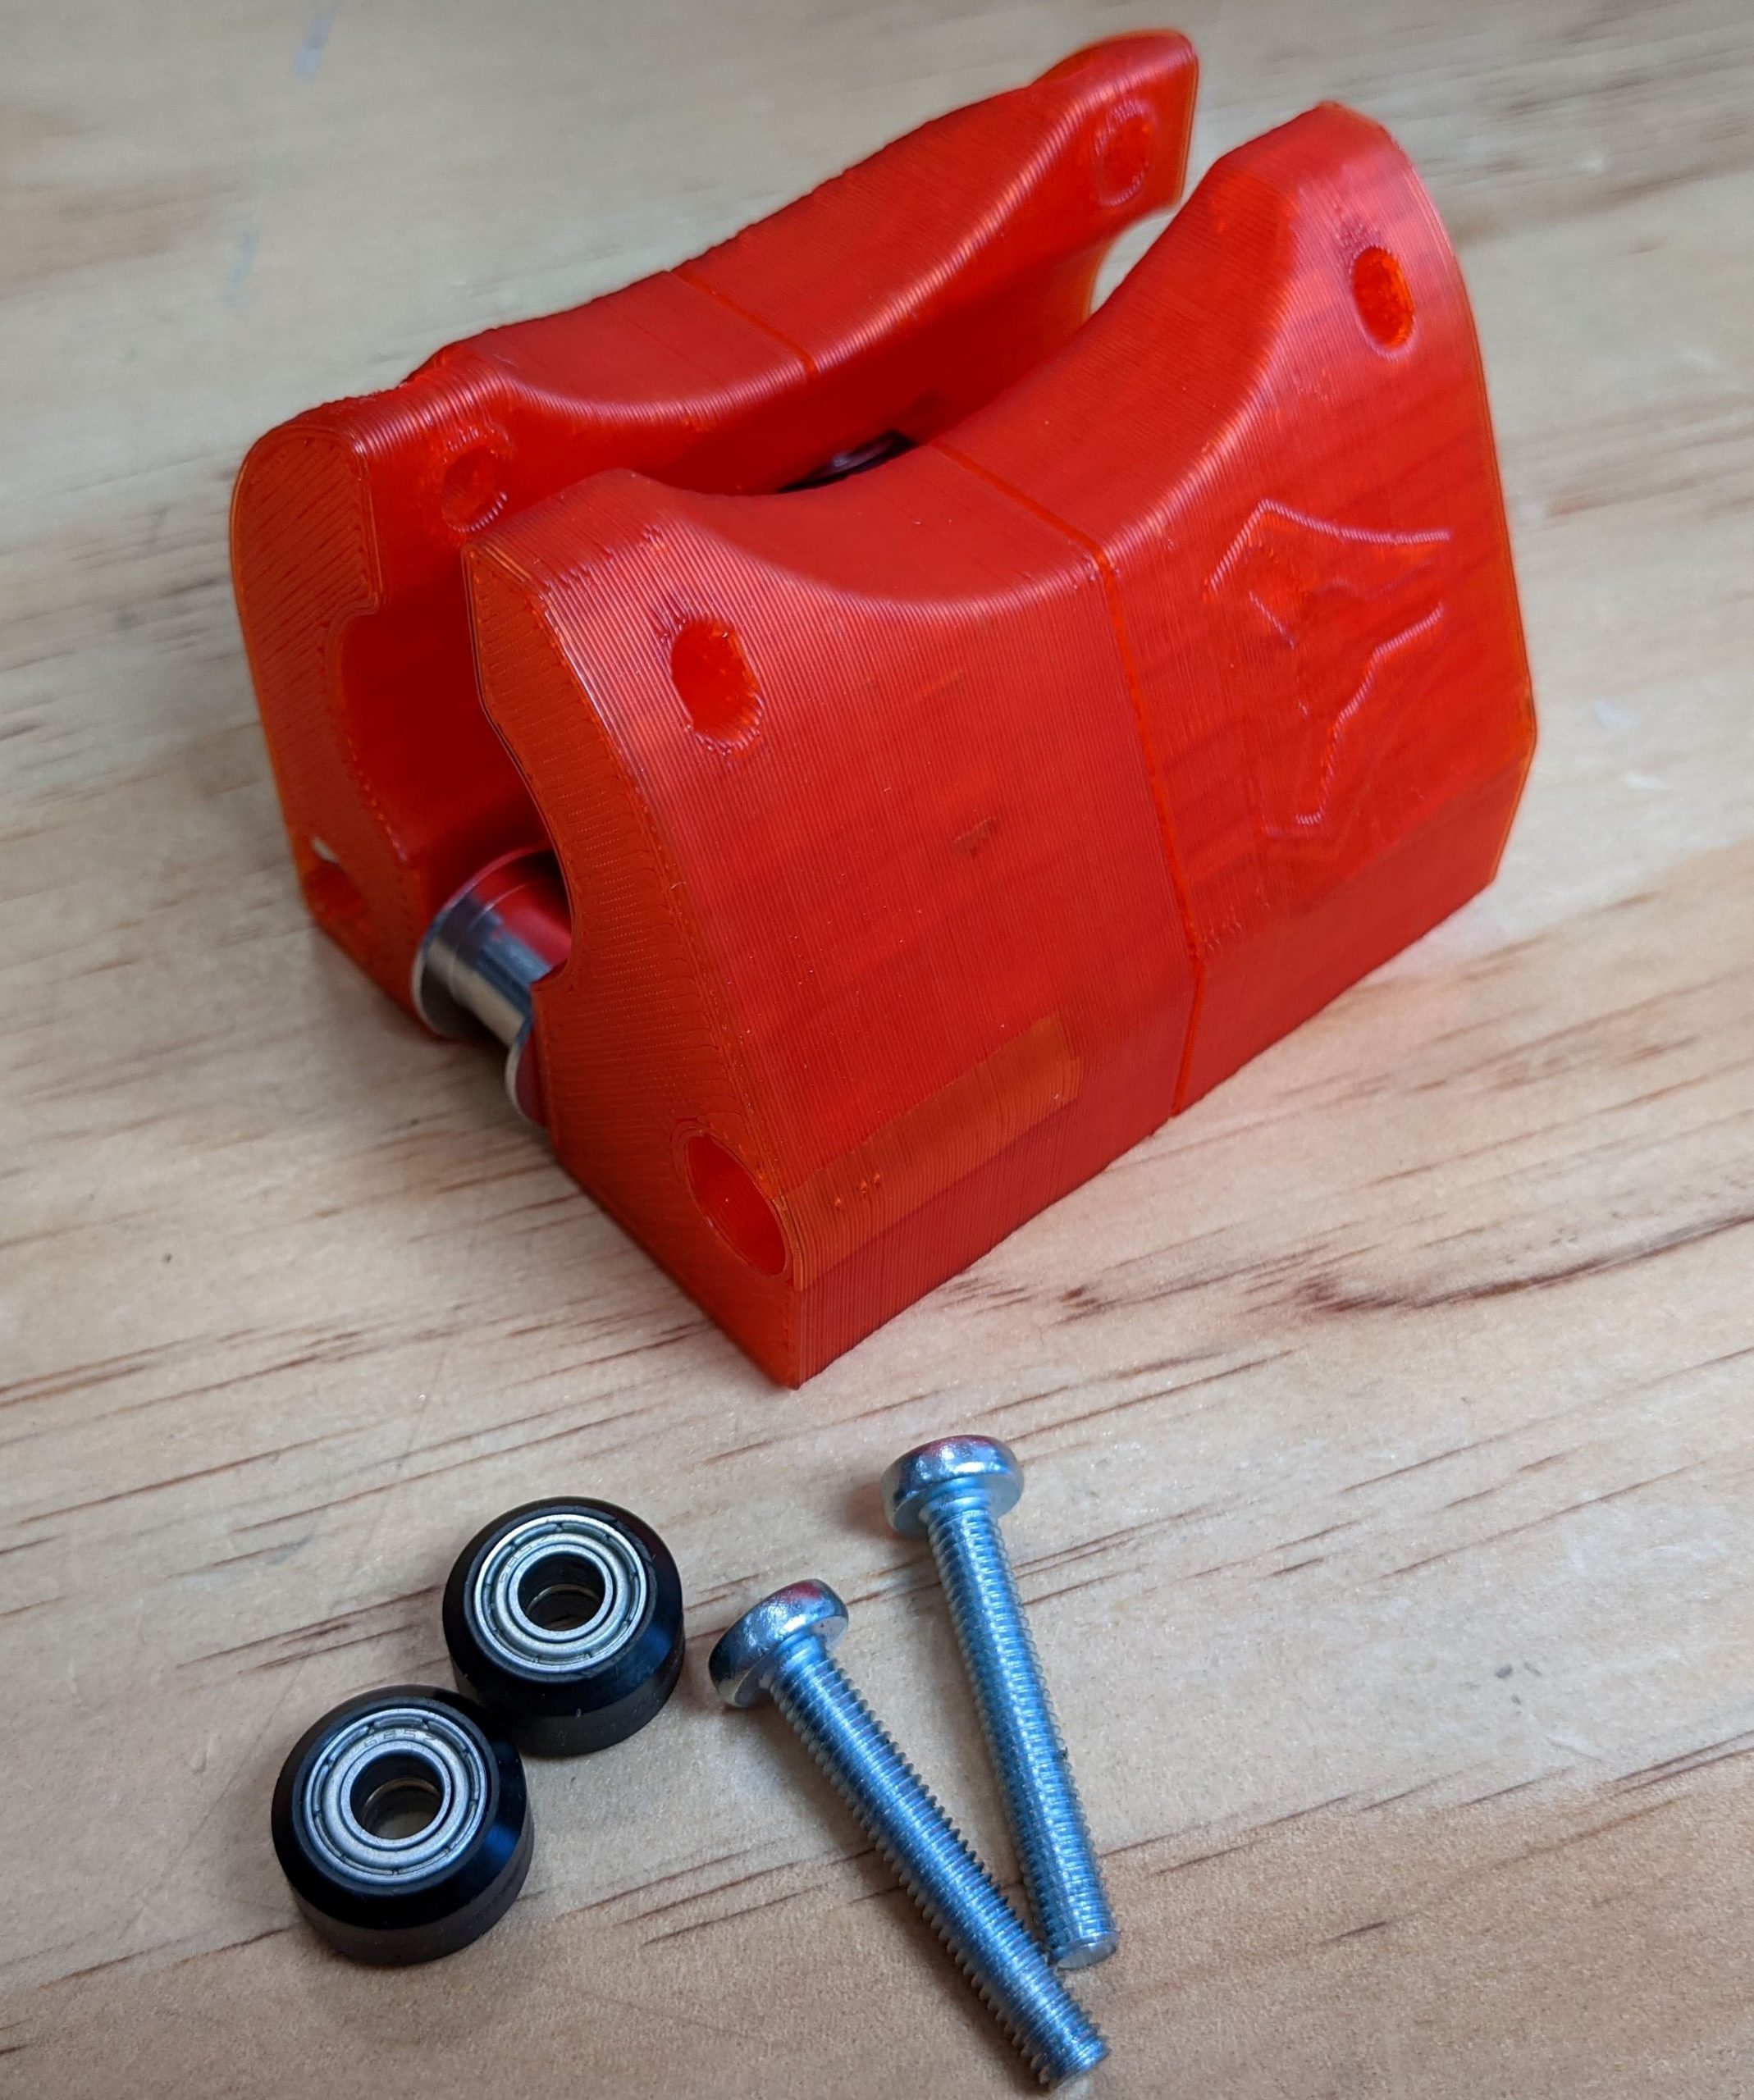
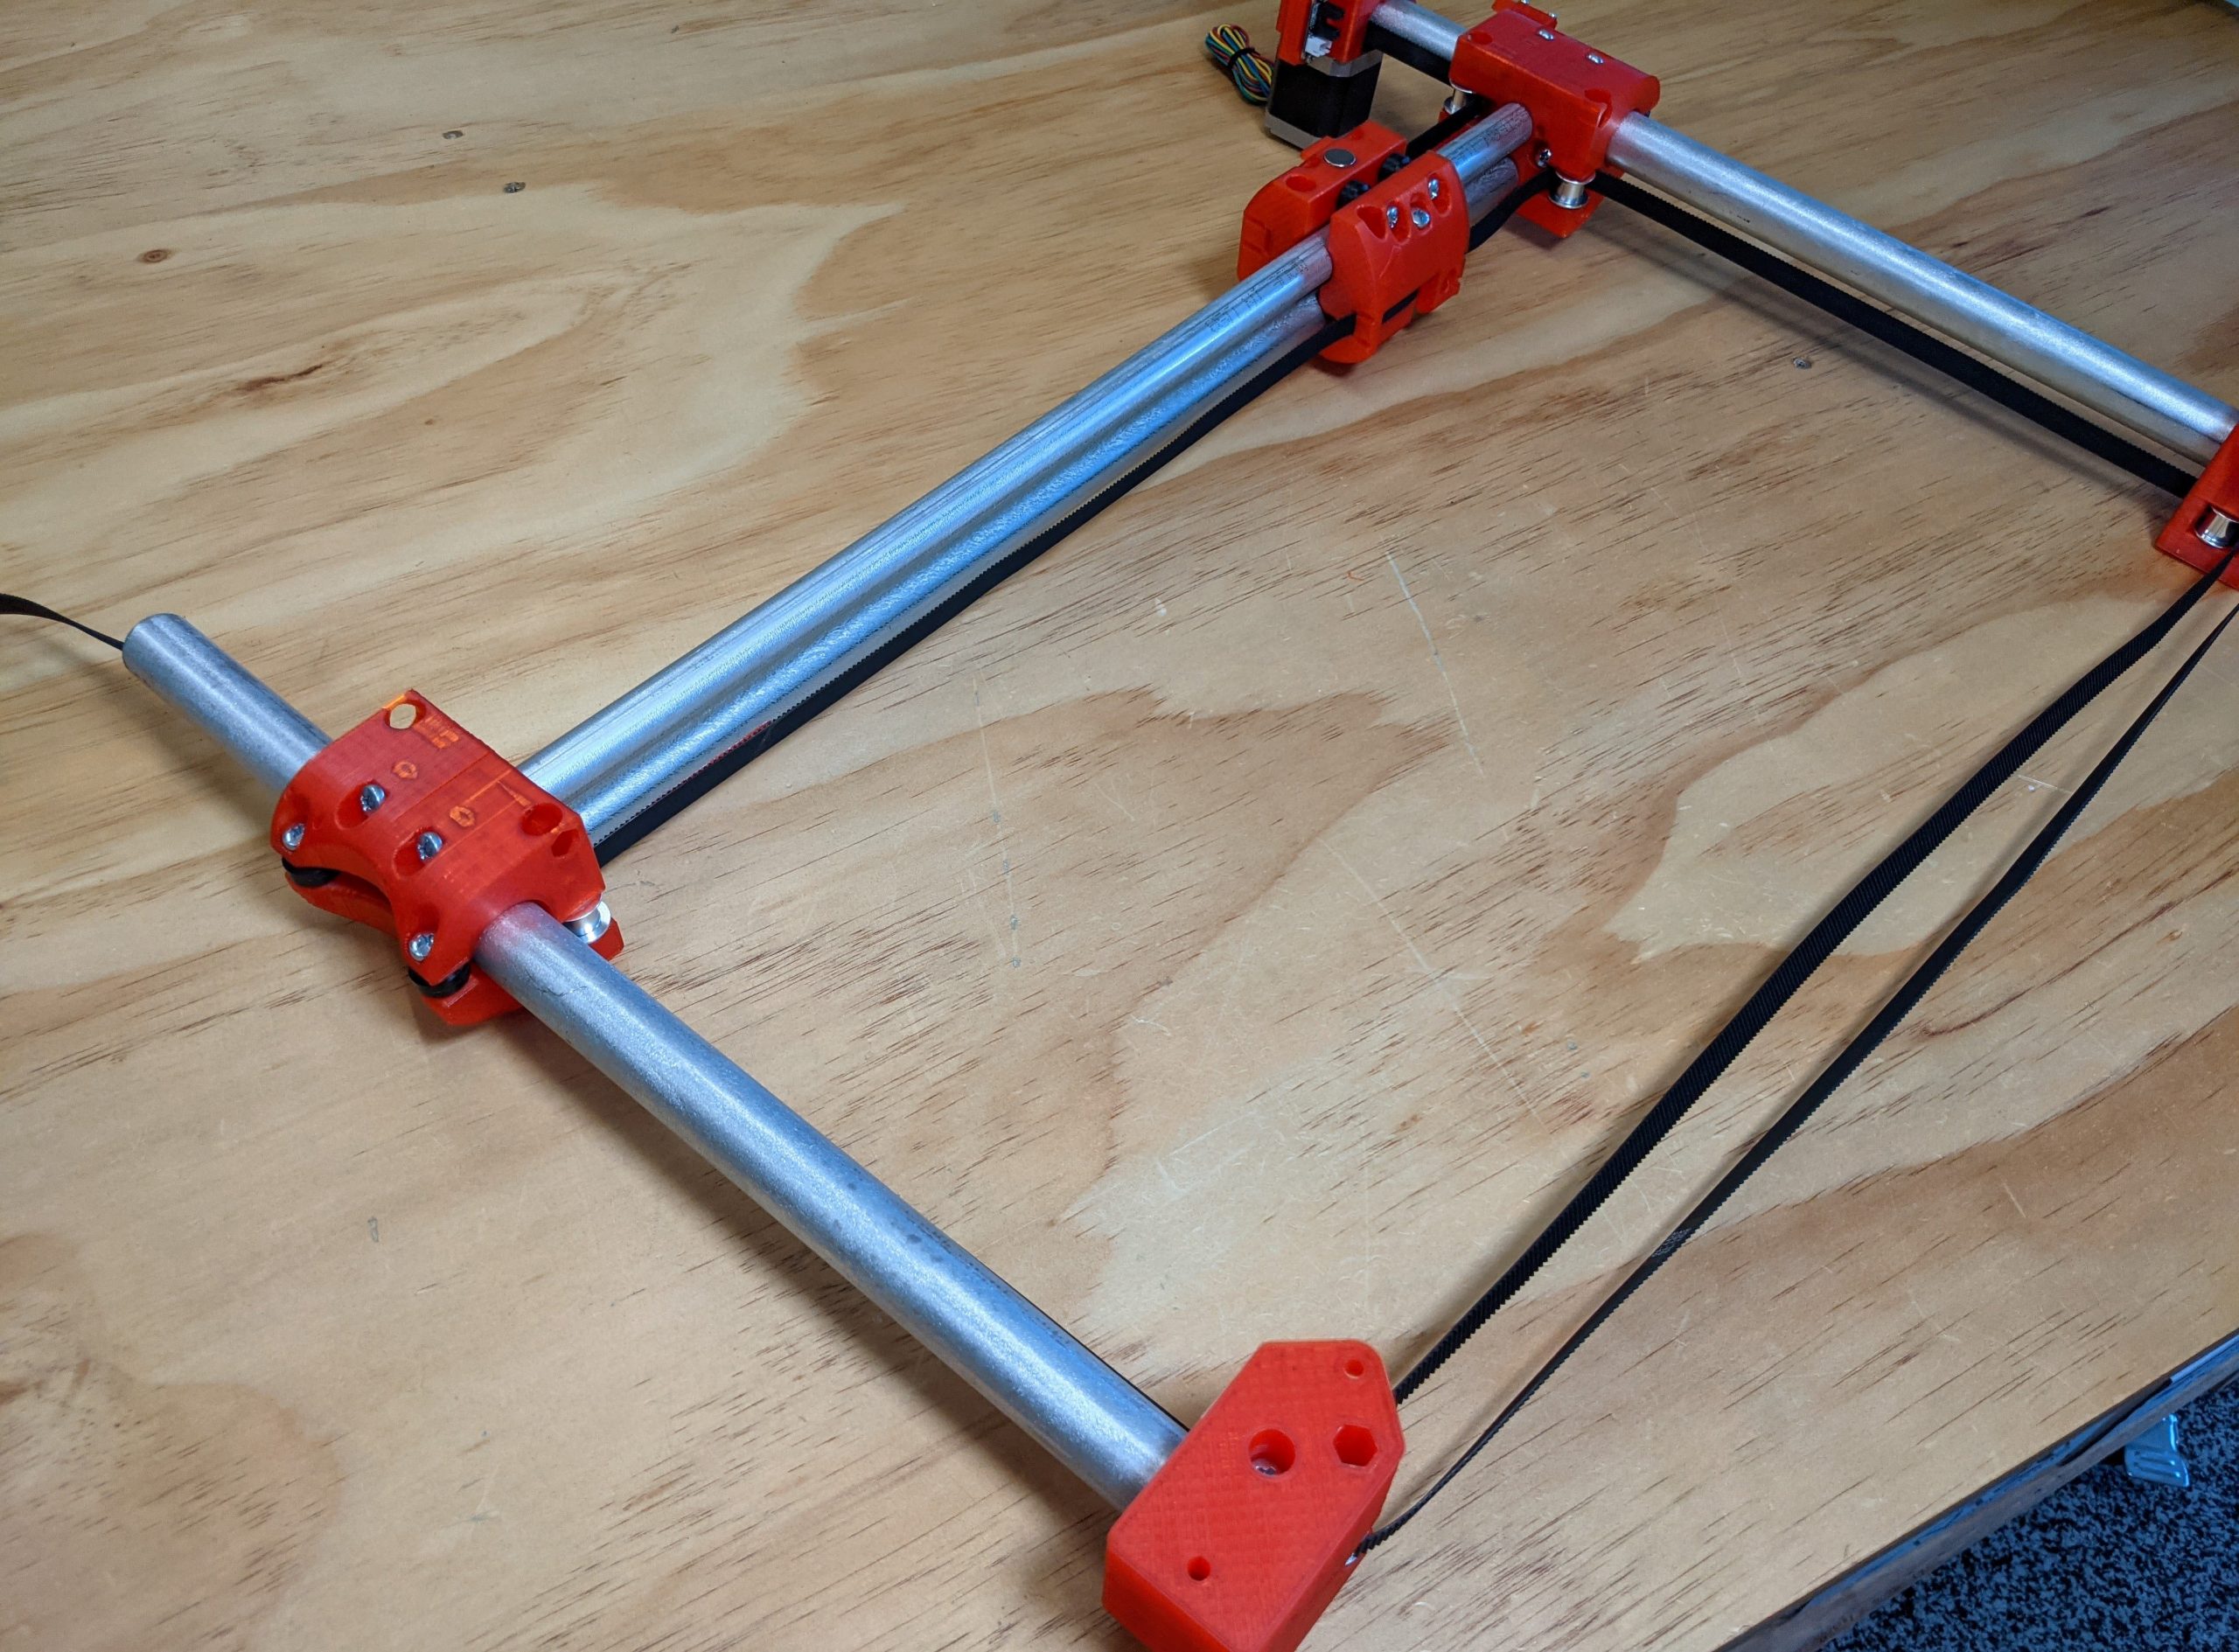
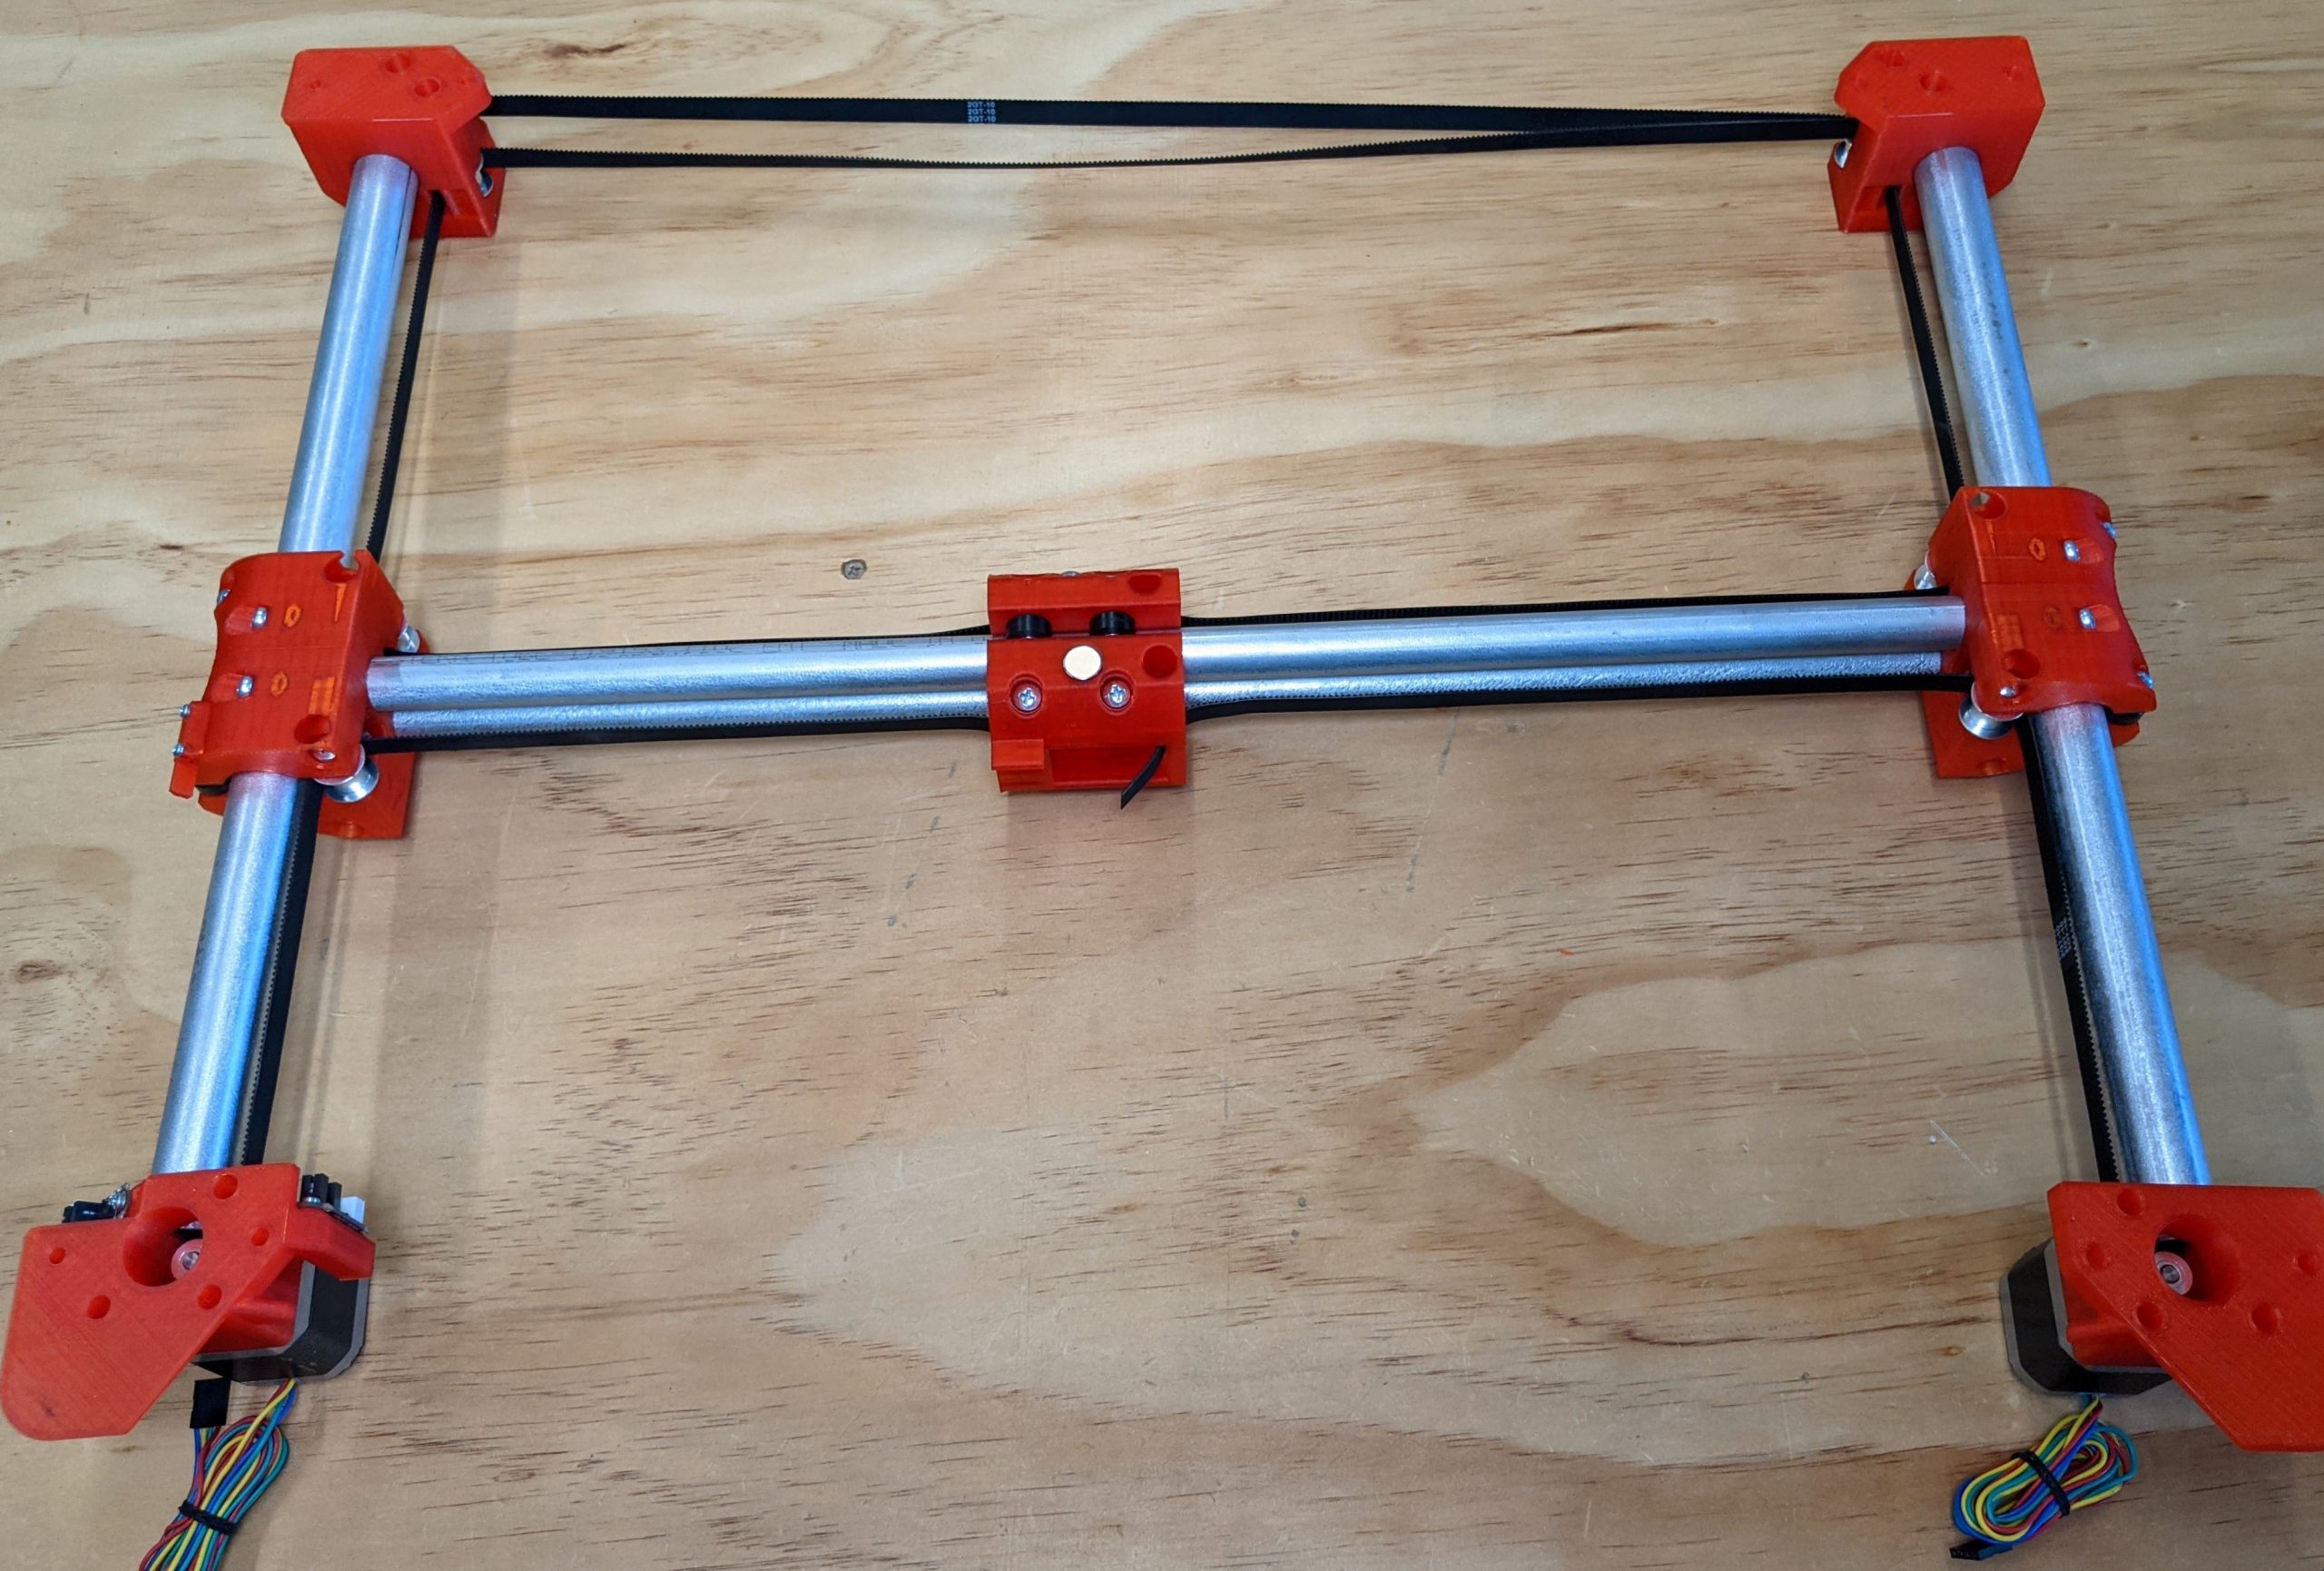
Cross Corners
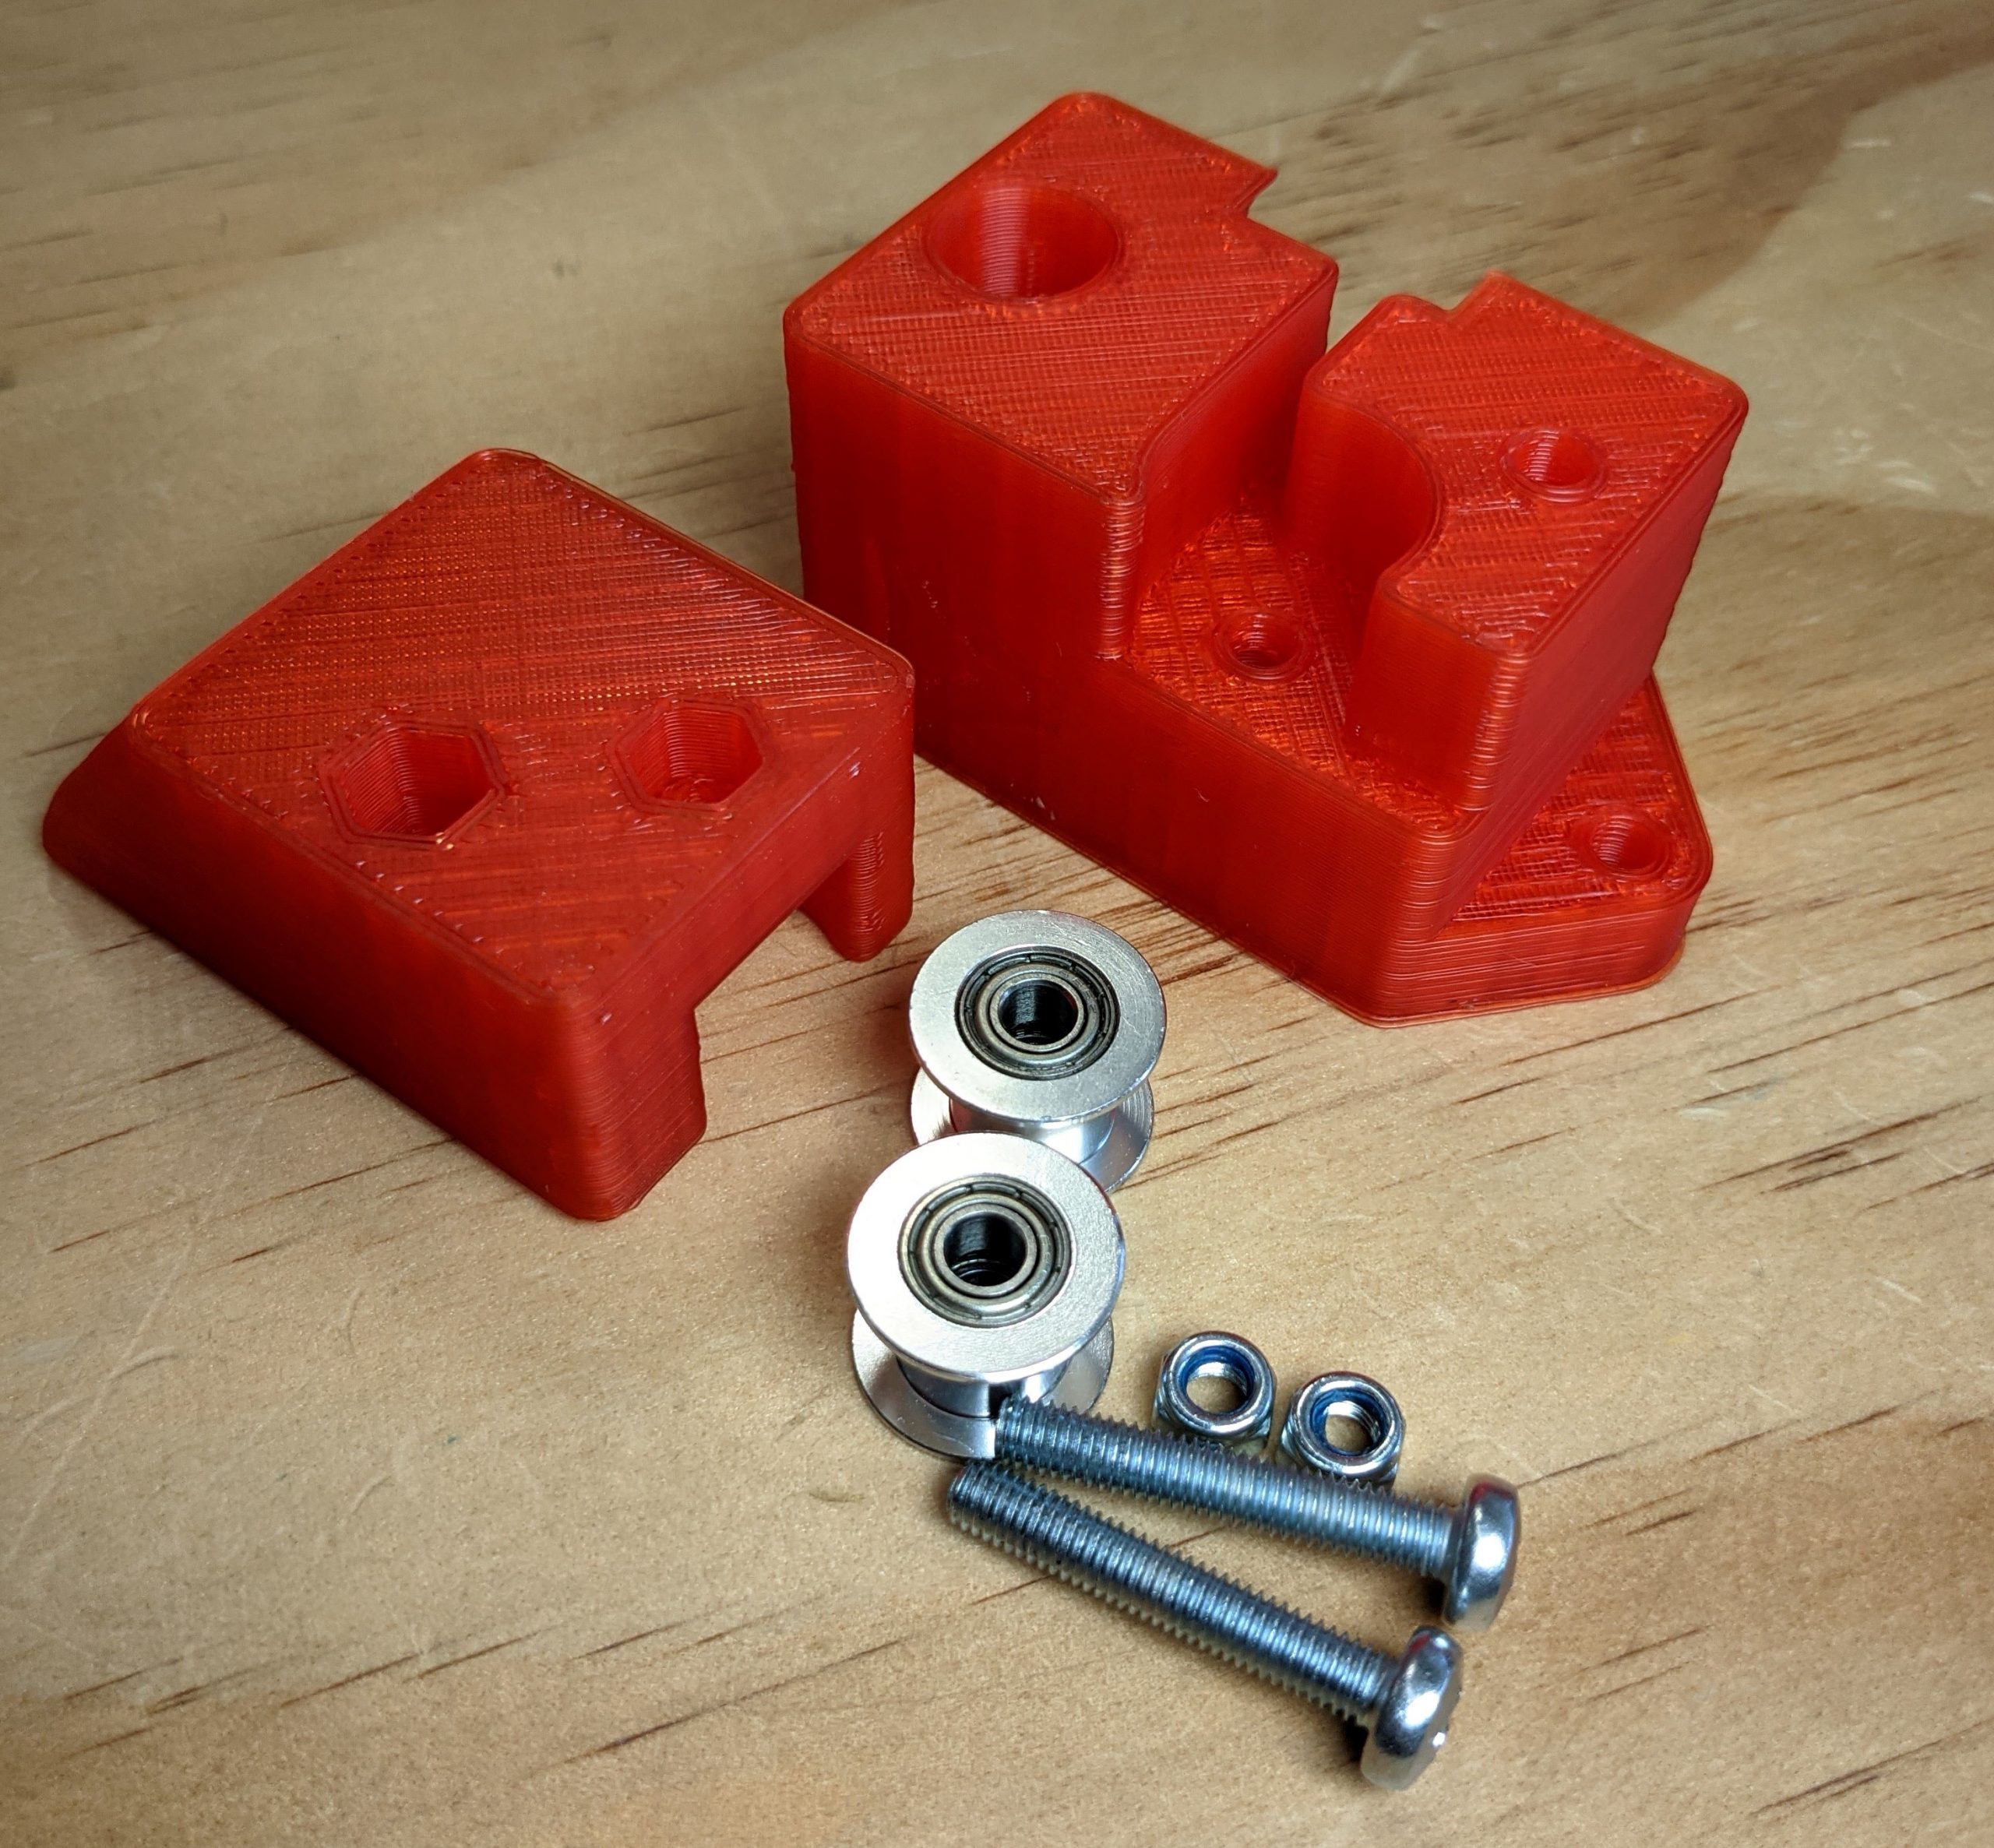
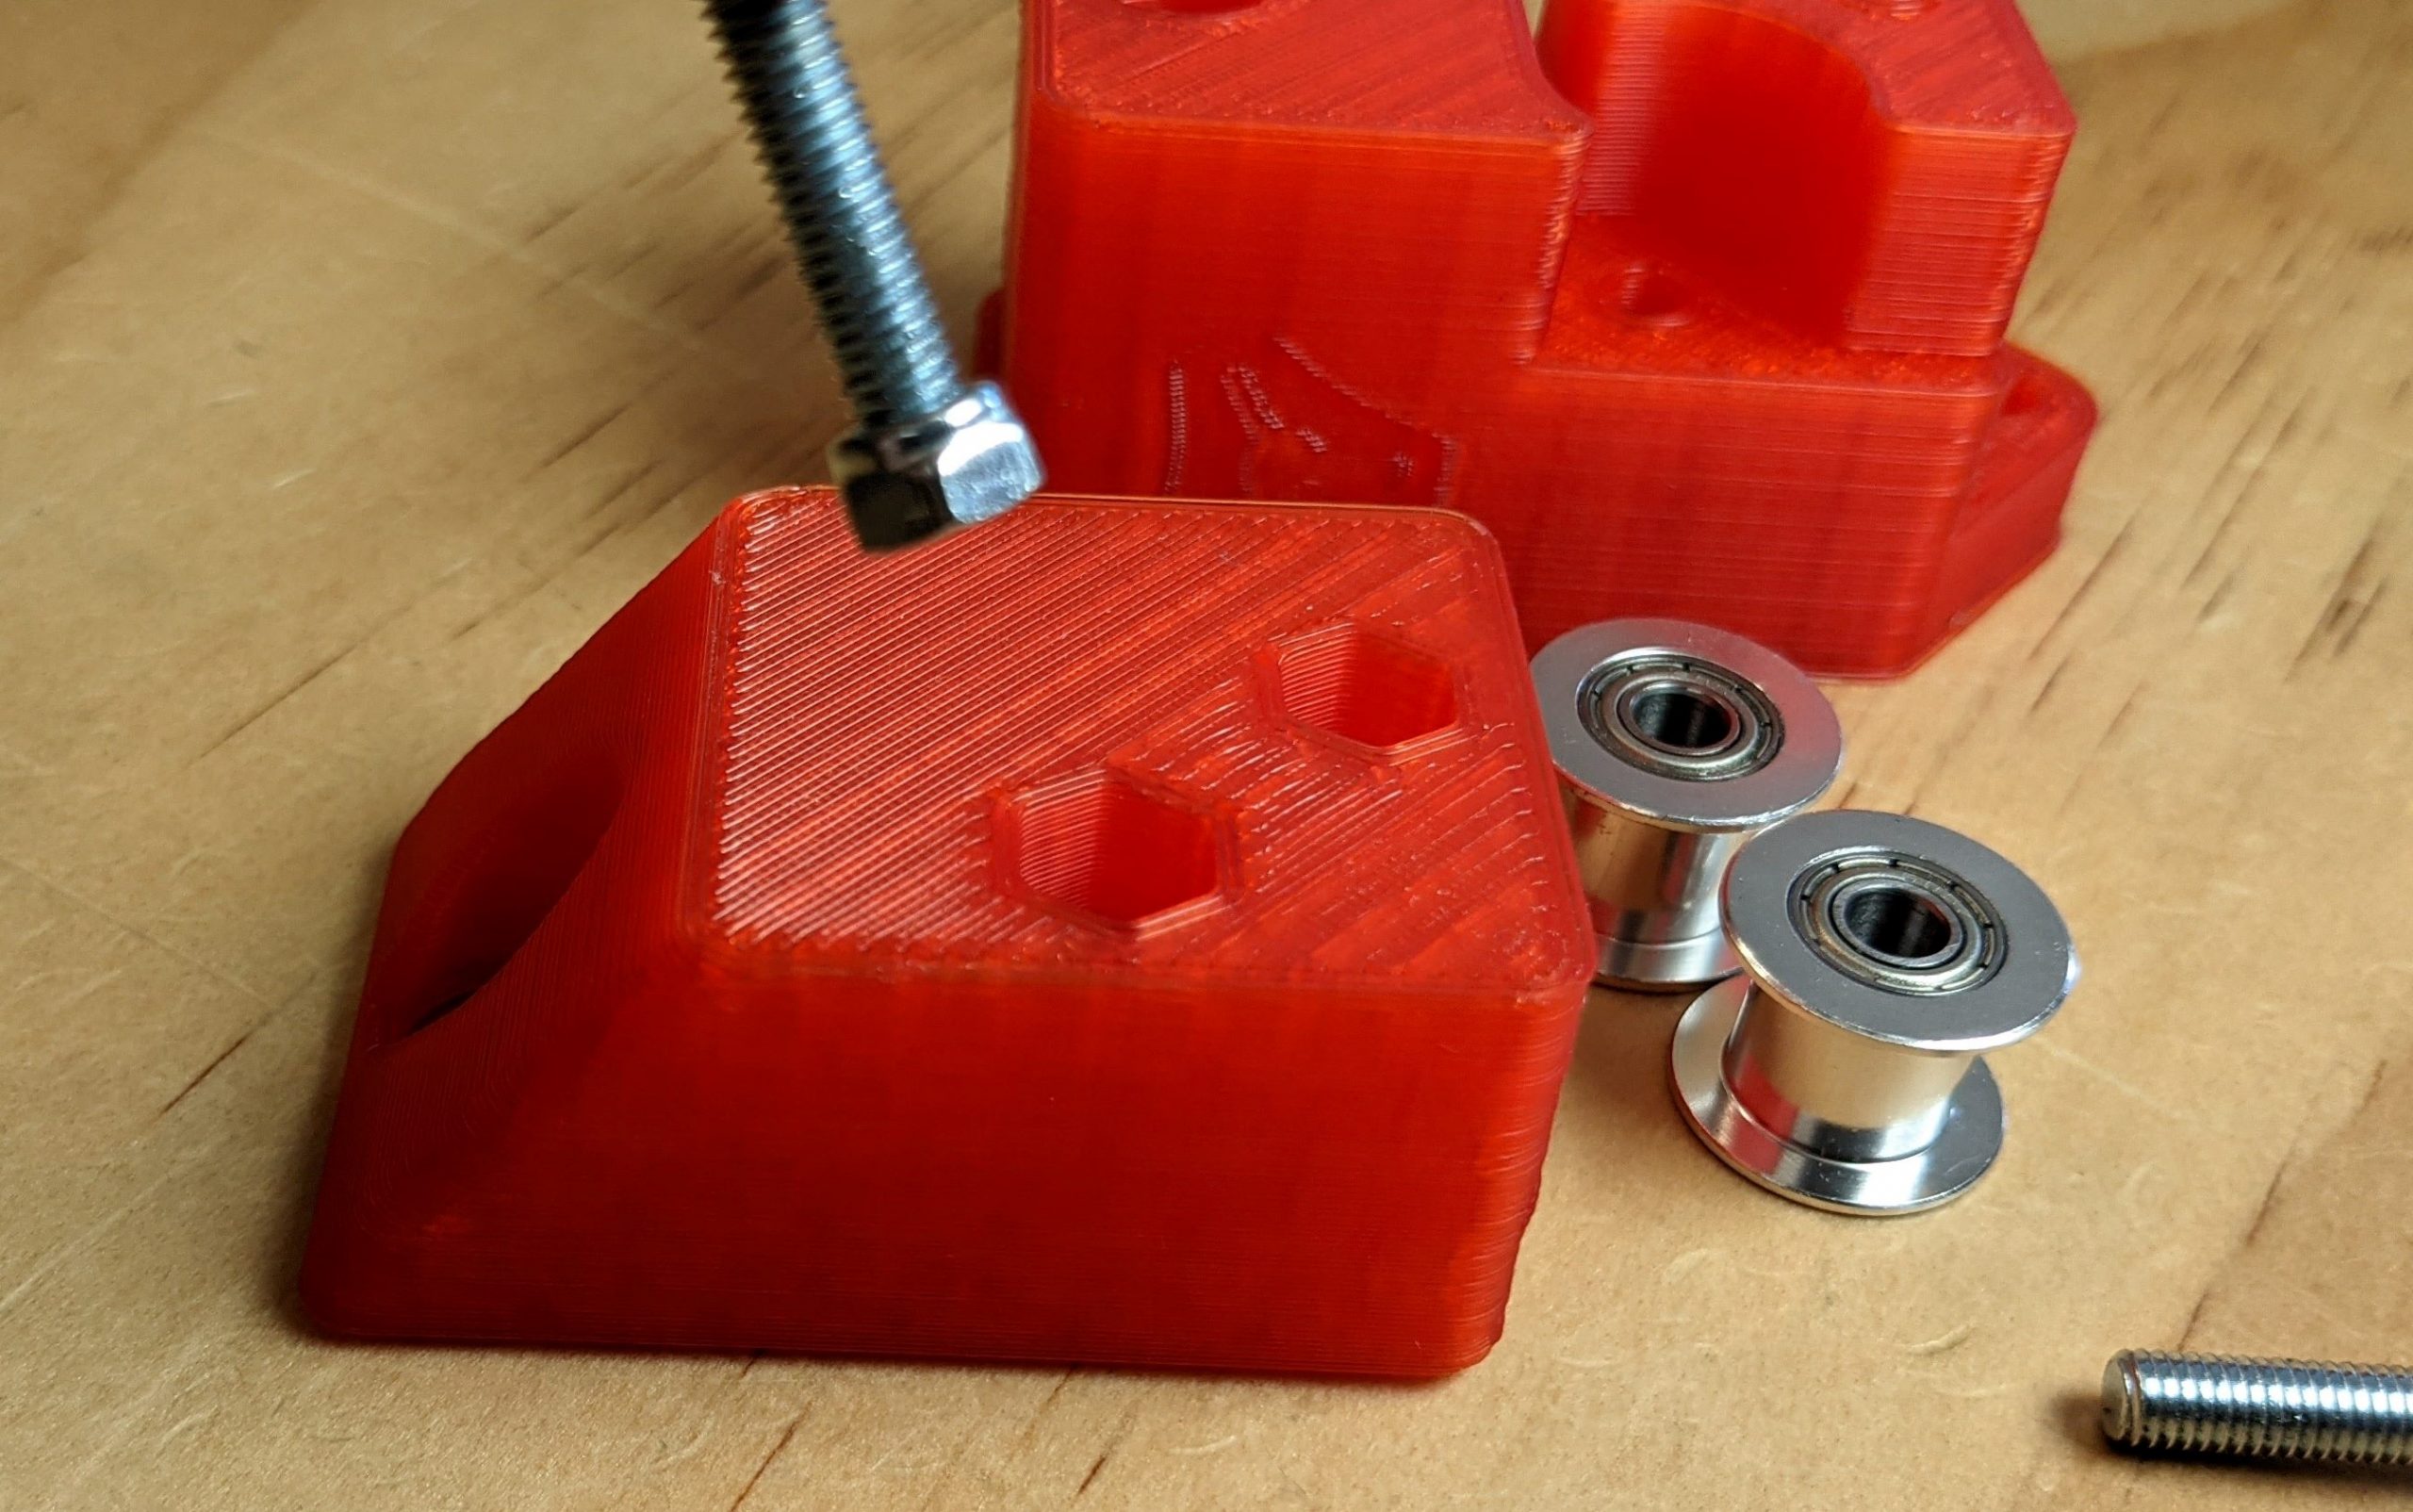
- These do not need to be super tight, just snug to keep the parts secure without pinching the idlers.
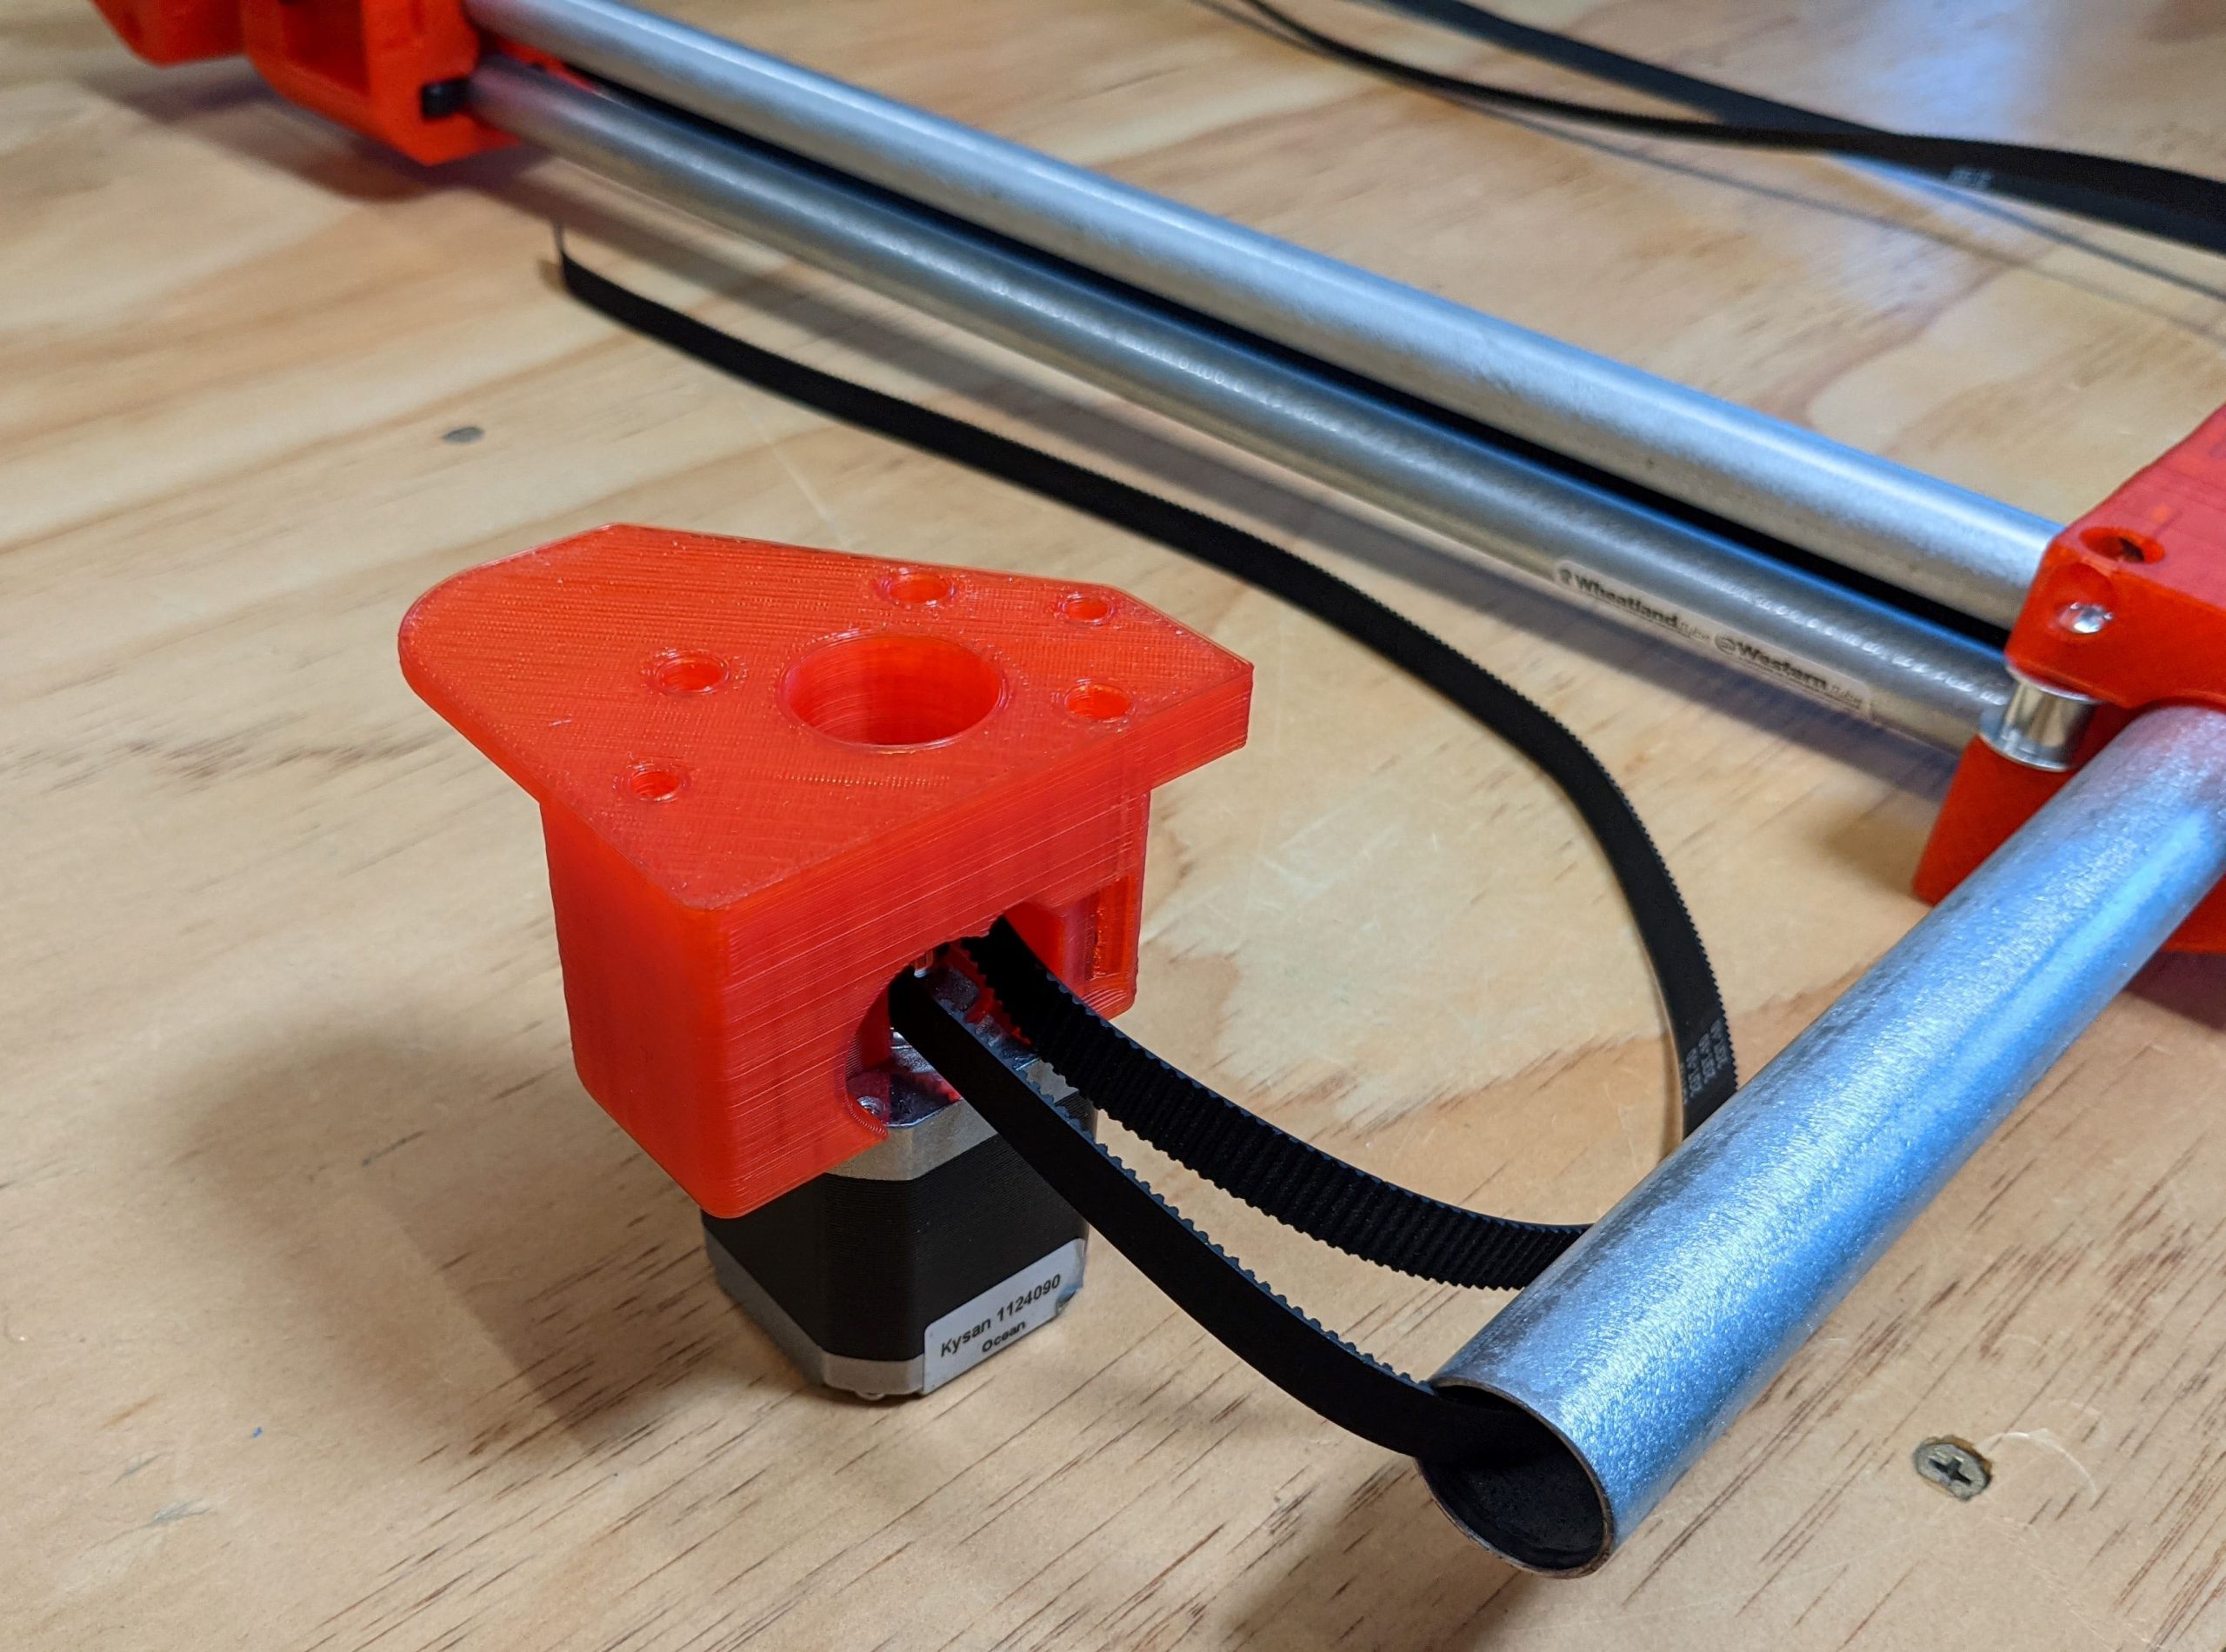
- Align the pulleys with the indents on the printed part (highlighted here in pen).
- Do not forget to tighten both grub screws, flat one first, then the other.
- Make sure to orient the endstop as shown here.
- Make sure to orient the endstop as shown here.
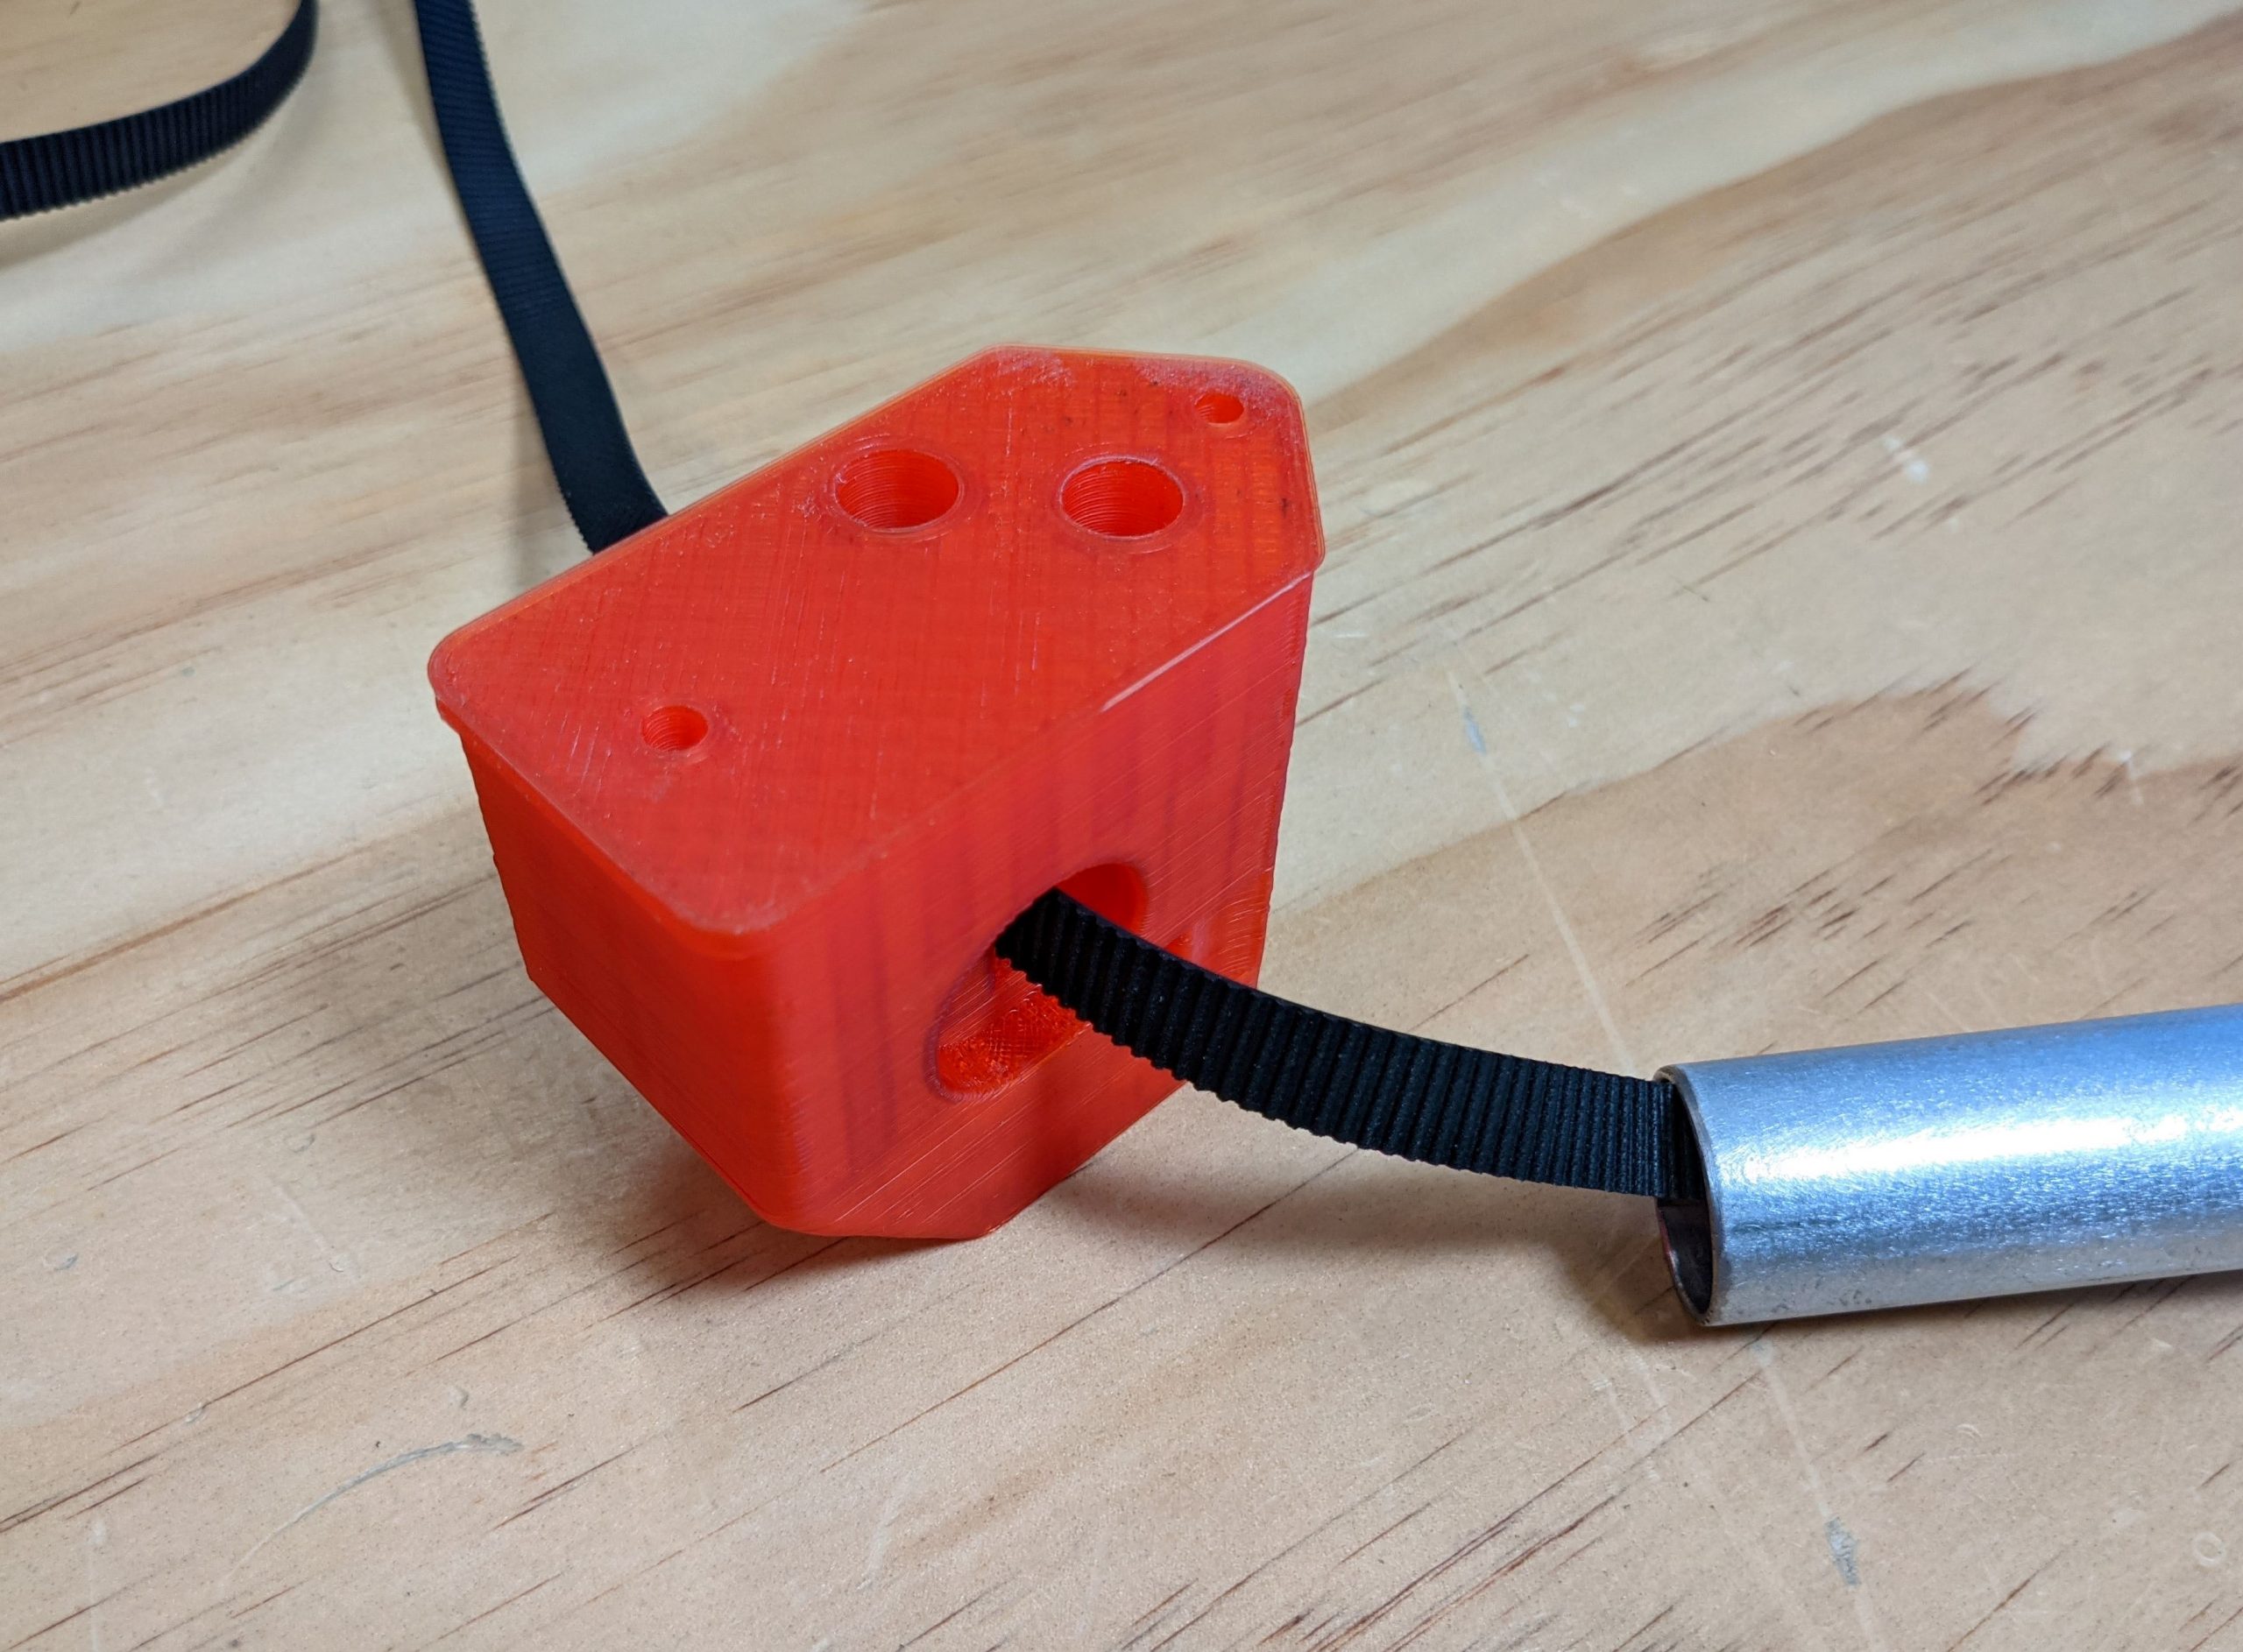
Running the Belt
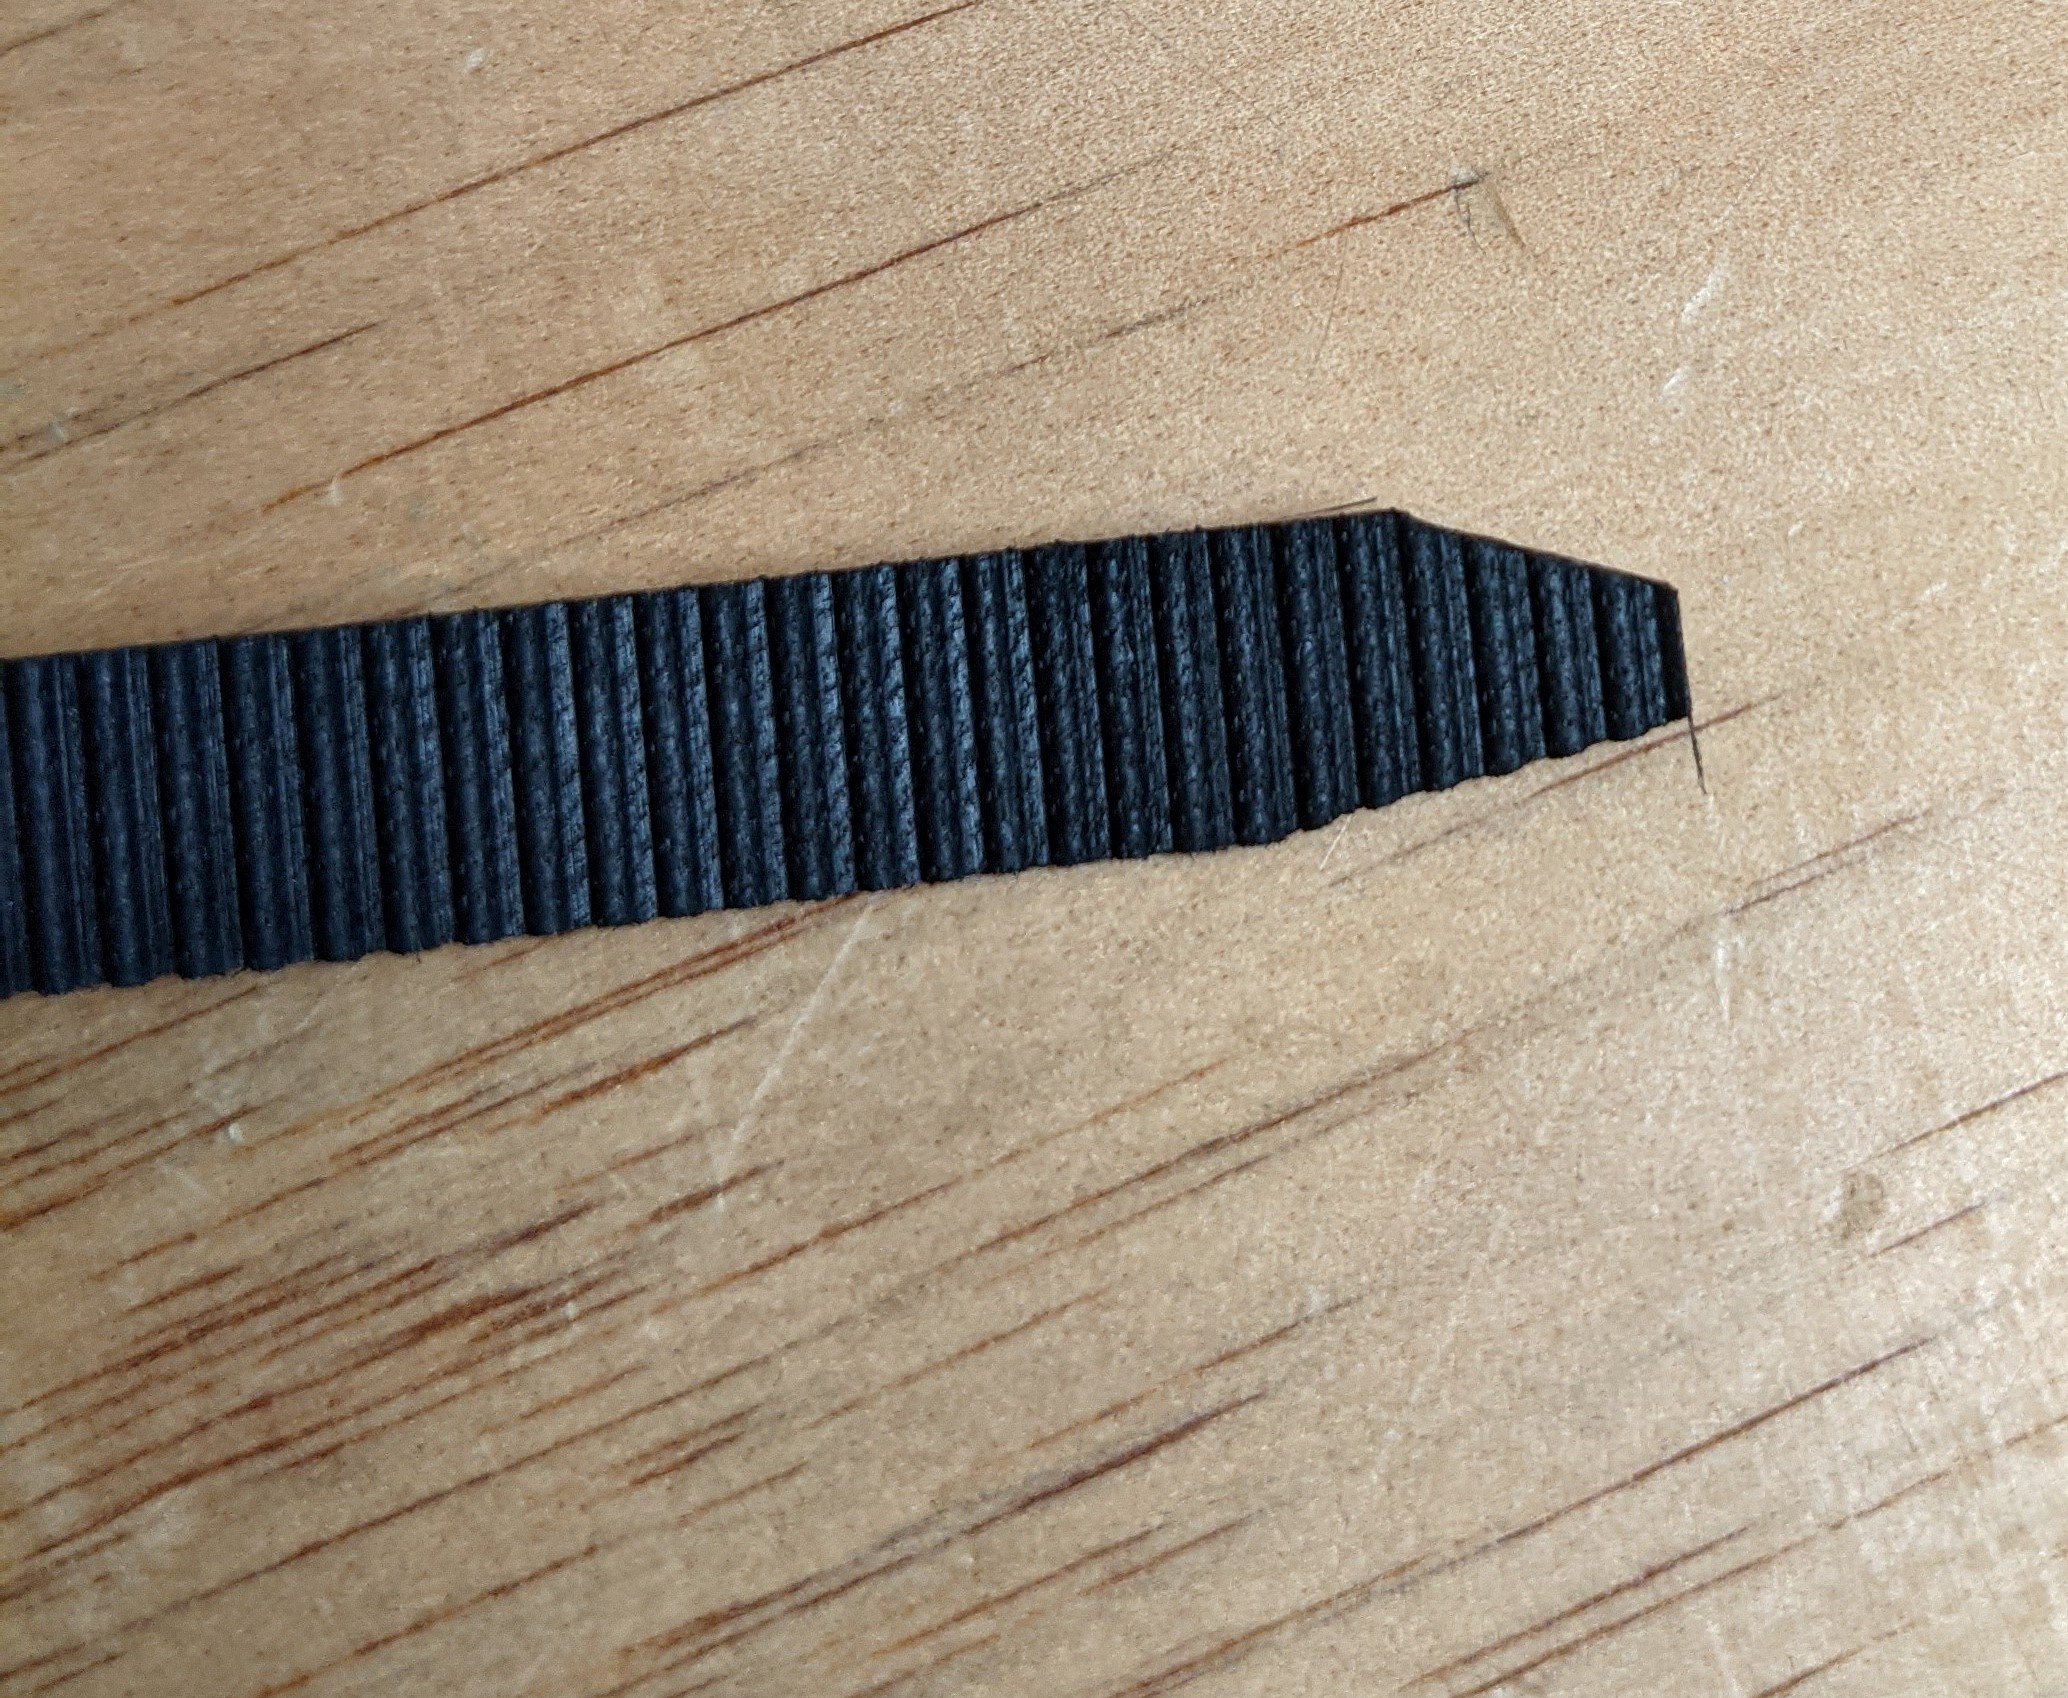
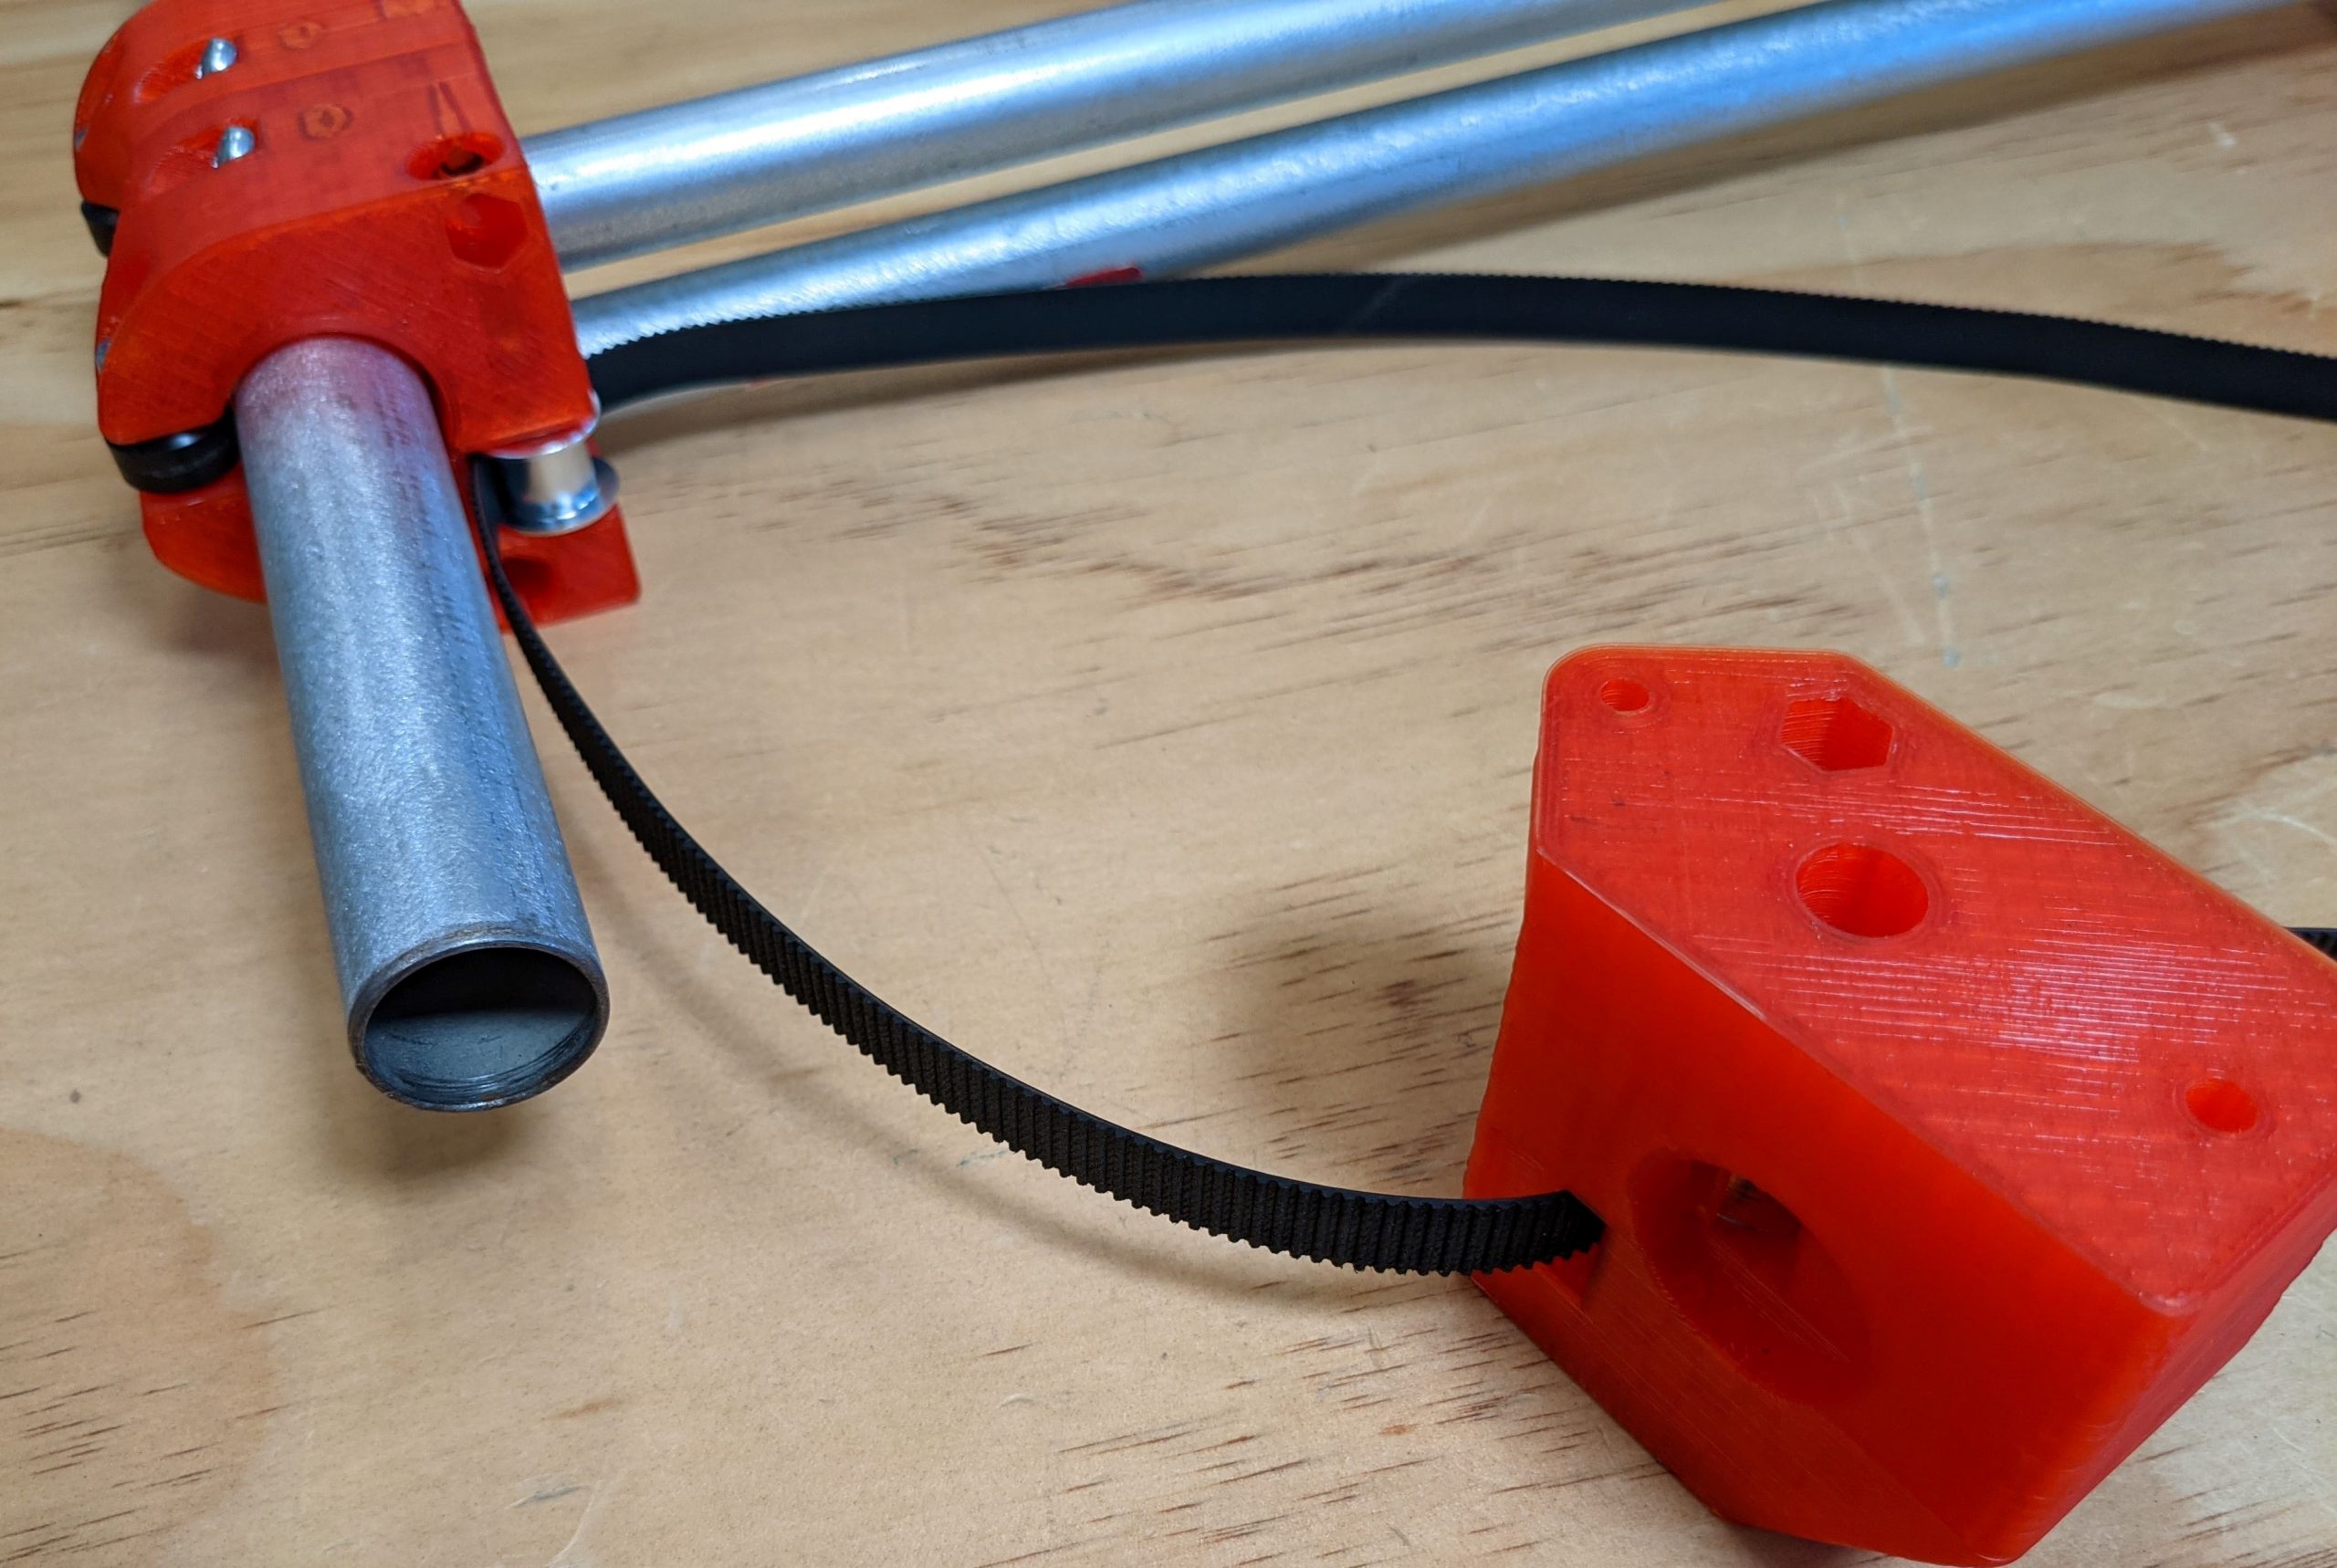
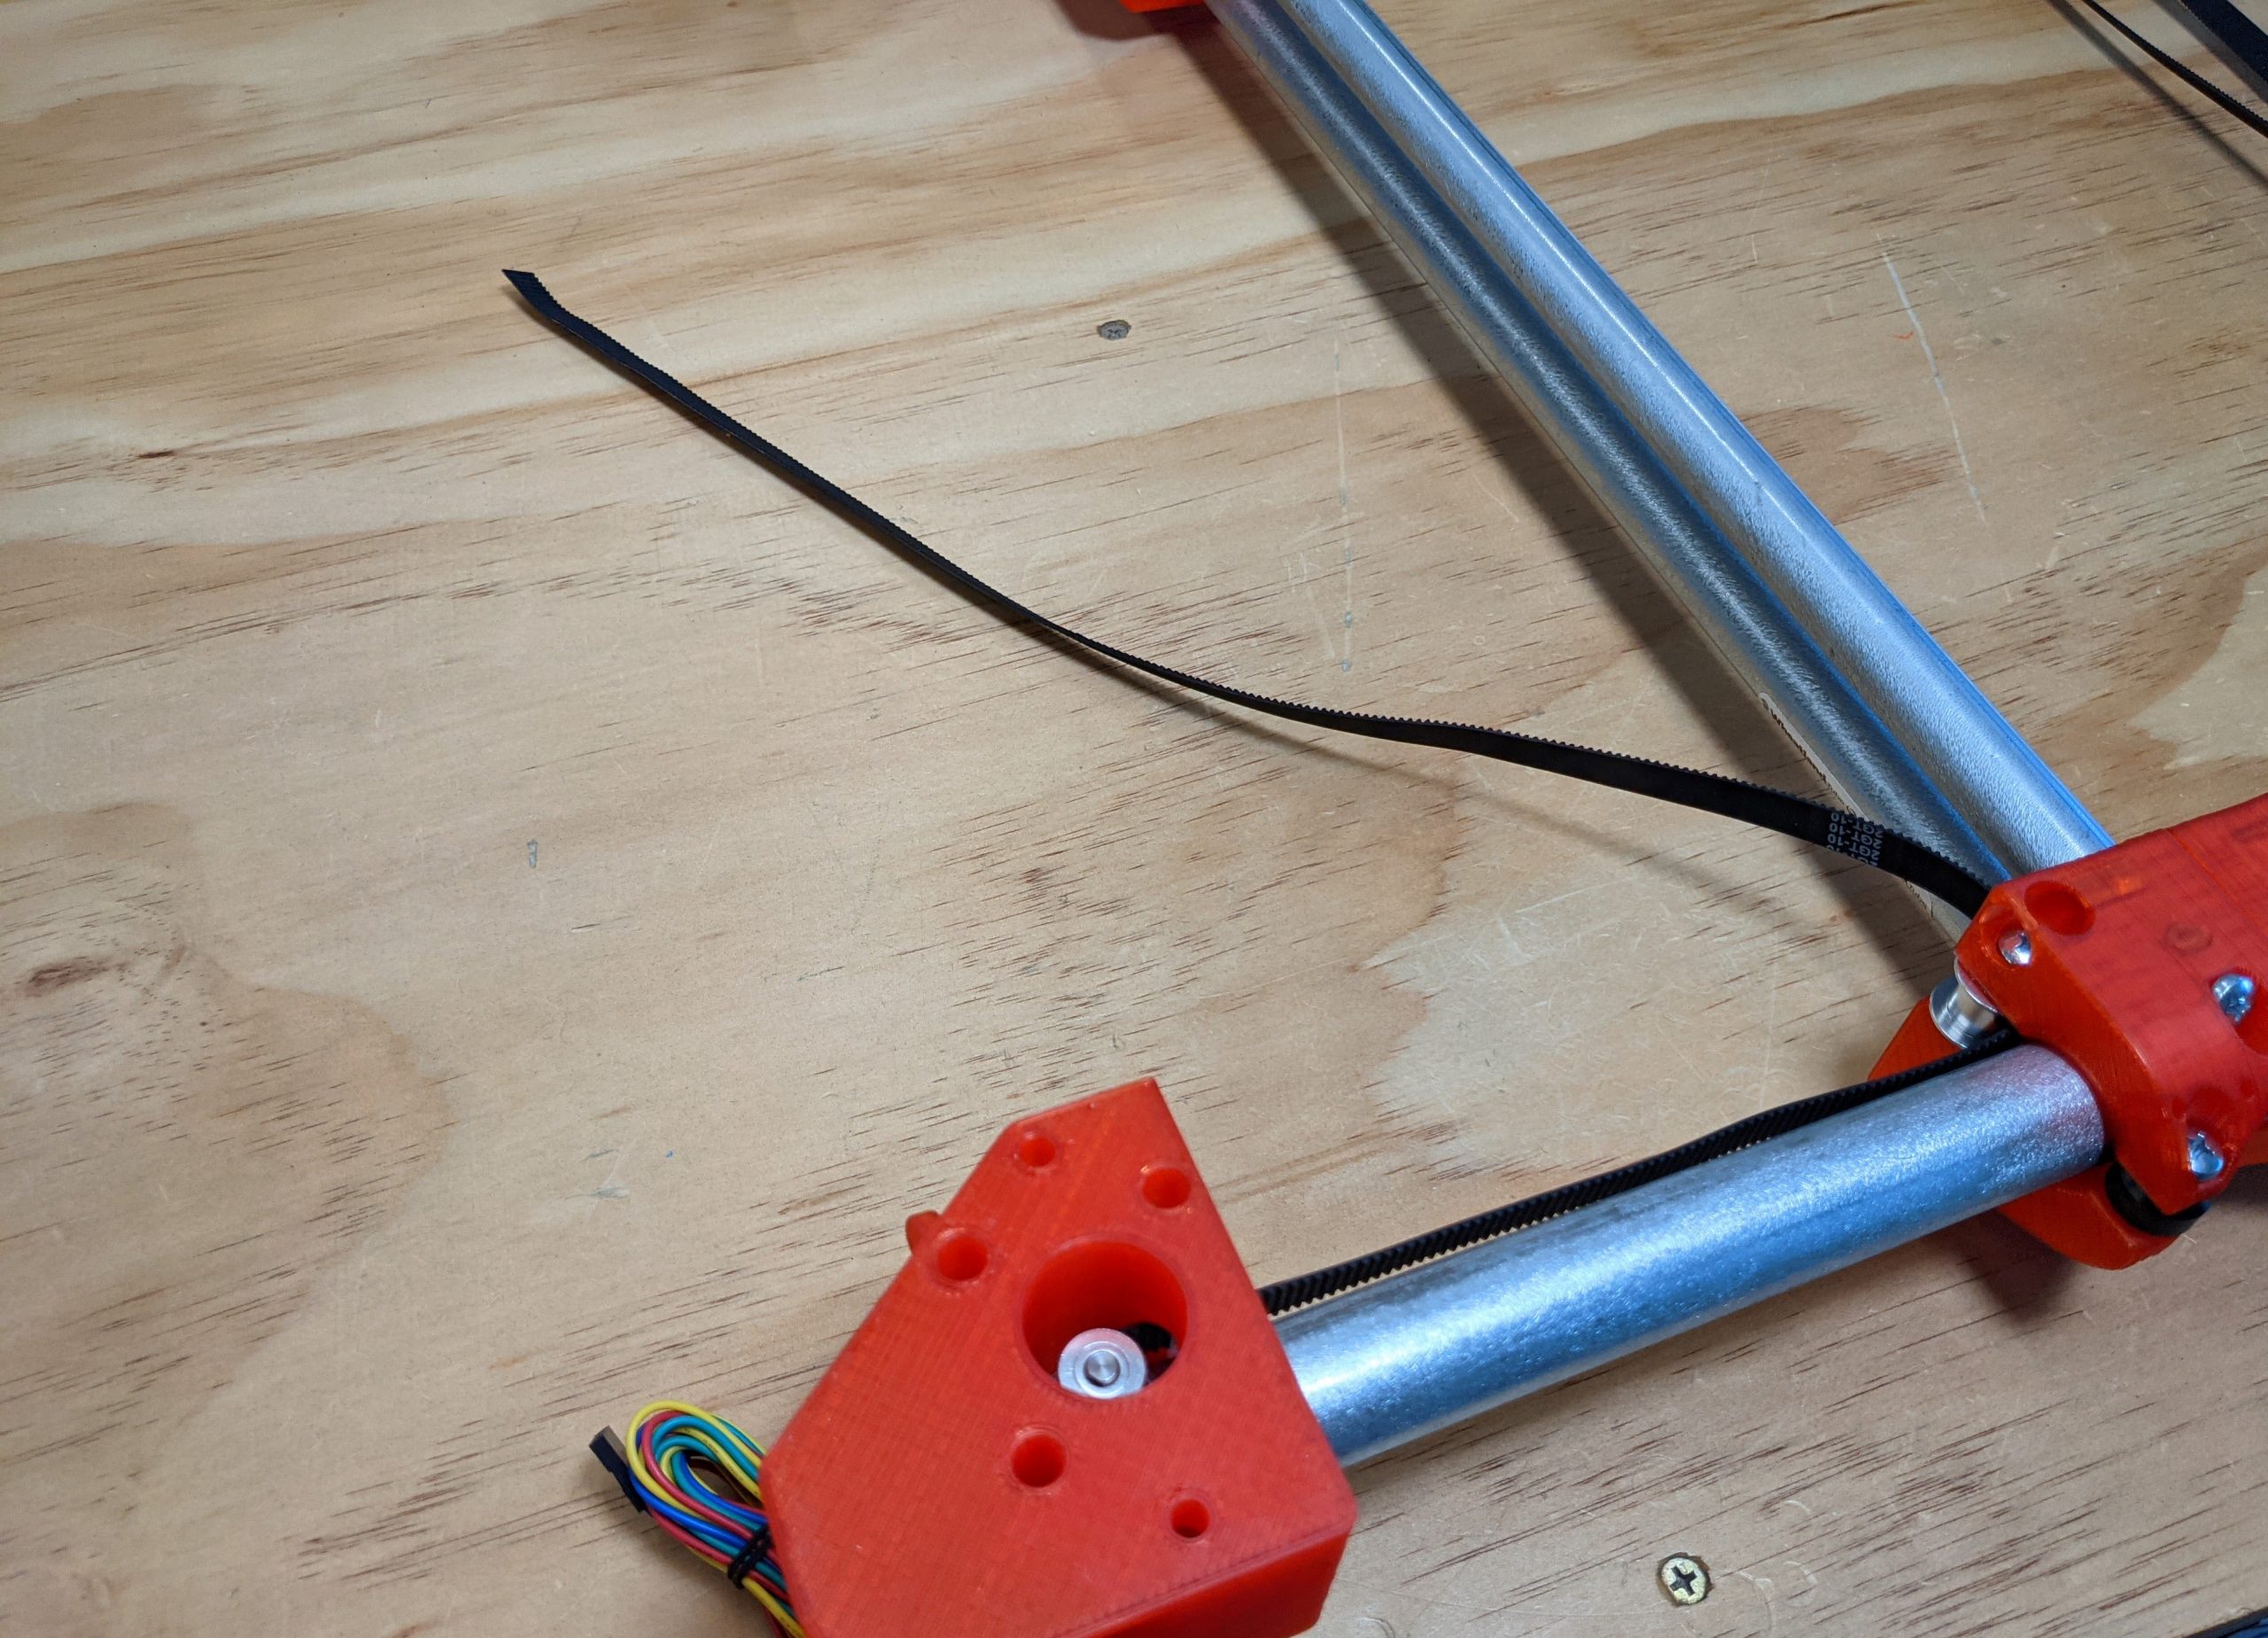
- Trimming the belt can help feed it through the slots.
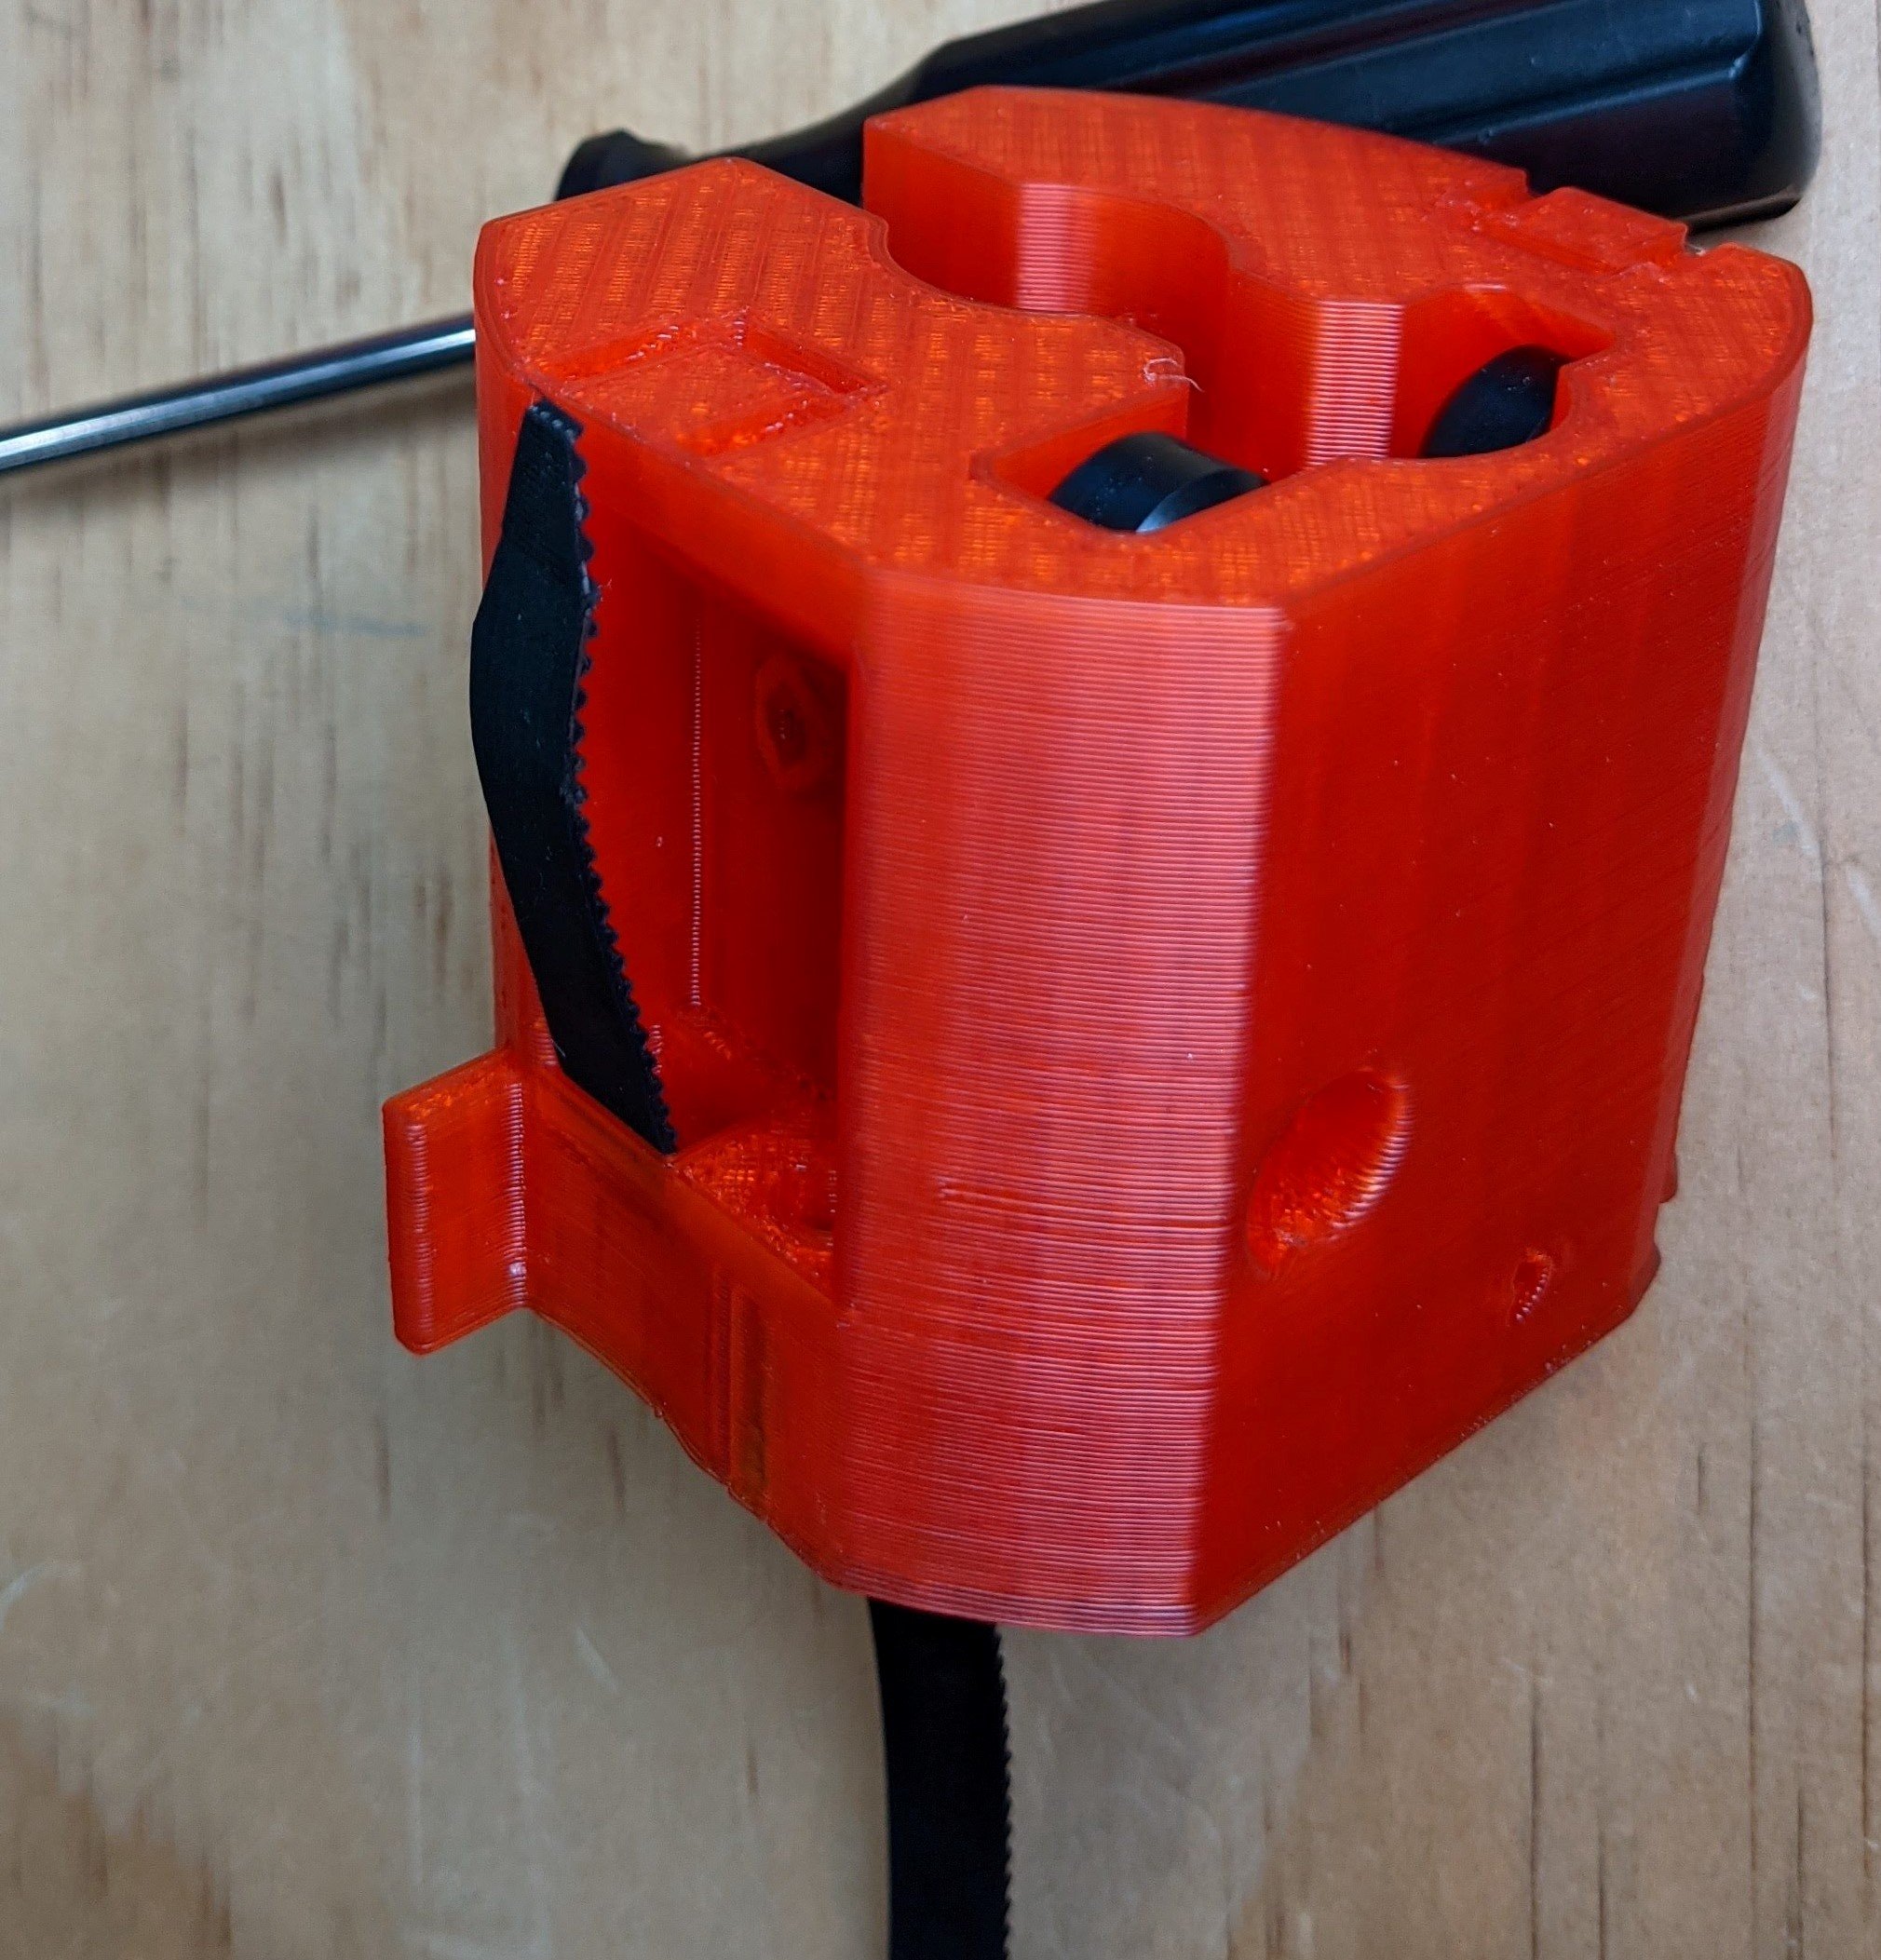
- Feed the belt through the outer slot, paying attention to face the teeth as shown.

- Back into the other slot, insert it fully.
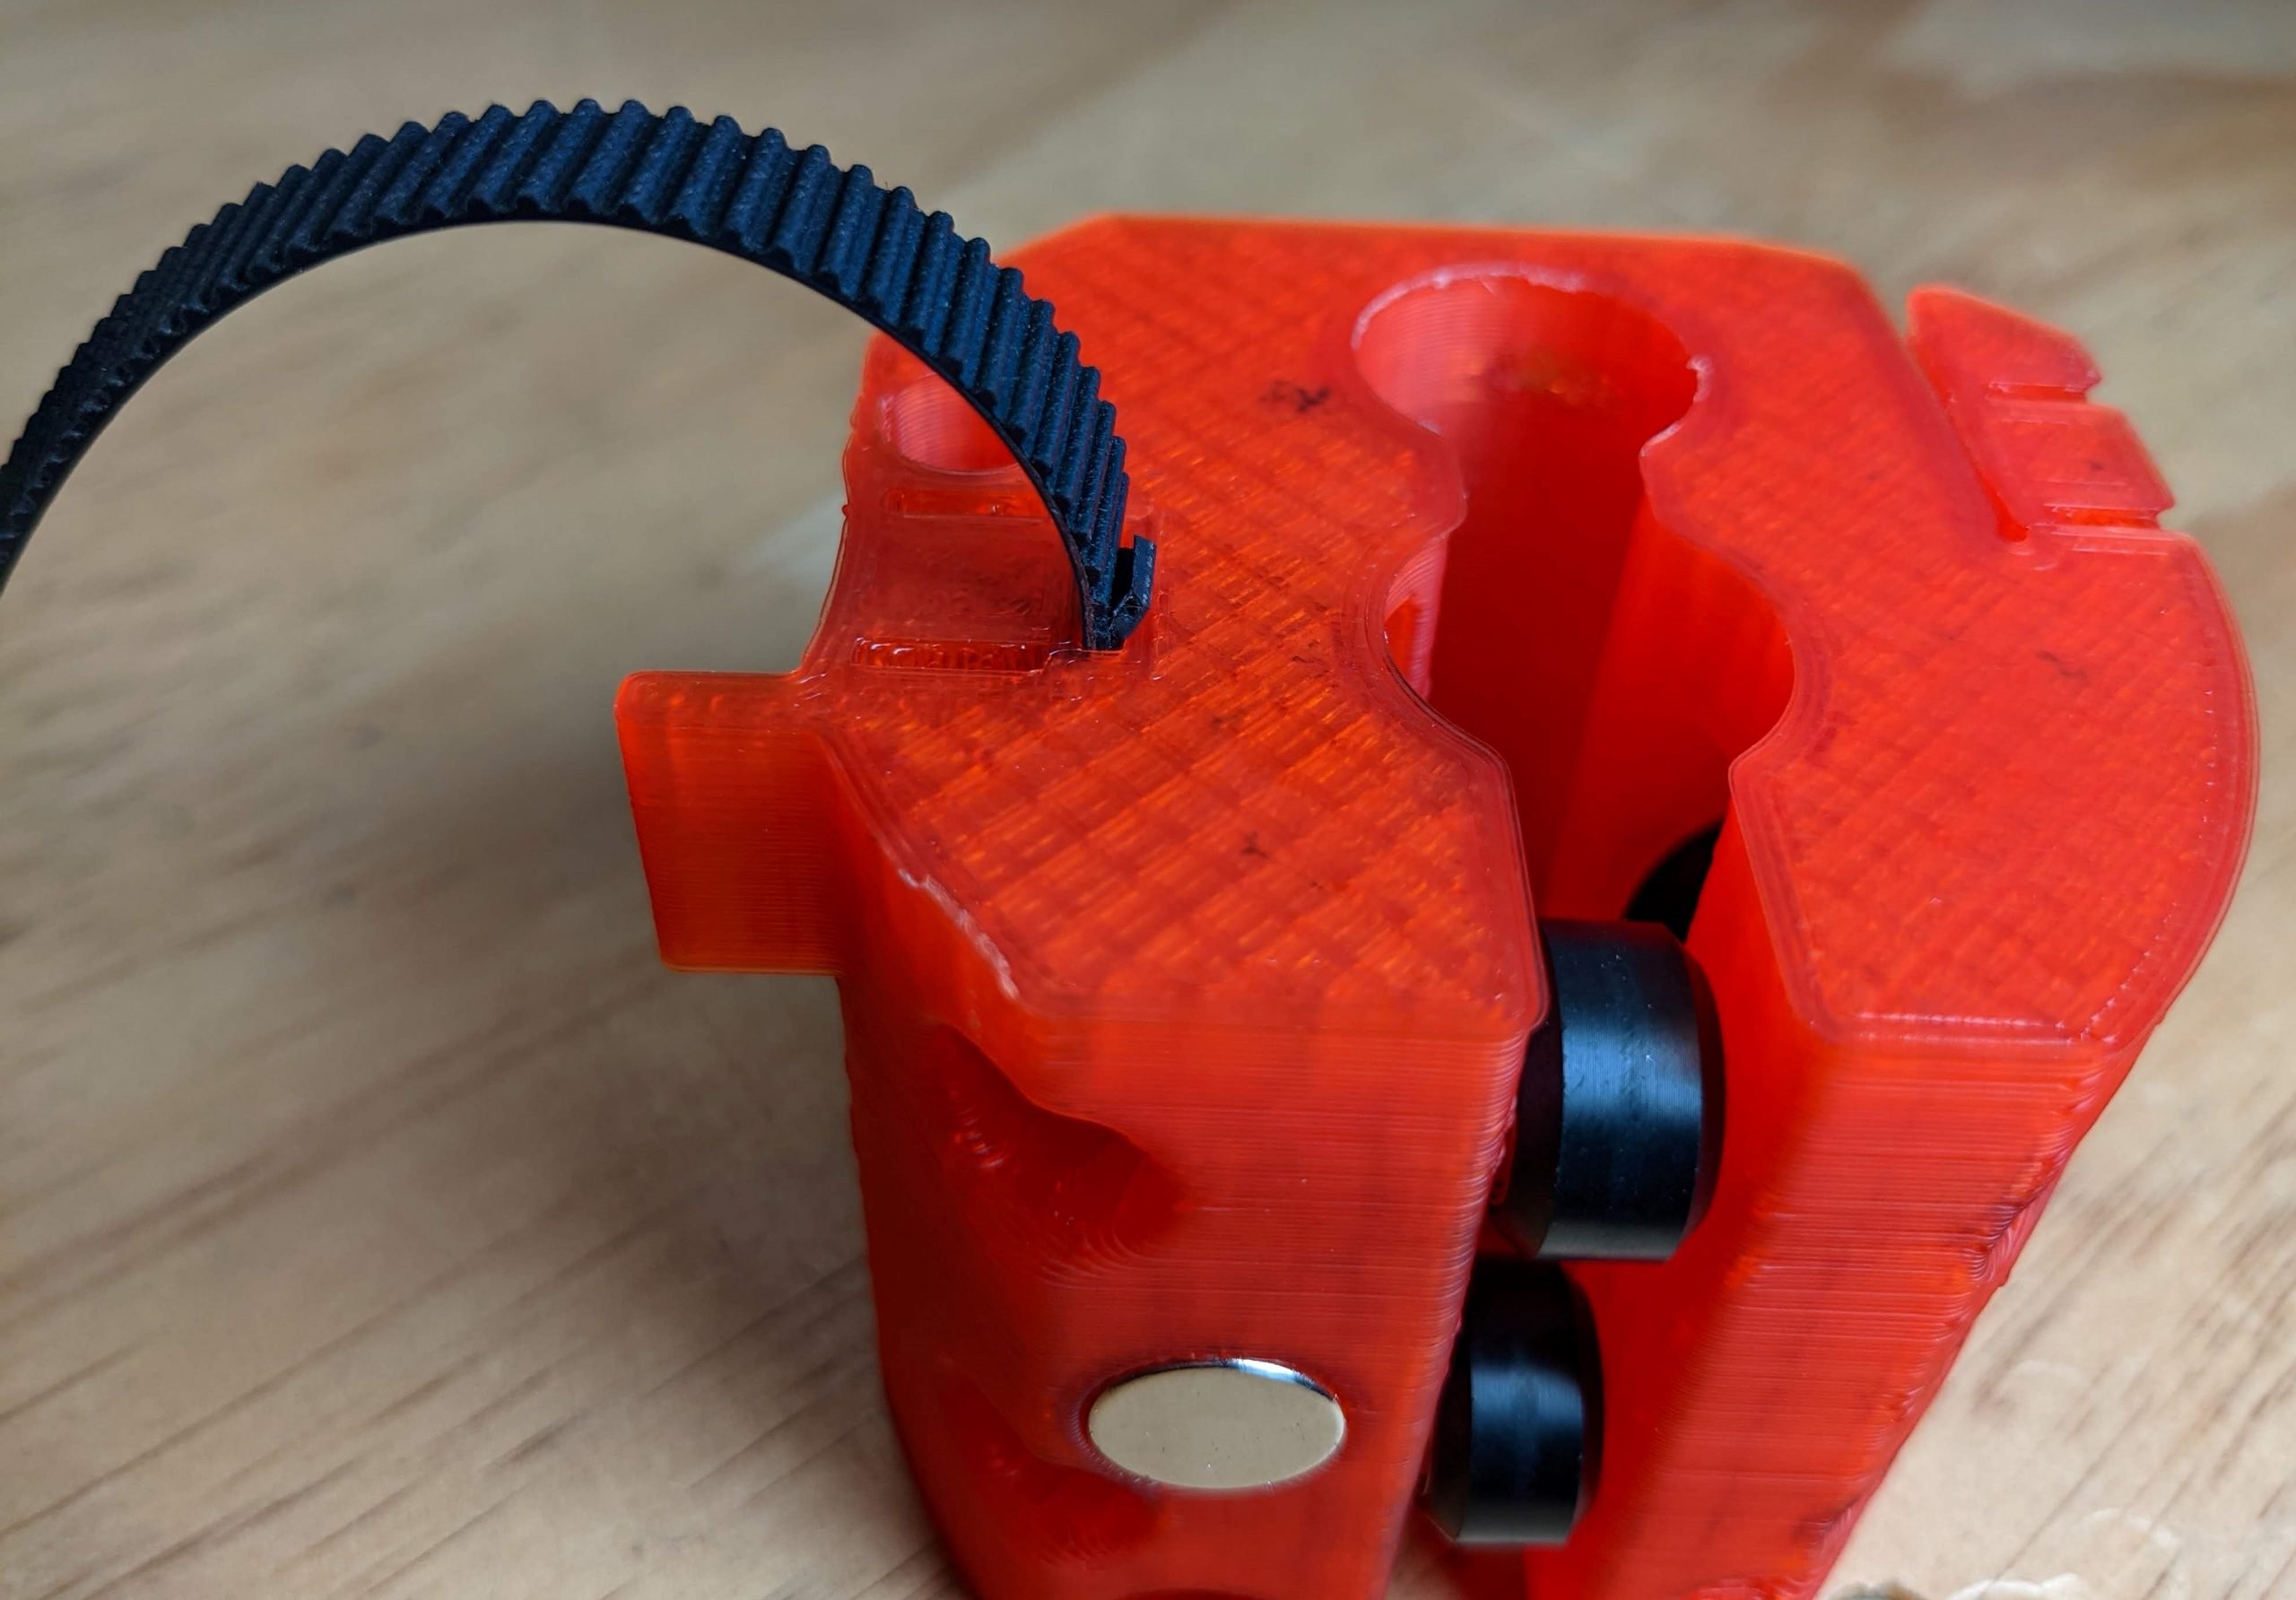
- If you catch the belt you should be able to pull it through and the belt is locked.
- (You can remove it with a small screwdriver or tweezers from the looped end)

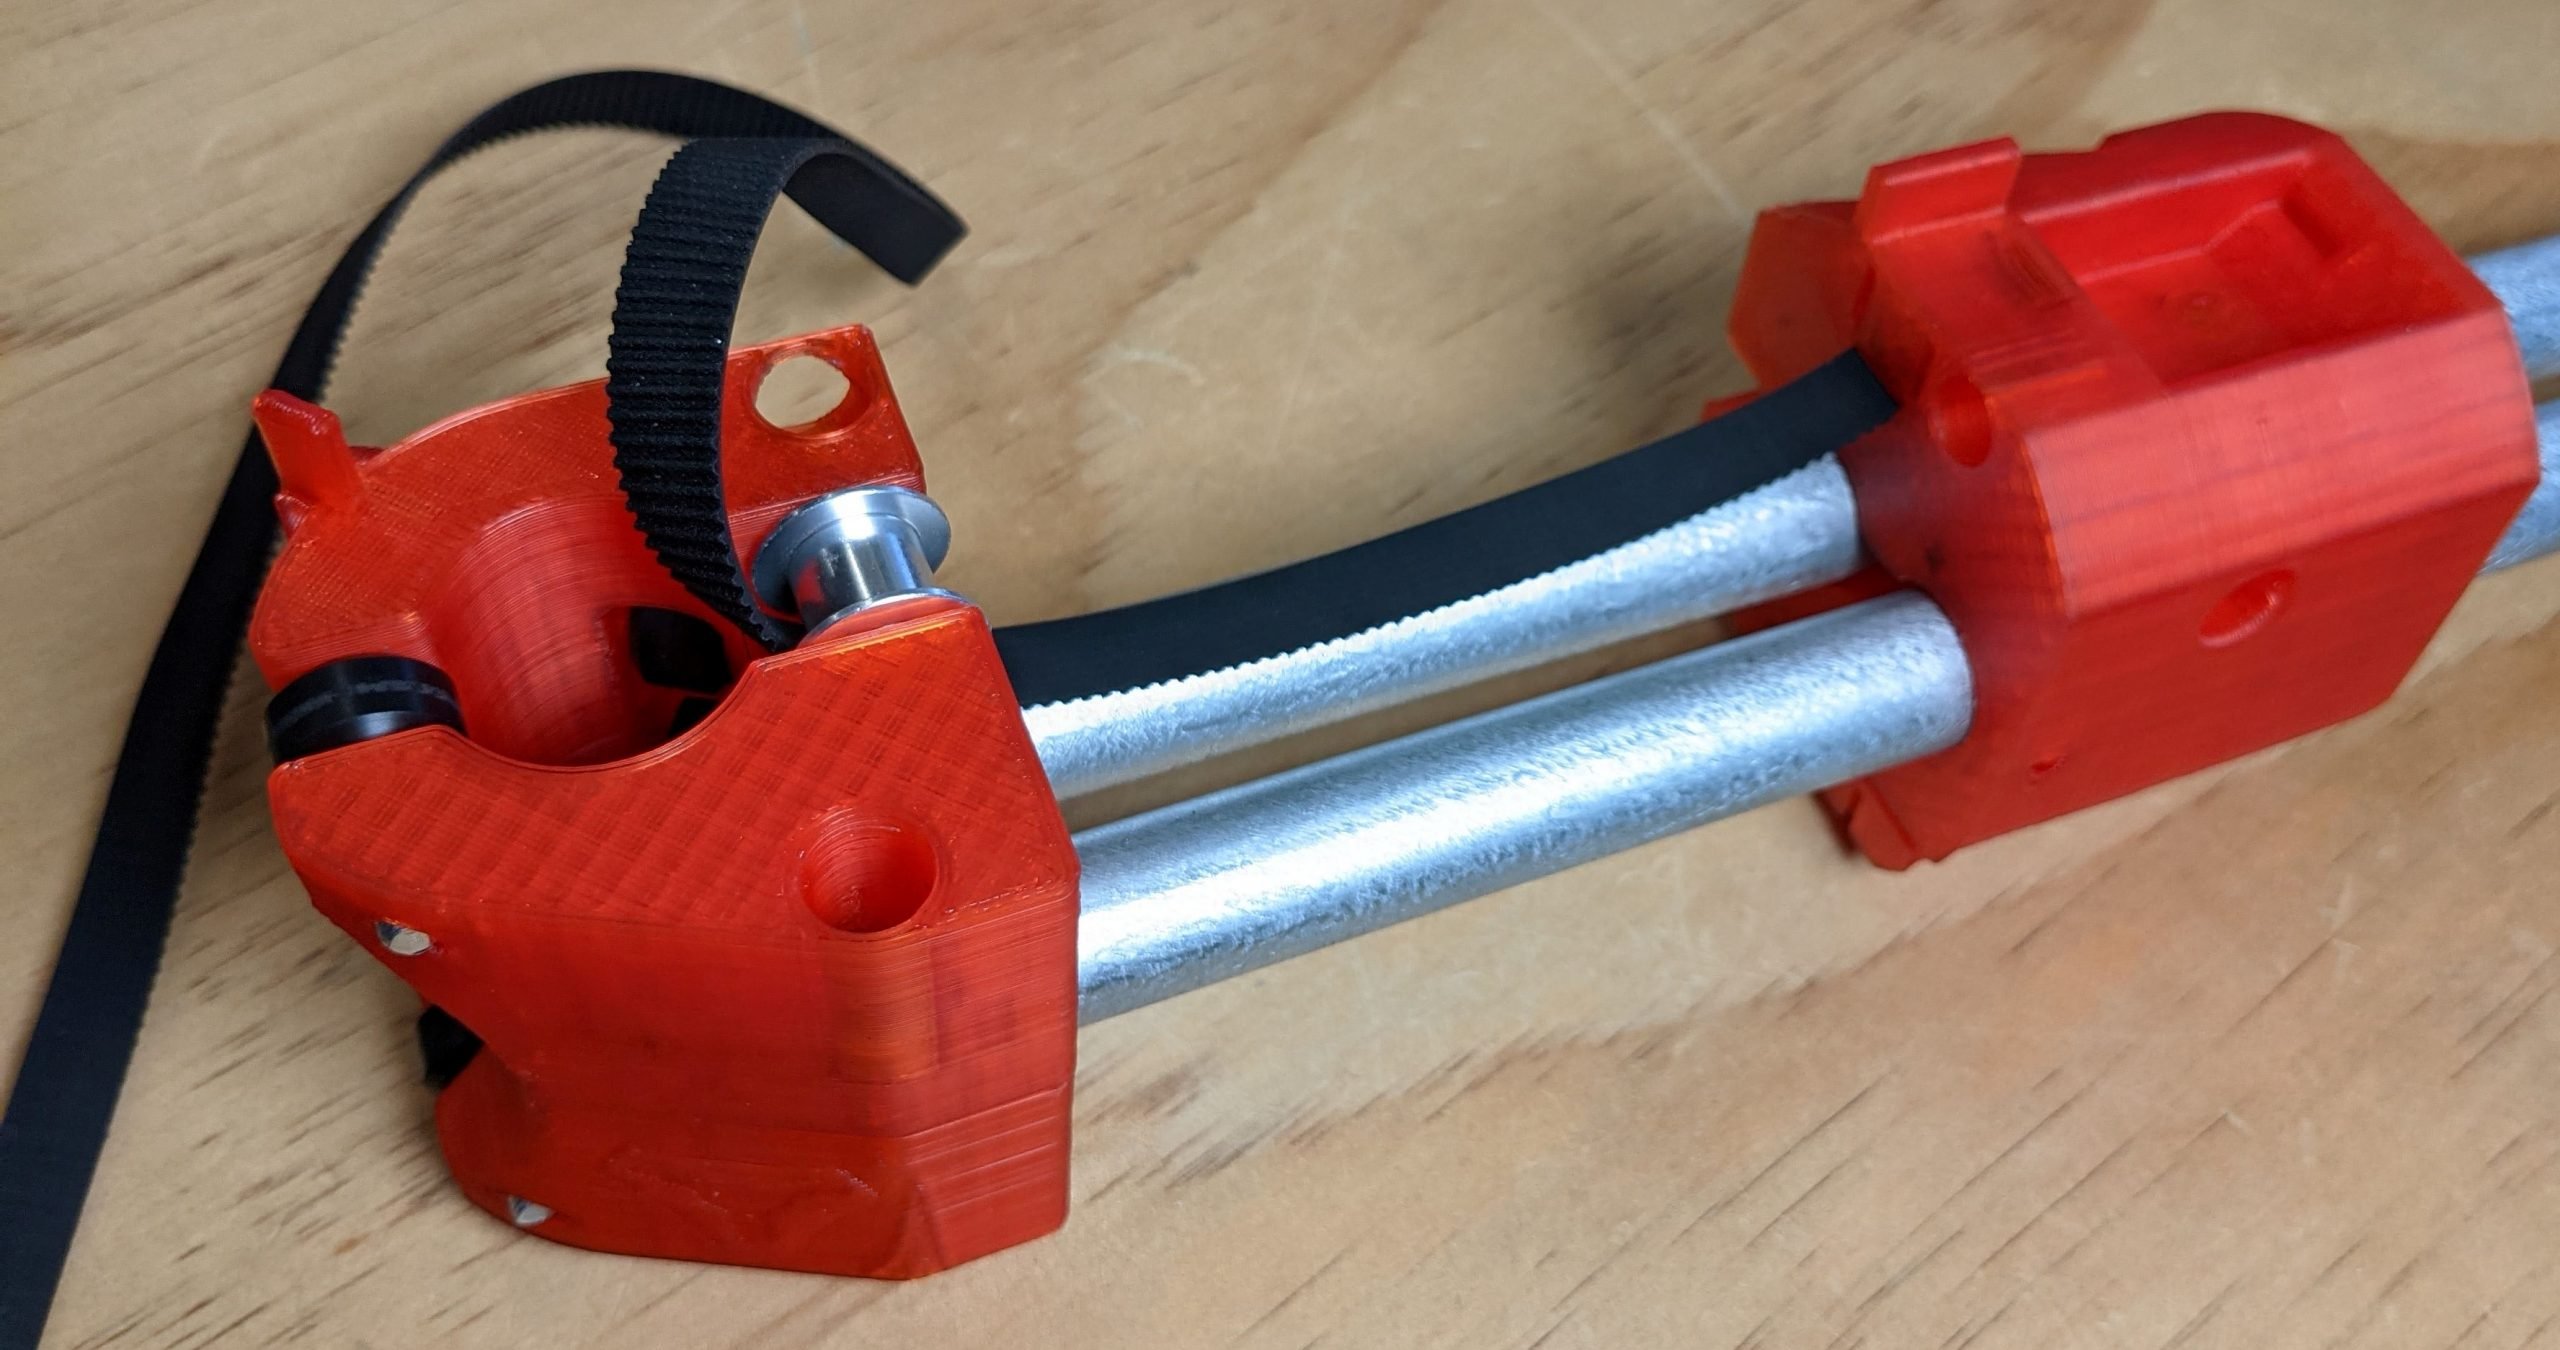

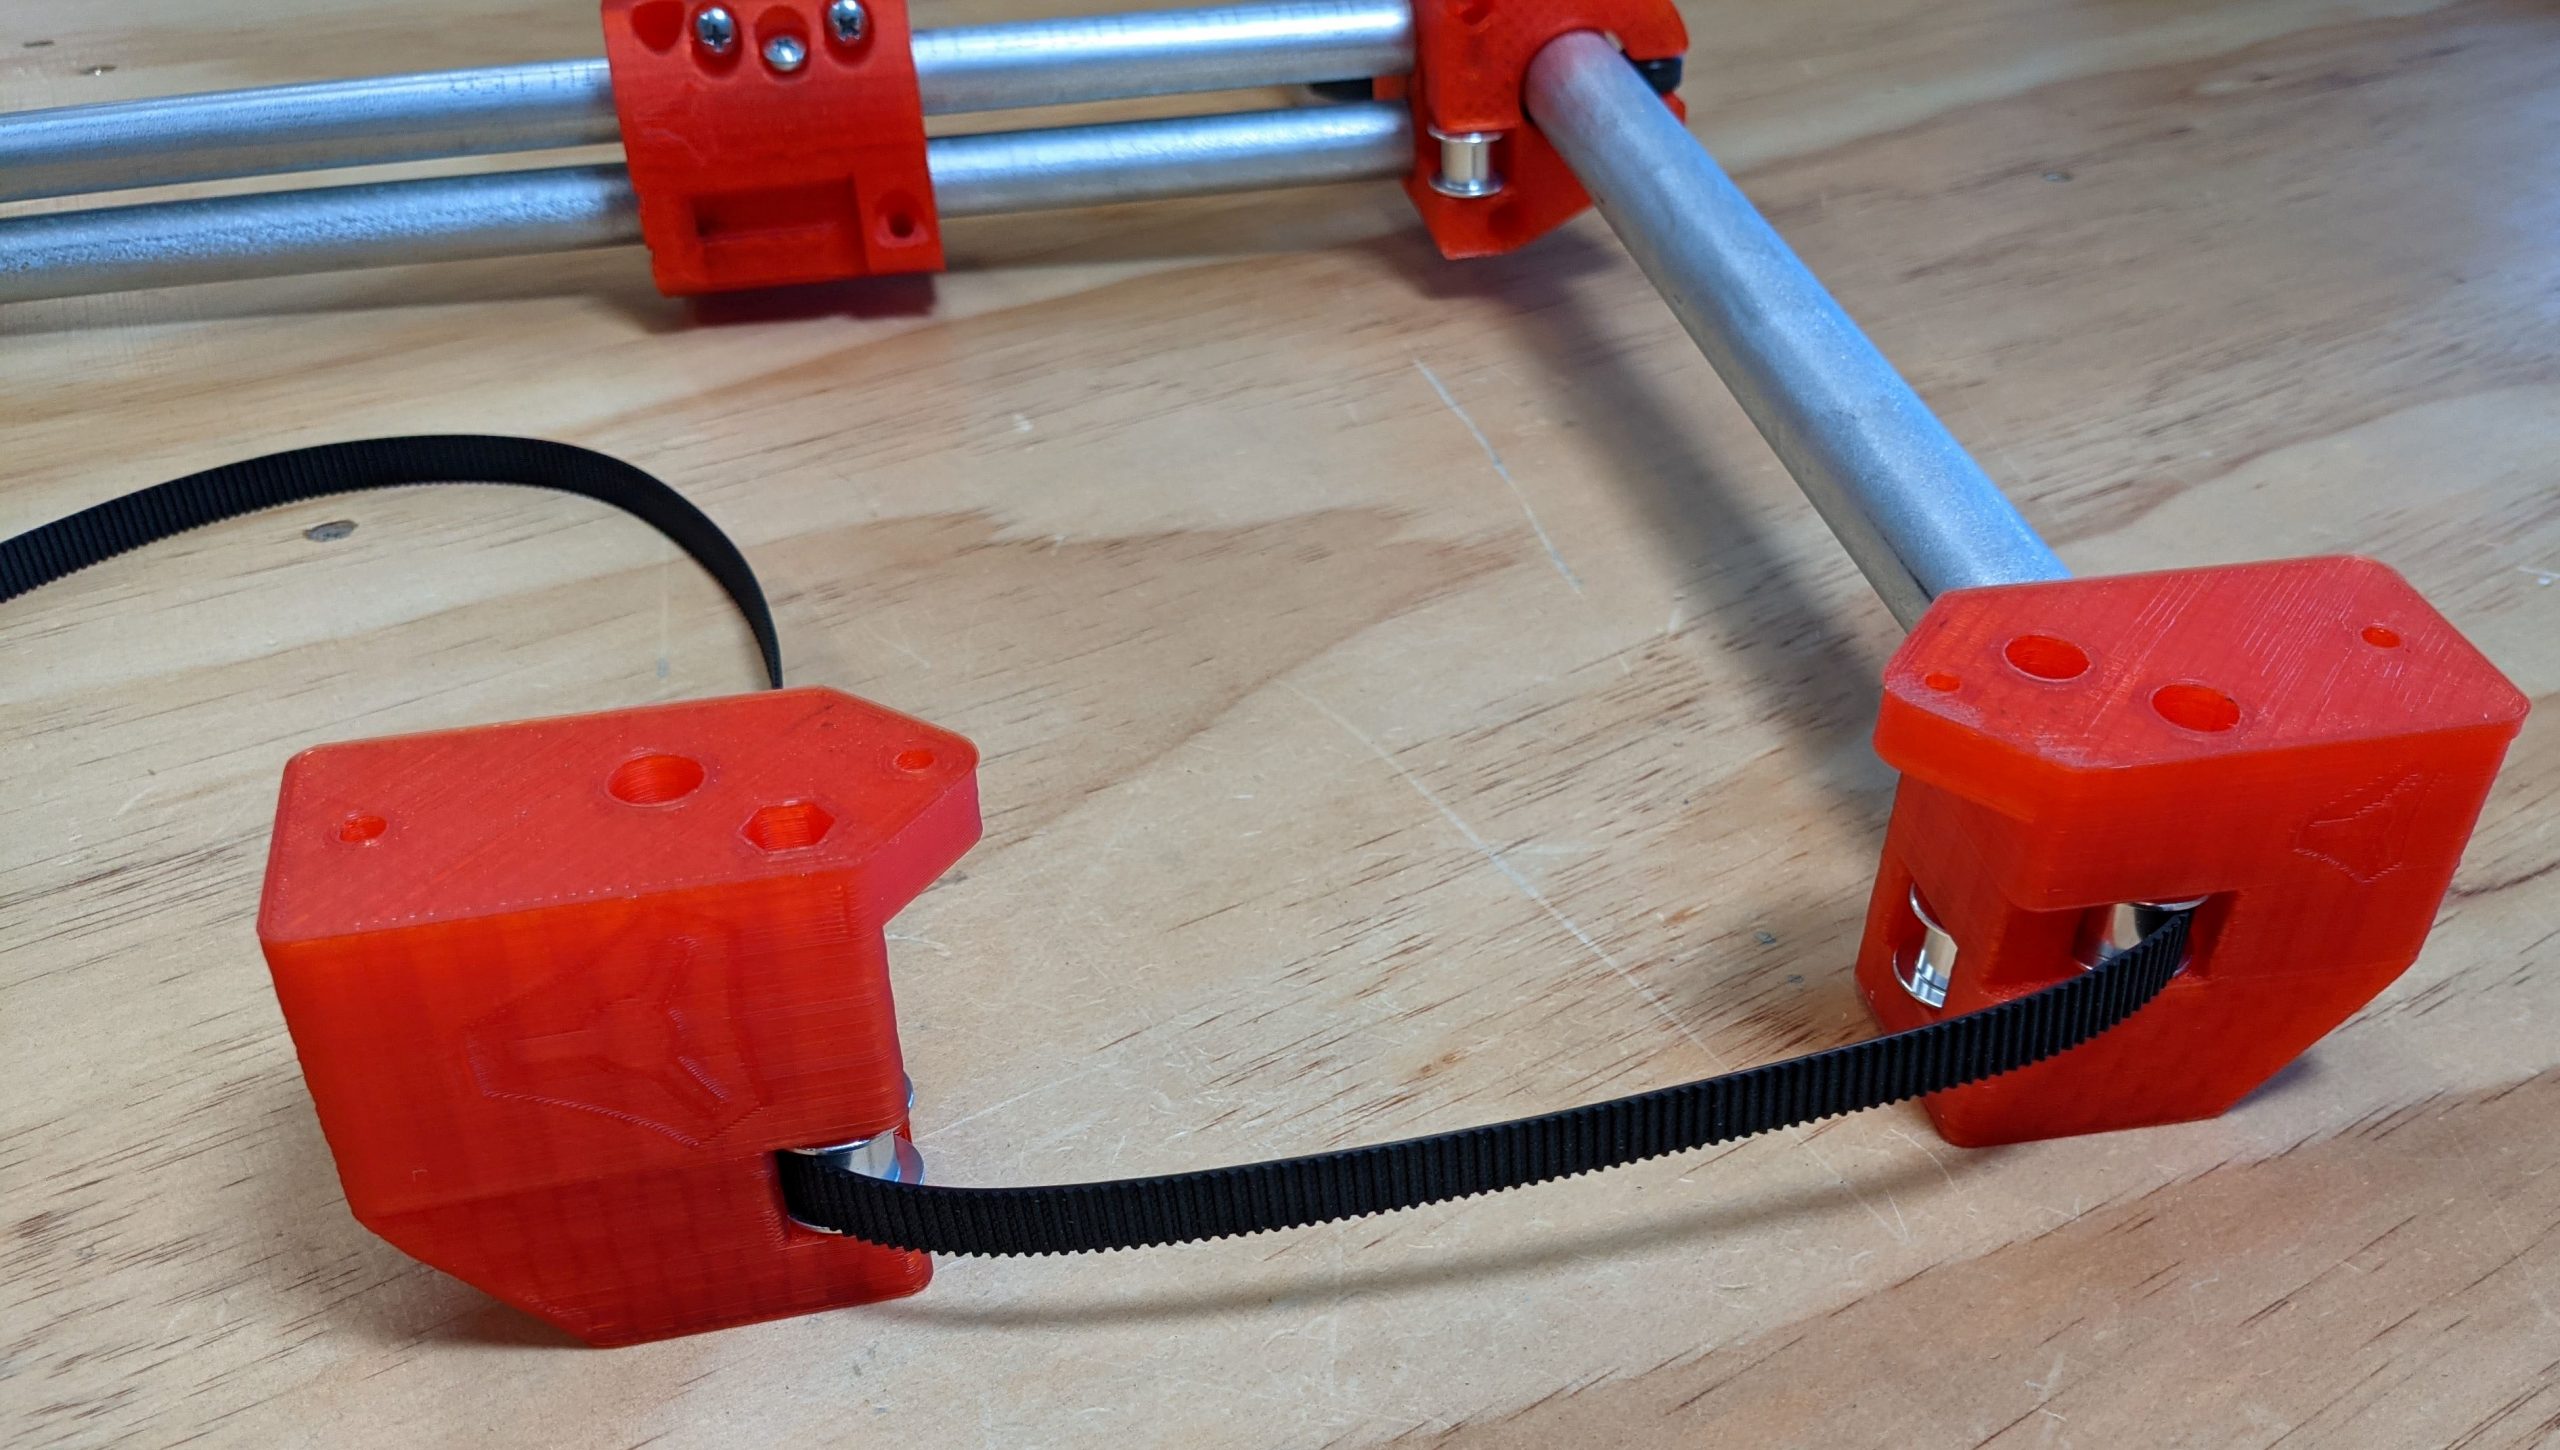
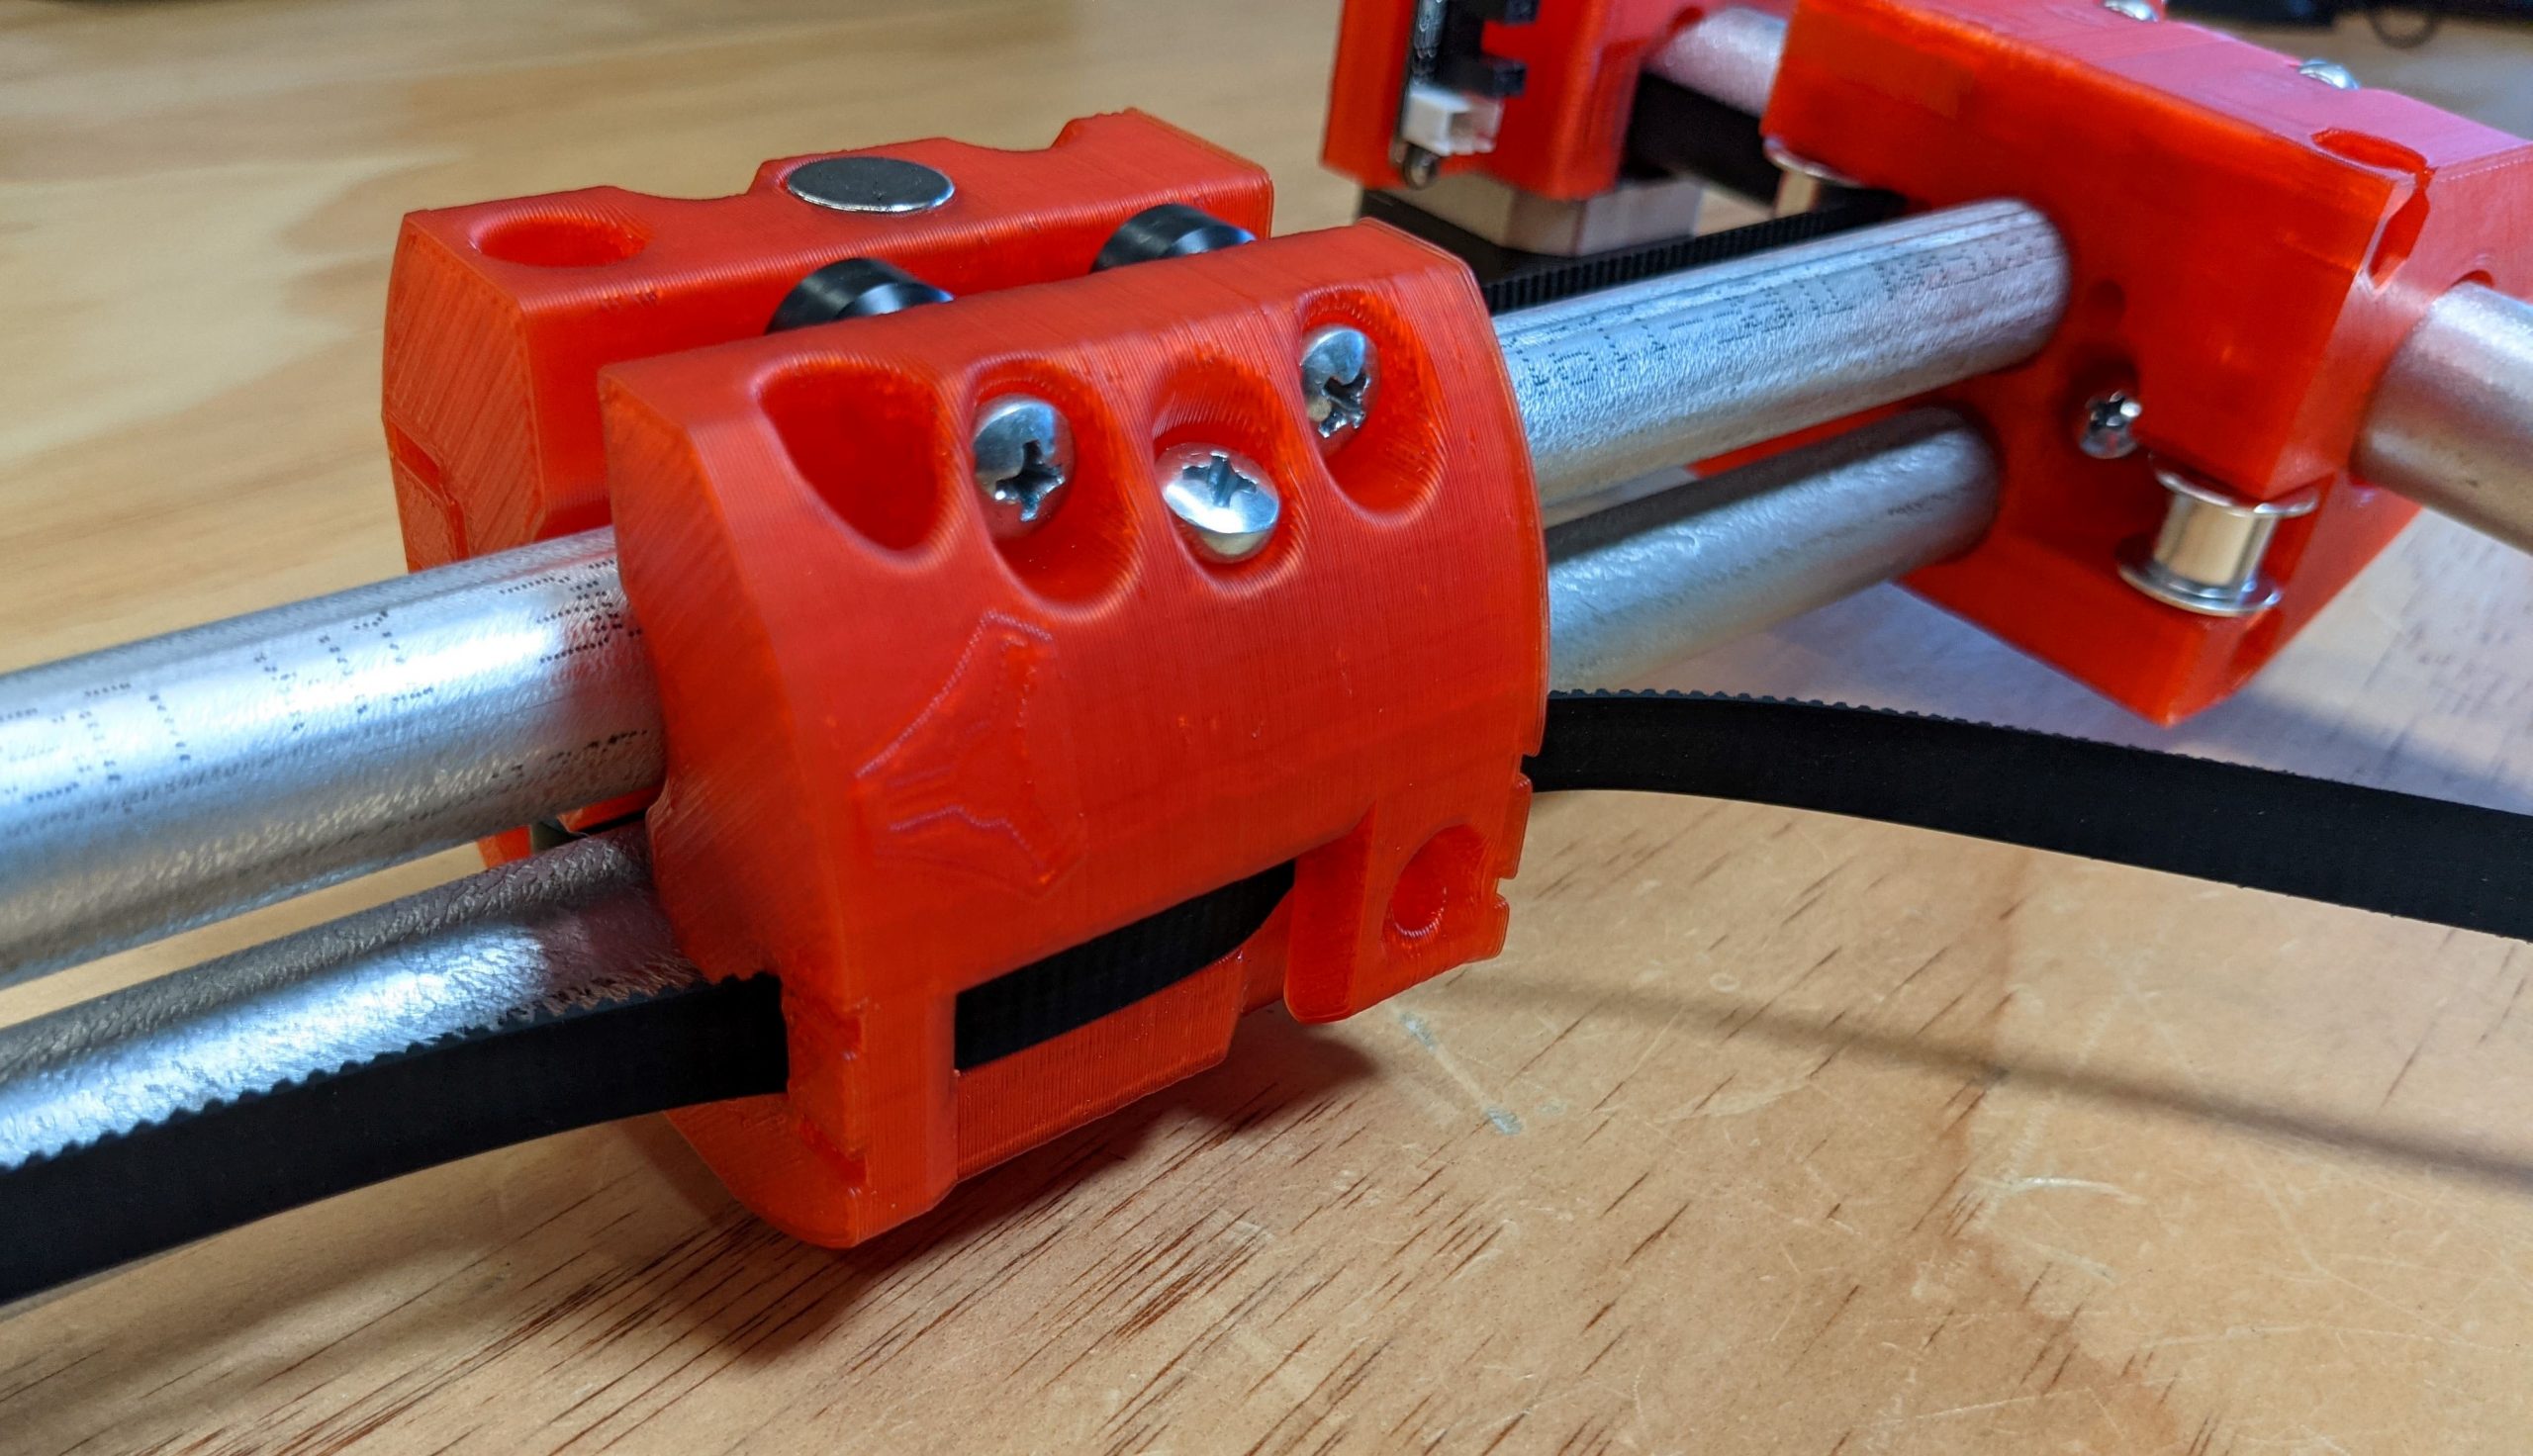
- Insert as shown. This is where you will later square up the machine and balance the belt tension.
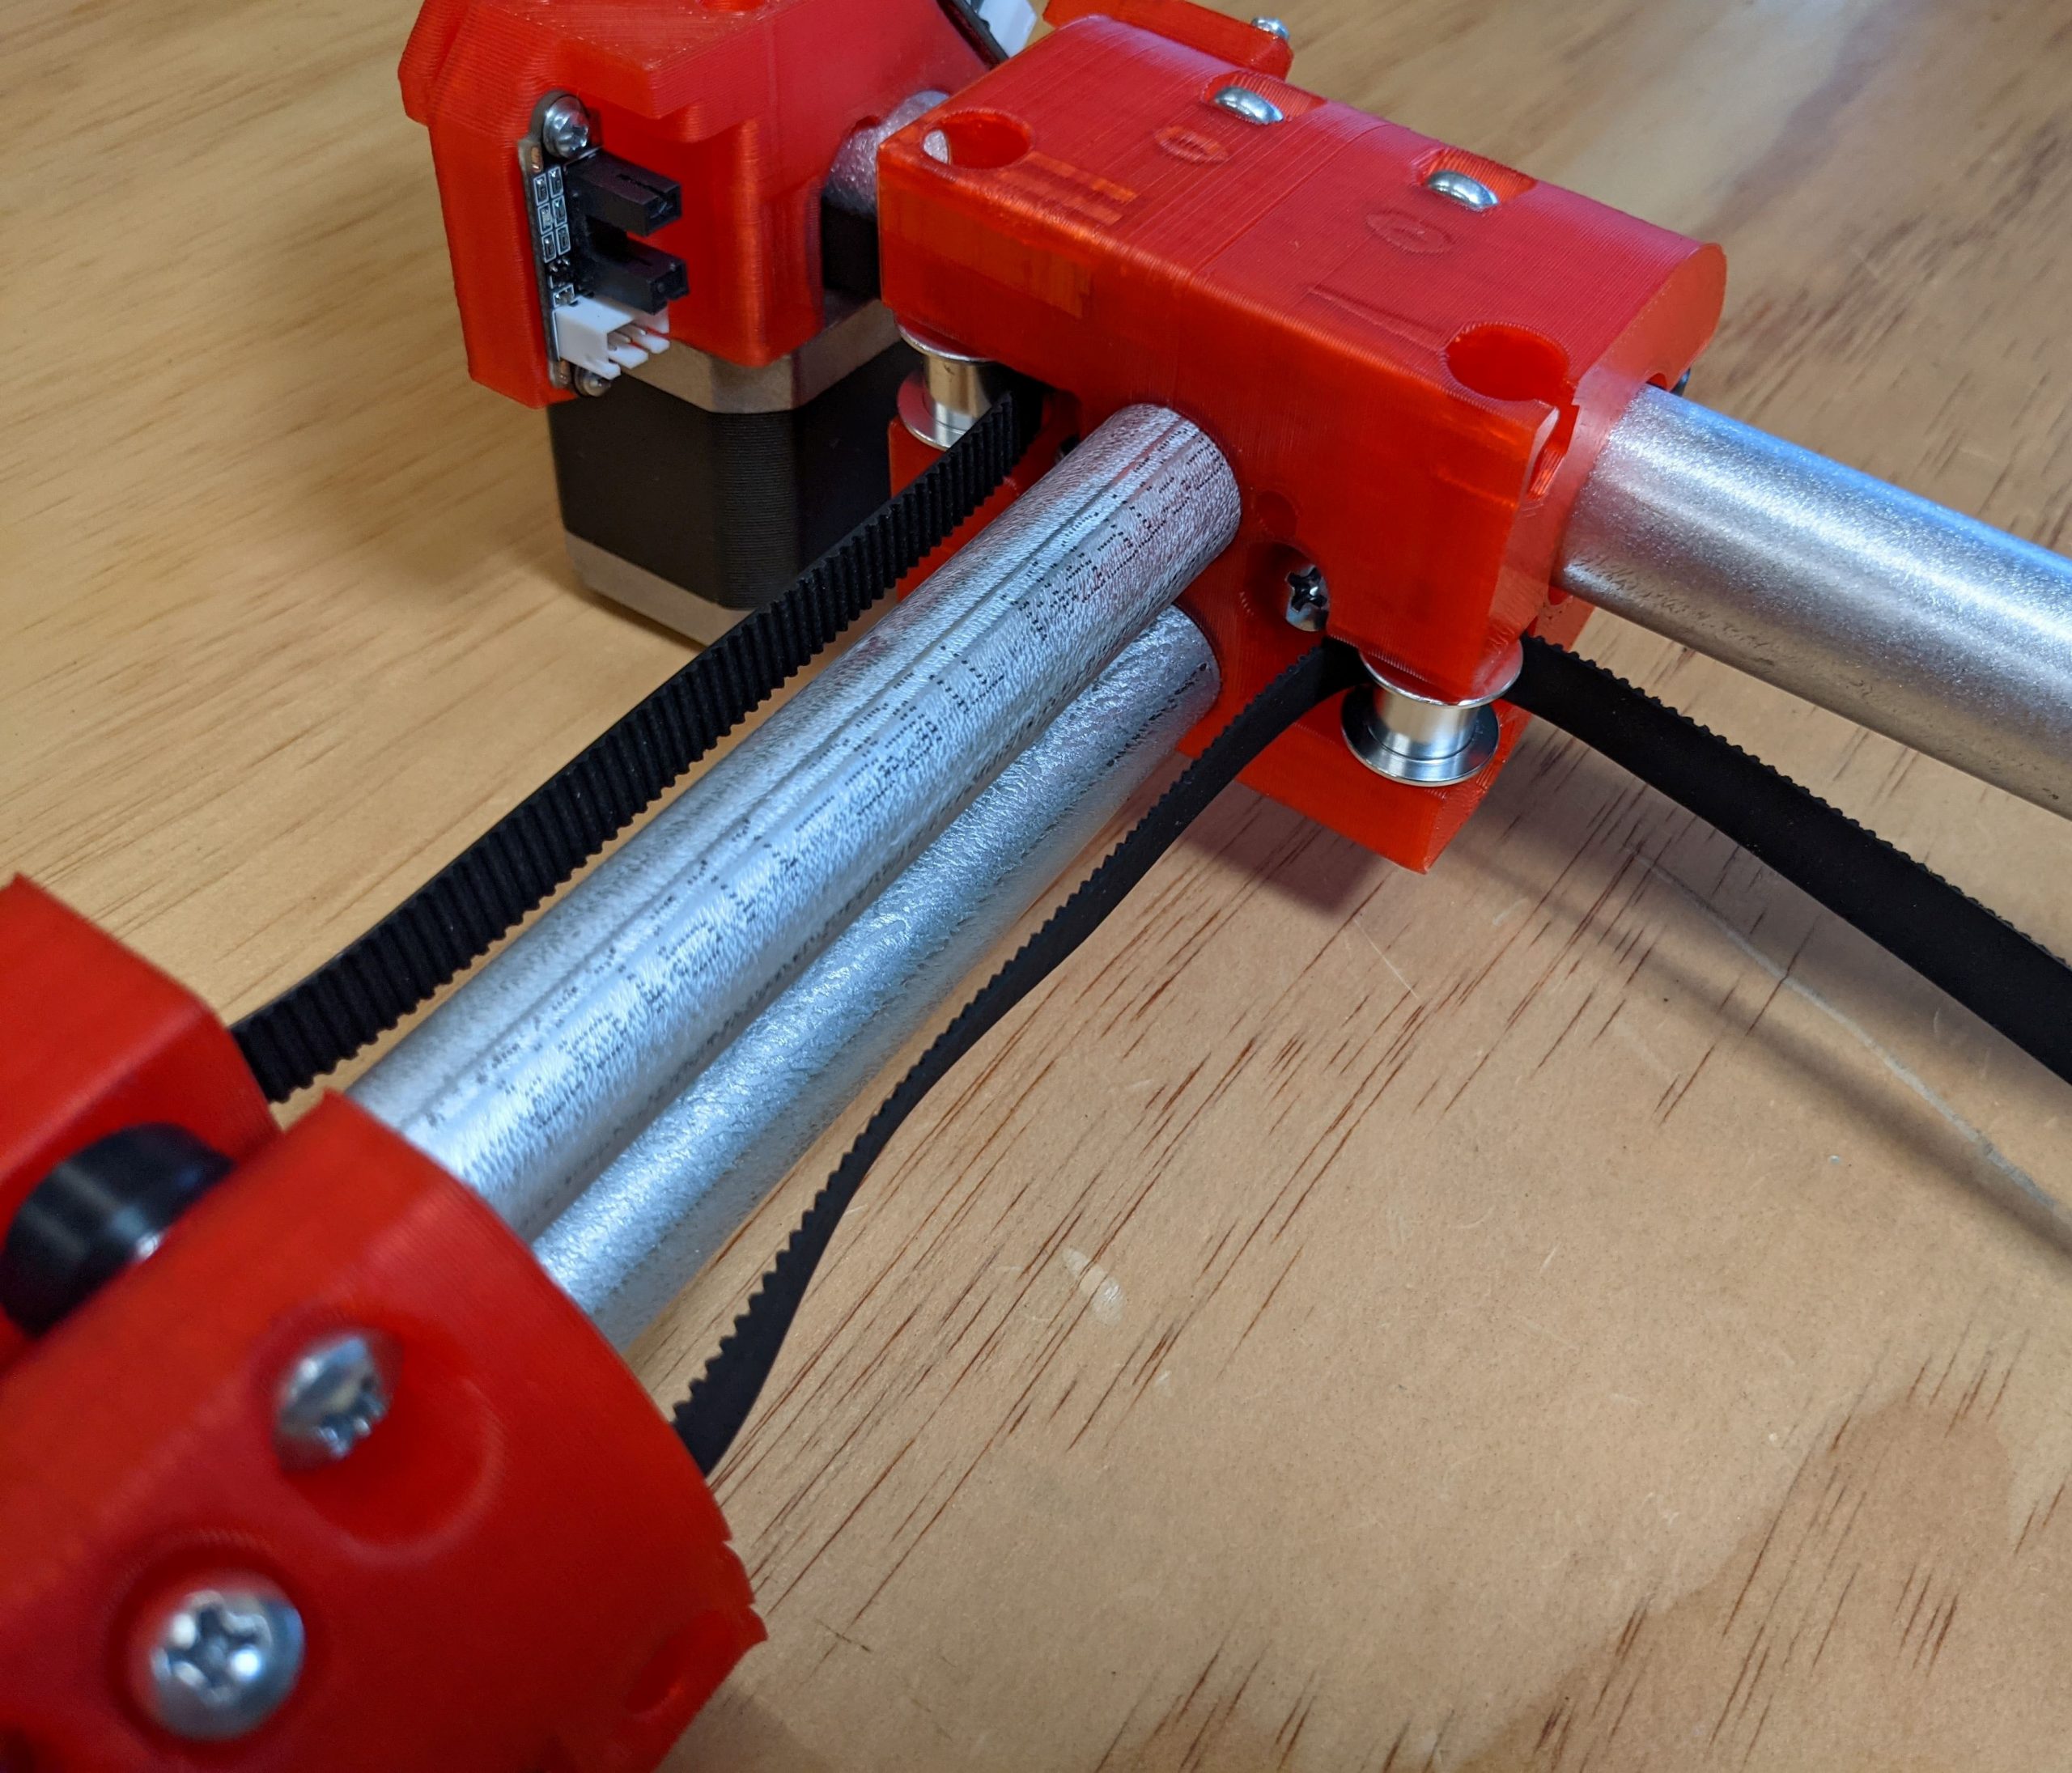
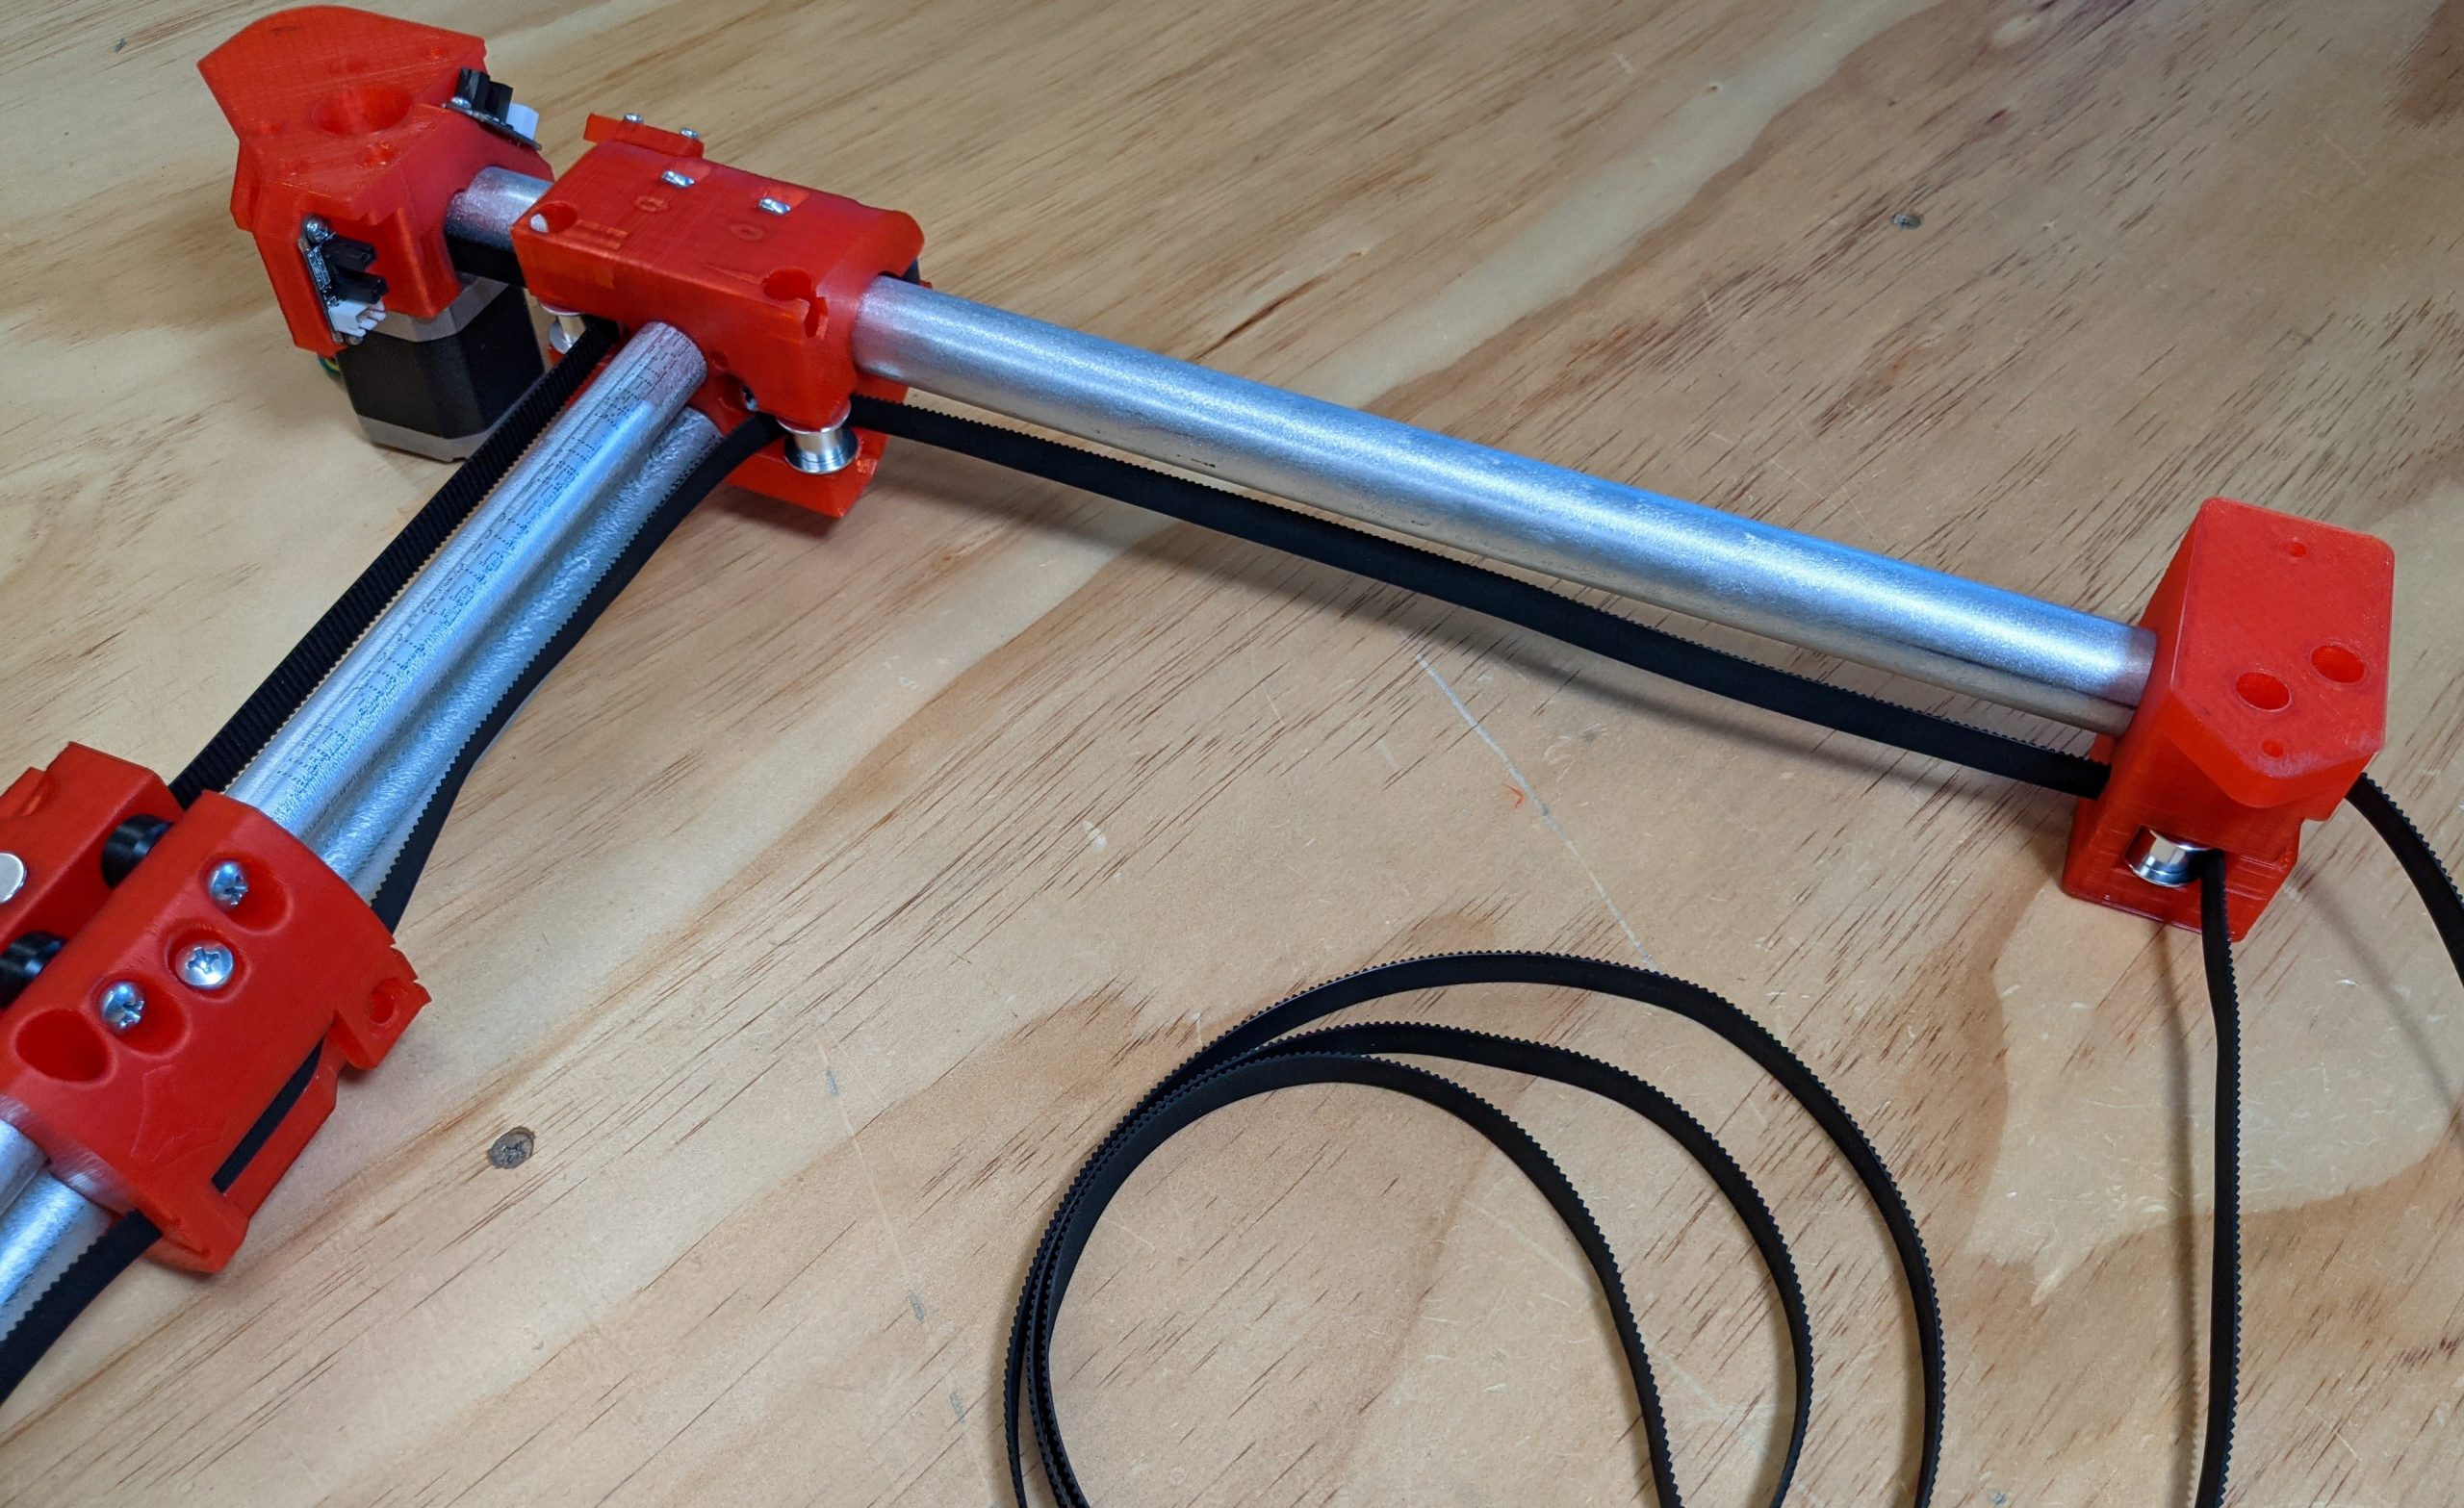

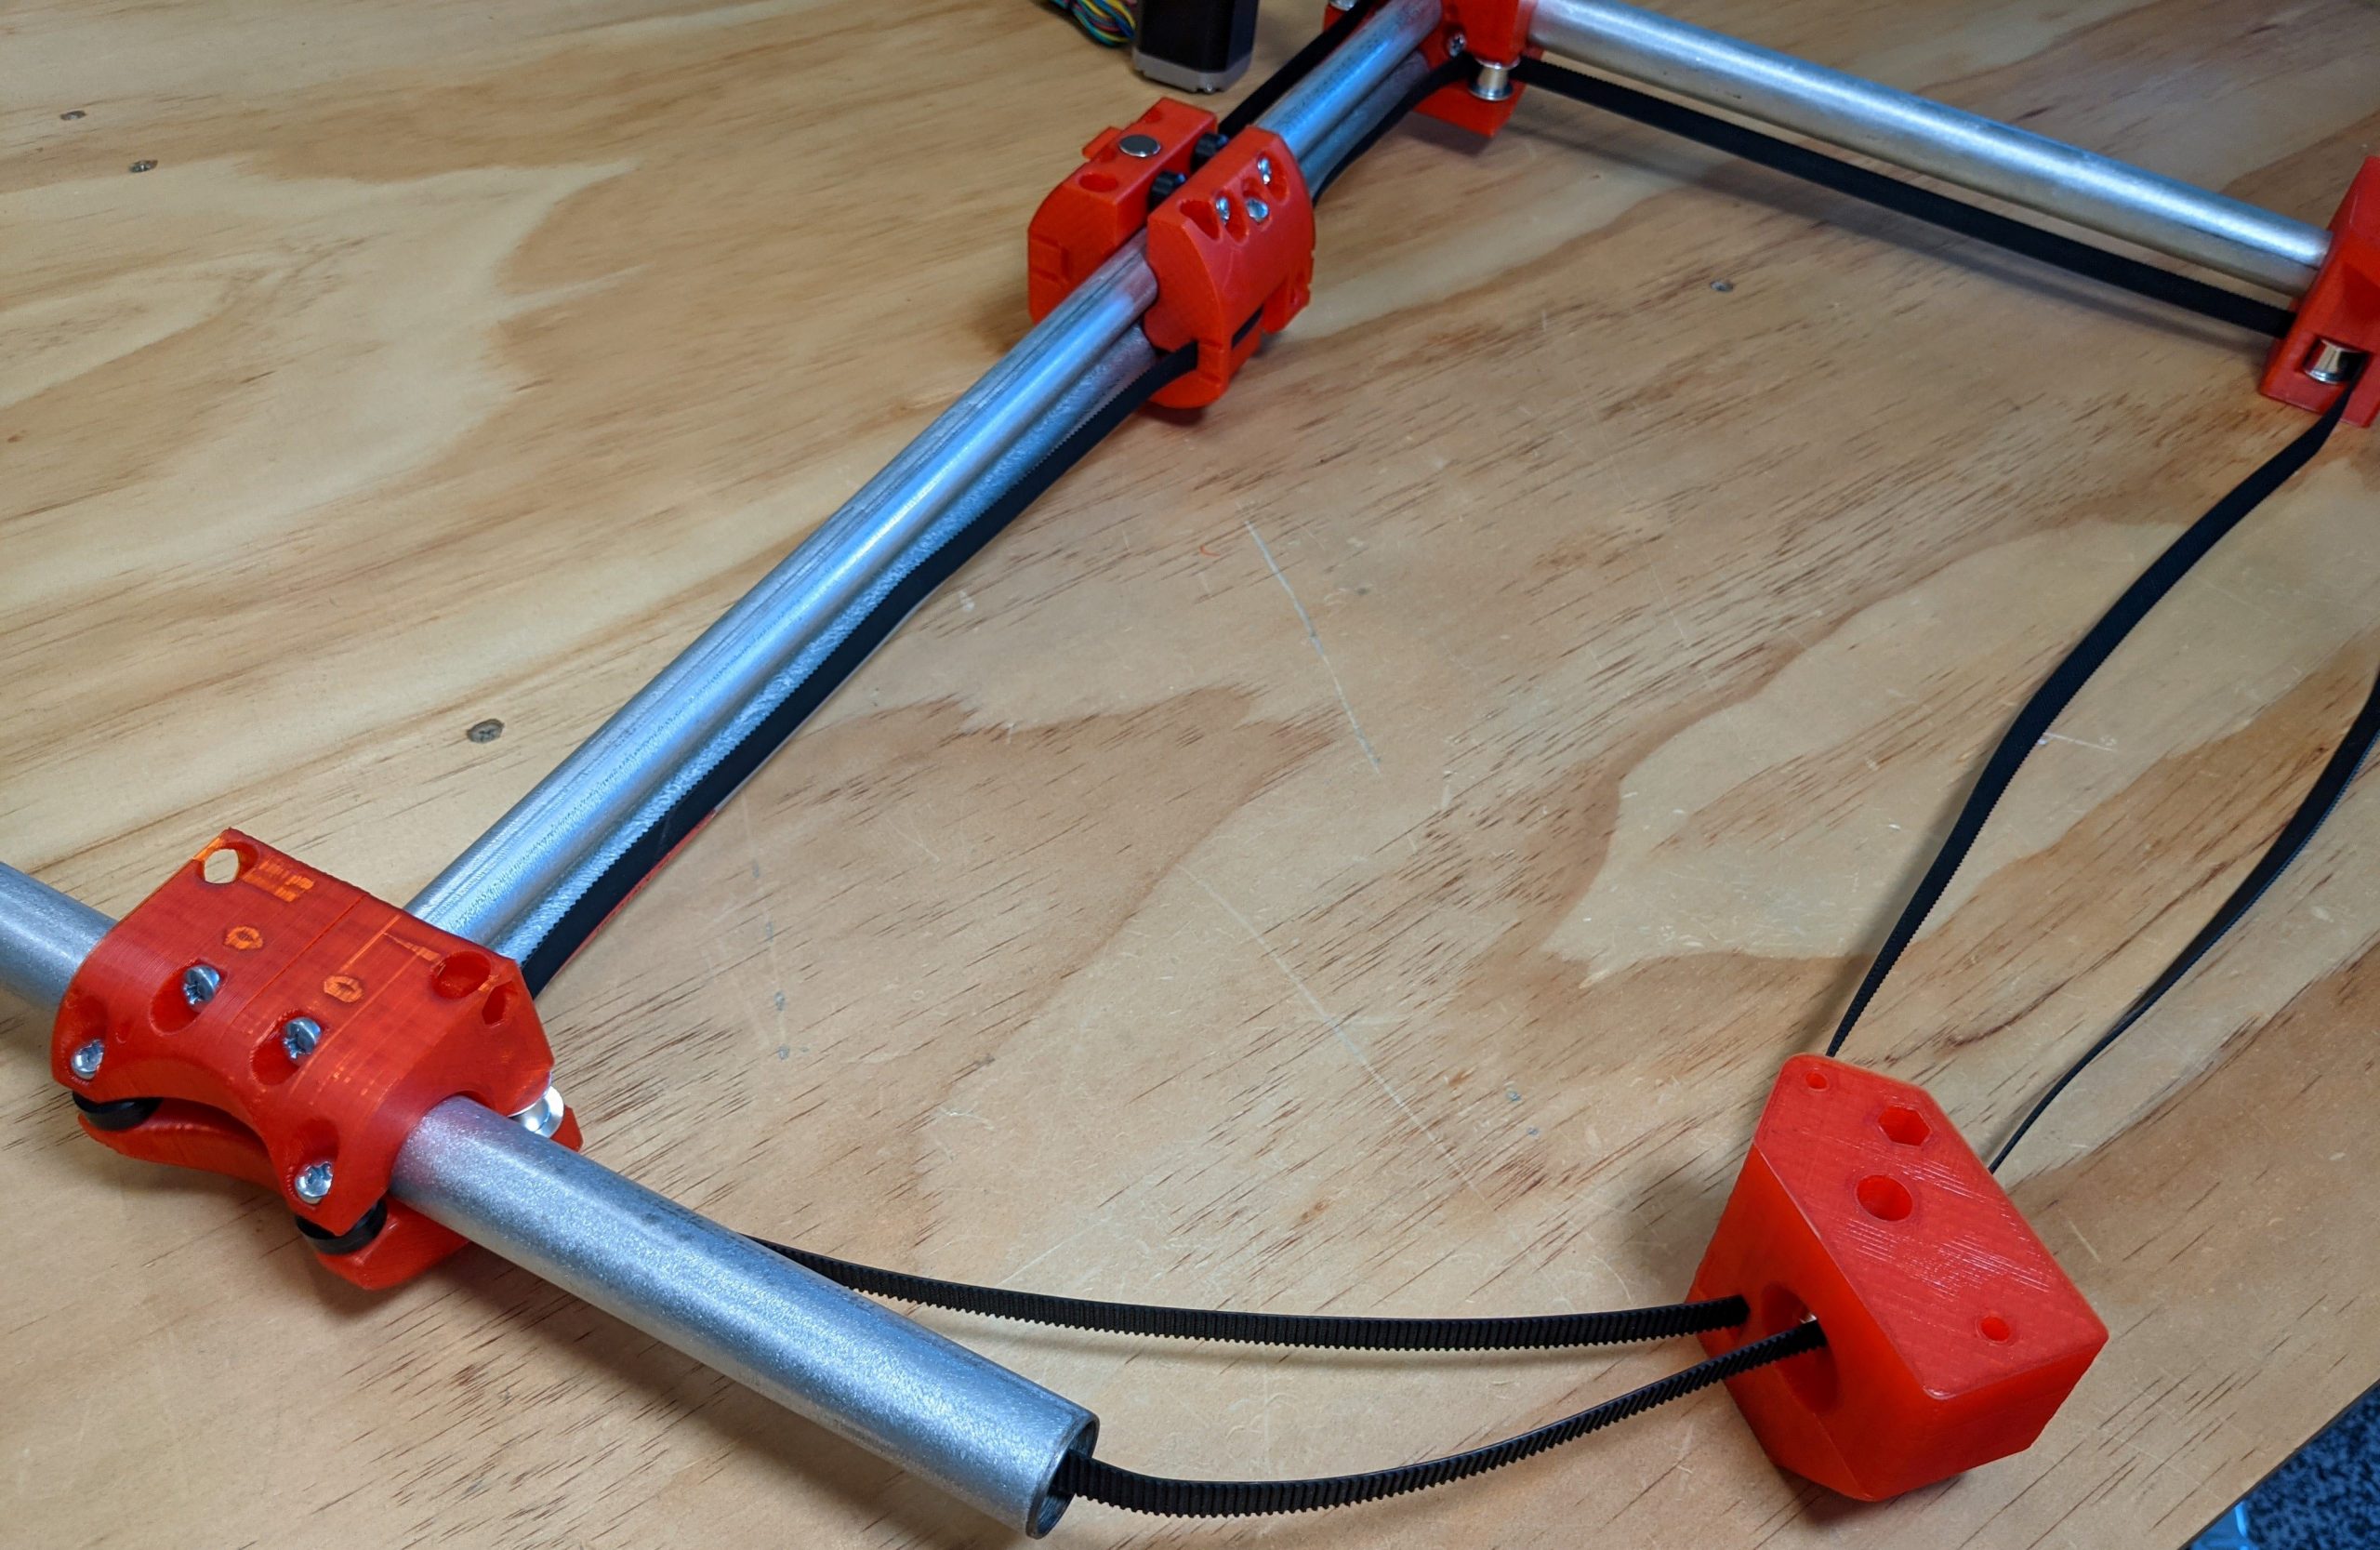
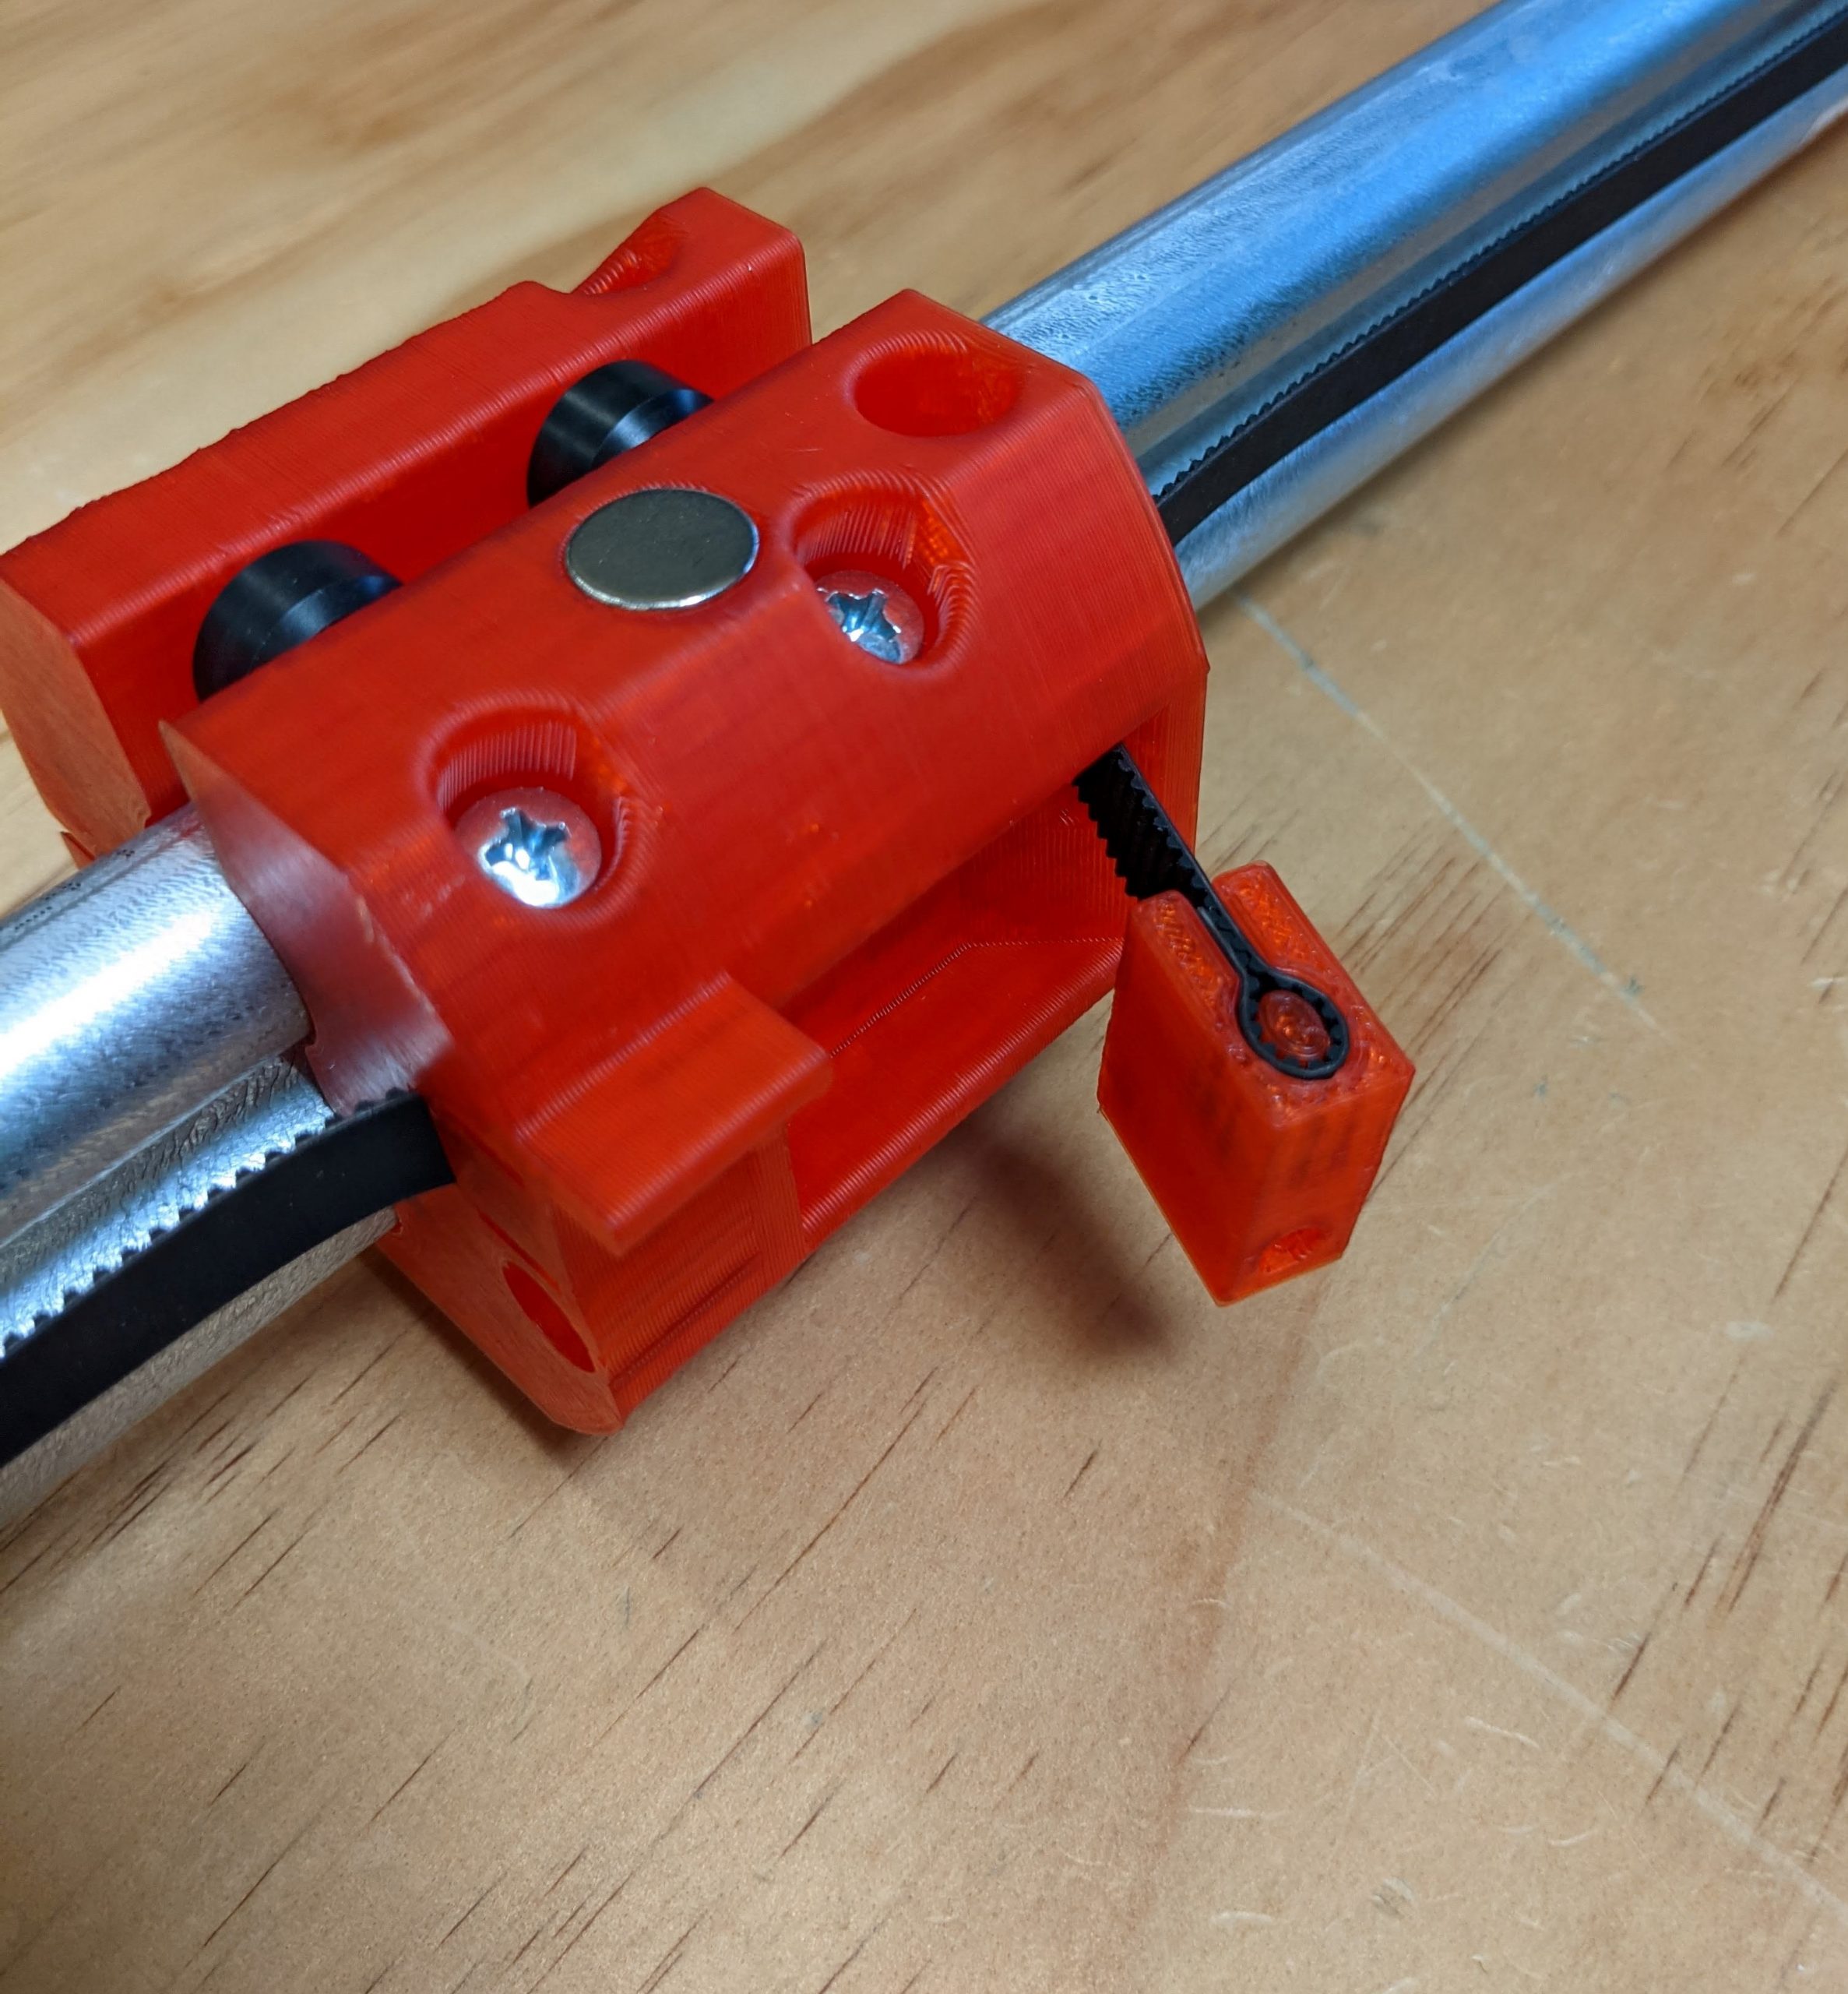
- This is the belt tensioner. You will need to get this snug after final assembly into your table. The screw allows for ~4mm of tension so it is best to get this as tight as possible.