Belts
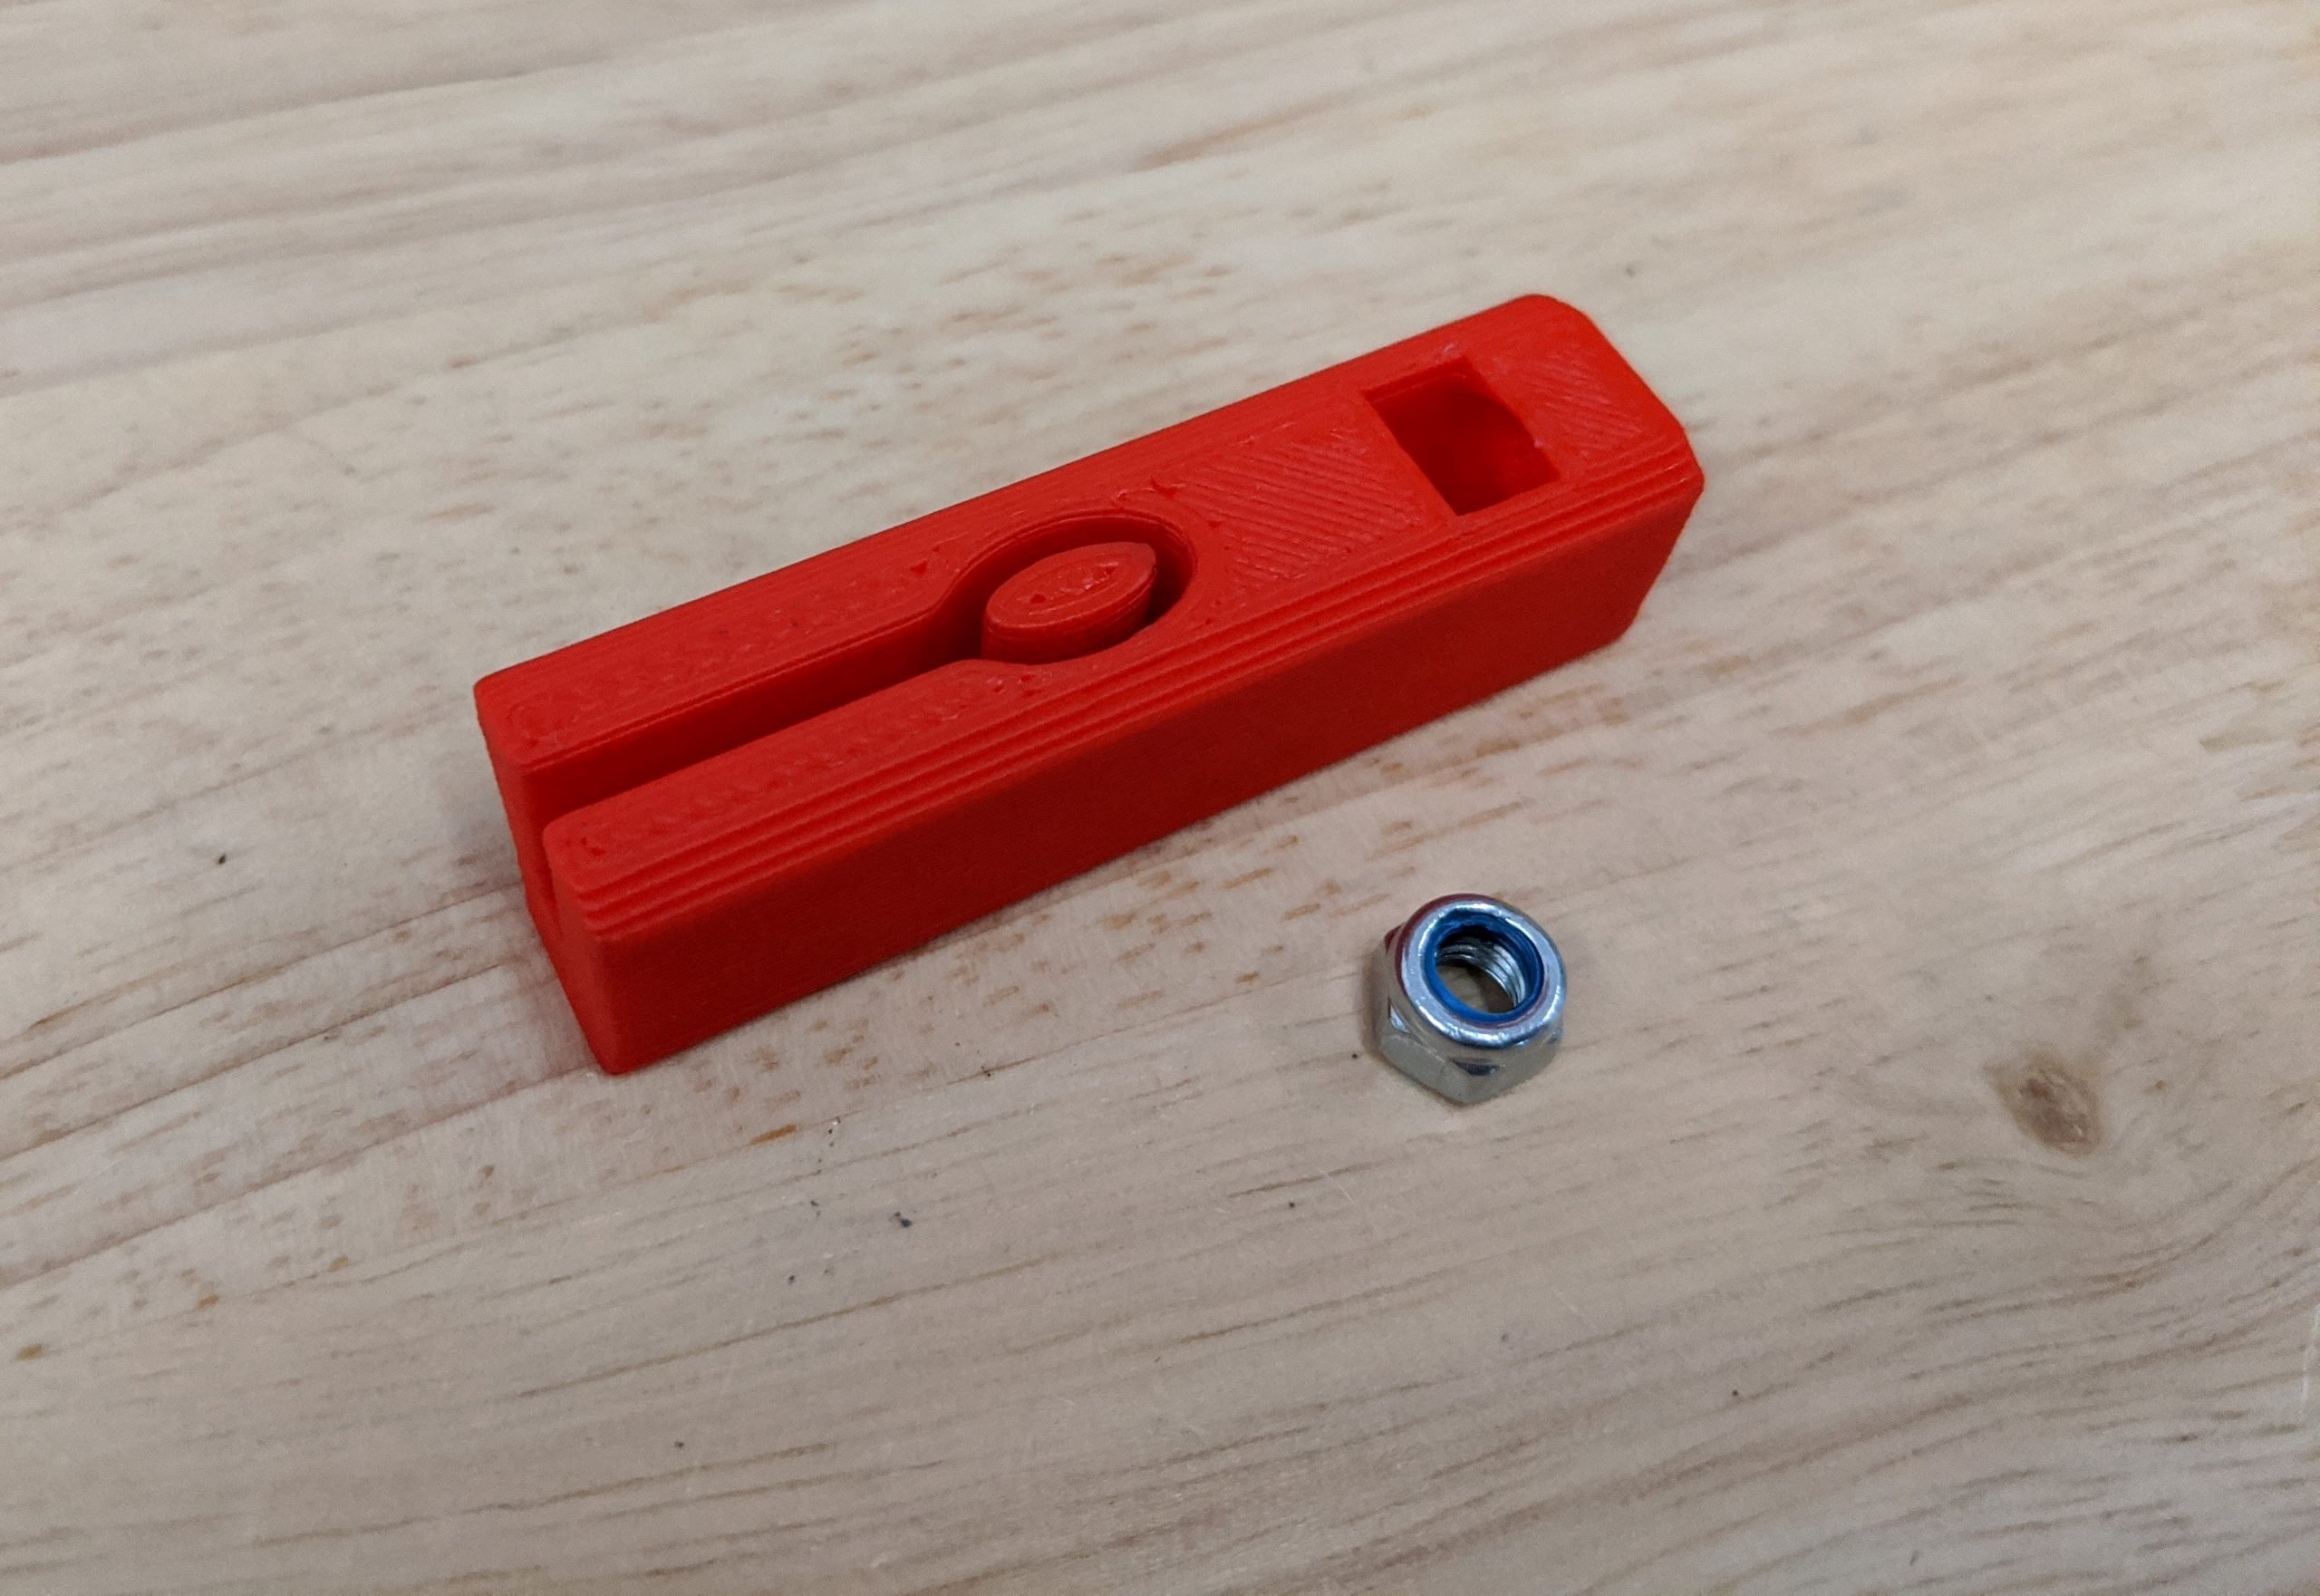
Optional Stop Blocks
- If you are using the dual endstop version of the firmware it is easiest to add the 4 Stop Blocks now.
- They can be easily added after the build is finished if you decide to add them later.
- The Stop Blocks get stretched over the rails. If for some reason your prints do not flex enough, you can slide them on the rails from the end.
- Make sure to face the screw head opening up so you can get to them with a screwdriver later when you are setting the dual endstops.
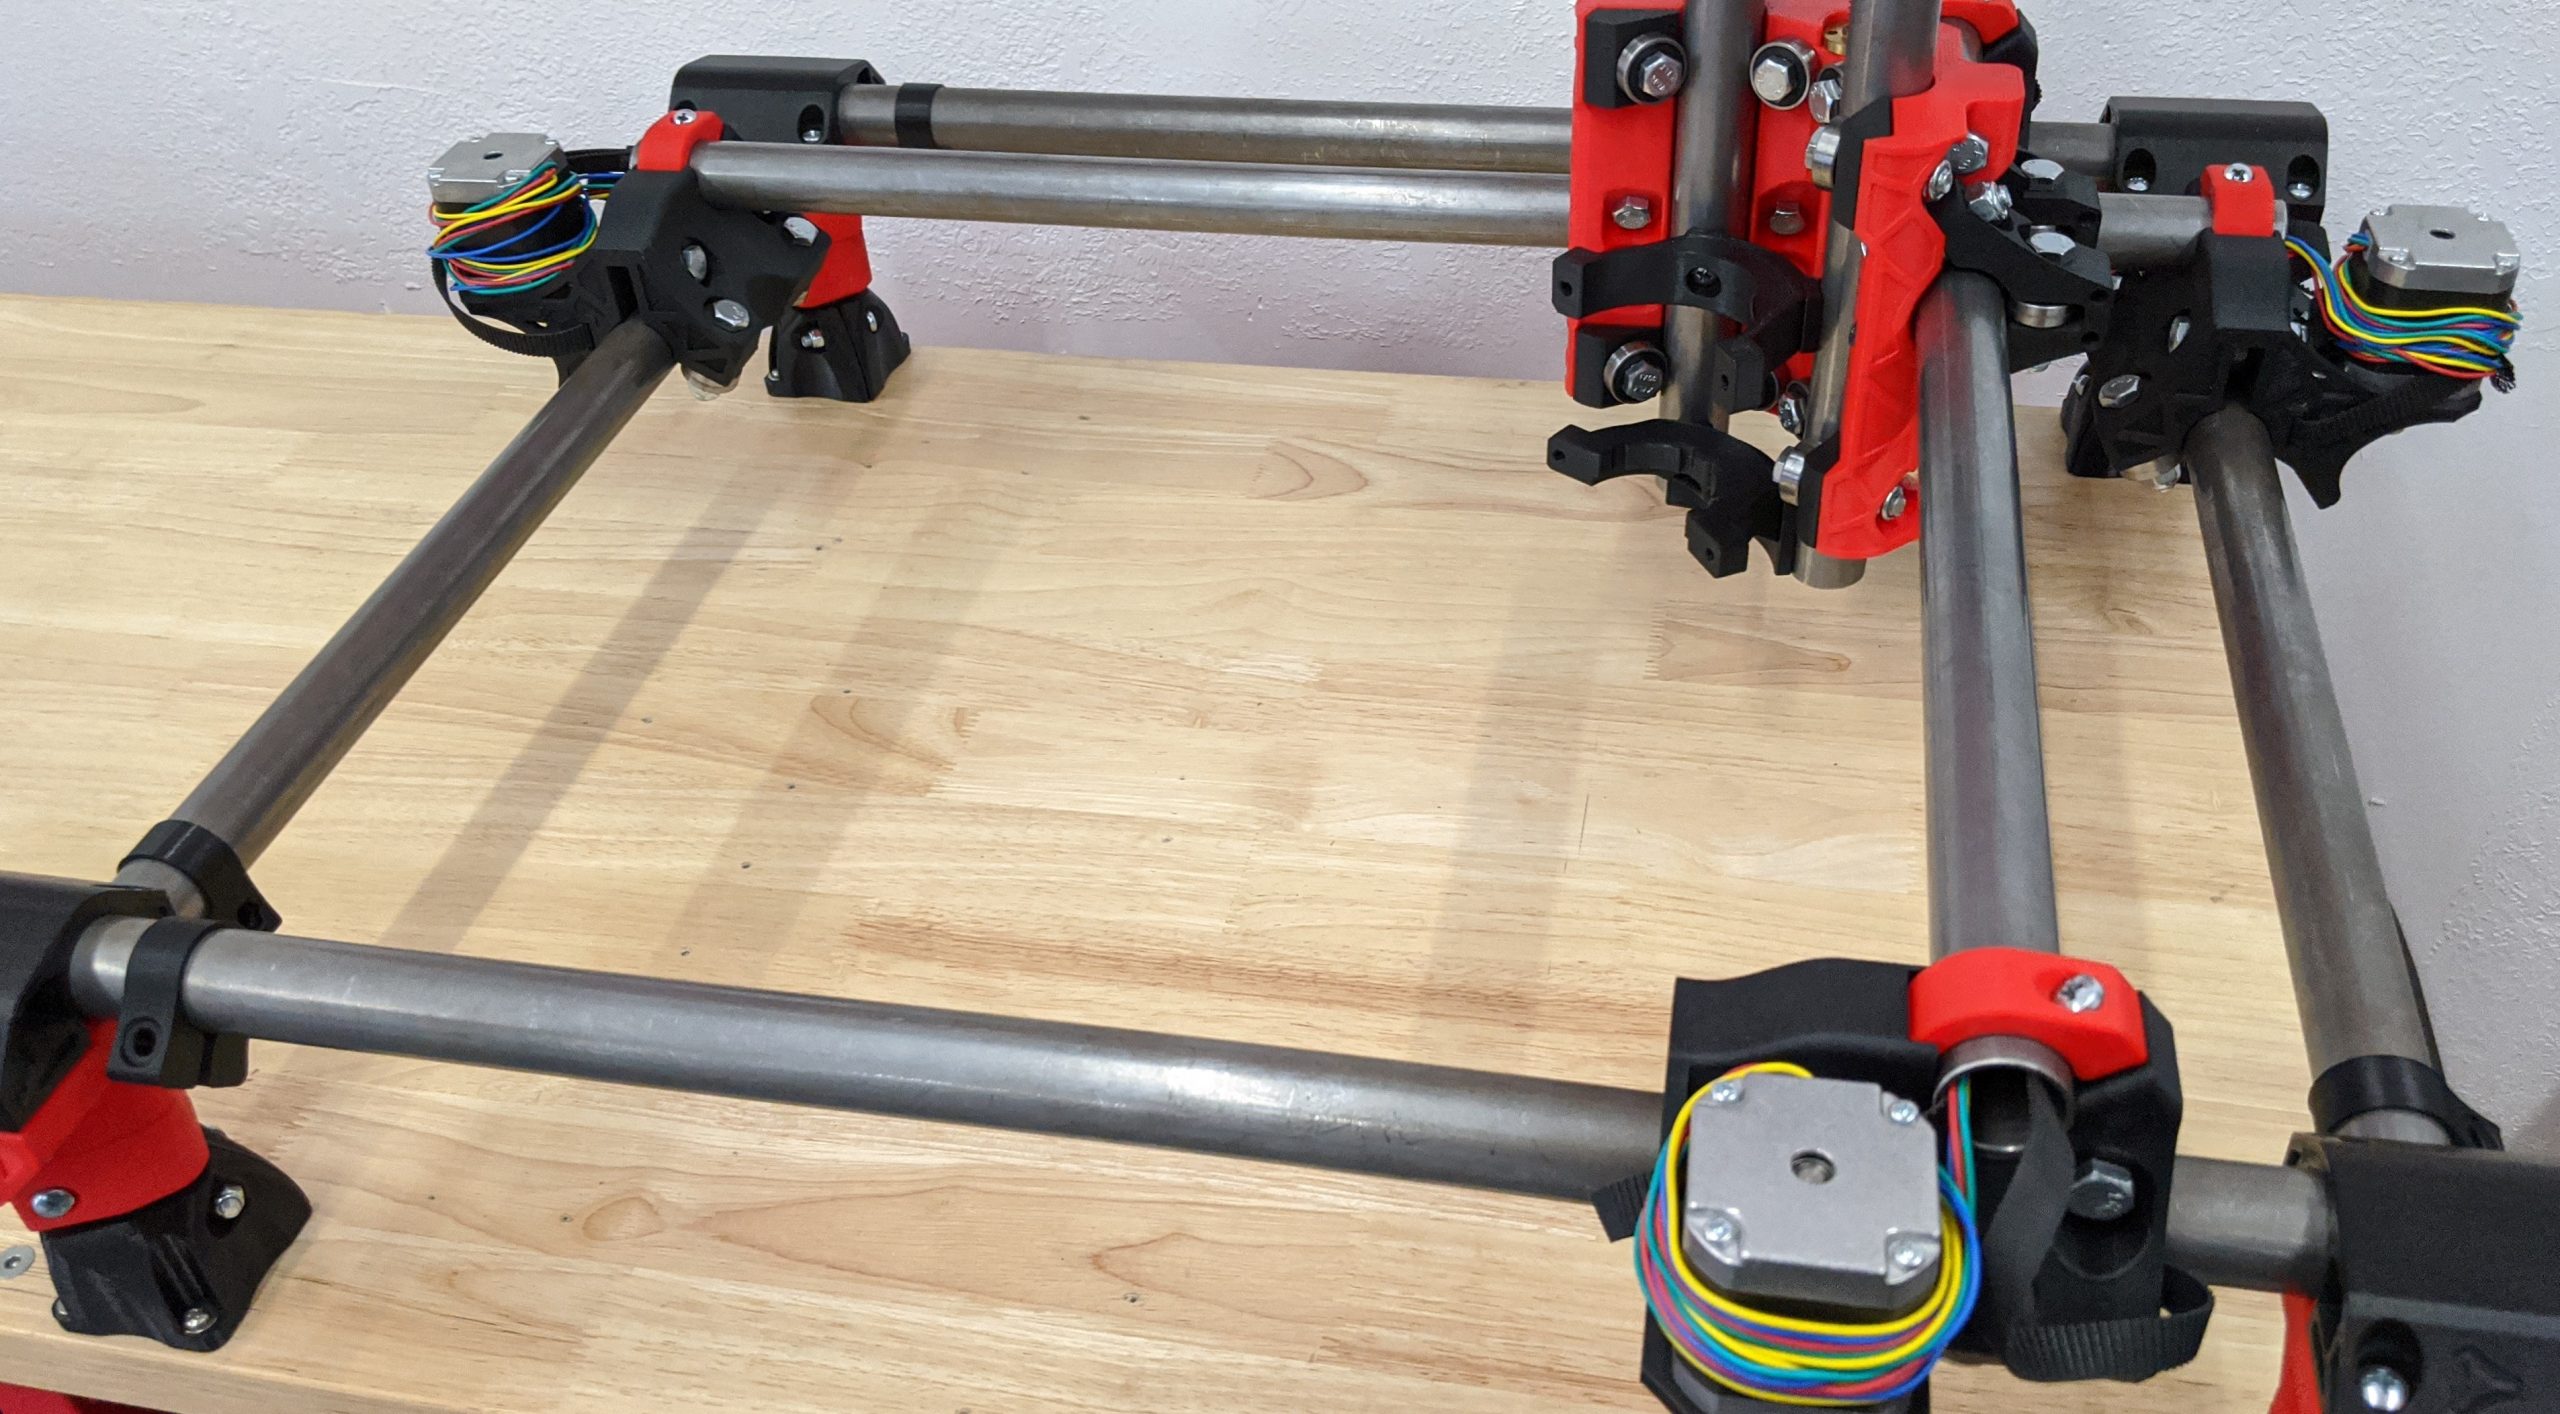
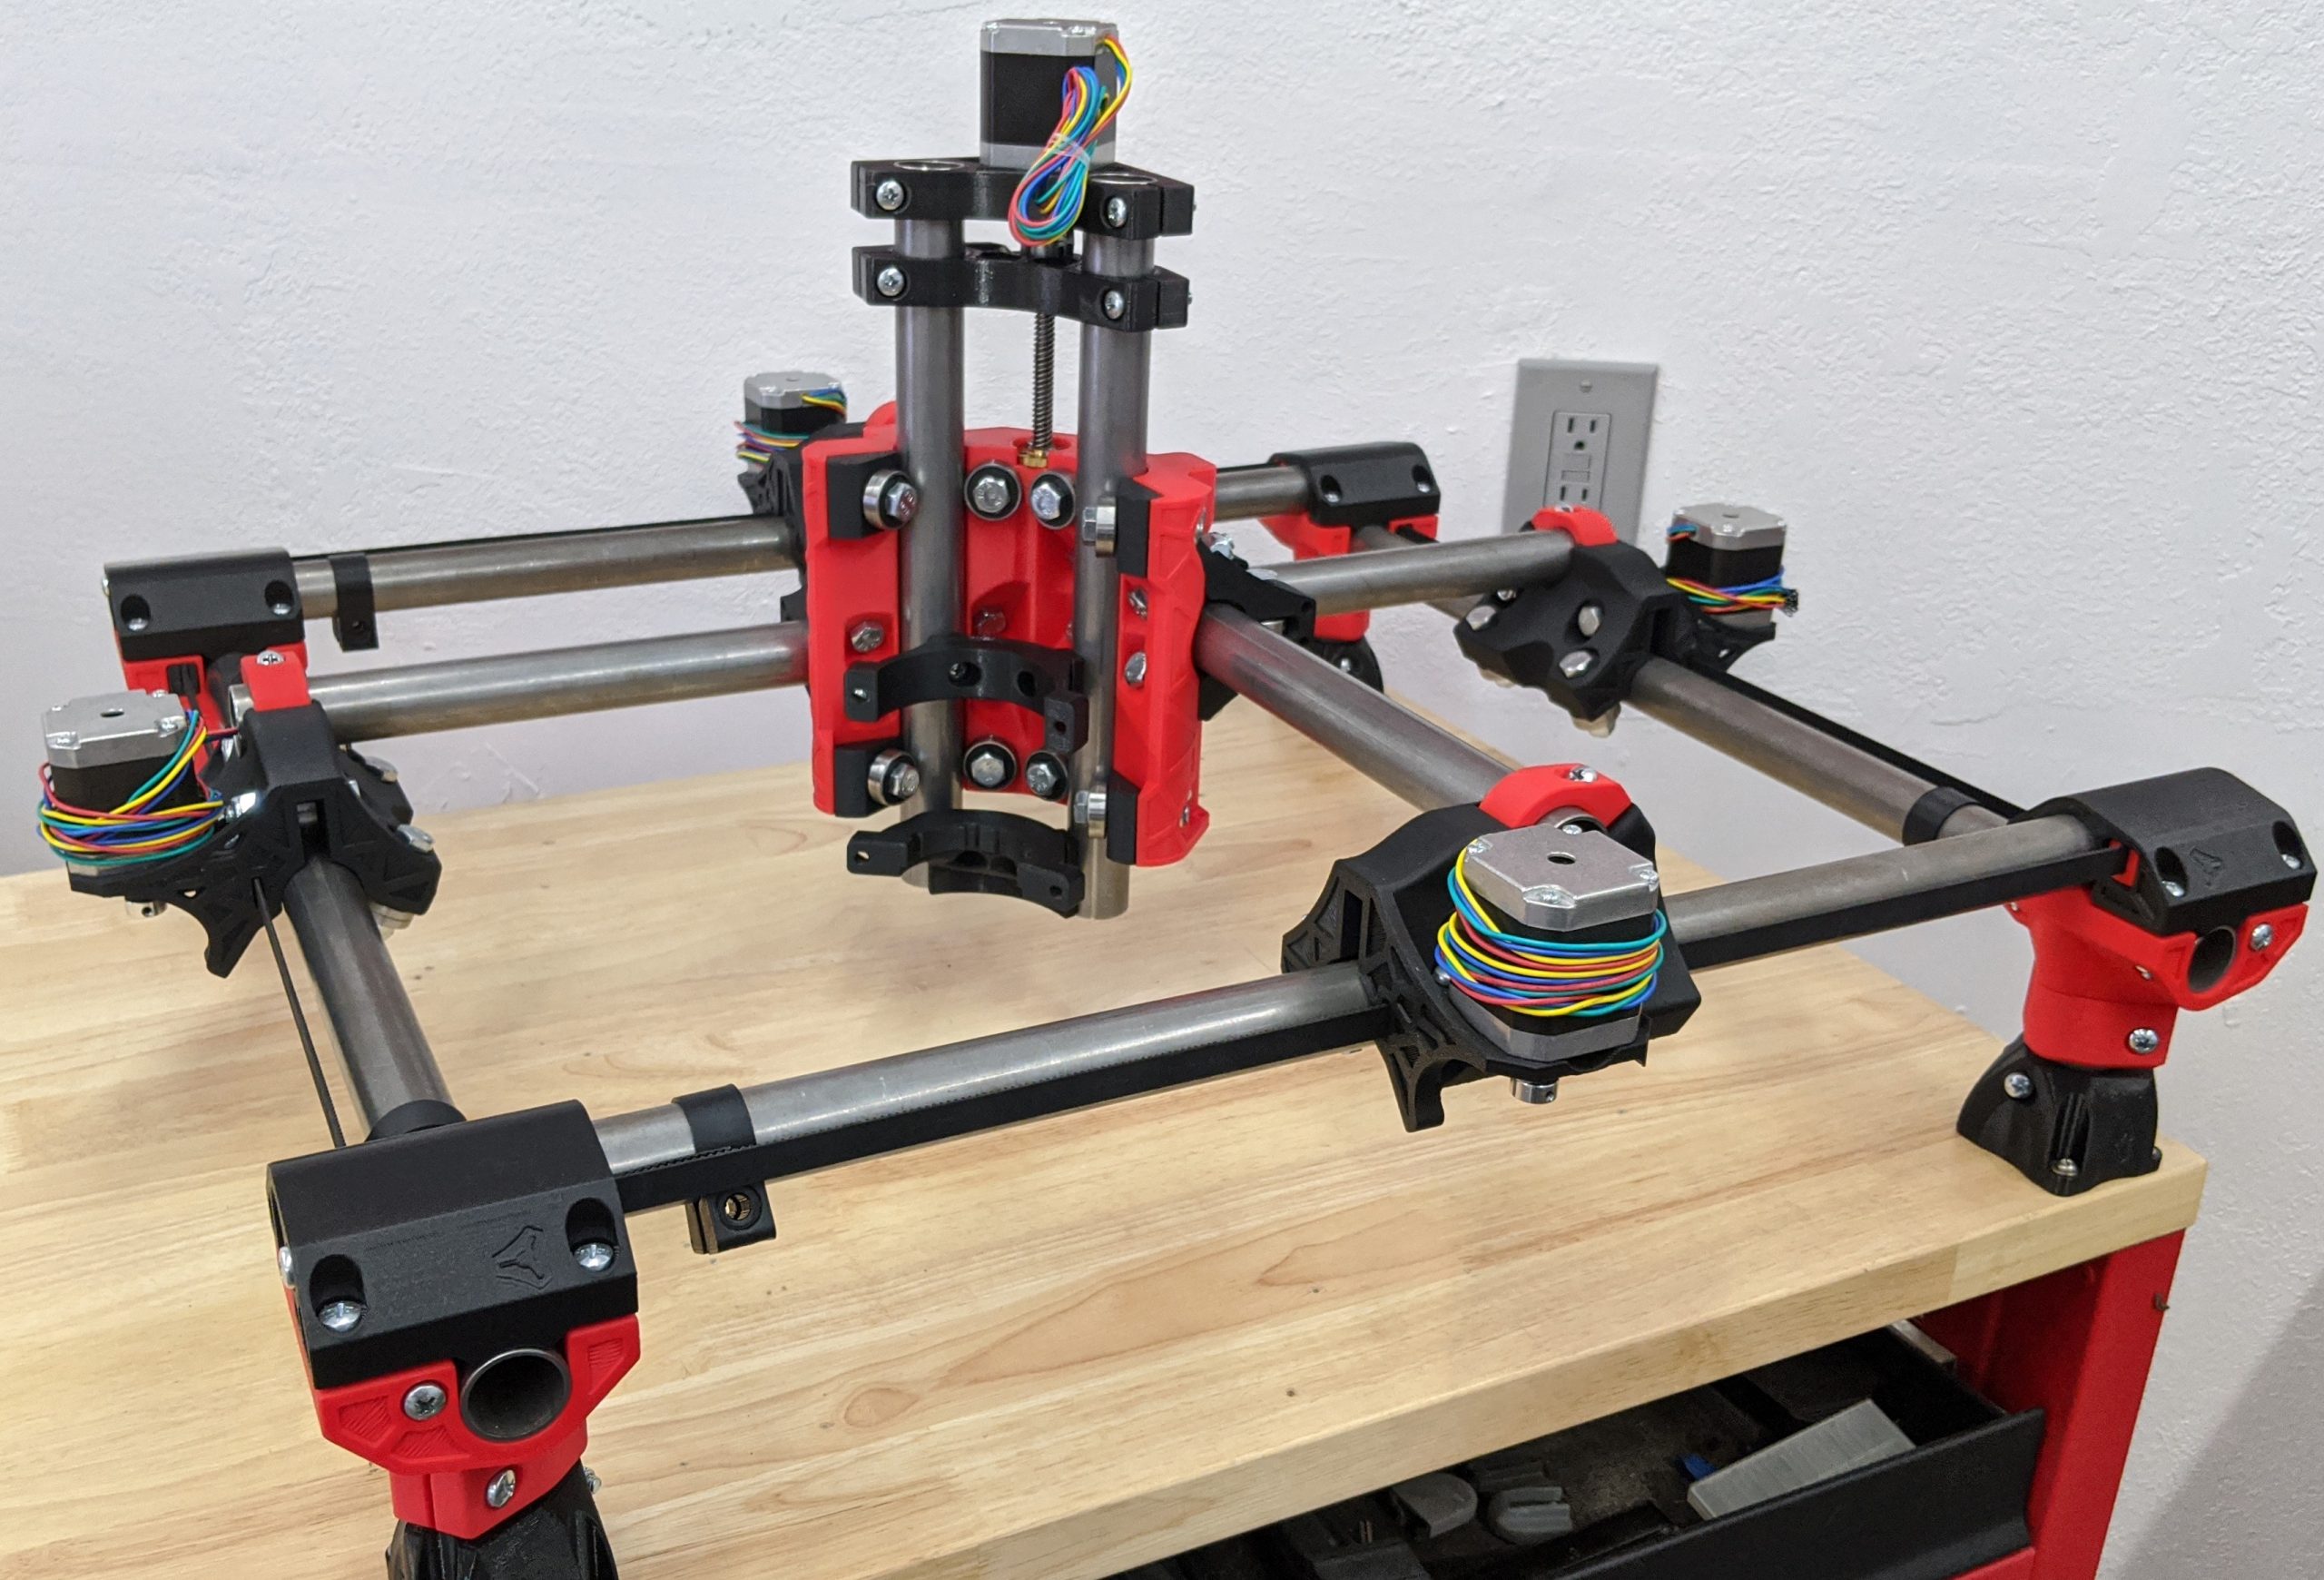
- The Stop Blocks are positioned on the zero (minimum) end of each axis as shown in this picture.
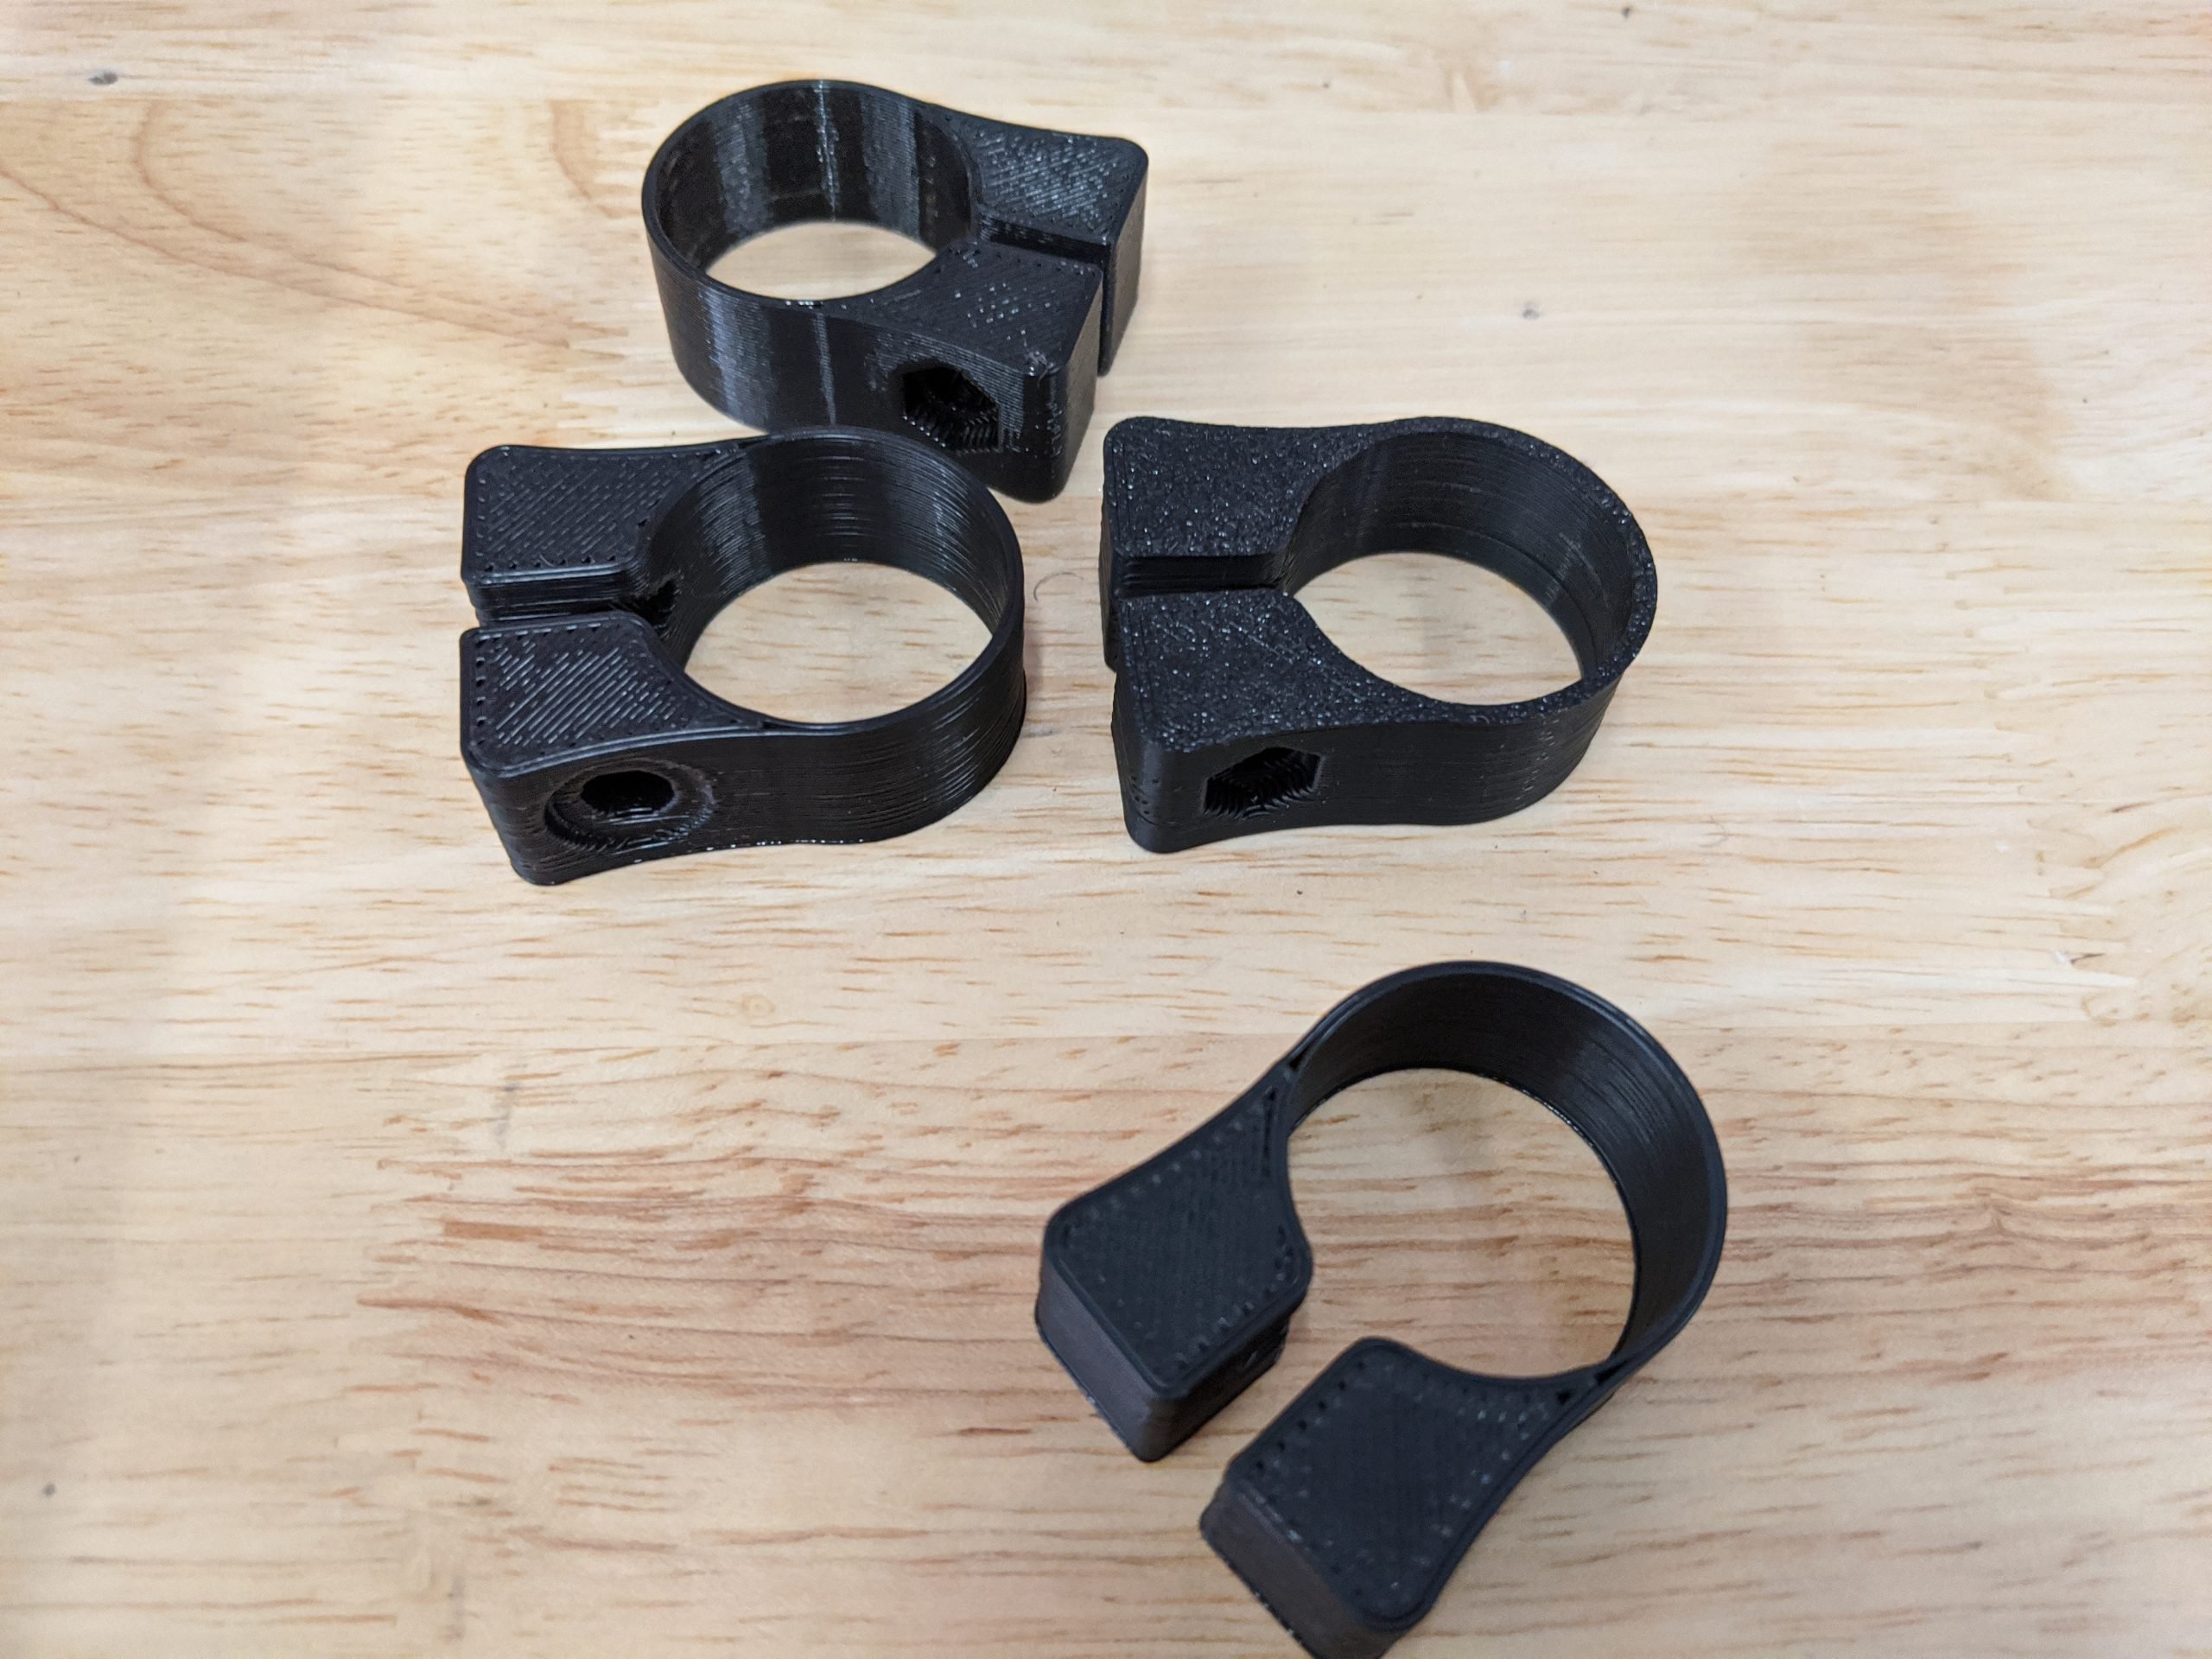
Belt Slides
- The Upper Belt, Lower Belt, and Mirrored versions all function the same way.
- You will need the 8 printed parts and eight M5 nuts.

- The M5 nut gets slid in with the nylock facing the belt slot as shown.
Tip
As with all these nylocks, pre-threading them once or twice will loosen them up a bit. This helps to prevent splitting the printed nut captures.
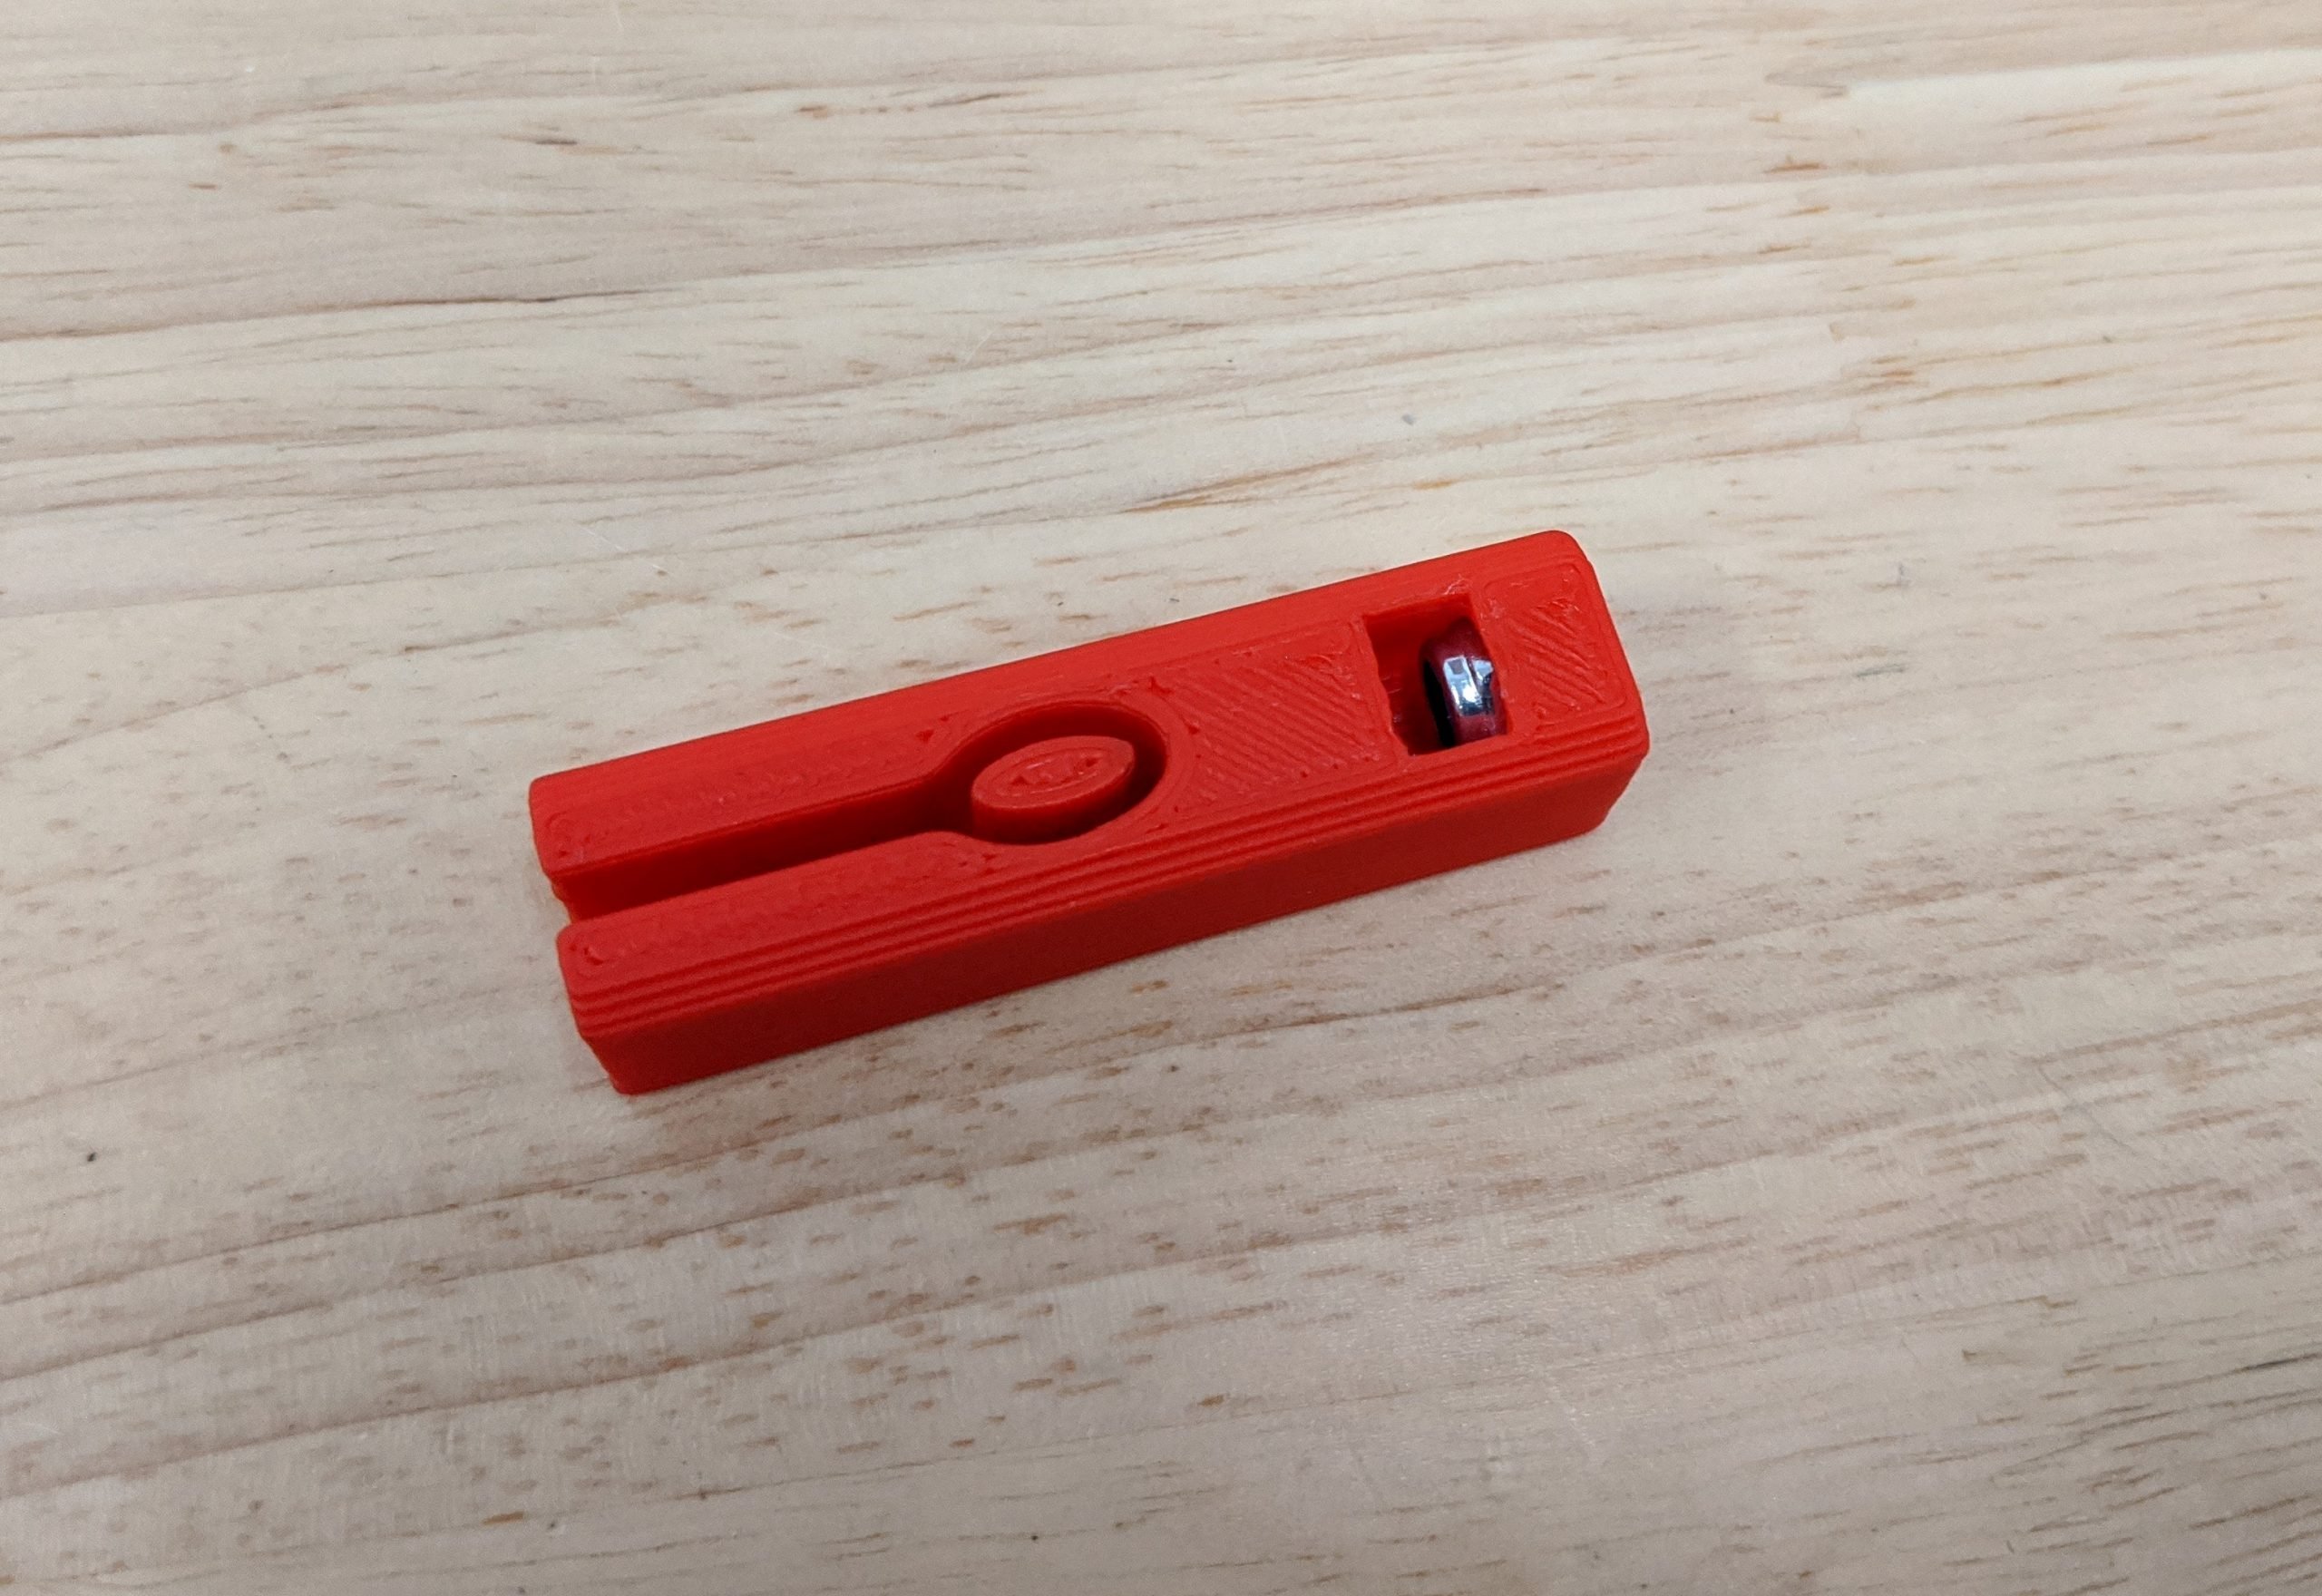
- The nuts fit into the end and are fully captured.
- You can use a small screwdriver to push them into position or pull them into place with a screw.
Belts
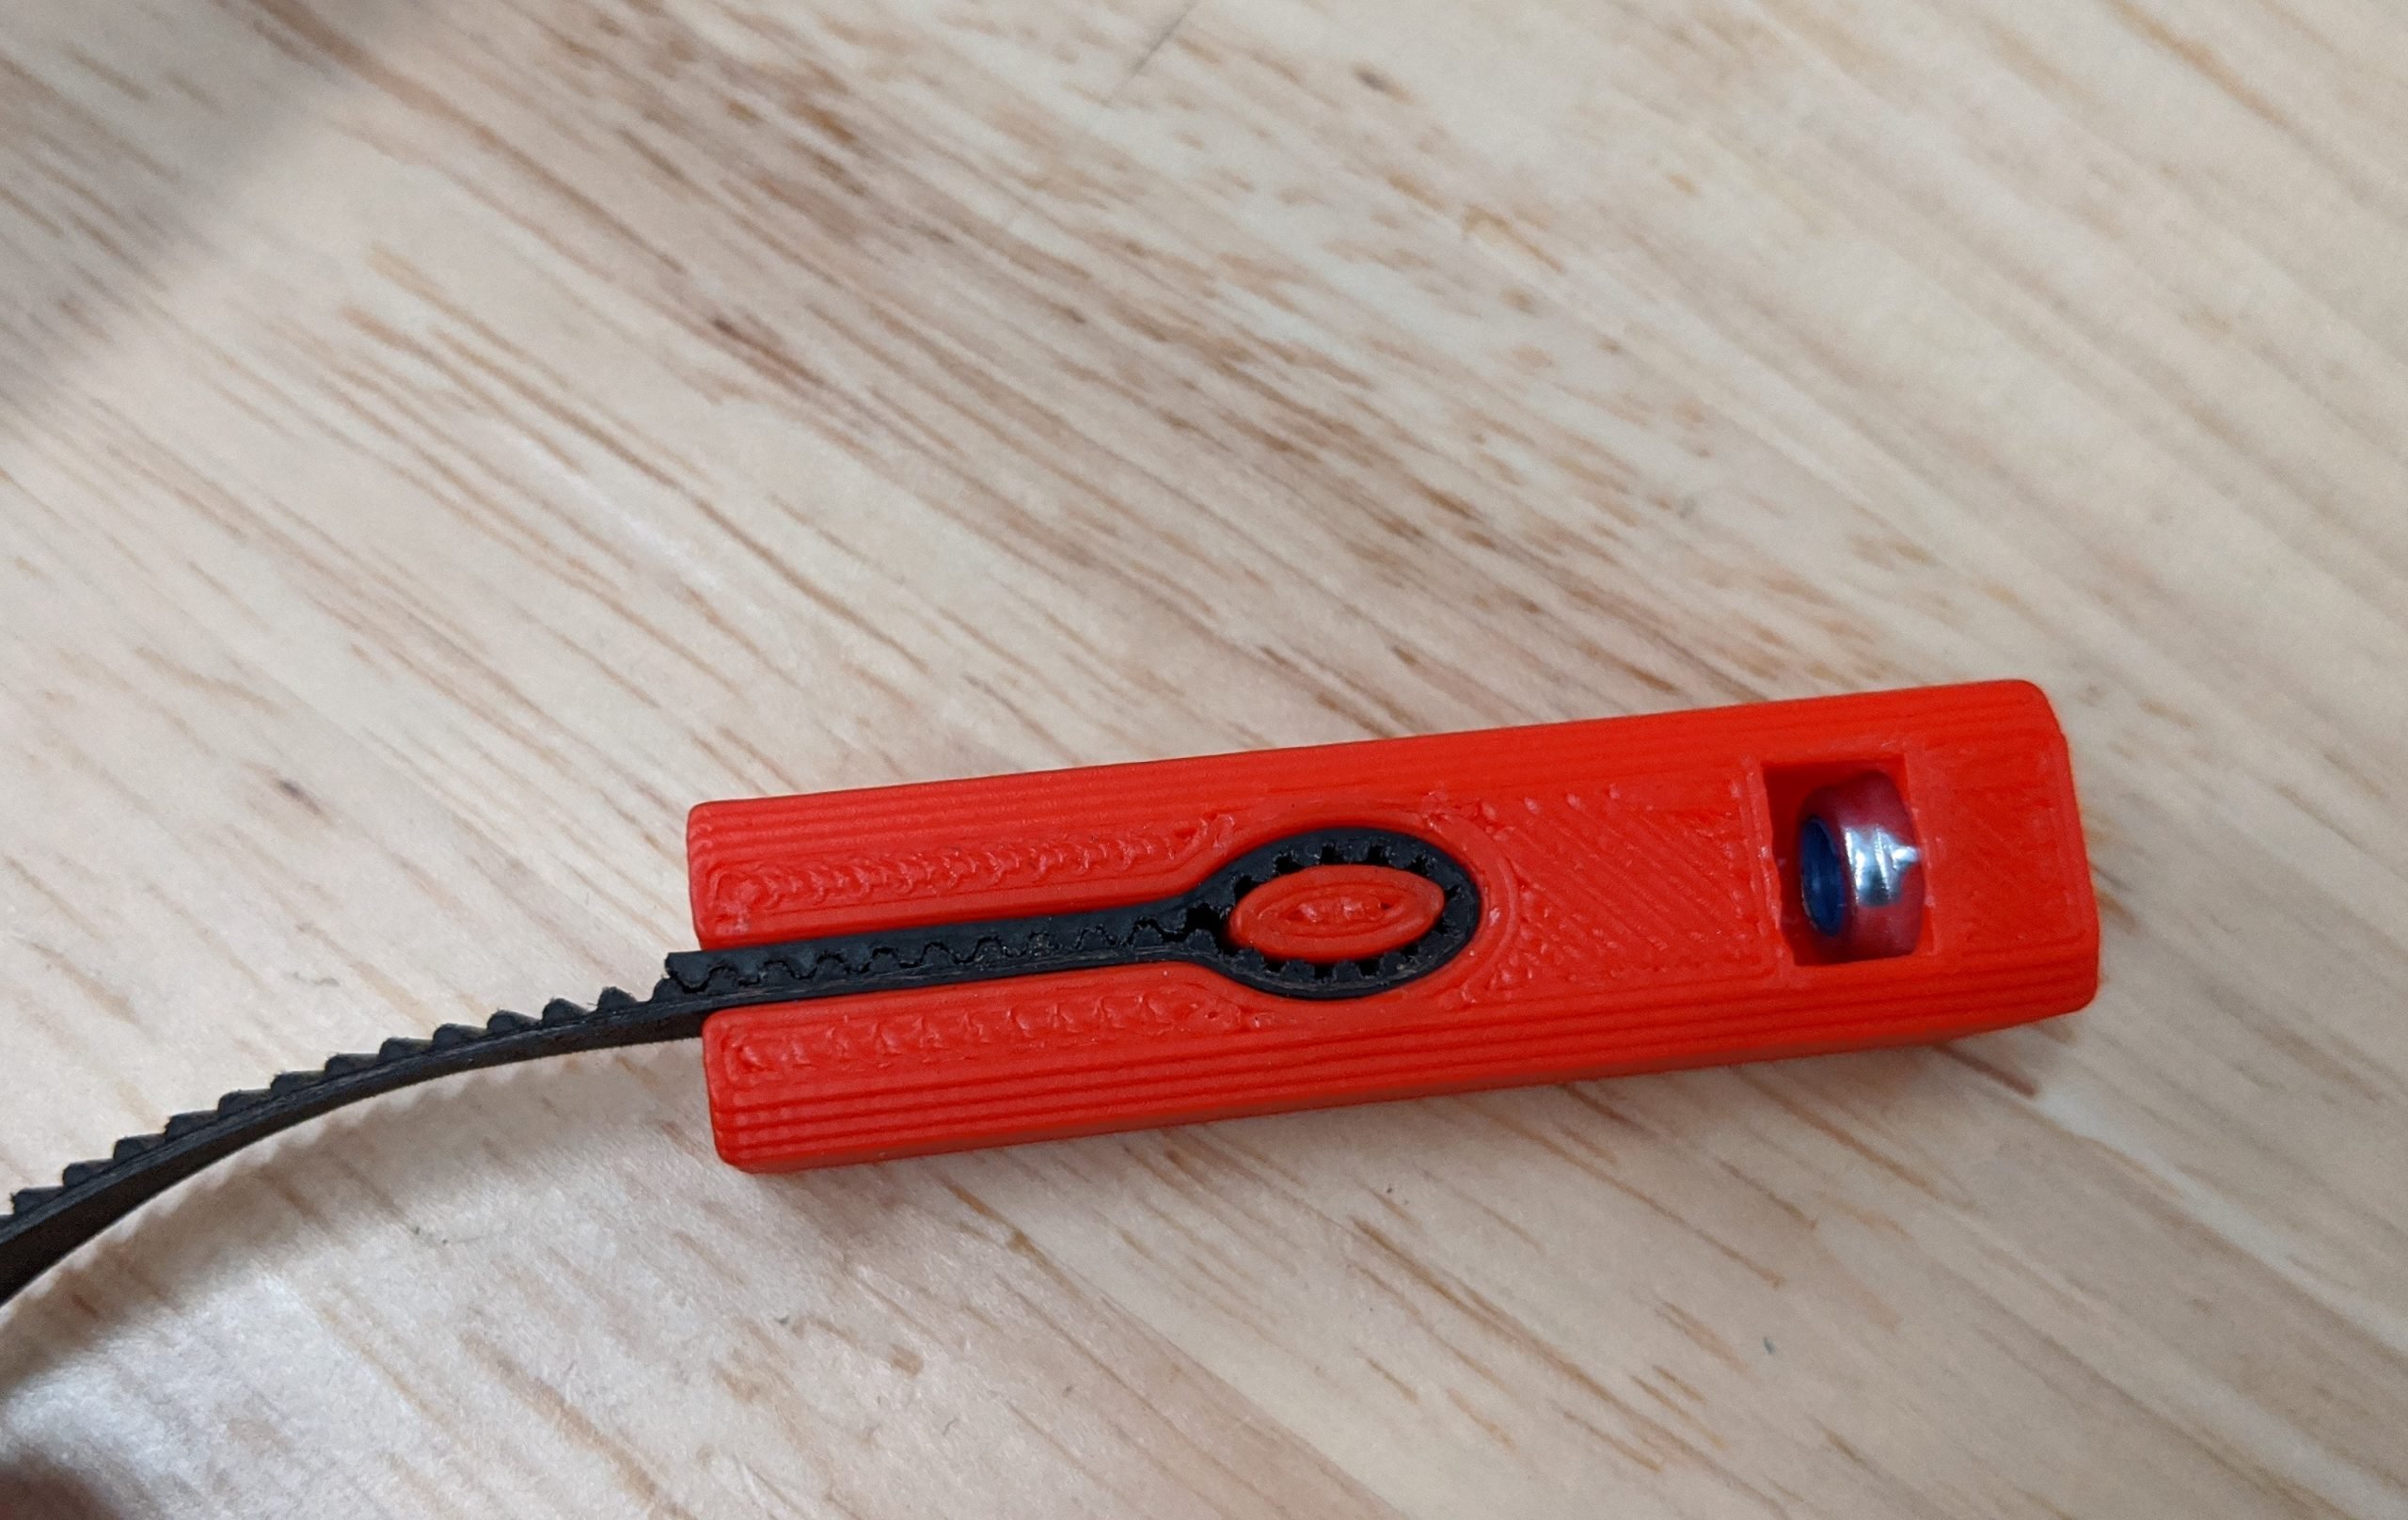
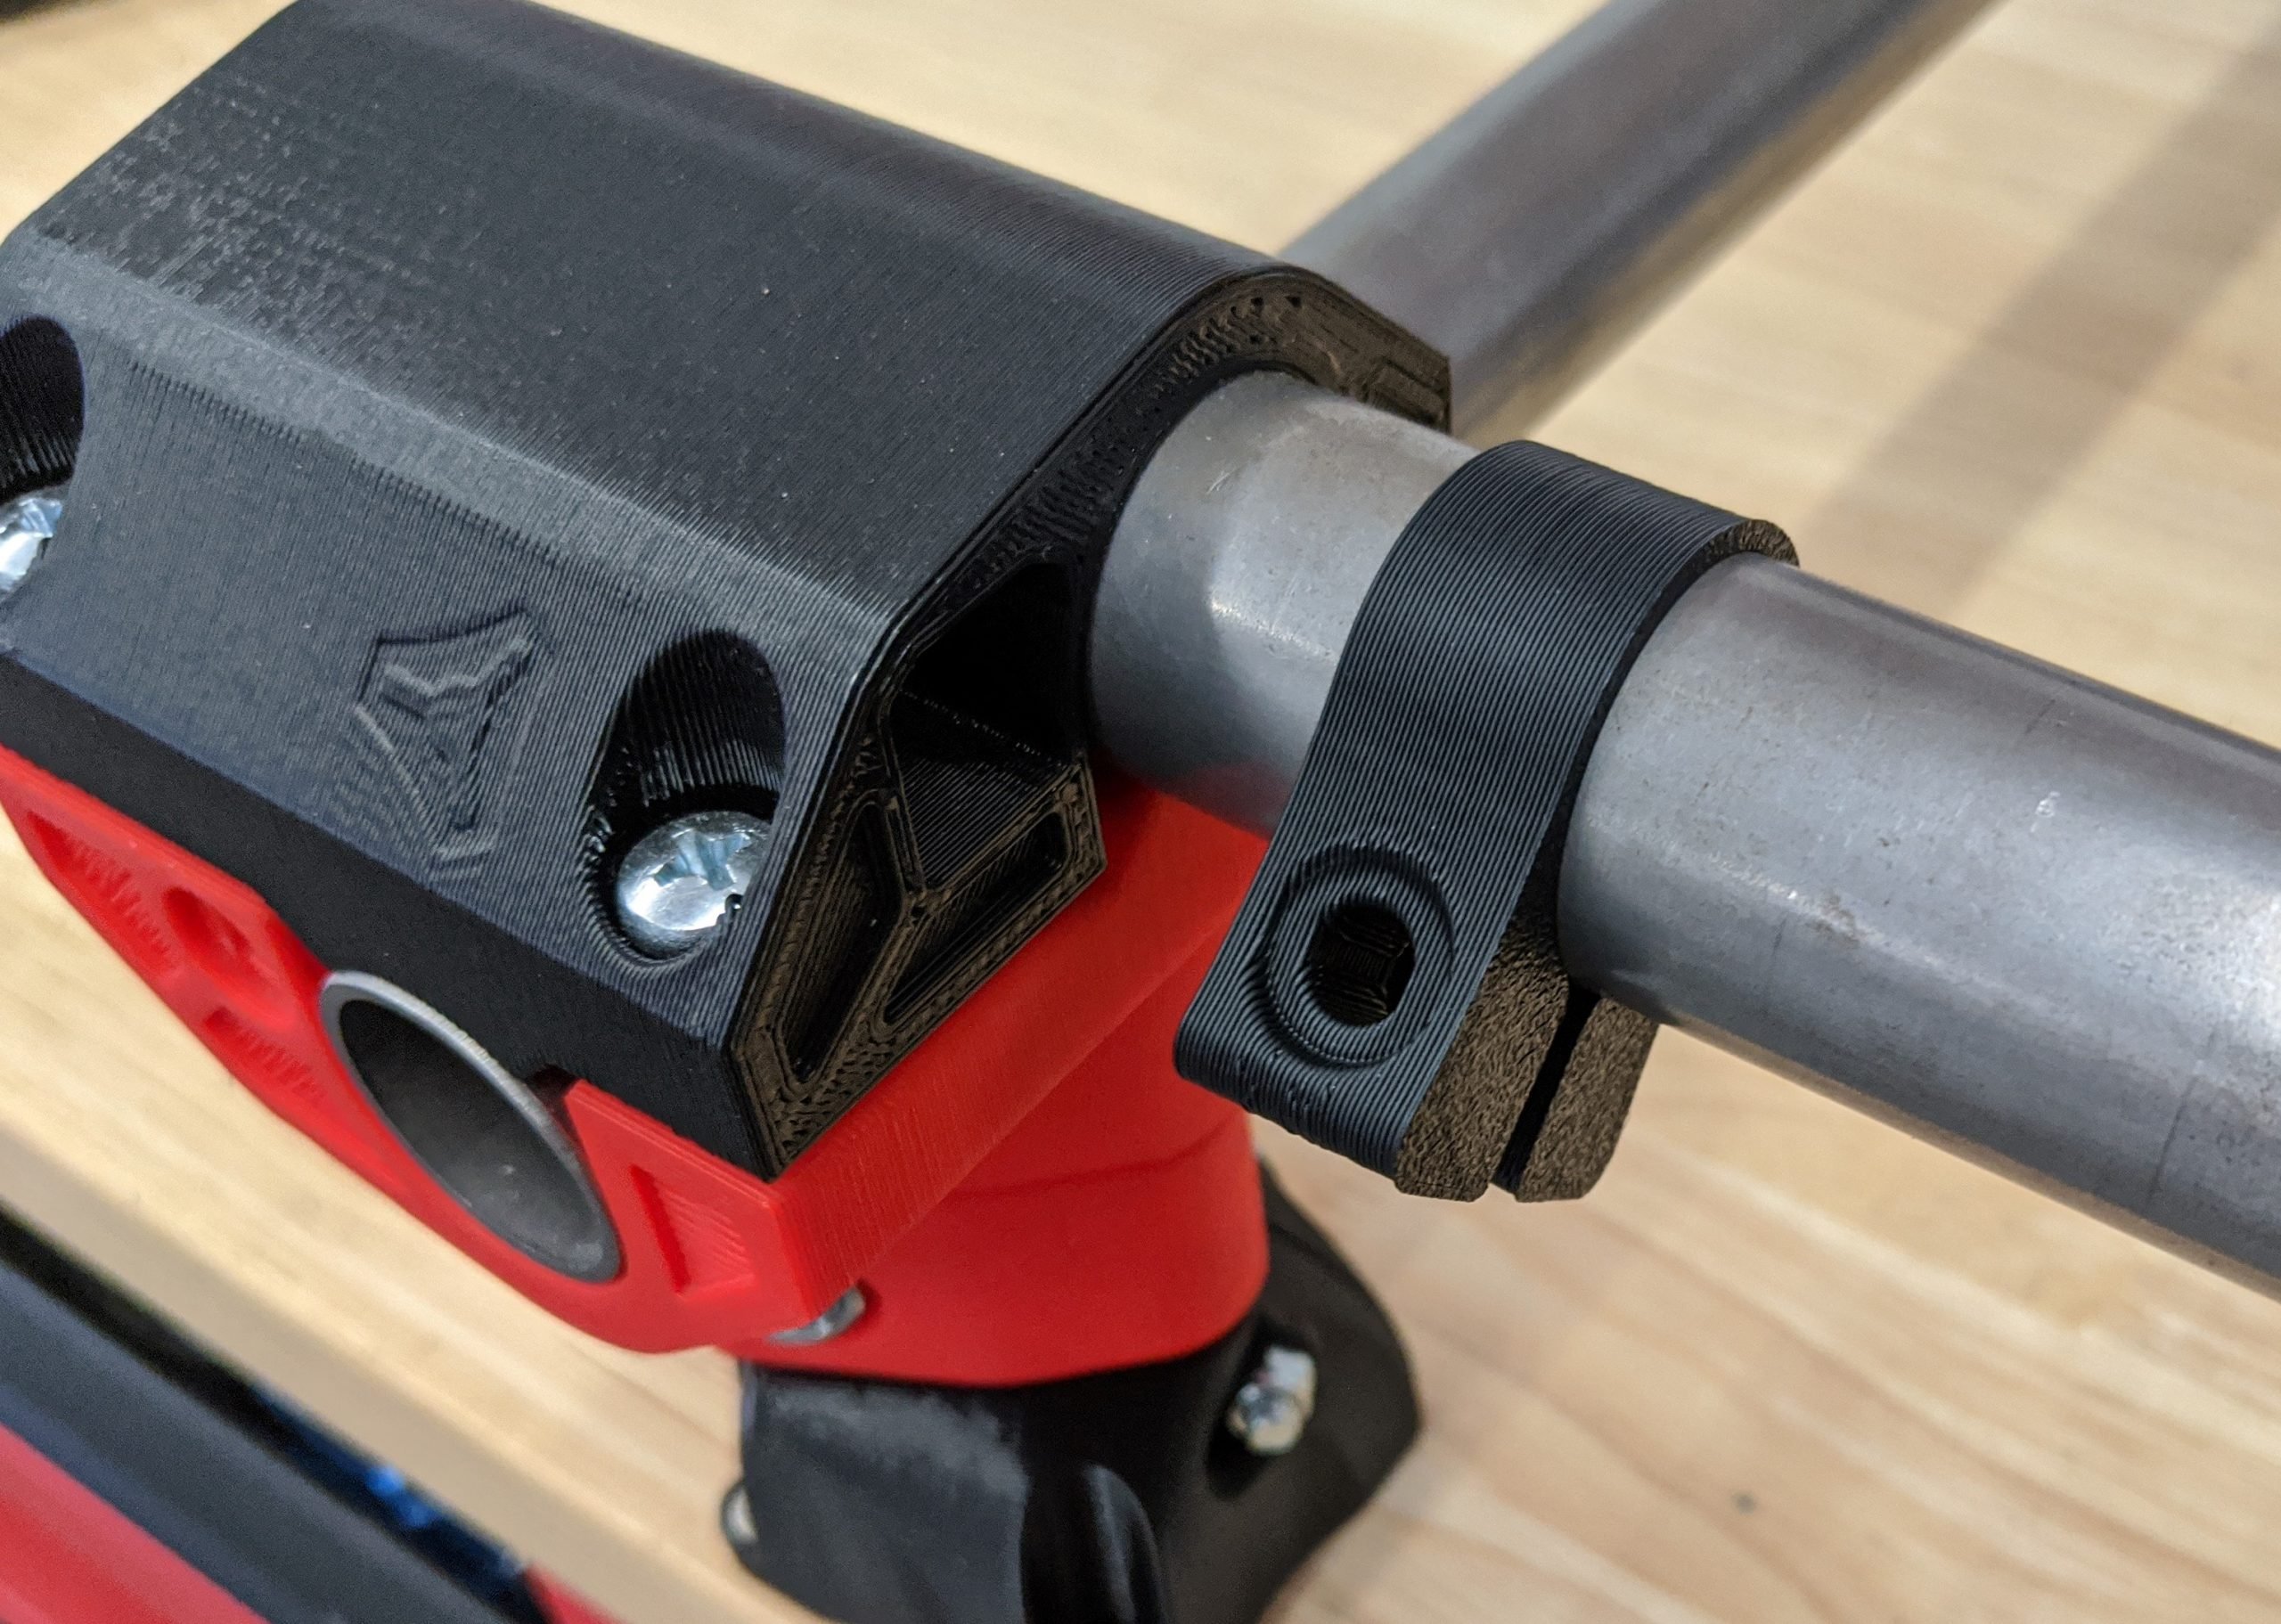
- The belt gets folded over and tucked into the slot.
- Make sure the belt is below the surface of the printed parts, so it does not drag. Tuck it in with a small screwdriver if needed.
- It is best to engage as many teeth as possible.
Installing the Belts
- The Upper Belt slides are all fairly obvious to where they fit. The shape is unique.
- The Lower Belt slides are a little trickier.
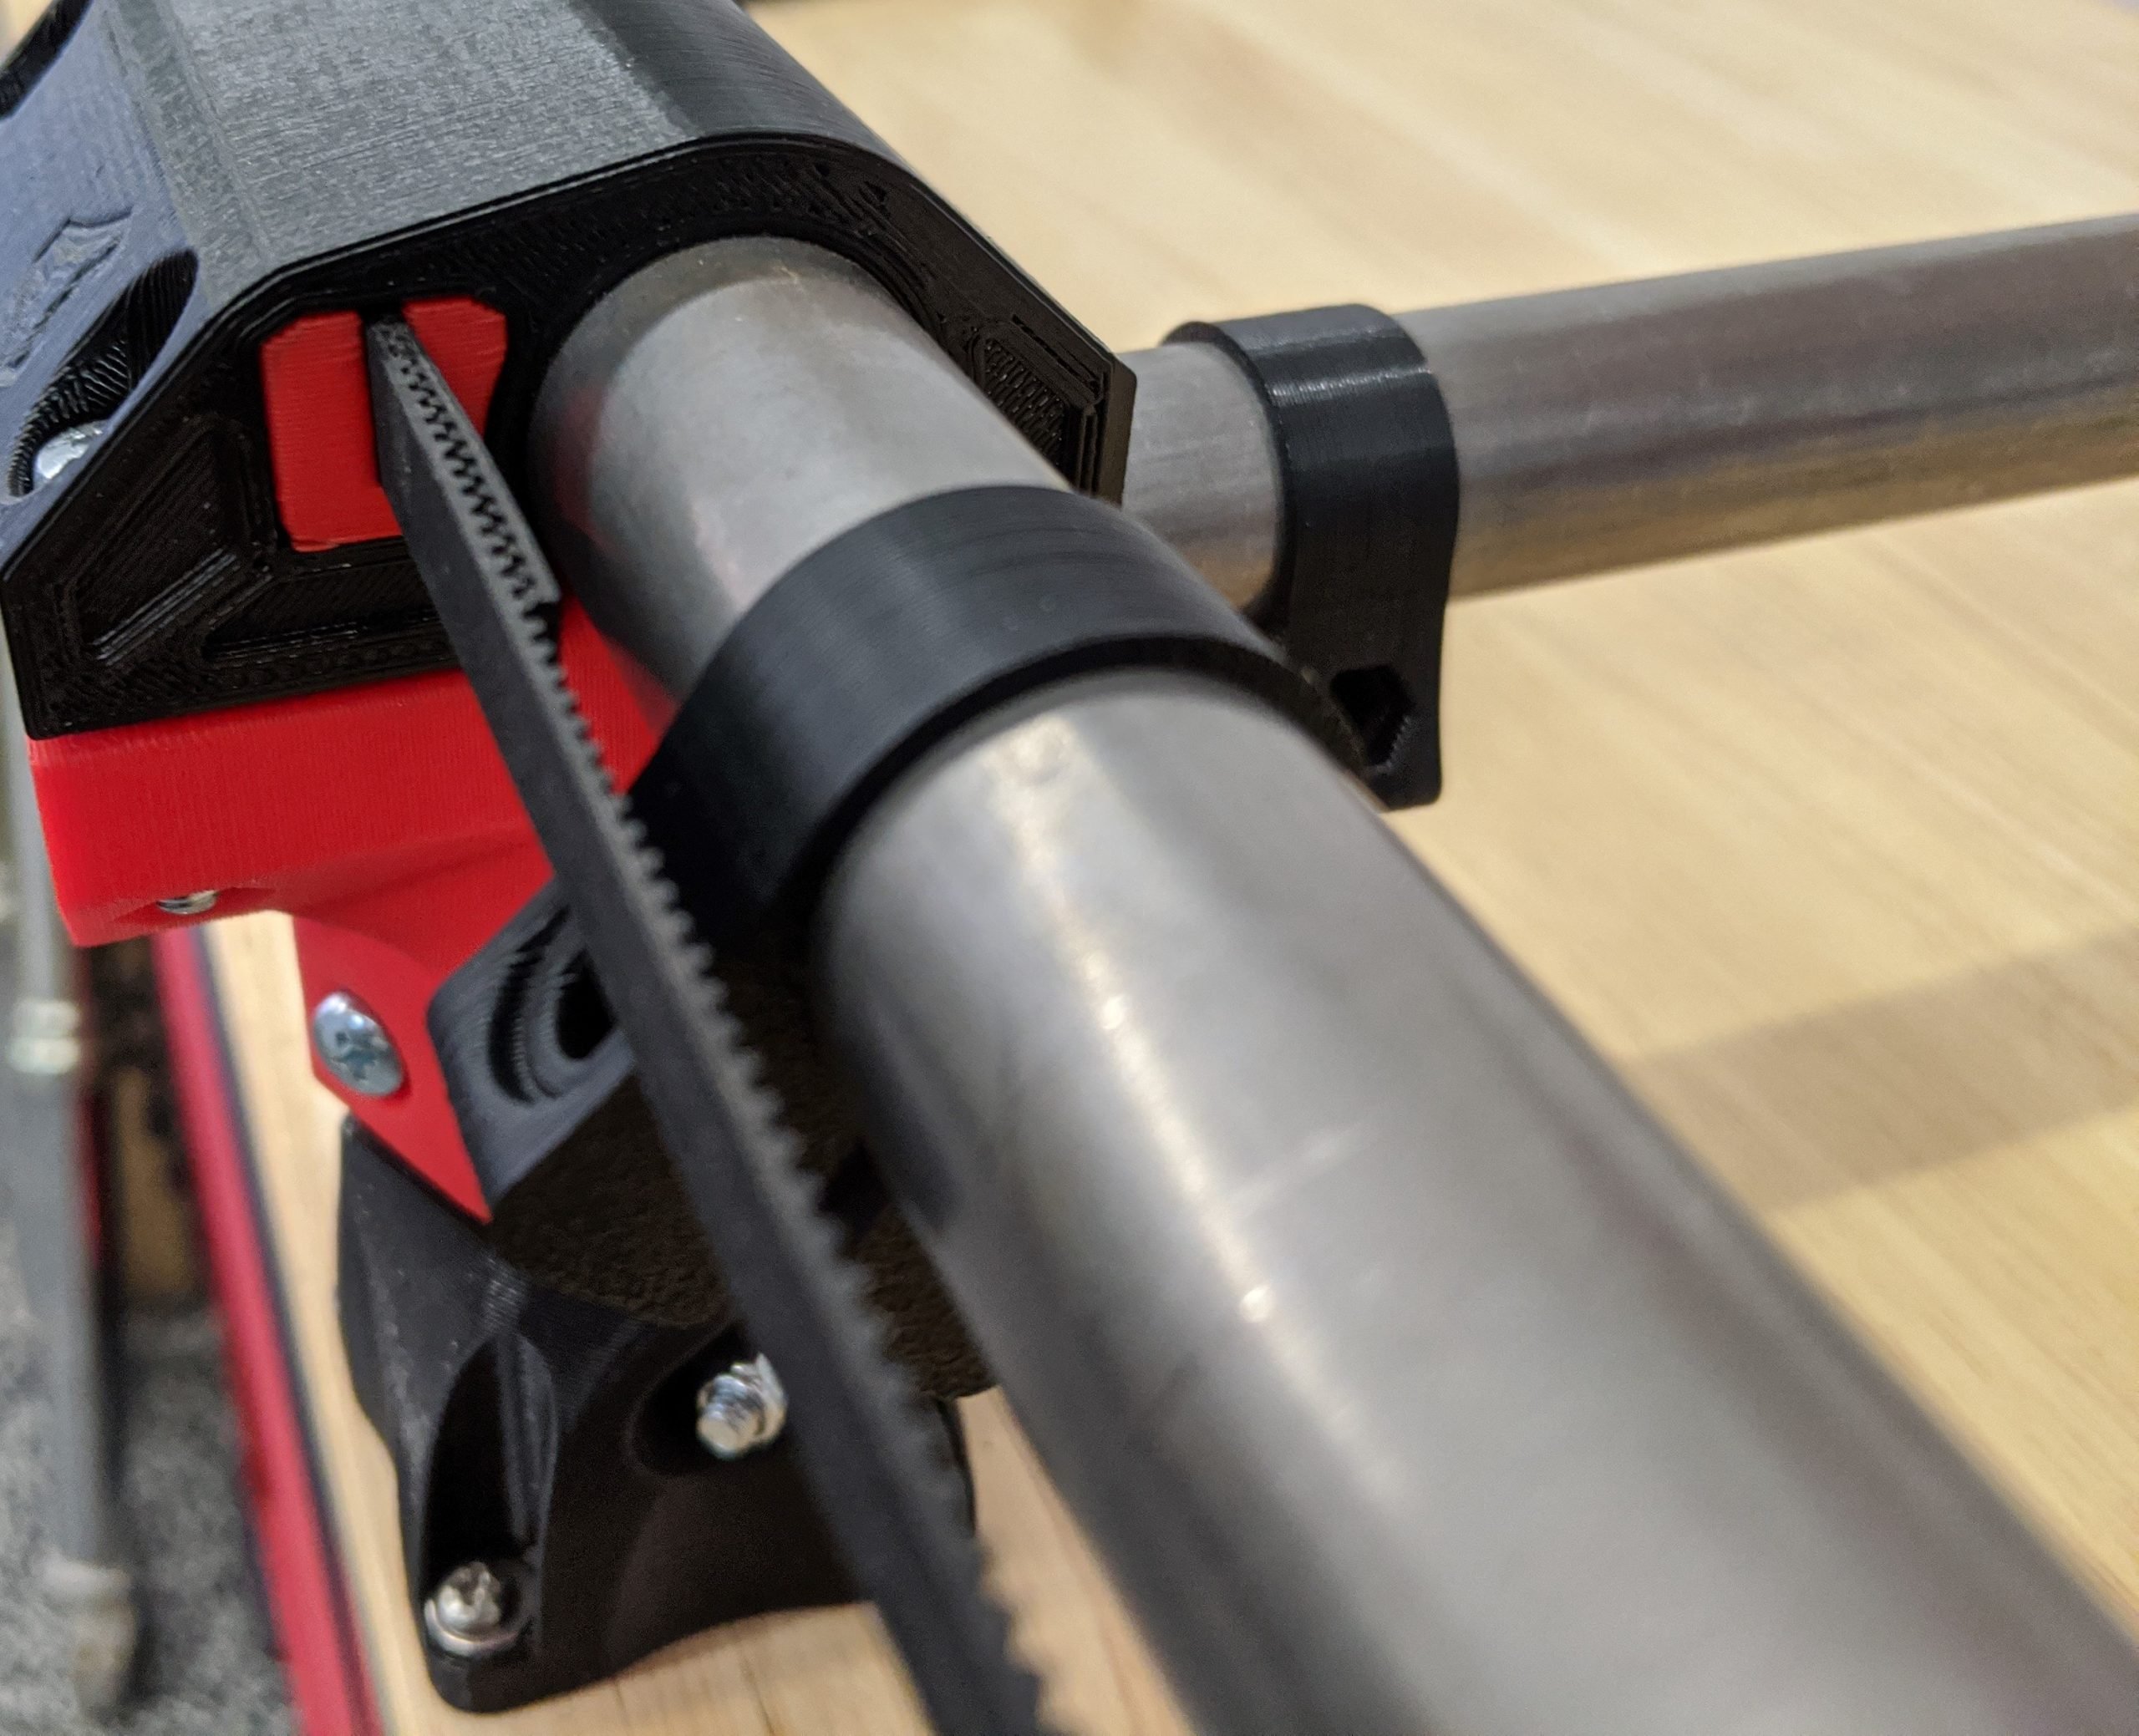
- The belts fit in the slide closest to the rail.
- When tensioned they should form a straight line, corner to corner.
Tension
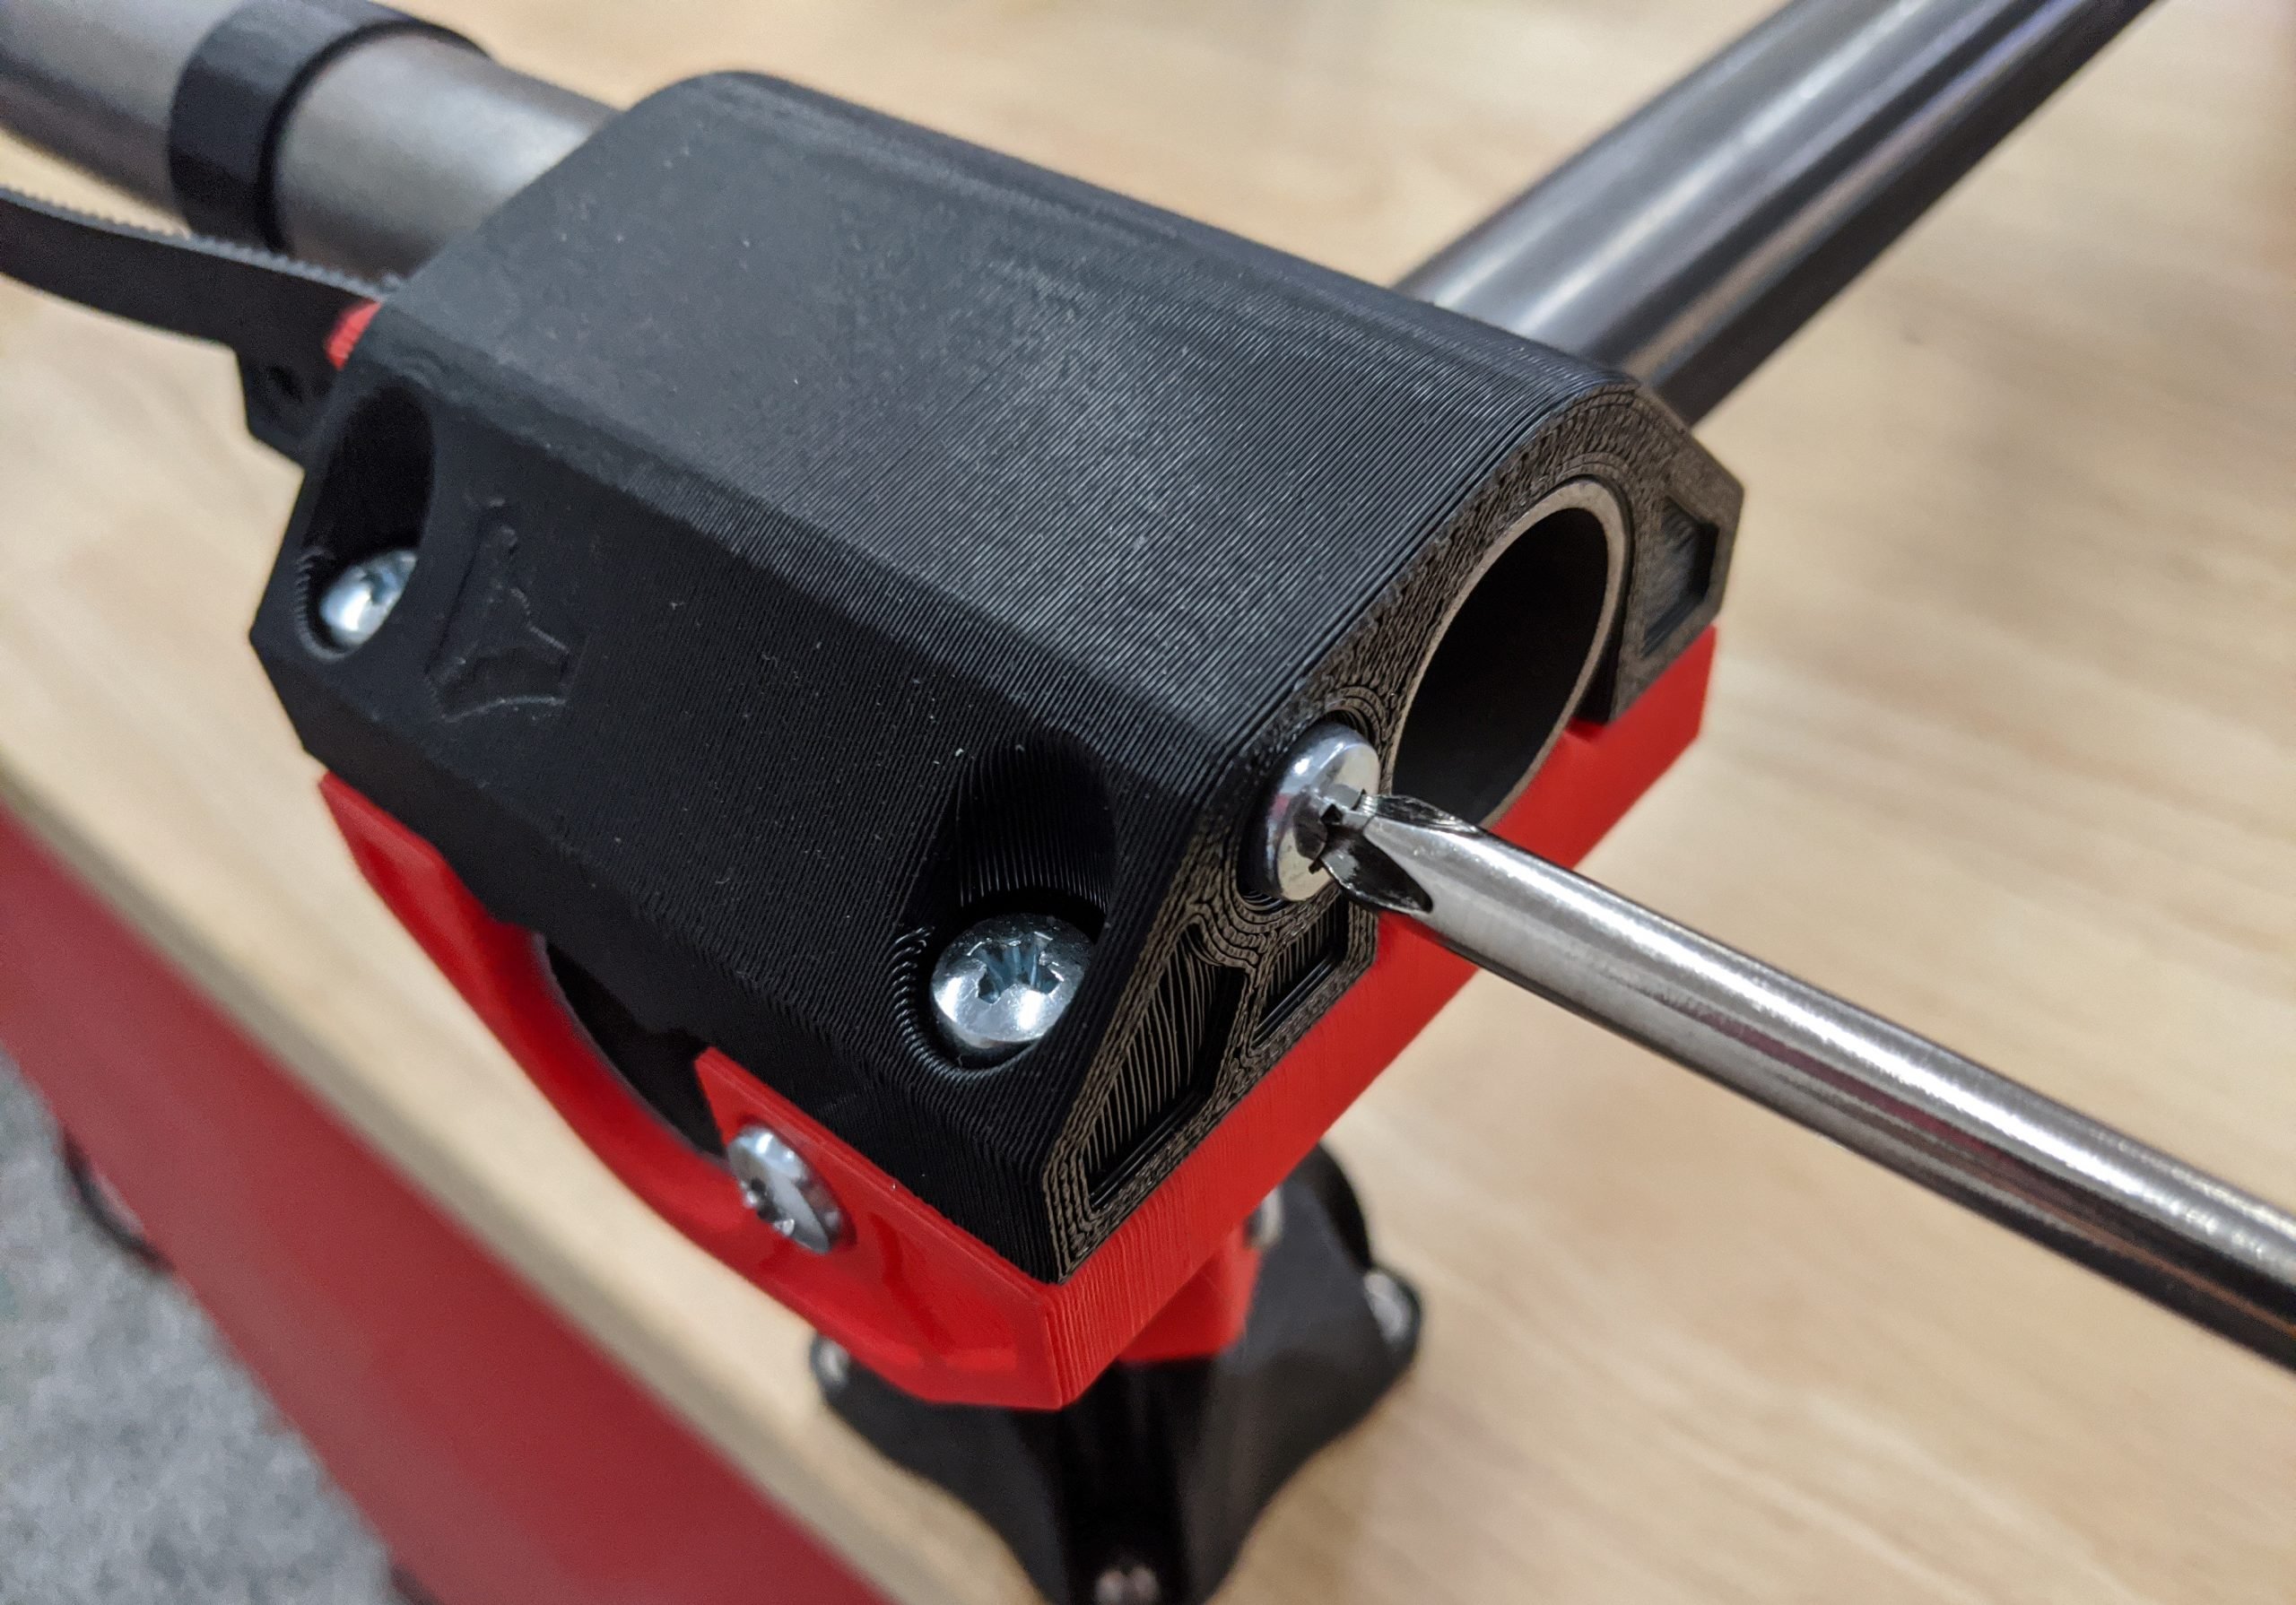
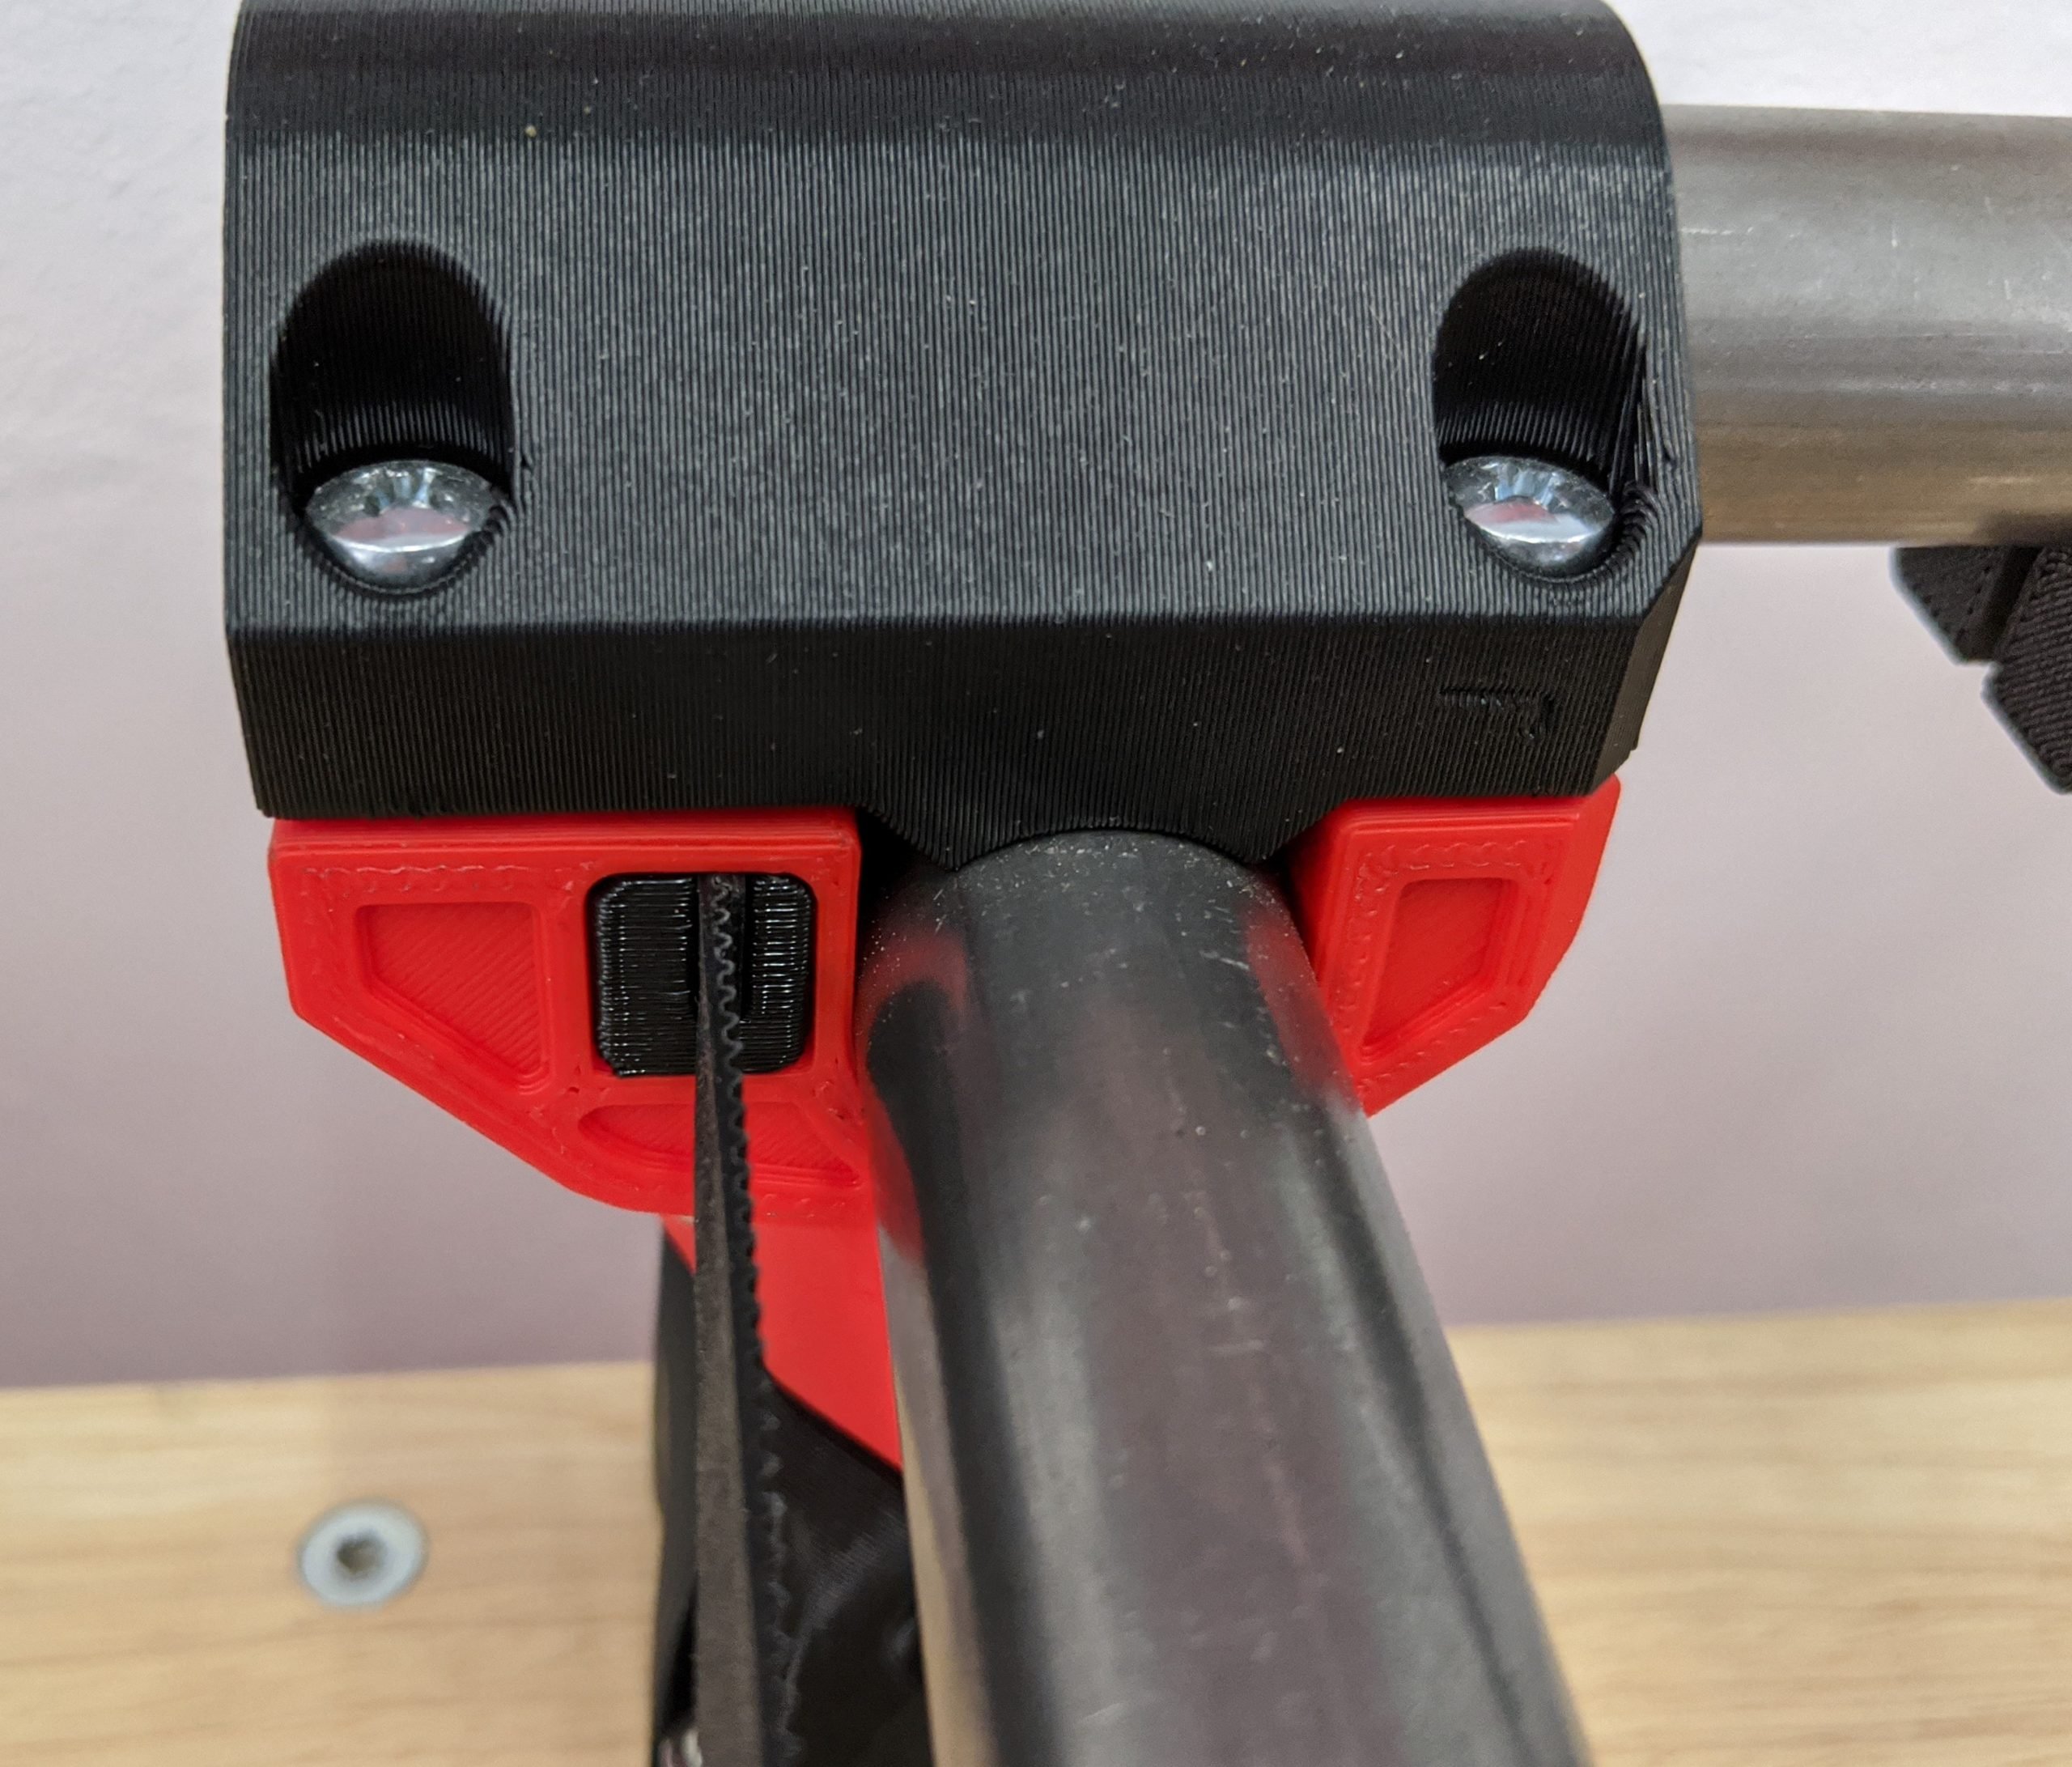
- M5 screws come through the corner blocks to tension the slides.
- Install the far side of each axis first.
- You are looking for the belts to be tensioned with the slides flush with the corner or slightly inside.
- It is best to make all your belt adjustments on the minimum side of each axis (closest to the Stop Blocks in this picture).
- Setting the actual tension is not easy to quantify without a special test tool.
- You want equal tension in all four belts (6-10lbs).
- The needed tension is much less than most people think. It should just barely make a noise when plucked.
Note
Start loose. When using the machine for a cut or plotting, the dimensions will be on the small side if the belts are too loose. Easy fix - half turn of the belt screw. Too tight and you can experience skipped steps randomly, premature wear on the idlers and steppers, the need for increased current to the steppers, and excessive heat. None of these are cheap easy fixes, start on the loose side.
No belts for me I use suspenders....So much less complicated.
Next step is wiring the steppers.